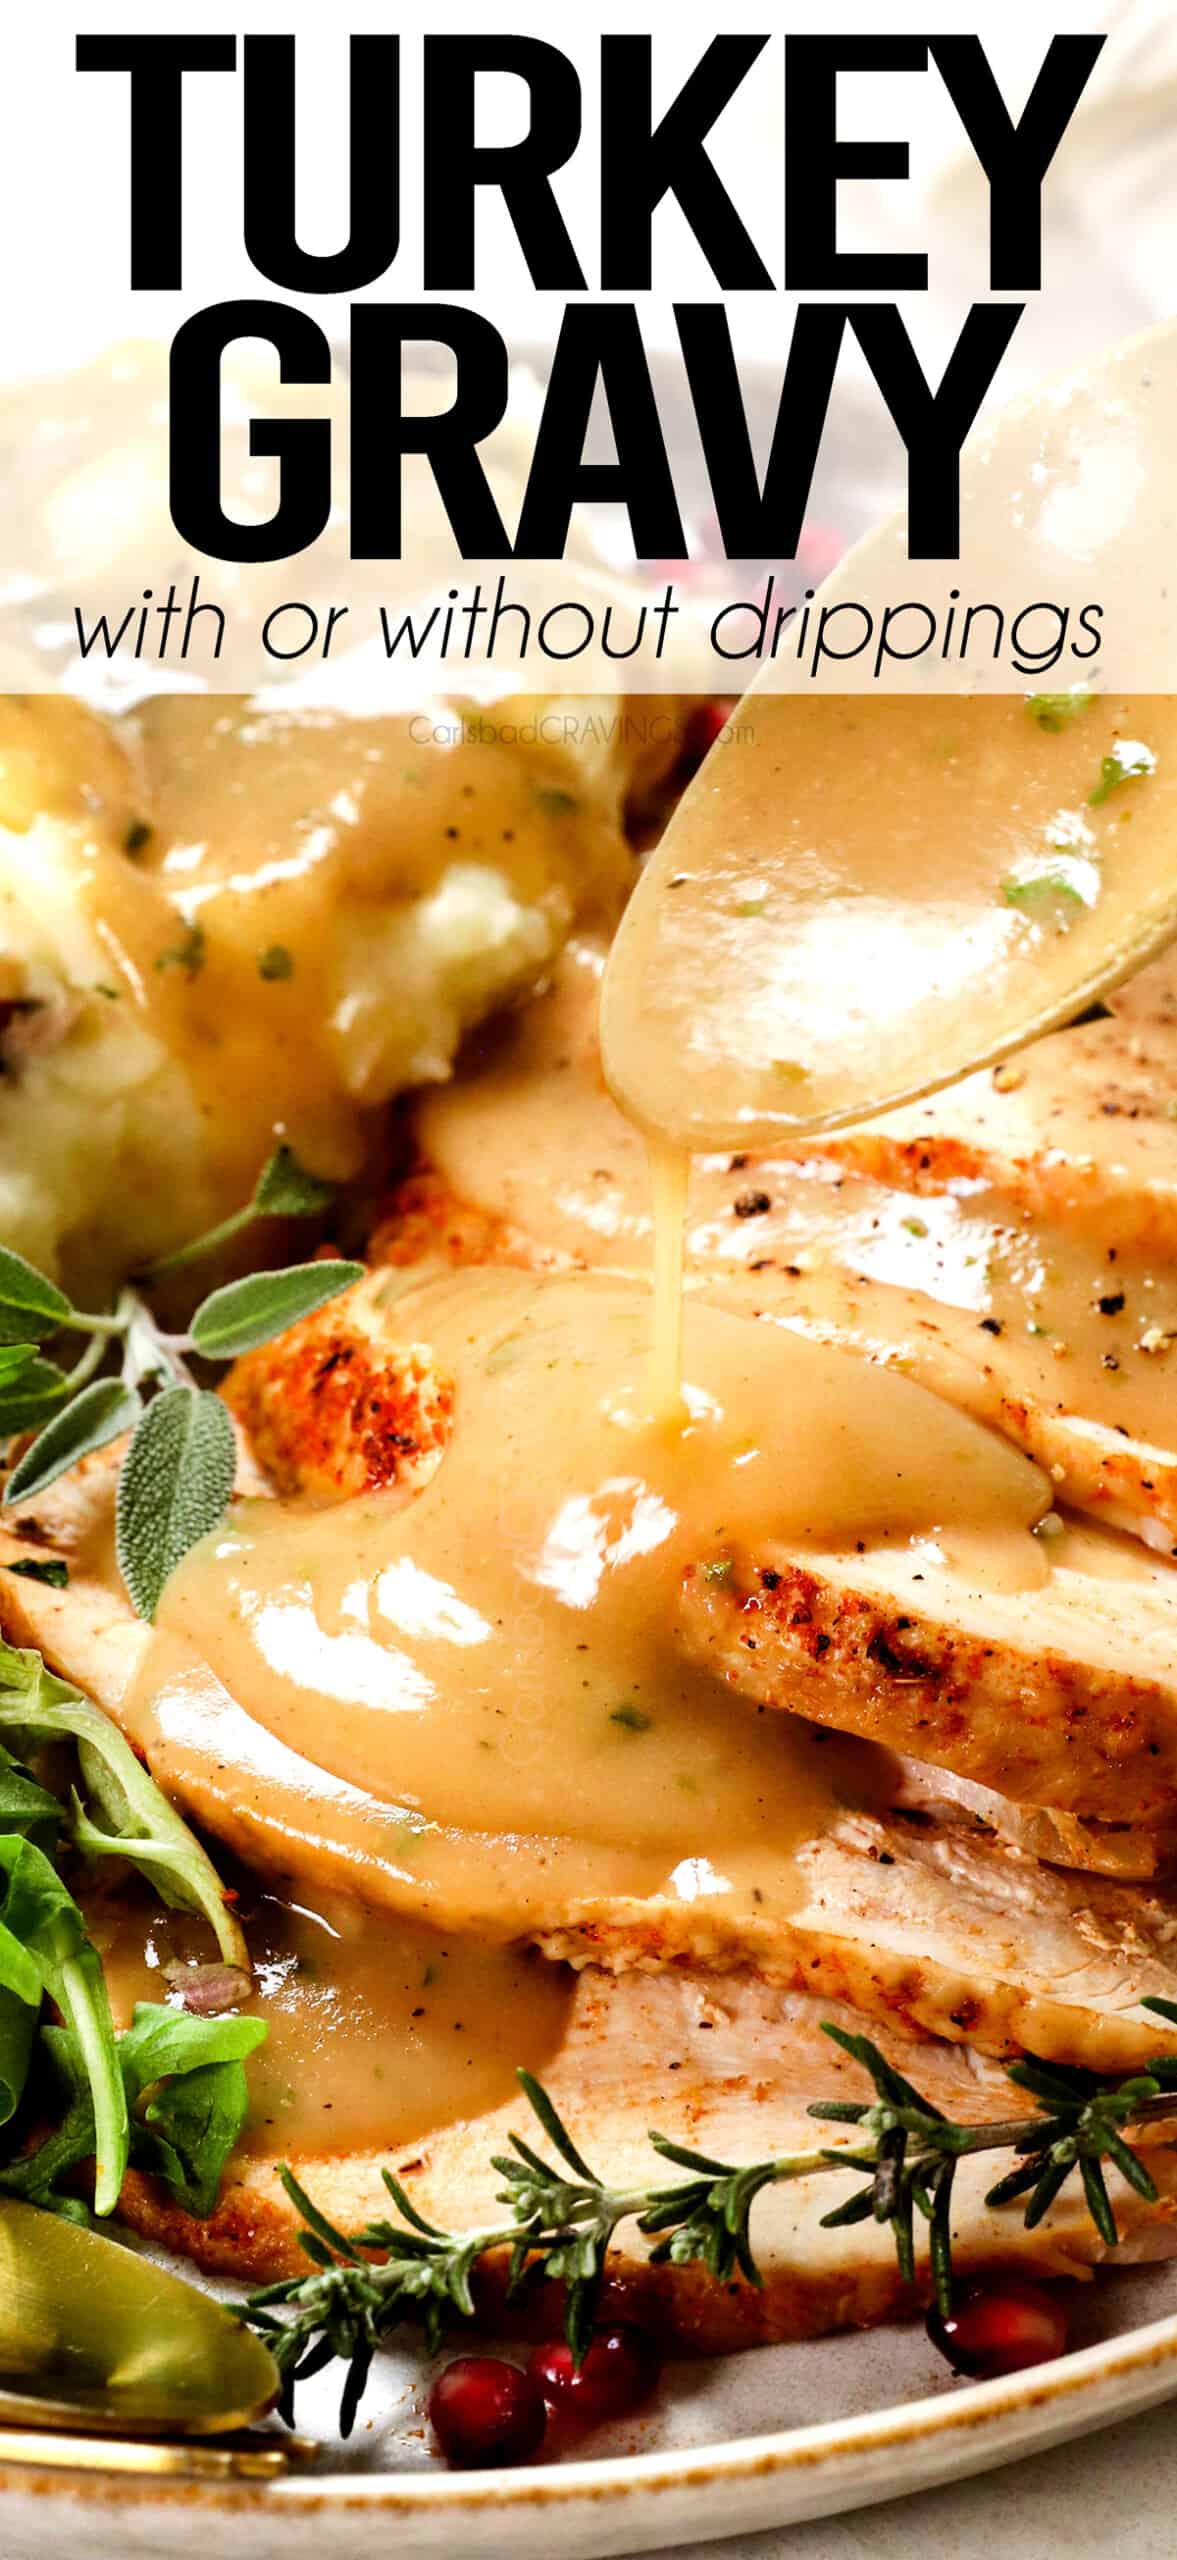
Learning how to make turkey gravy that tastes this good is a culinary skill you’ll use on repeat! This recipe can be whipped up in minutes with OR without drippings and tastes 1000X better than the packaged stuff thanks to my secret ingredient, tips and tricks! This homemade turkey gravy is luxuriously smooth, savory, garlicky, can be scaled up or down and I’ll teach you how to degrease without any special equipment – no greasy, separating gravy here! 😉
Watch How to Make Turkey Gravy

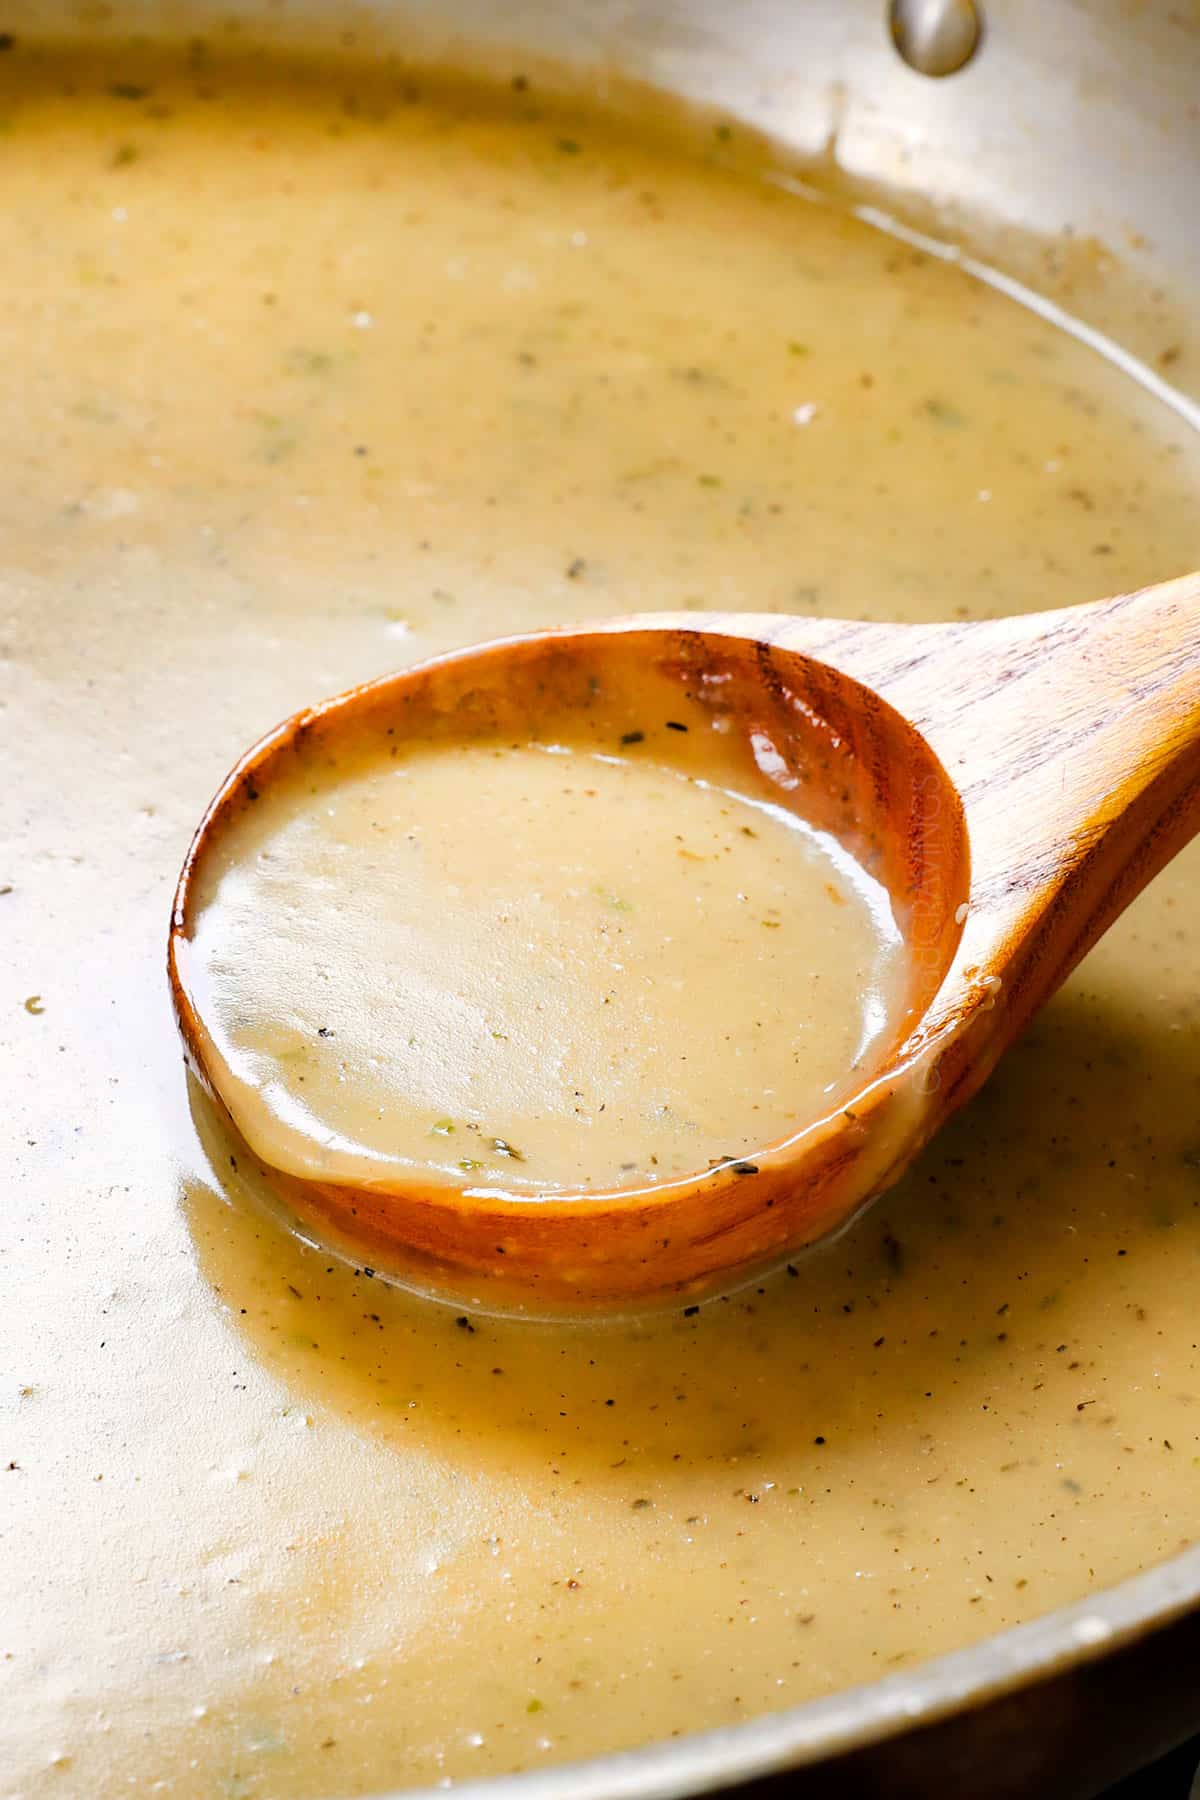
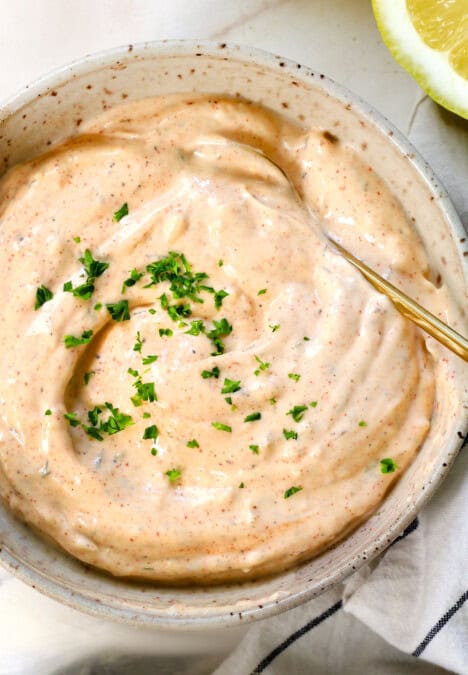
This Homemade Turkey Gravy is foolproof!

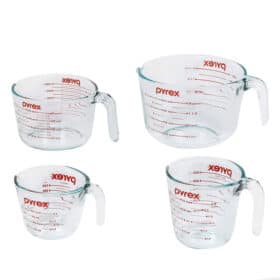
Turkey Gravy Recipe ingredients
This homemade turkey gravy is made with a handful of pantry friendly ingredients. Let’s take a closer look at what you’ll need (full recipe in the printable recipe card at the bottom of the post):

What are Turkey drippings?
Turkey gravy, (as well as chicken gravy and beef gravy) traditionally start with drippings. Drippings are what’s left in the bottom of the roasting pan after you’re done roasting the turkey – all of the turkey bits, fat, herbs and spices that have melted off of the turkey. The drippings boast concentrated flavor which translate into incredible gravy, so never toss your drippings! You can even freeze the drippings for later.
Can I make gravy without Turkey drippings?
Yes, that is where this turkey gravy recipe comes in! To replicate the flavor of drippings, chicken bouillon, herbs and seasonings are added to the gravy. Chicken bouillon is created by blending ingredients such as roasted chicken meat, vegetables (including onions, celery and carrots), and various seasonings, spices and herbs. It’s all the flavor without all the work and makes your gravy taste like it’s come from a roasted turkey!

Turkey Gravy from Drippings substitutions and variations
What can I add to turkey gravy for more flavor?
If your homemade turkey gravy tastes bland, try seasoning with the following:
-Chicken Bouillon: Instead of using salt, I recommend seasoning with chicken bouillon ¼ teaspoon at a time. Chicken bouillon is salt with herbs, aromatics and seasonings.
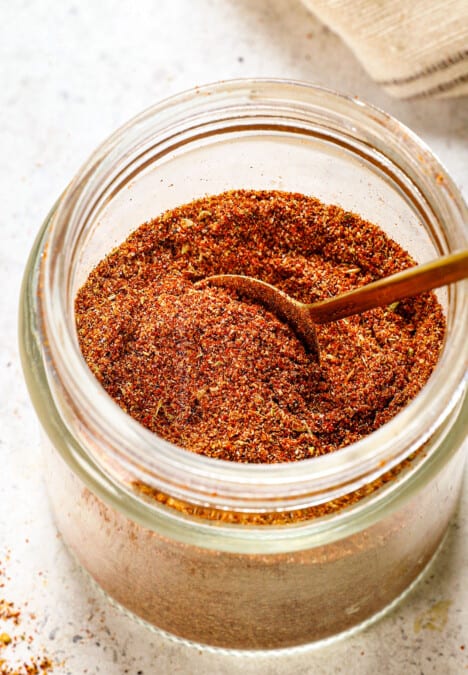
-Herbs and Aromatics: If your gravy needs more depth, season with pinches of parsley, rosemary, ground sage, garlic powder and/or onion powder.
-Umami-Rich Ingredients: For savory complexity, try adding soy sauce or Worcestershire sauce ½ teaspoon at a time.

How to make Turkey Gravy
While your roasted turkey is resting, it’s the perfect time to make your gravy – the icing on the “cake!” This homemade turkey gravy starts with the turkey drippings but if you don’t have drippings, you’ll be blown away at how humble, everyday ingredients transform into a mesmerizing turkey gravy without drippings! Let’s take a closer look at how to make both (full recipe in the printable recipe card at the bottom of the post):
How to make Gravy from Turkey Drippings
Homemade Turkey Gravy without Drippings

Make Ahead Turkey Gravy
To make the gravy ahead, you won’t have the turkey drippings, so use the recipe for turkey gravy without drippings instead, substituting the drippings for low sodium chicken broth. Store in the refrigerator for up to 4 days. The gravy will thicken significantly and need to be thinned with broth as it’s heated over low.

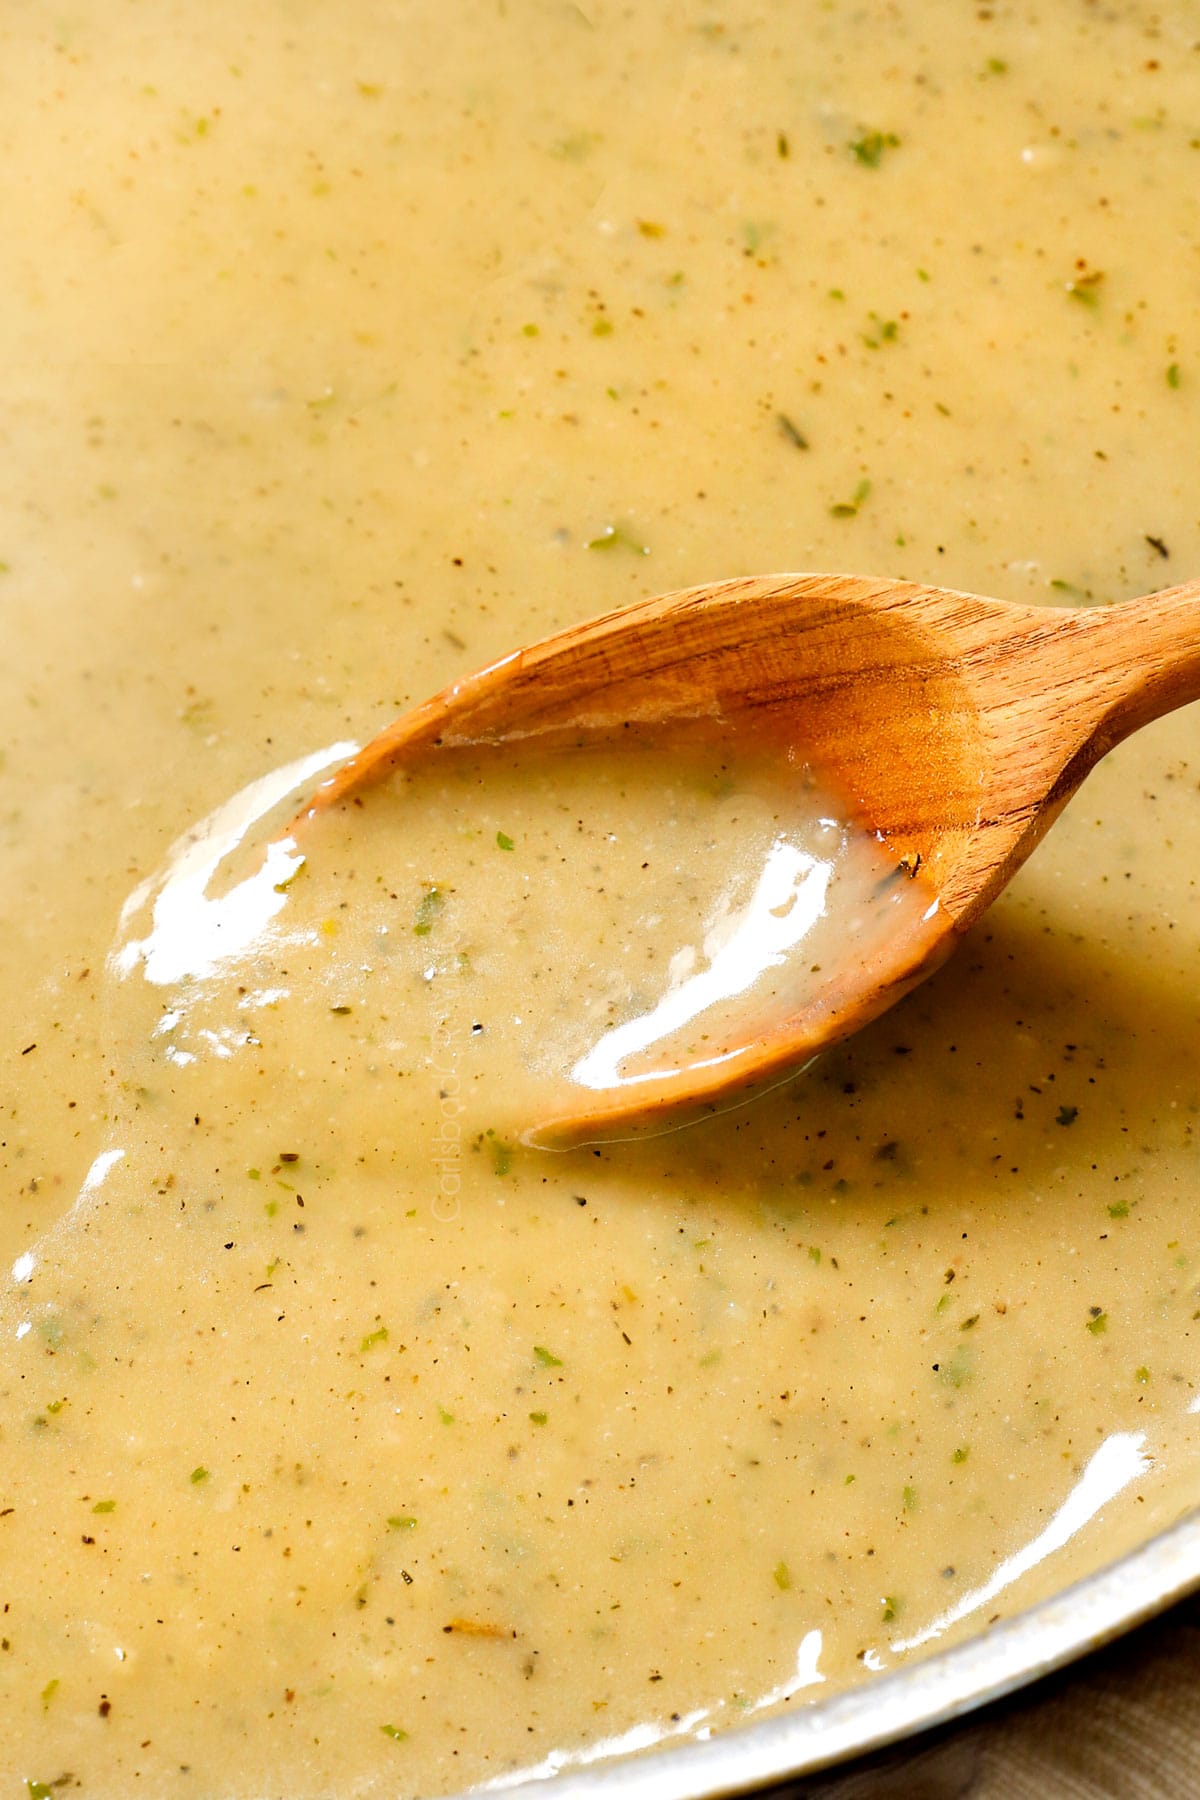
How do You thicken turkey gravy?
Continue to simmer the gravy until it thickens to your desired consistency, taking into consideration that it will thicken after you remove it from heat. If your gravy is too thin after simmering for 20 minutes and being taking off heat, make a cornstarch slurry by whisking 1 teaspoon of cornstarch with 1 tablespoon broth or water until completely dissolved then whisking it into the gravy. Bring the gravy to a simmer until thickened. Repeat if needed.
How do You thin turkey gravy?
Thin the gravy by whisking in additional water. The gravy will thicken as it slightly cools, so return it to heat and whisk in water until smooth and it thins to desired consistency.

Turkey Gravy Recipe tips
Follow these tips and tricks to make the best turkey gravy from drippings or homemade turkey gravy without drippings!
What is the best thickener for turkey gravy?
Continue to simmer the gravy until it thickens to your desired consistency, taking into consideration that it will thicken after you remove it from heat. If your gravy is too thin after simmering for 10 minutes, make a cornstarch slurry by whisking 1 teaspoon of cornstarch with 1 tablespoon of water until completely dissolved, then whisk it into the gravy. Bring the gravy to a simmer until thickened. Repeat if needed.

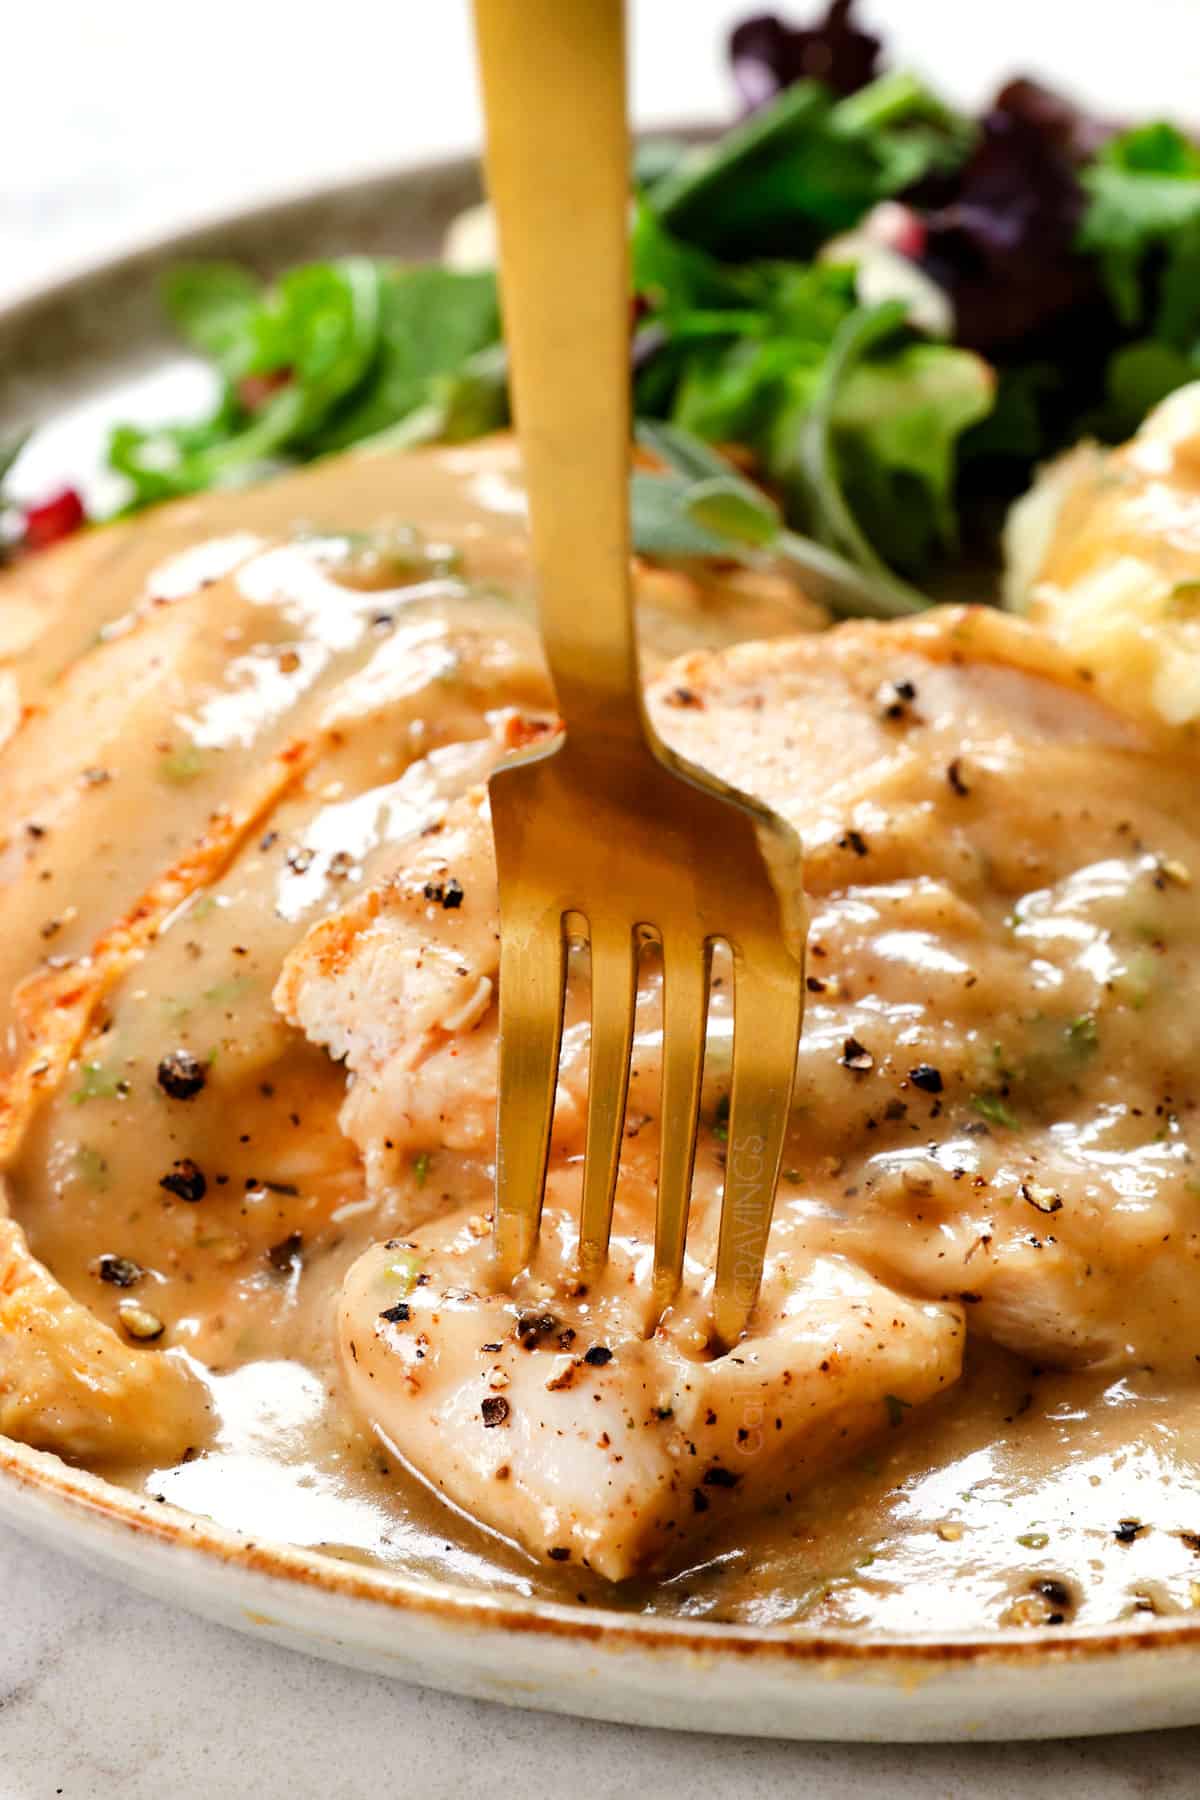
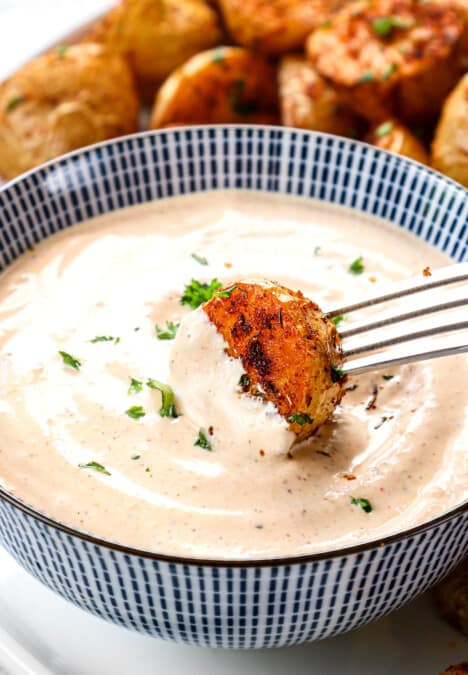
Favorite ways to use Turkey Gravy
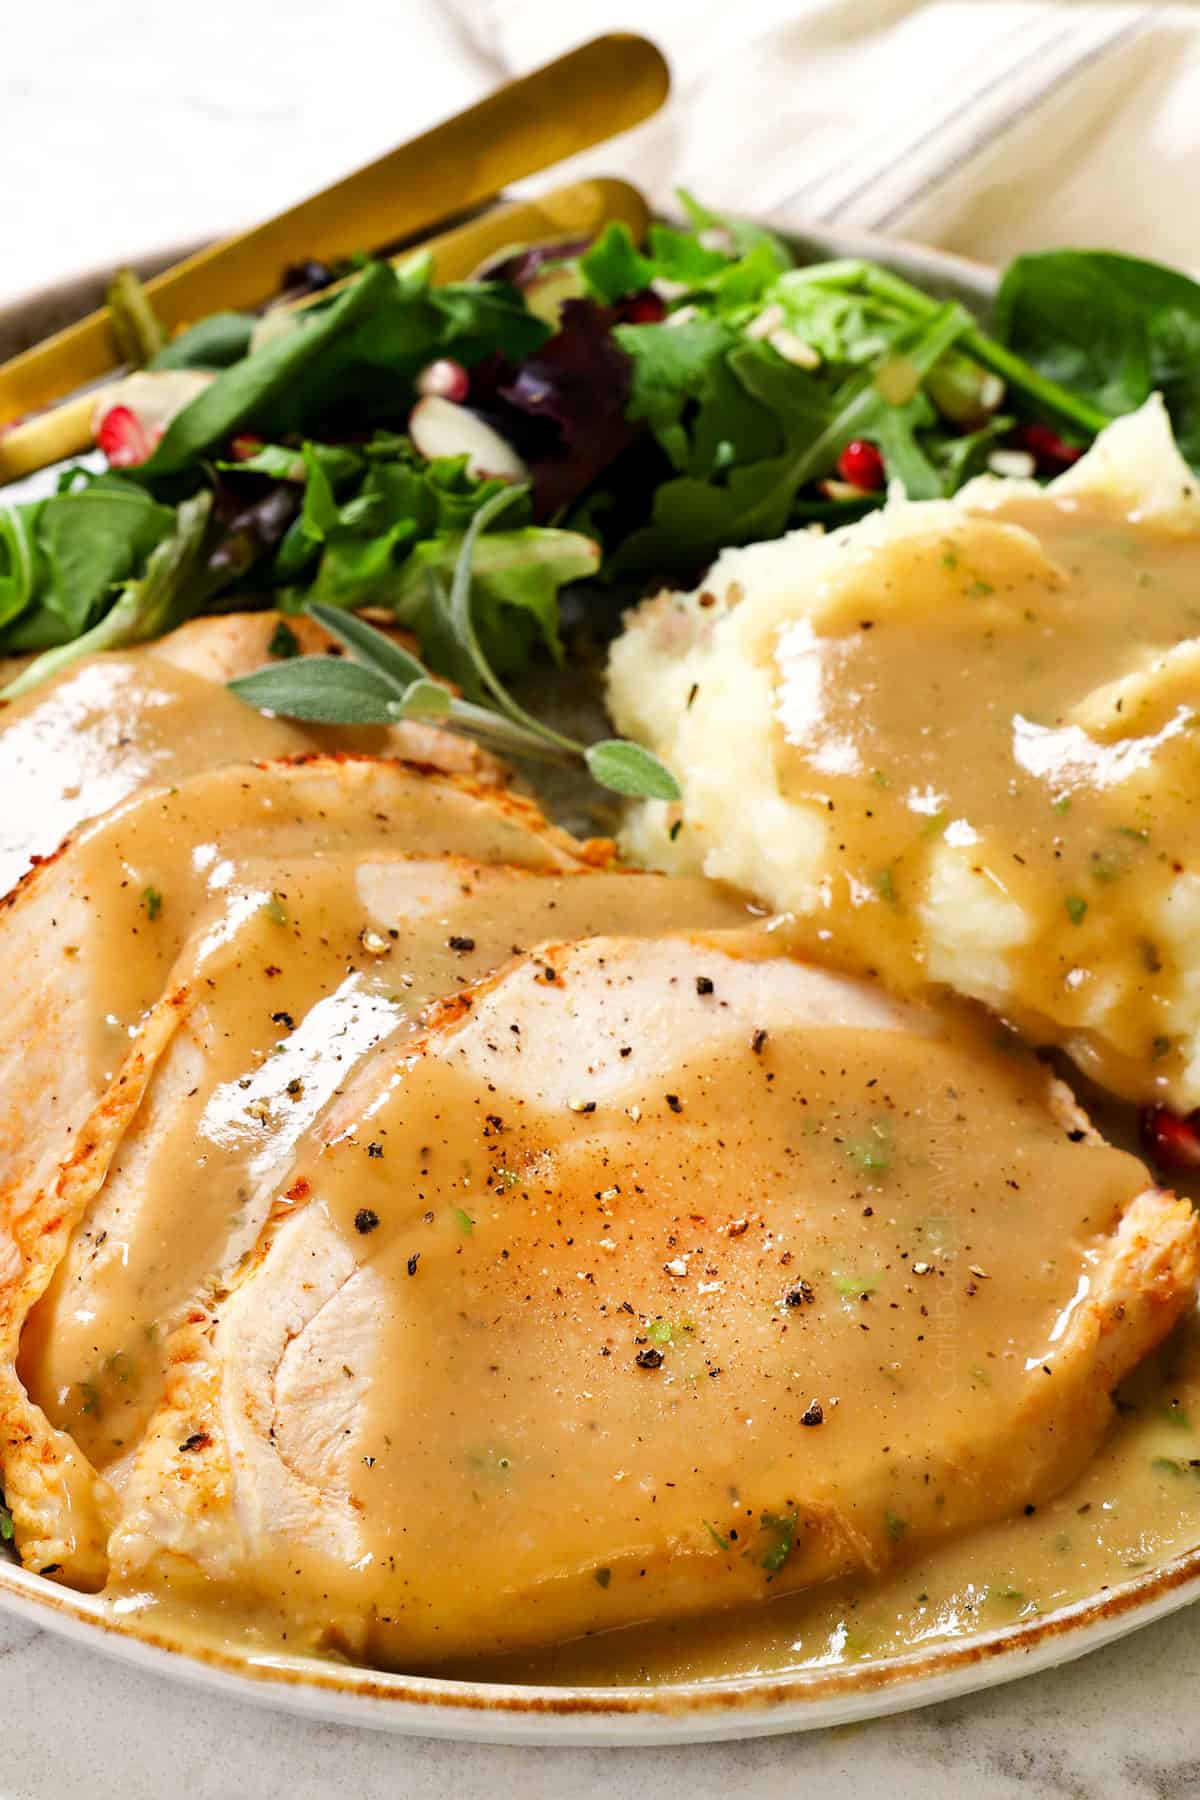
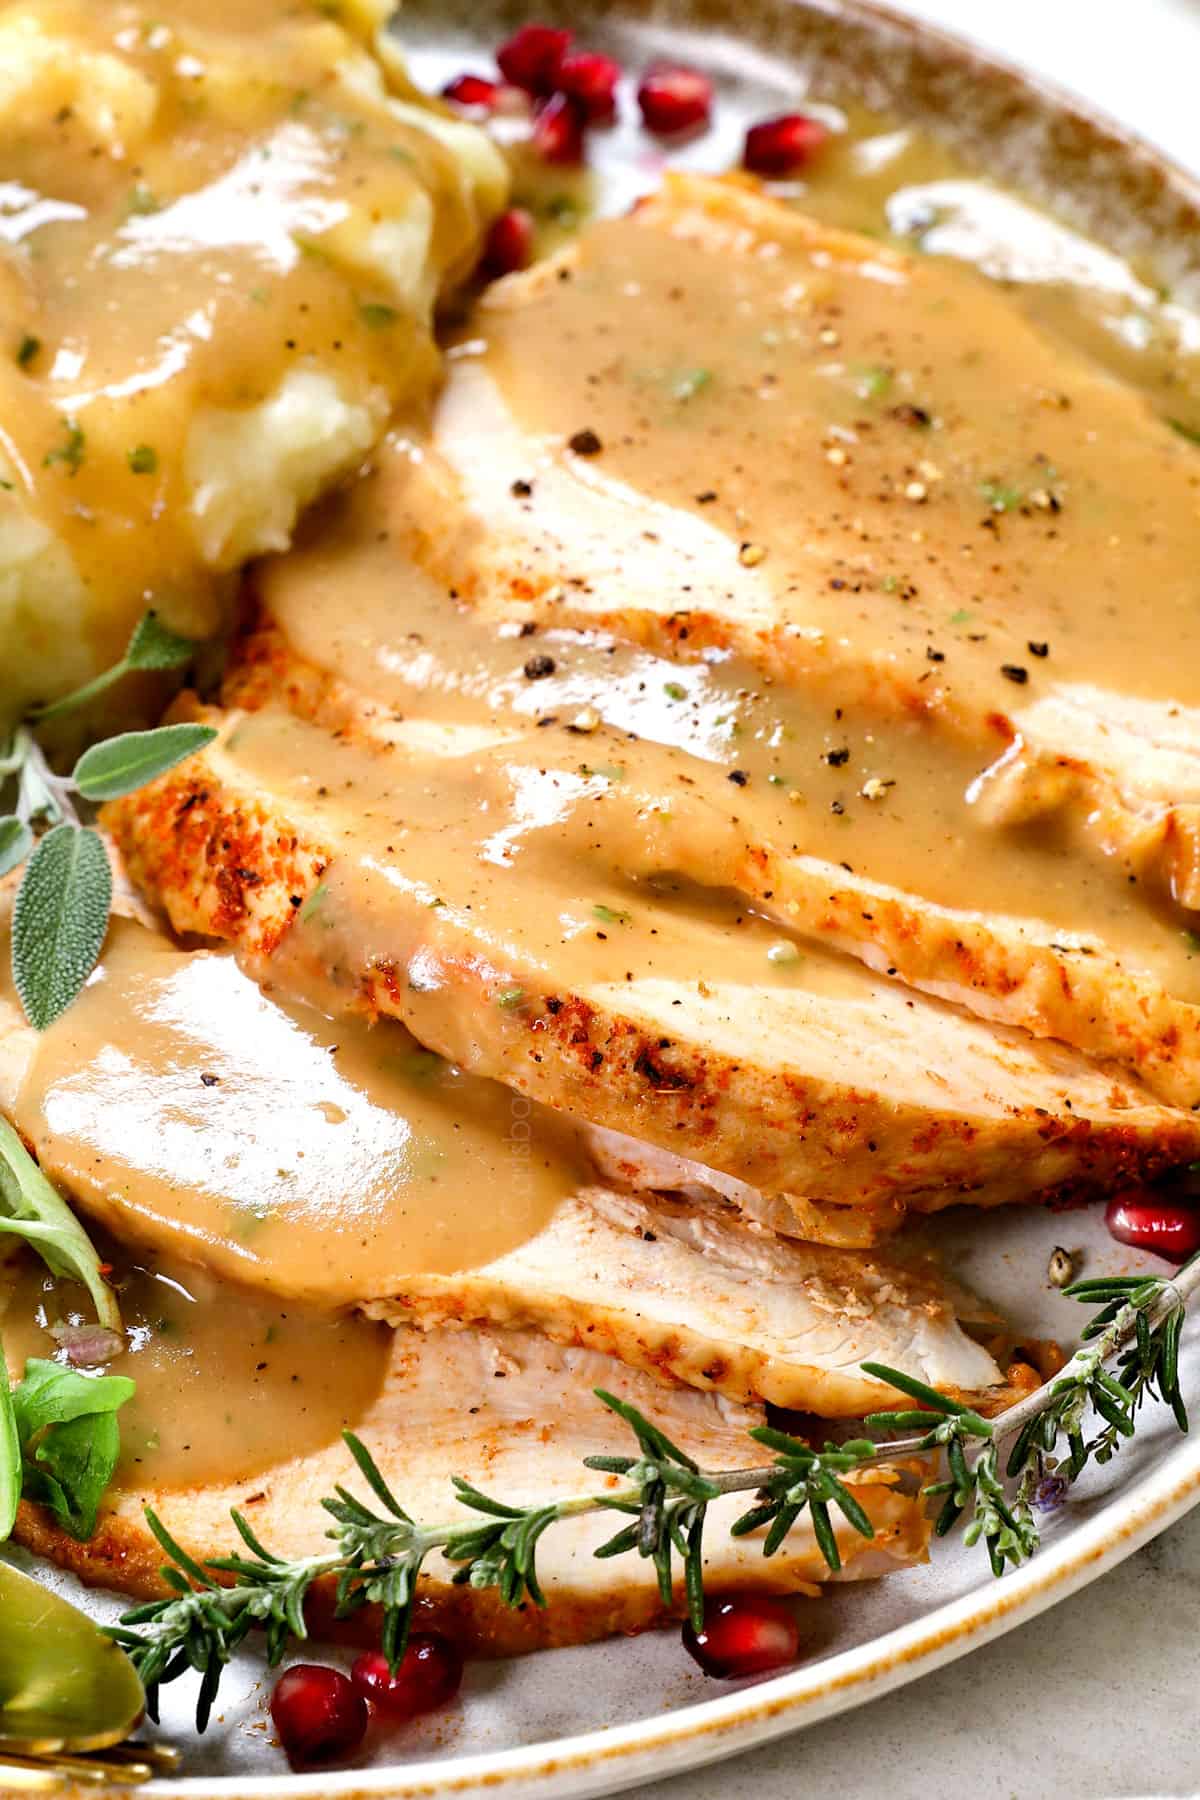
Serve this turkey gravy recipe with your favorite Thanksgiving and Christmas, roasted turkey and mashed potatoes along with all the comforting food sides for a real feast!

Storing Turkey Gravy from Drippings
Transfer leftover gravy to an airtight container and store in the refrigerator for up to 4 days.

How To reheat Homemade Turkey Gravy
Turkey gravy will thicken significantly as it cools and is refrigerated, but will thin once reheated. Gently reheat gravy in a saucepan until warm, adding water as needed to thin to desired consistency, whisking until smooth.
HOW TO freeze Homemade Turkey Gravy
This turkey gravy recipe freezes well because it’s a flour-based gravy rather than a cream-based gravy. Transfer leftovers to an airtight container or smaller freezer bags and squeeze out excess air. Freeze for up to 3 months. When ready to use, thaw completely overnight in the refrigerator. Reheat per above instructions.
How to make Turkey Gravy FAQs
The secret to good turkey gravy is to begin with a quality roast turkey recipe which create the most flavorful drippings. Next, cook the flour a full 4-5 minutes until golden, then slowly whisk the broth into the roux to create a smooth texture. Patience is key to allow the gravy simmer and reduce, creating a more concentrated, complex symphony of savory notes.
Both roux and slurry are common methods for thickening gravies, and the choice between them often depends on personal preference. If you prefer a richer, more flavorful gravy and don’t mind the extra cooking time, go for a roux. If you want a quick and easy thickening method or if you’re cooking for someone with gluten sensitivities, a slurry might be a better choice.
Here’s a brief overview of each method:
Roux:
A roux is a mixture of equal parts fat (usually butter) and flour, cooked together to form a smooth paste. This method adds flavor and depth to the gravy. To make gravy with a roux, you typically melt butter, add flour, and cook the mixture until it reaches the desired color (from blond to dark brown) before gradually whisking in the liquid (broth, stock, or drippings) to create the gravy.
-Pros: Roux provides a richer flavor and can add depth to the gravy. It also helps prevent lumps.
-Cons: It requires additional cooking time, and if not done carefully, the roux can burn, affecting the taste of the gravy.
Slurry:
A slurry is a mixture of a starch (usually cornstarch or arrowroot) and a cold liquid (such as water or broth). This mixture is then added to the hot liquid in the pan, and the gravy thickens as it simmers. Slurries are quick and easy to prepare.
-Pros: Slurries are a quicker thickening method and are less likely to form lumps. They are also gluten-free, making them suitable for those with gluten sensitivities.
-Cons: Slurries may lack the depth of flavor that roux provides, and the texture might be slightly different.
Adding richness to gravy involves incorporating ingredients and techniques that enhance the depth of flavor and texture. Here are some ways to achieve a richer gravy:
1. Use Flavorful Drippings: The drippings are concentrated in flavor and add richness to the gravy. The more flavorful the turkey (thoroughly seasoned), the more flavorful the drippings!
2. Create a Darker Roux: Cook the flour and fat mixture until it reaches a darker color. This deepens the flavor and adds richness to the gravy. Just be cautious not to burn the roux.
3. Incorporate Cream or Butter: For a luxurious touch, add heavy cream or butter to your gravy. This not only contributes richness but also imparts a smooth and velvety texture.
4. Add Umami-Rich Ingredients: Incorporate umami-rich ingredients like soy sauce or Worcestershire sauce for a rich, savory, complexity.
5. Simmer and Reduce: Allow the gravy to simmer and reduce, concentrating the flavors and achieving a thicker, richer consistency.
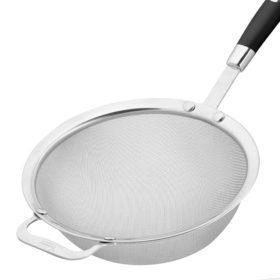
This is the key to lump free gravy is to cook the roux for 4-5 minutes until deeply golden. This melts the flour so it seamlessly blends with the broth without any lumps. Next, take care to gradually whisk in the drippings with a whisk rather than a wooden spoon. Never stop whisking while adding the liquid and bringing to a simmer. If lumps do form, strain the gravy into a fine mesh sieve.

Looking for more Thanksgiving Recipes?
Roast Turkey Breast
Glazed Ham
Roasted Turkey
Honey Baked Ham
Spiral Ham
WANT TO TRY THIS Turkey Gravy RECIPE?
PIN IT to your recipe BOARD TO SAVE FOR LATER!
FIND ME ON PINTEREST FOR MORE GREAT RECIPES! I AM ALWAYS PINNING :)!
©Carlsbad Cravings by CarlsbadCravings.com

Homemade Turkey Gravy from Drippings
Save This Recipe To Your Recipe Box
You can now create an account on our site and save your favorite recipes all in one place!
Ingredients
TURKEY GRAVY WITH DRIPPINGS
- 6 tablespoons unsalted butter
- 1/3 cup + 1 TBS flour
- 4 cups turkey drippings + water as needed (in directions)
- Granulated chicken bouillon, as needed (optional)
- Seasonings as needed
TURKEY GRAVY WITHOUT DRIPPINGS
- 6 tablespoons unsalted butter
- 1/3 cup + 1 TBS flour
- 4 cups reduced sodium chicken broth
- 1 teaspoon chicken bouillon (granulated, crushed cube or base)
- 1 teaspoon dried parsley
- 1/2 teaspoon garlic powder
- 1/4 tsp EACH onion powder, dried thyme, pepper
- 1/8 tsp EACH ground sage, dried minced rosemary
- salt to taste
Instructions
TURKEY GRAVY WITH DRIPPINGS
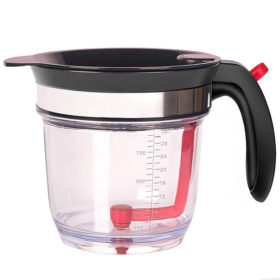
- Strain: Strain the turkey drippings from the roasting pan (solids and liquid) through a fine mesh sieve directly into a fat separator cup to skim off fat when poured OR a large freezer bag. Discard anything caught in the sieve.
- To degrease using a freezer bag: Rest the drippings for a few minutes to allow the fat to separate to the top. Seal bag and hold over a 4+ cup liquid measuring cup so that one bottom corner tip is facing down into the measuring cup like a spout. Make a small cut in this corner with scissors. The bottom liquid will flow through the cut without the fat and into the large measuring cup. Stop when you reach the fat or 4 cups.
- Make 4 cups liquid: If needed, add enough water to the drippings in the measuring cup to equal 4 cups.
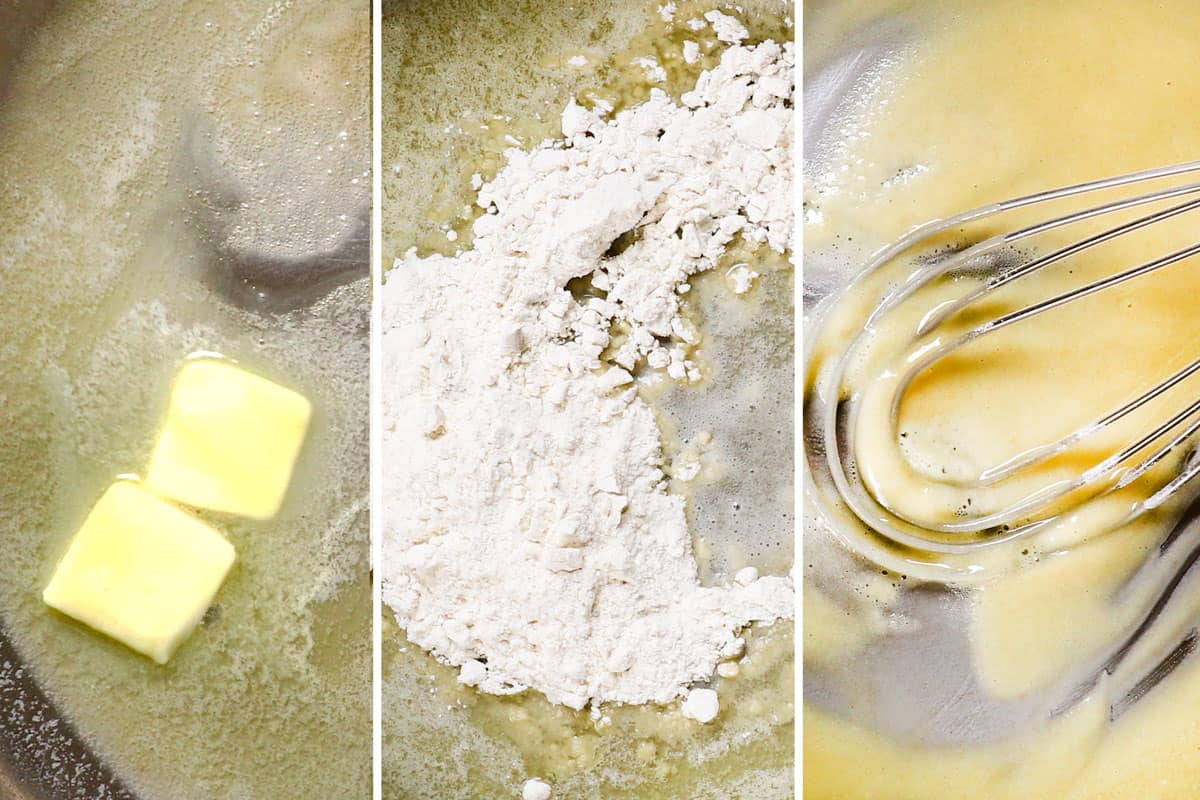
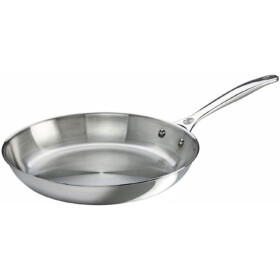
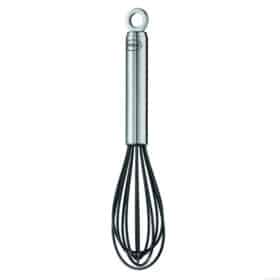
- Make roux: Melt butter in a large saucepan over medium-low heat. Add the flour and cook for 4-5 minutes, whisking constantly until deeply golden (don't shortcut this step, it prevents lumps). Reduce heat to low and slowly whisk drippings into the skillet. Whisk until no lumps remain.
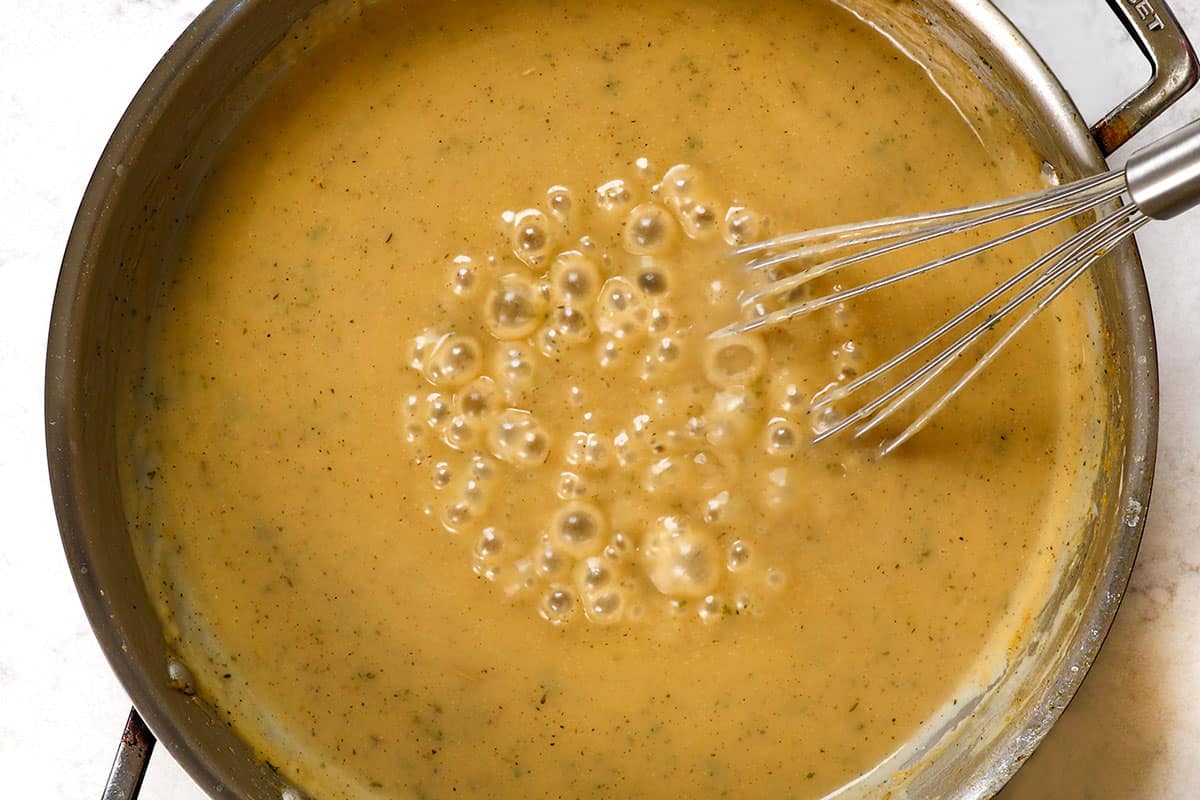
- Simmer: While whisking constantly, bring to a simmer. Continue to simmer until thickened to desired consistency, about 6-8 minutes. Keep in mind, the gravy will thicken as soon as it’s removed from heat. If the gravy becomes too thick, whisk in water a little at a time.
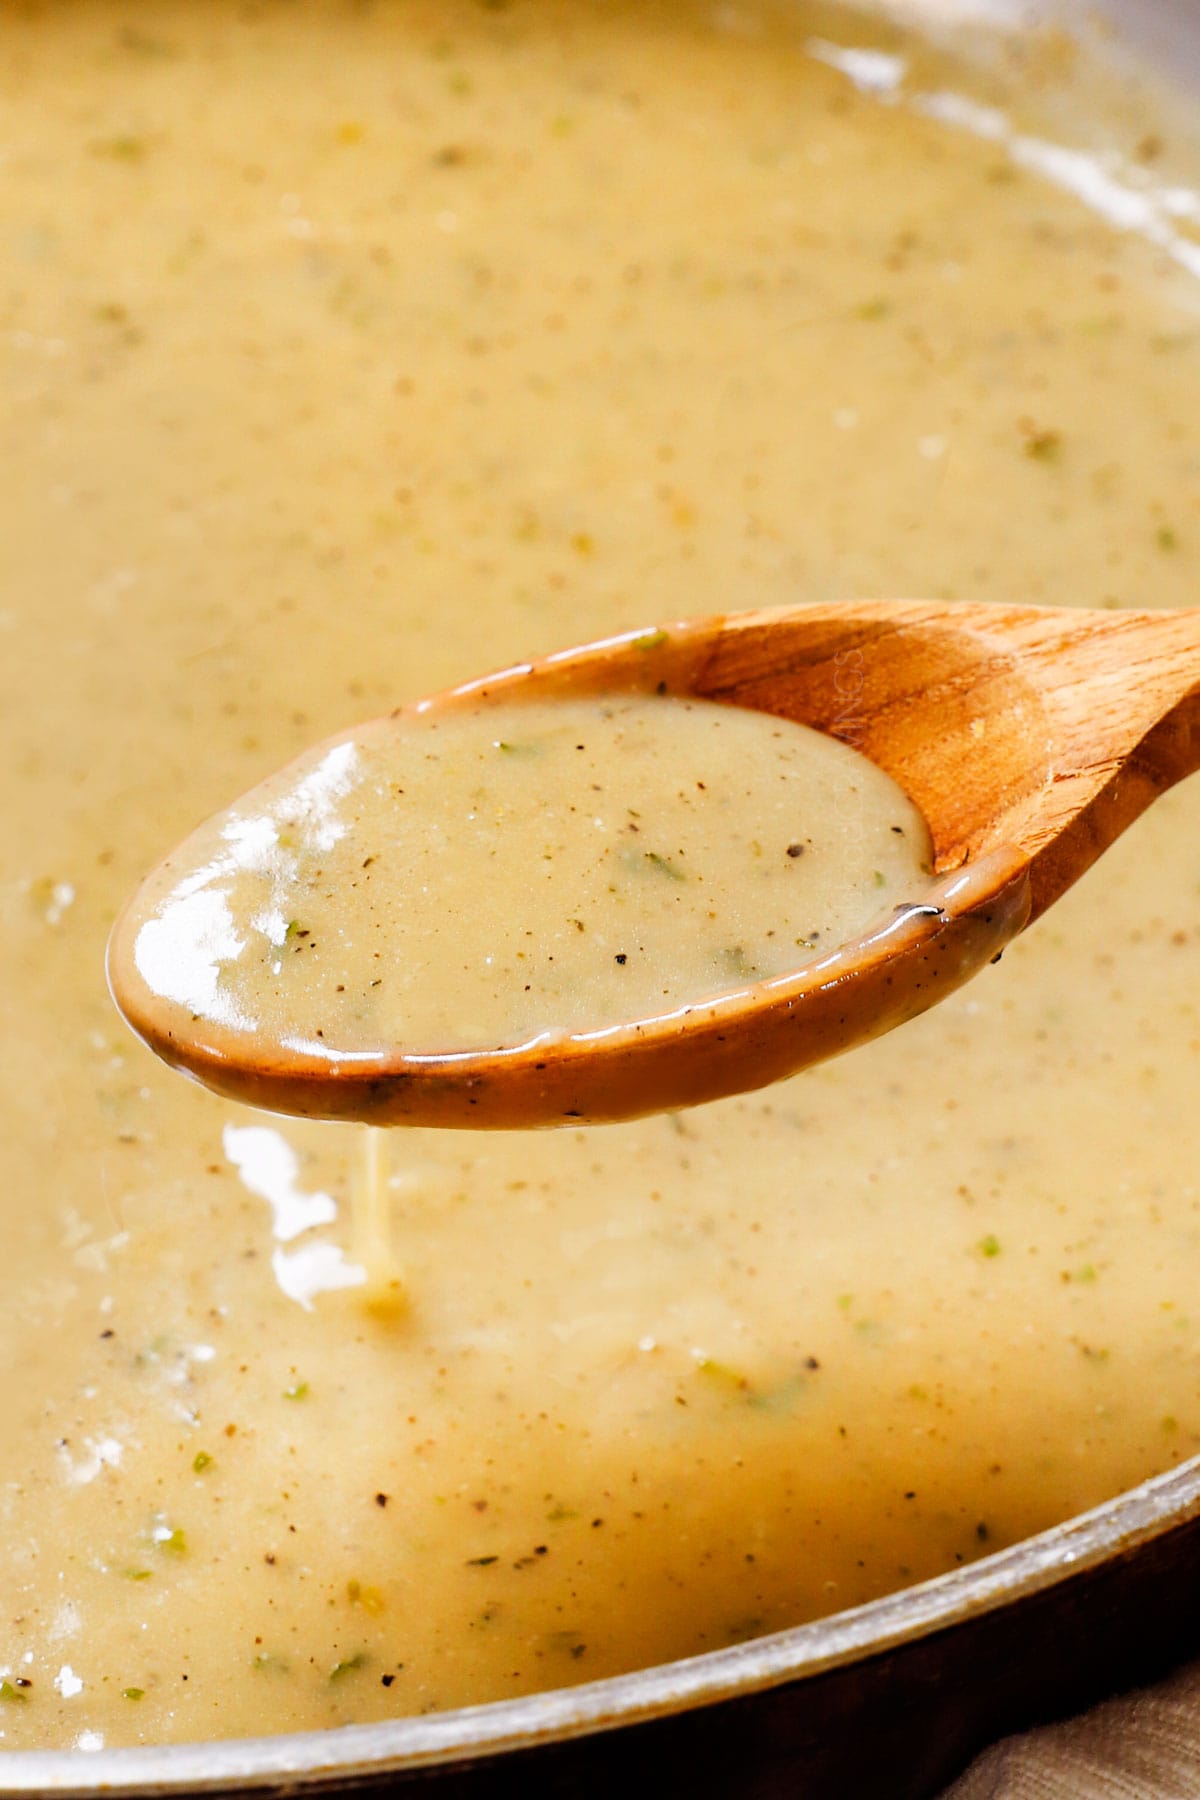
- Salt to taste: The gravy will vary because we are using dripping from different turkey recipes, so the amount of extra seasonings relies on YOU. If the gravy needs more salt, I suggest starting with granulated chicken bouillon, ¼ teaspoon at a time, before salting to taste.
- Season to taste: Taste and add seasonings a pinch at a time if needed. I suggest dried parsley, garlic powder, onion powder, dried thyme, ground sage, dried rosemary and pepper.
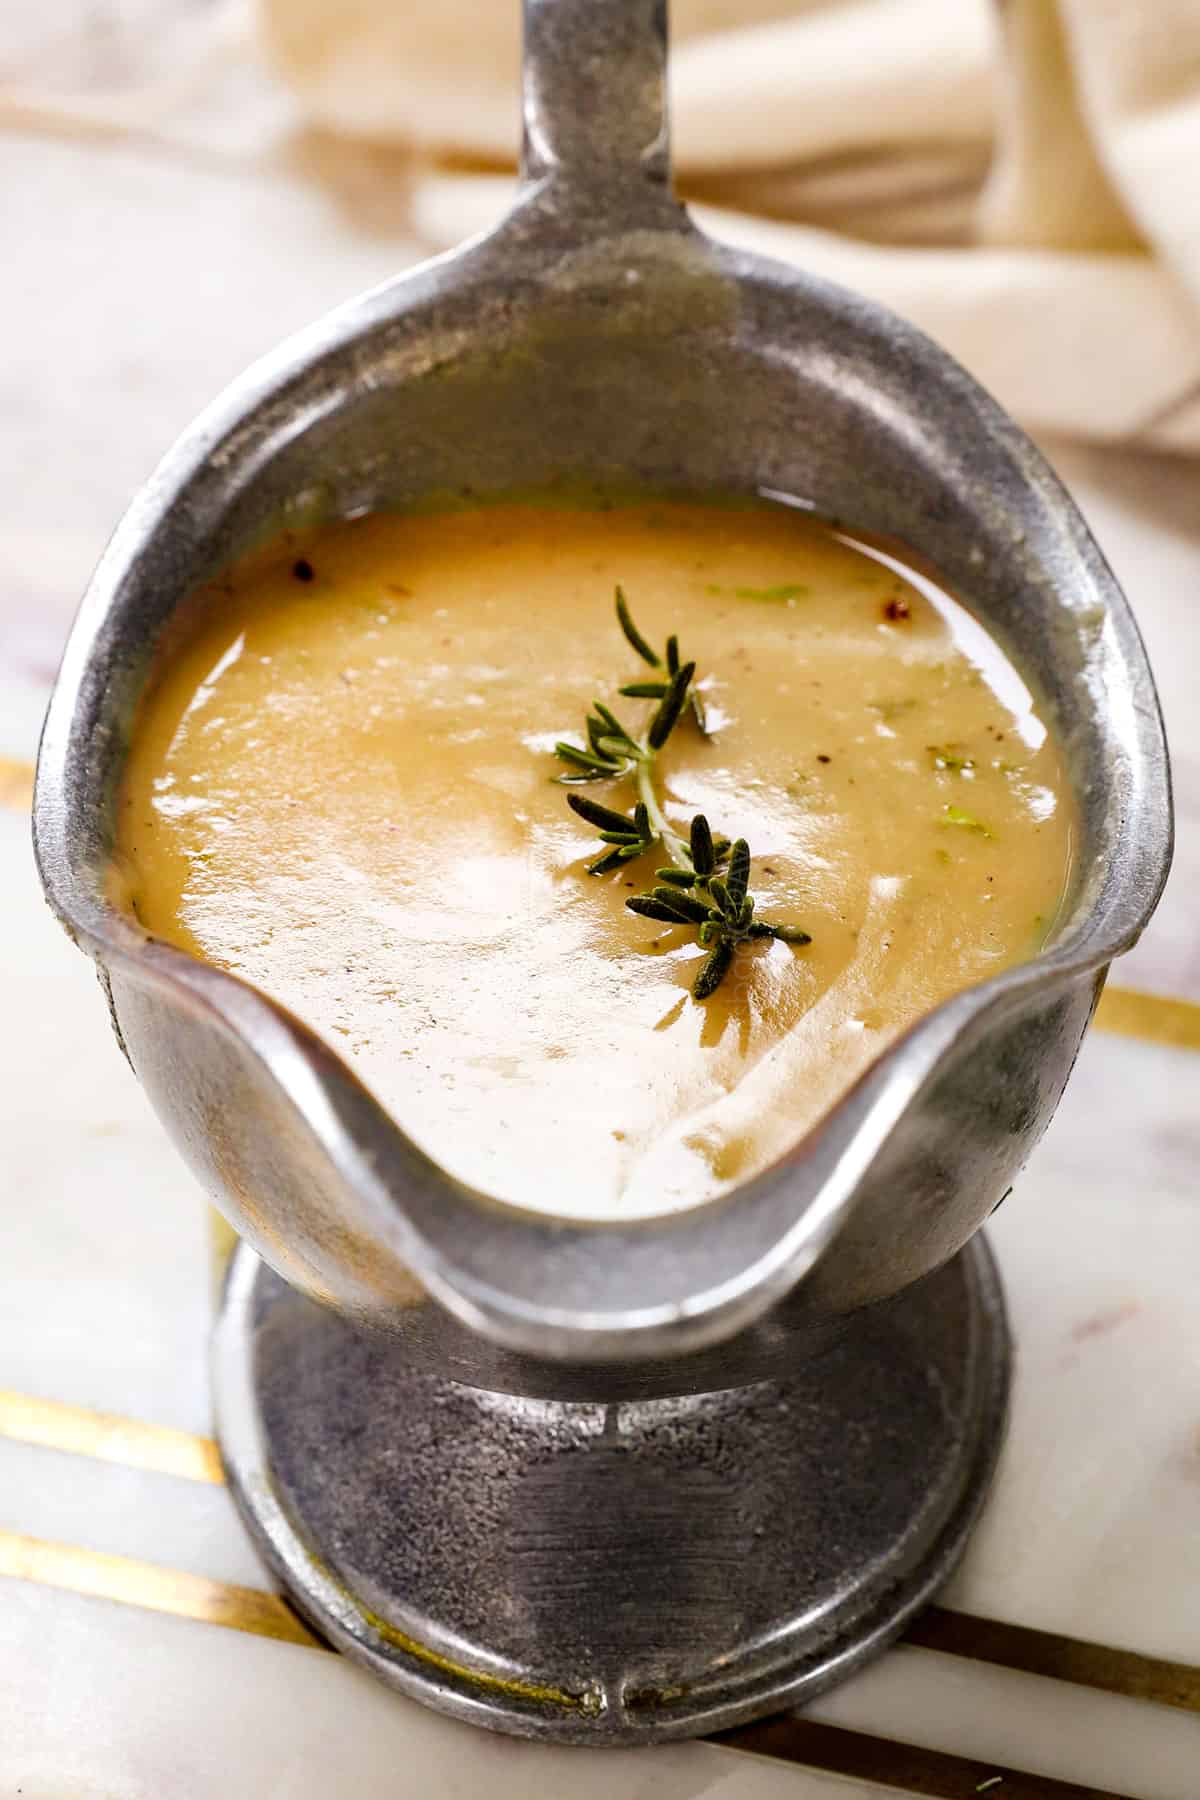
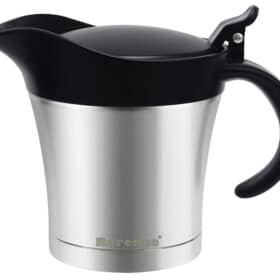
- Keep warm before serving: Gravy is the smoothest when warm and will begin to thicken as it cools. Do your best to time its preparation to coincide with the completion of your turkey. Keep it on low heat, stirring often, until ready to serve. It's best to serve in an insulated gravy jug like this.
- Thin as needed: The gravy will thicken as it cools. To restore, heat over medium-low and whisk in additional water to thin back to desired consistency.
TURKEY GRAVY WITHOUT DRIPPINGS
- Make roux: Melt butter in a large saucepan over medium-low heat. Add the flour and cook for 4-5 minutes, whisking constantly until deeply golden (don't shortcut this step, it prevents lumps). Reduce heat to low and slowly whisk broth into the skillet. Whisk until no lumps remain, then add the chicken bouillon and all seasonings.
- Simmer: While whisking constantly, bring to a simmer. Continue to simmer until thickened to desired consistency, about 6-8 minutes. Keep in mind, the gravy will thicken as soon as it’s removed from heat. If the gravy becomes too thick, whisk in water a little at a time.
- Season: Taste and season with salt and pepper to taste (it will need salt).
- Keep warm before serving: Gravy is the smoothest when warm and will begin to thicken as it cools. Do your best to time its preparation to coincide with the completion of your turkey. Keep it on low heat, stirring often, until ready to serve. It's best to serve in an insulated gravy jug like this.
- Thin as needed: The gravy will thicken as it cools. To restore, heat over medium-low and whisk in additional water to thin back to desired consistency.
Video
Notes
Storage
- To store: Transfer leftover gravy to an airtight container and store in the refrigerator for up to 4 days.
- To freeze: Transfer leftovers to an airtight container or smaller freezer bags and squeeze out excess air. Freeze for up to 3 months. When ready to use, thaw completely overnight in the refrigerator. Reheat per above instructions.
- To reheat: Turkey gravy will thicken significantly as it cools and is refrigerated, but will thin once reheated. Gently reheat gravy in a saucepan until warm, adding water as needed to thin to desired consistency, whisking until smooth.
Want To Make This Recipe?

Did You Make This Recipe?
Tag @CarlsbadCravings and Use #CarlsbadCravngs
Leave a Review, I Always Love Hearing From You!


Kathy says
OMG! Best gravy ever! I learned how to make gravy from my mom MANY years ago…but the last couple of years have not been happy with the results. Luckily your recipe showed up on my feed this week and I’ll never make it any other way again. As an added surprise, I wanted extra gravy so added water and bouillon as instructed. However, I didn’t realize until it was too late that I used TOMATO bouillon instead of chicken. It was fantastic! I may continue that mistake again next time! Thank you for ANOTHER fantastic recipe. You never disappoint!
Jen says
Yay! I’m so glad that the bouillon turned out to be a happy accident! And happy to hear that you found a go-to recipe!
Ann says
Hi Jen, I appreciate the variation you offer for your recipes. I don’t eat gravy or turkey. Hubby is smoking the turkey, so no drippings. For the no dripping gravy, should I stick to your original recipe or is there a variation you love? Thank you!
Jen says
Hi Ann! Smoked turkey sounds divine! Oh I definitely would recommend this recipe – It’s seriously so good! I hope you have a wonderful Thanksgiving feast!