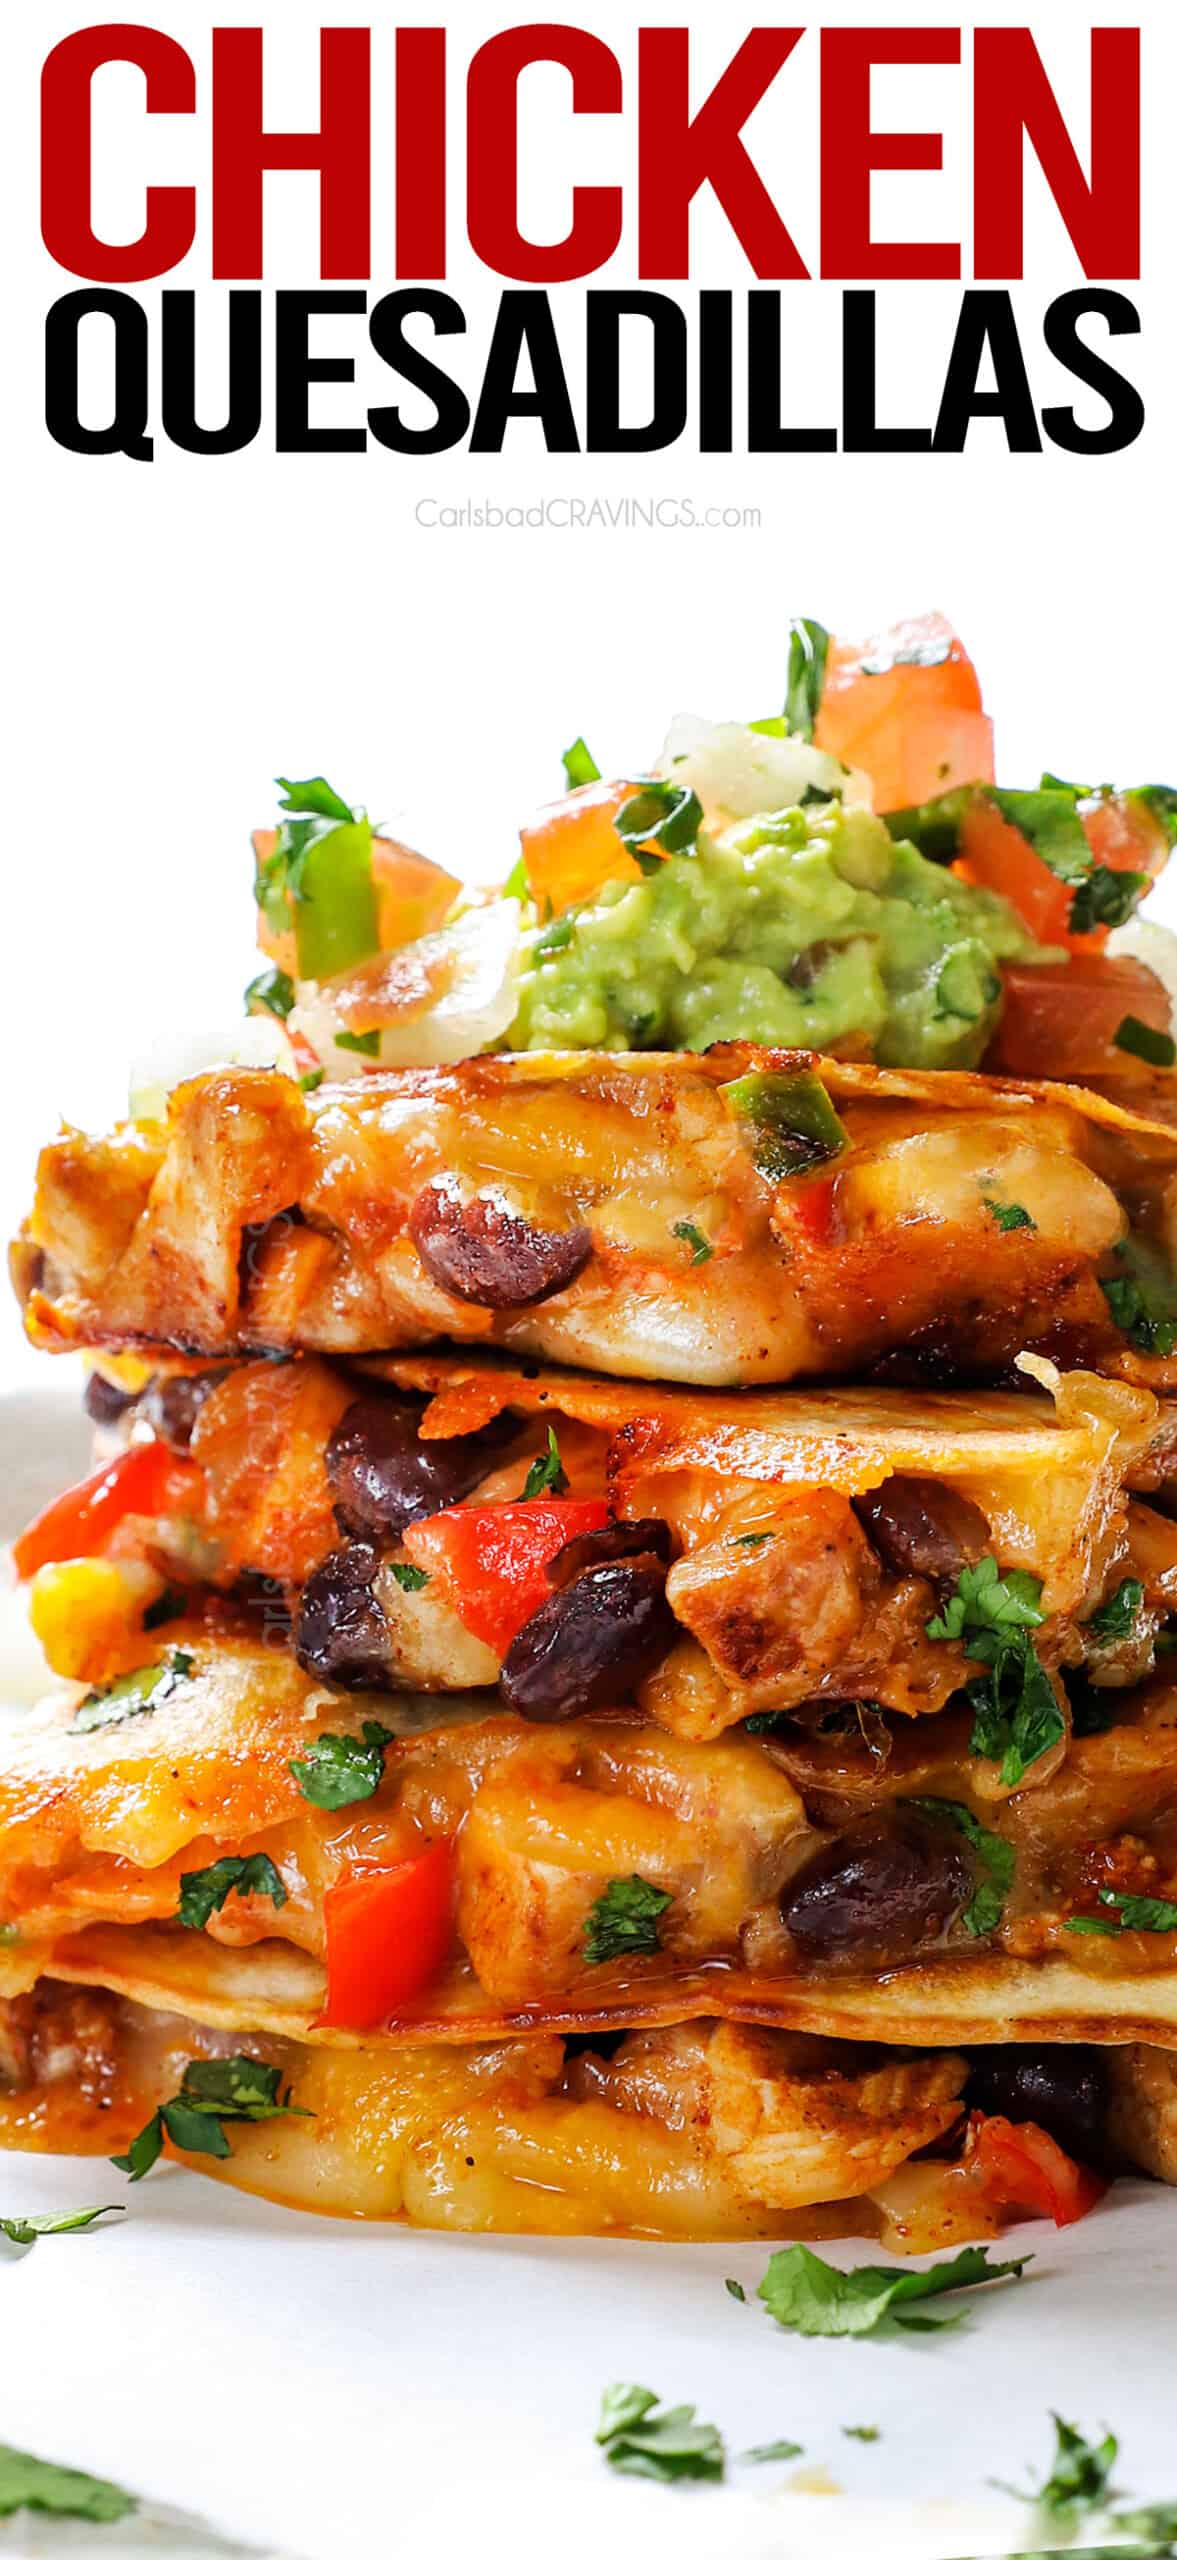
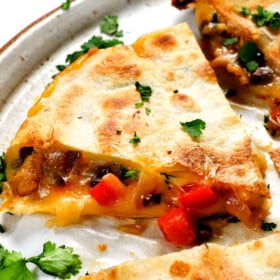
This Chicken Quesadillas recipe is a cheesy, crispy, hearty, satisfying lunch or dinner with a filling that is 100% make ahead friendly!
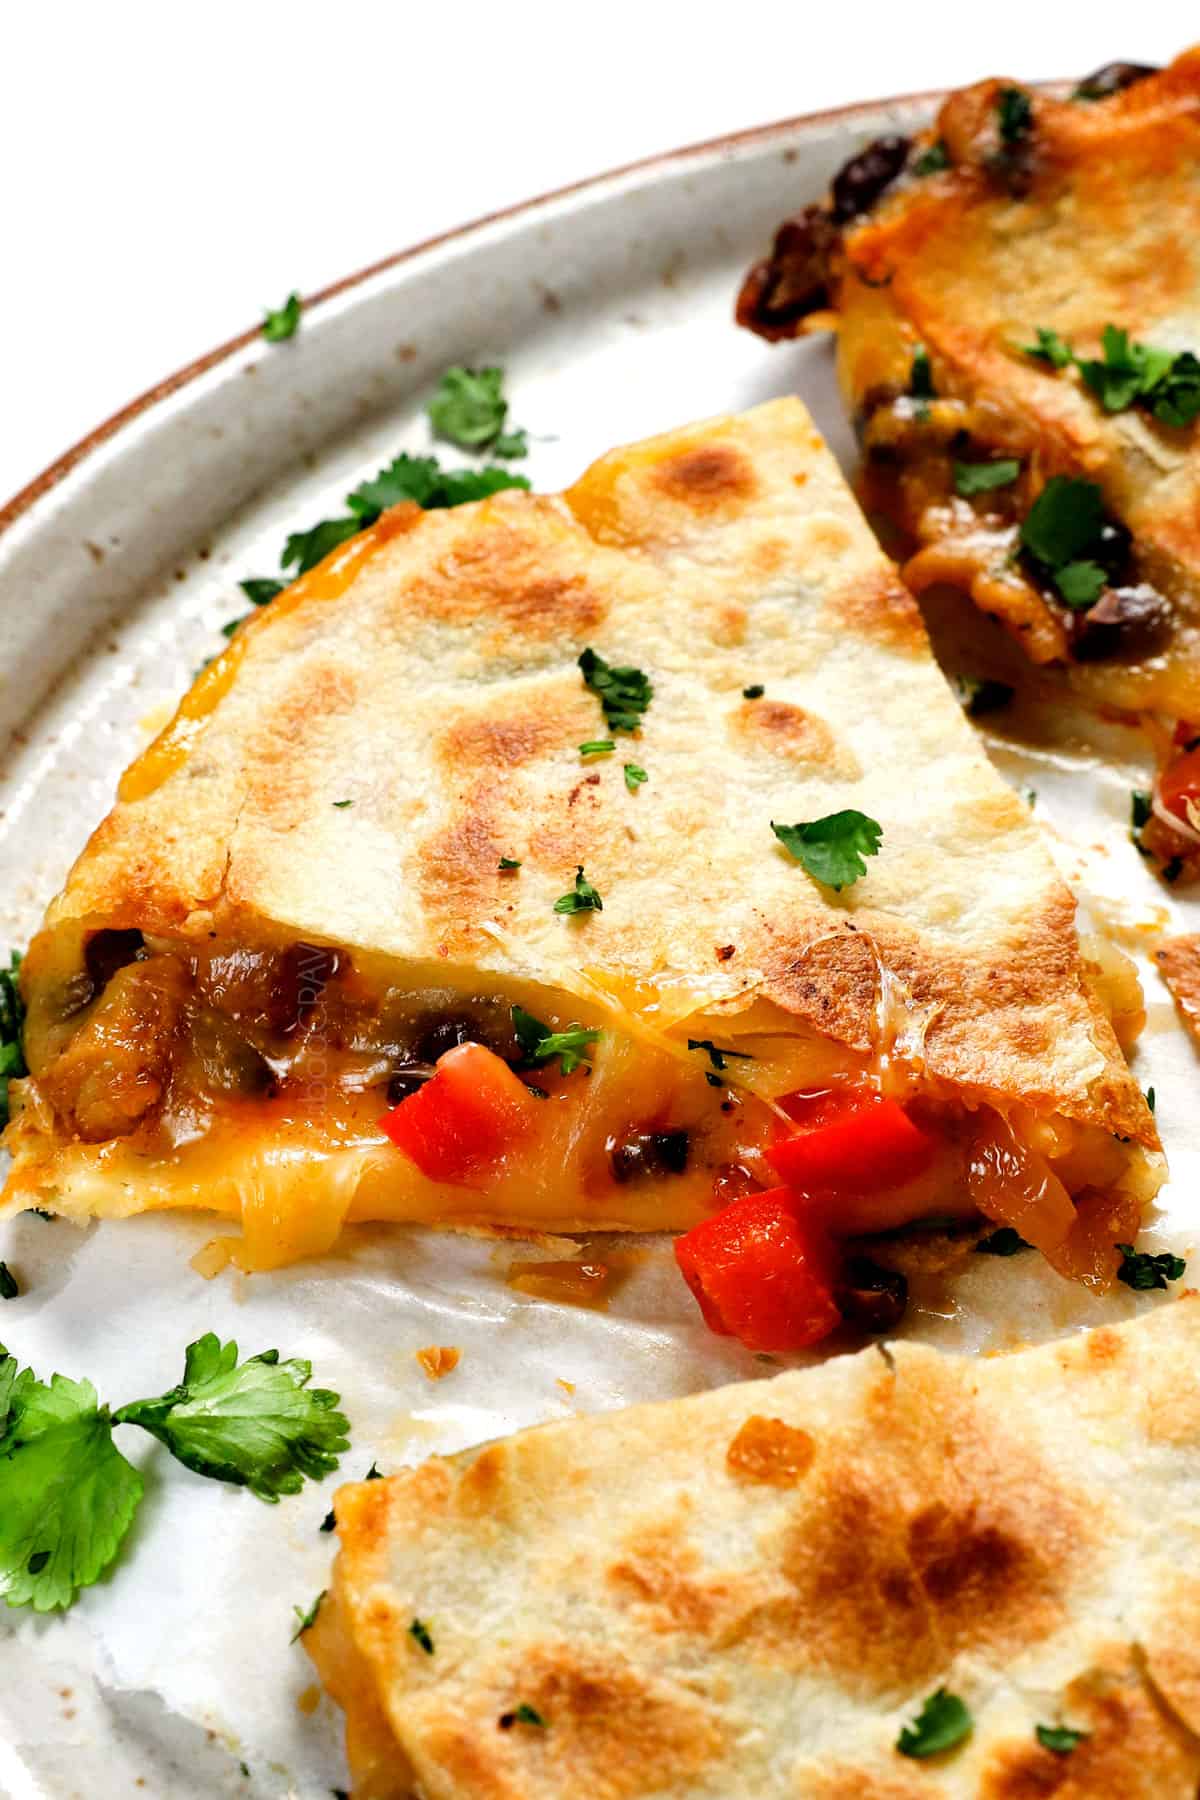
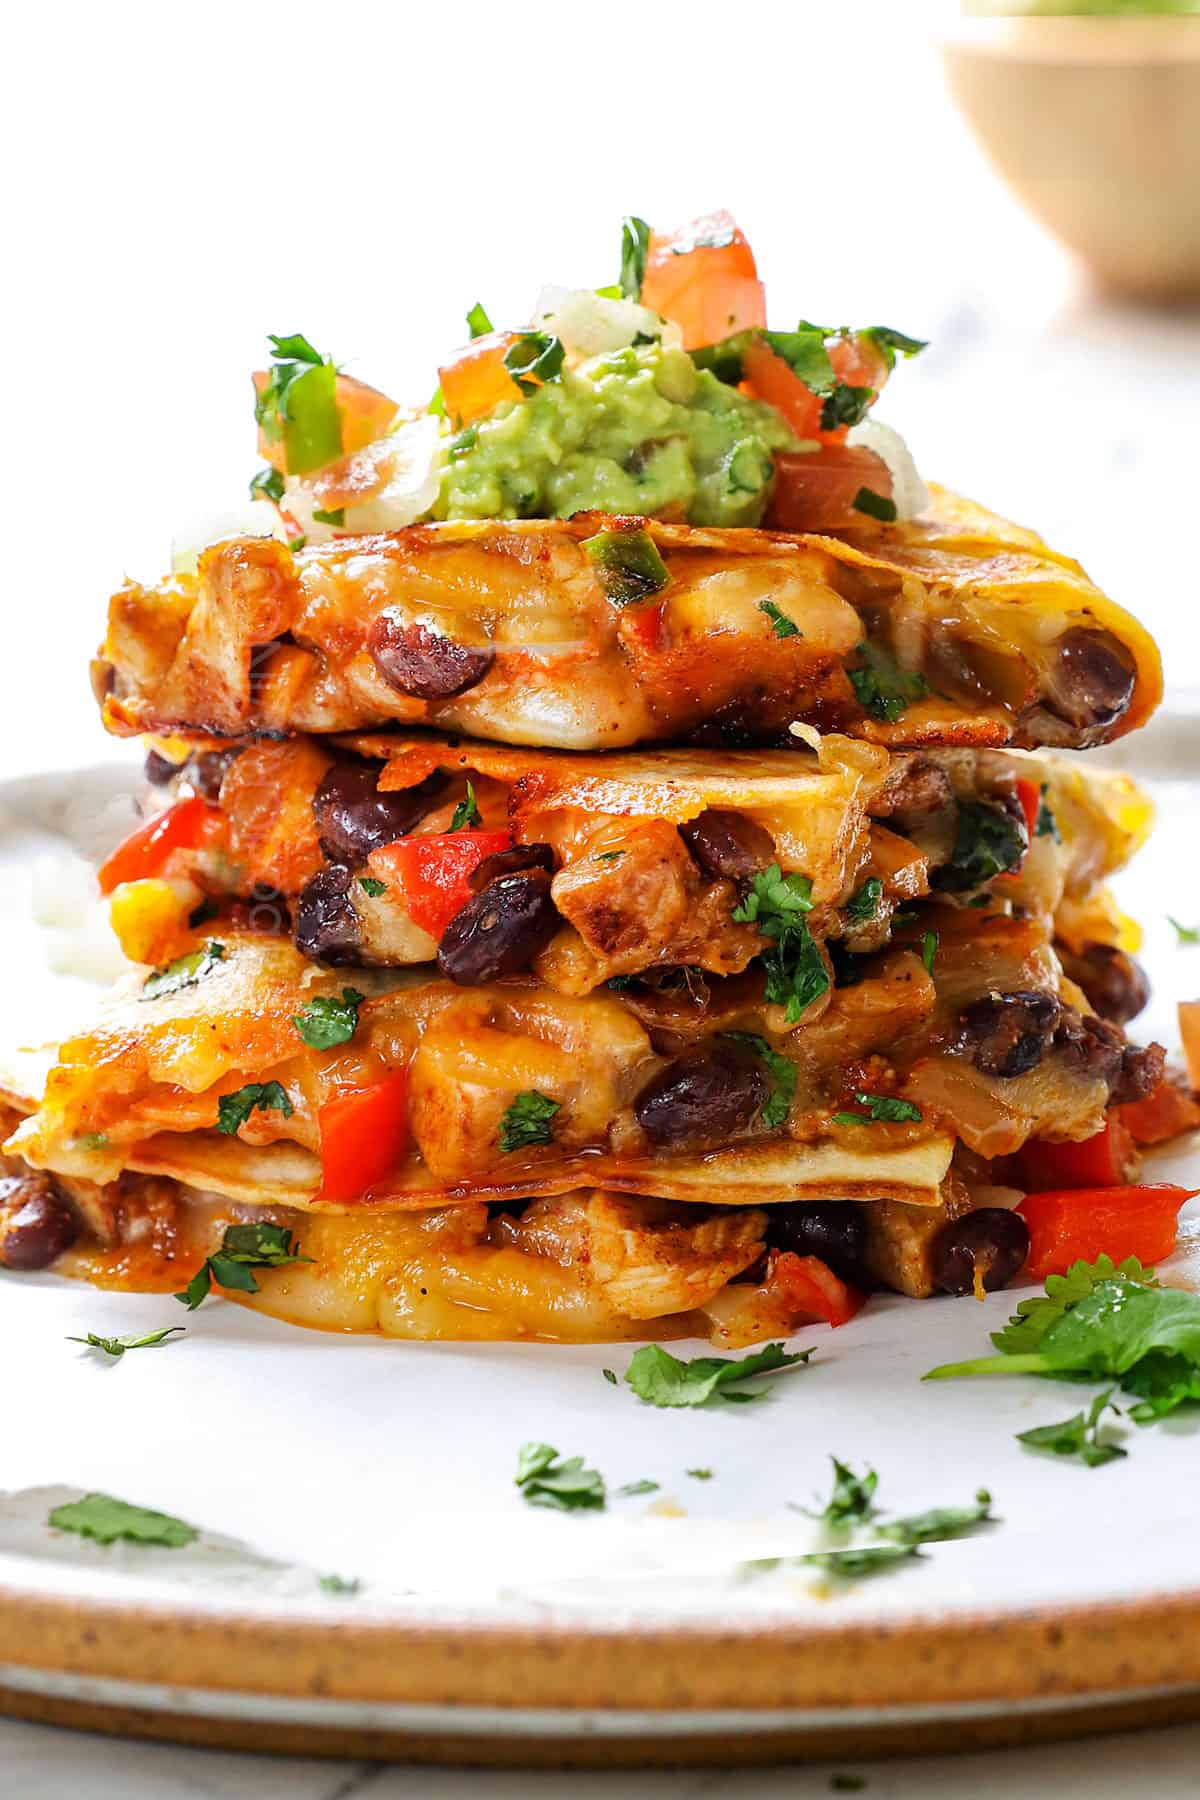
This Chicken Quesadilla recipe is the meal everyone will beg for with its crispy, golden shell giving way to ooey gooey cheese, juicy seasoned chicken, bell peppers, onions, and black beans. Top the handheld heroes with guacamole, sour cream and/or salsa for the ultimate flavor explosion. Best of all, the chicken filling can be prepped 100% ahead of time for a heat-and-eat lunch or dinner, perfect for bustling school nights. I’ve also included many ways to customize your quesadillas with any mixture of chicken and veggies. Serve your quesadillas up with Cilantro Lime Rice and Pina Colada Fruit Salad for a complete meal!
This recipe for Chicken Quesadillas joins other Mexican favorites like Chicken Flautas, Chicken Tacos, Chicken Burritos, Chicken Enchiladas and Chicken Fajitas for must-have fiesta favorites!
HOW TO MAKE THE BEST CHICKEN QUESADILLAS

WHY YOU’LL LOVE THIS CHICKEN QUESADILLA
This isn’t your typical boring chicken quesadilla recipe. The filling includes chicken, cheese, onions, bell peppers, garlic and green chilies. Both the chicken and the vegetables are seasoned with a homemade spice blend that will knock your socks off!
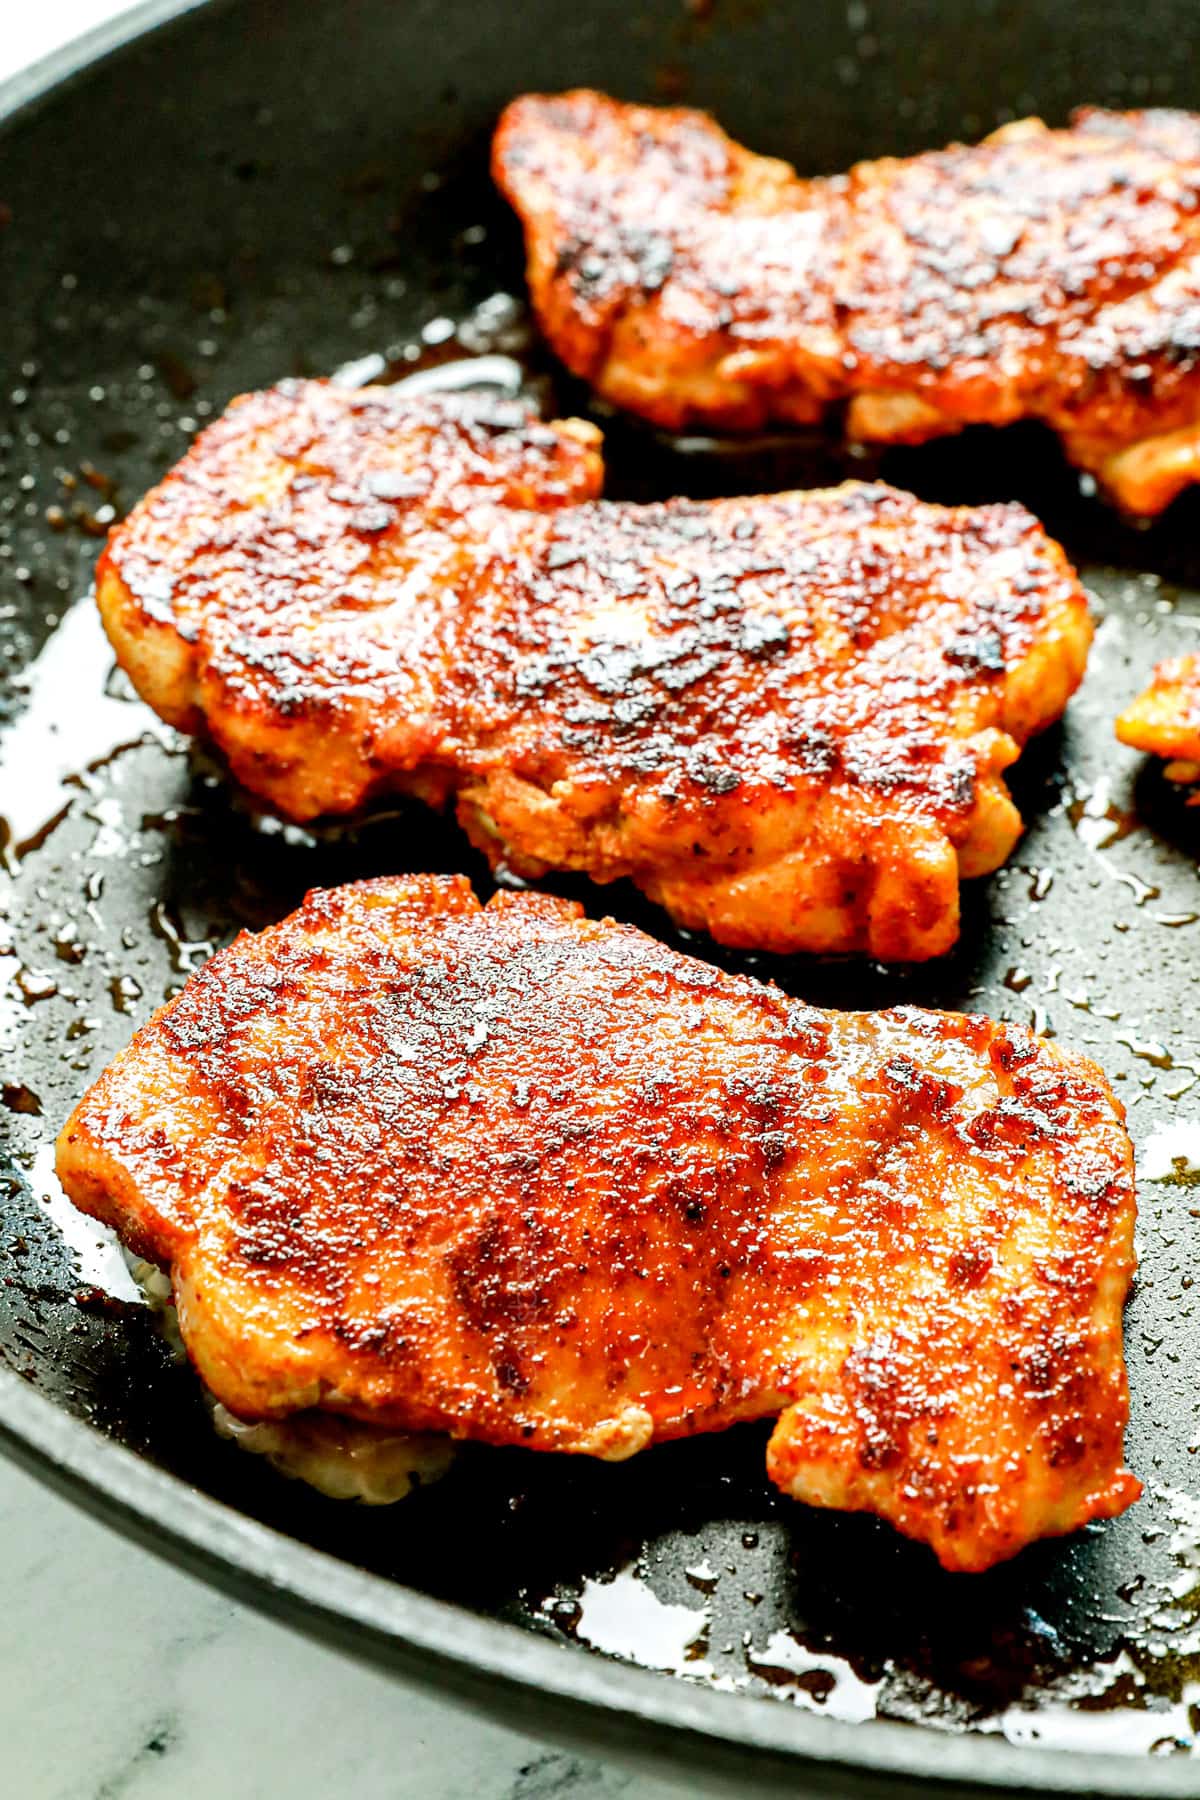
The chicken is tender, juicy and flavorful without the need for a marinade. The trick: the homemade spice blend + chicken thighs + a meat thermometer.
They can be made at a moment’s notice with whatever you have on hand! Load the chicken quesadillas with any mixture of veggies, with or without beans and any chicken from the seasoned chicken to leftover chicken, chili lime chicken, Mexican chicken, cilantro lime chicken, honey lime salsa verde chicken, etc.
Chicken Quesadillas are not only scrumptious, but a protein-packed meal that will fill you up! The addition of chicken and veggies to your favorite cheesy snack makes them a meal with staying power.
This recipe can be on the table in 45 minutes. Or even quicker if you use leftover chicken or make less quesadillas.
They are a meal planning dream. The filling can be prepped days ahead of time, then it’s just minutes in the skillet to cheesy, crispy heaven.
Chicken Quesadilla Ingredients
This chicken quesadilla recipe transforms ordinary, pantry friendly ingredients into extraordinary! Here’s everything you’ll need to make these unforgettable quesadillas (full recipe in the printable recipe card at the bottom of the post):

What are the best Tortillas for Quesadillas?
Flour tortillas are the best for quesadillas because they are softer and more pliable than corn tortillas and crisp up beautifully without become brittle and crumbling. You’ll want to use medium, taco-size flour tortillas that are 7-8 inches because they fit in most skillets and are the easiest to fold and flip. Look for quality tortillas that are on the thinner side, like my favorite brand La Fe Tortilleria, that get crispy in the pan without any oil.
Can Corn Tortillas Be Used to Make Quesadillas?
I don’t recommend using corn tortillas in this chicken quesadilla recipe. Our store-bought corn tortillas are too small to fold without crumbling, and using two corn tortillas will create a mess when flipping.
How to Make Chicken Quesadillas
Making chicken quesadillas at home is quick and easy! The cheesy chicken filling can be loaded with any mixture of veggies you have on hand, so consider this more of a quesadilla-making method rather than a strict recipe you have to follow exactly as written (printable recipe card at the bottom of the post):
Step 1: Cook the Chicken
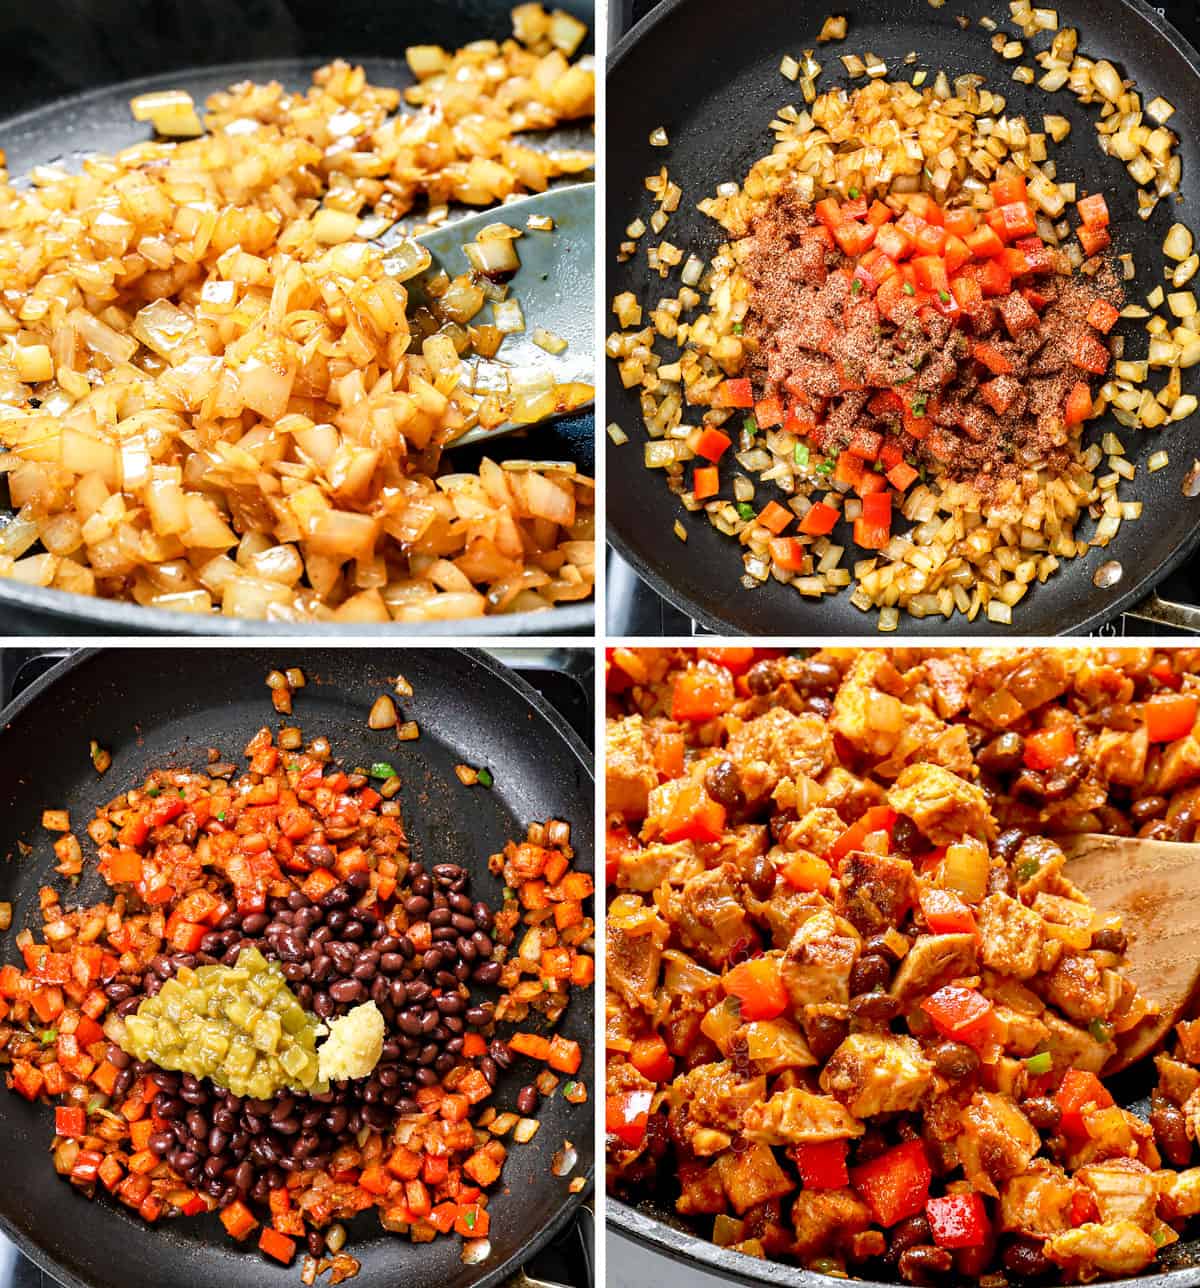
Step 2: Sauté the Vegetables
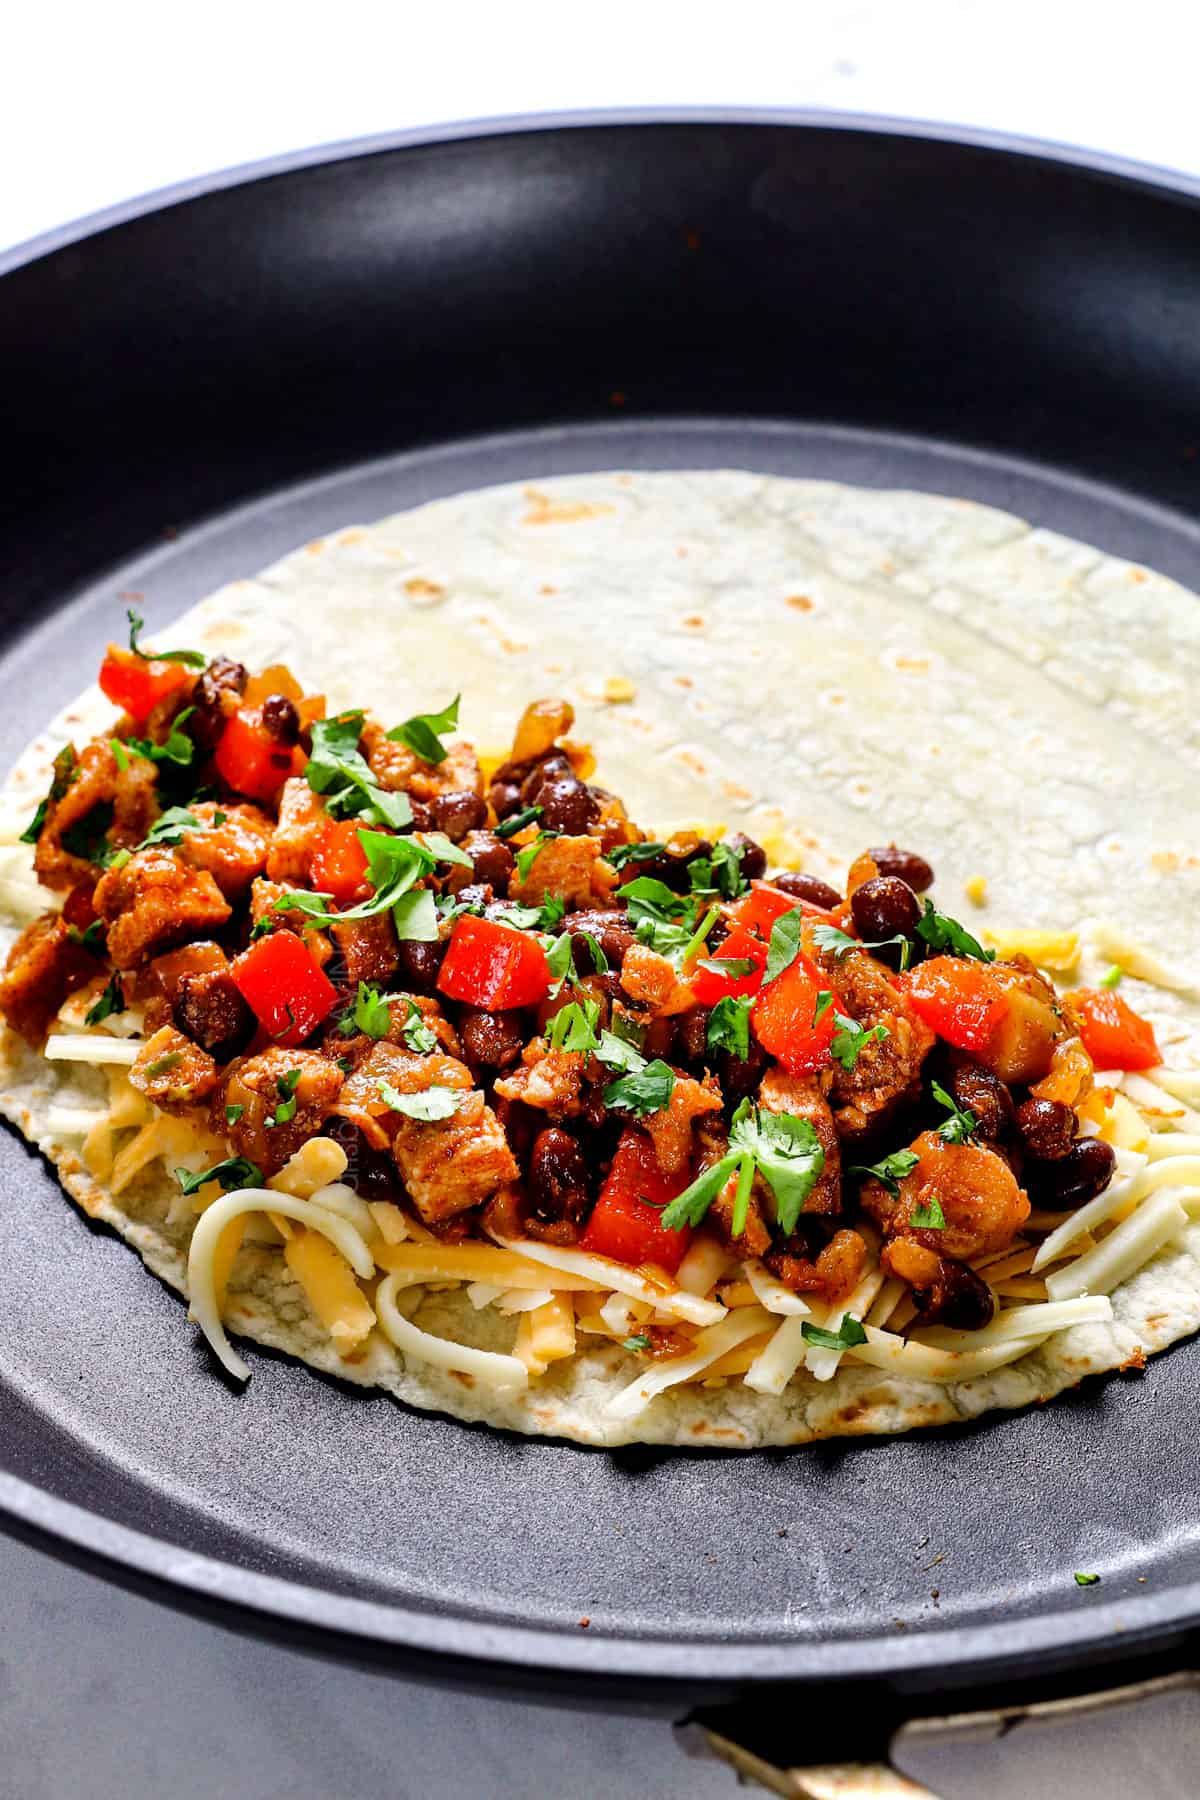
Step 3: Assemble the Quesadillas
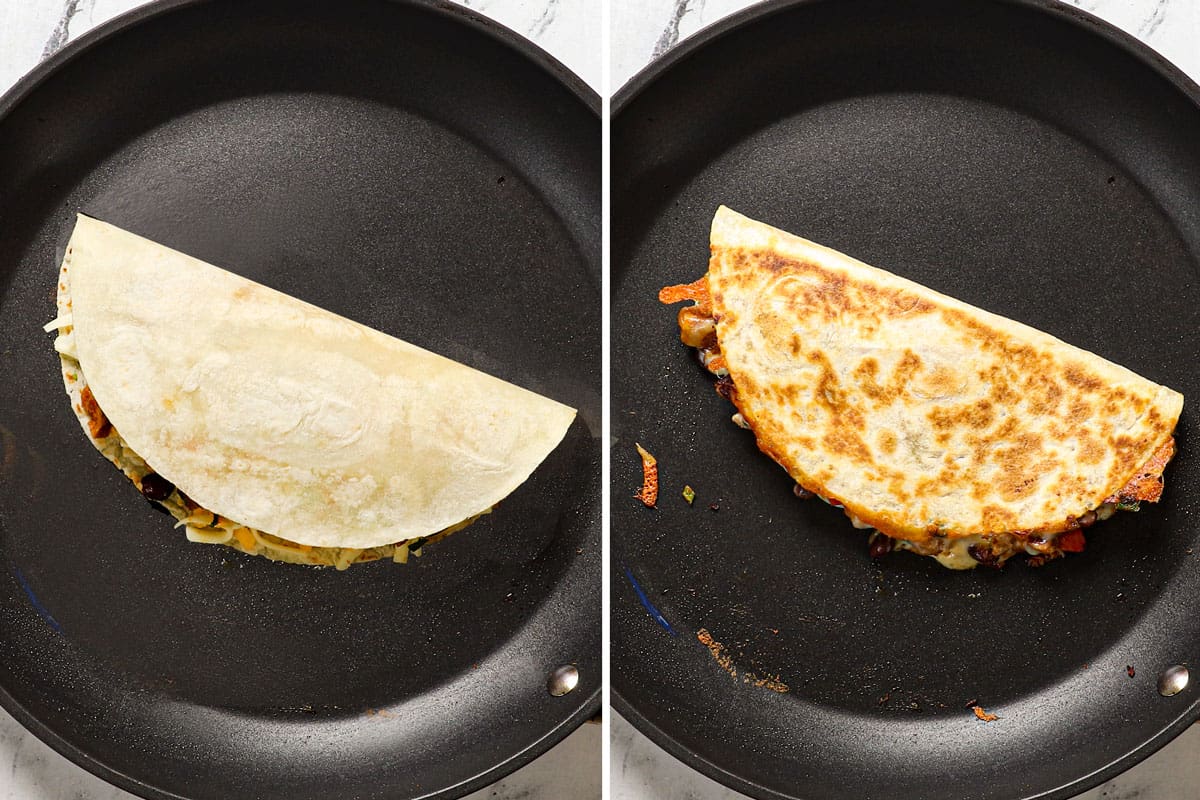
Step 4: Cook the Quesadilla
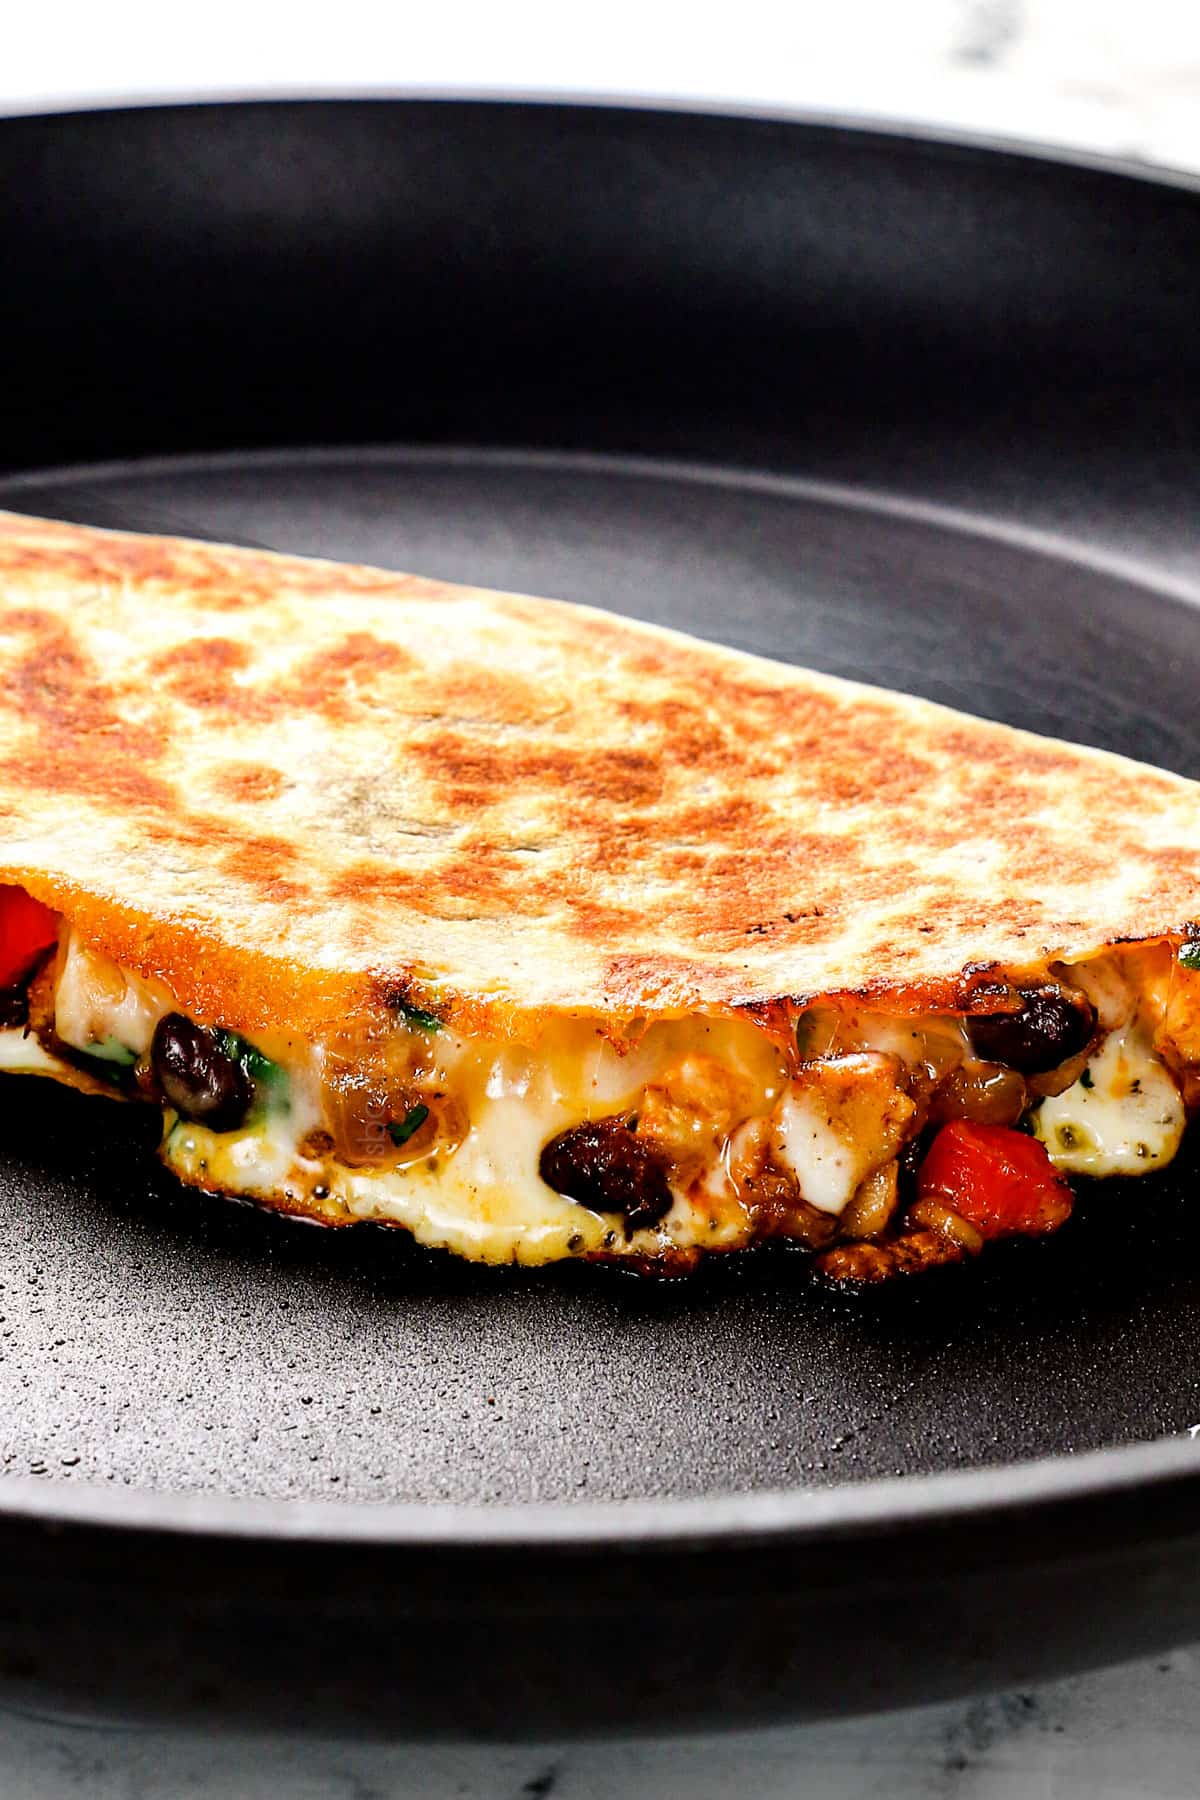

TOPPING SUGGESTIONS
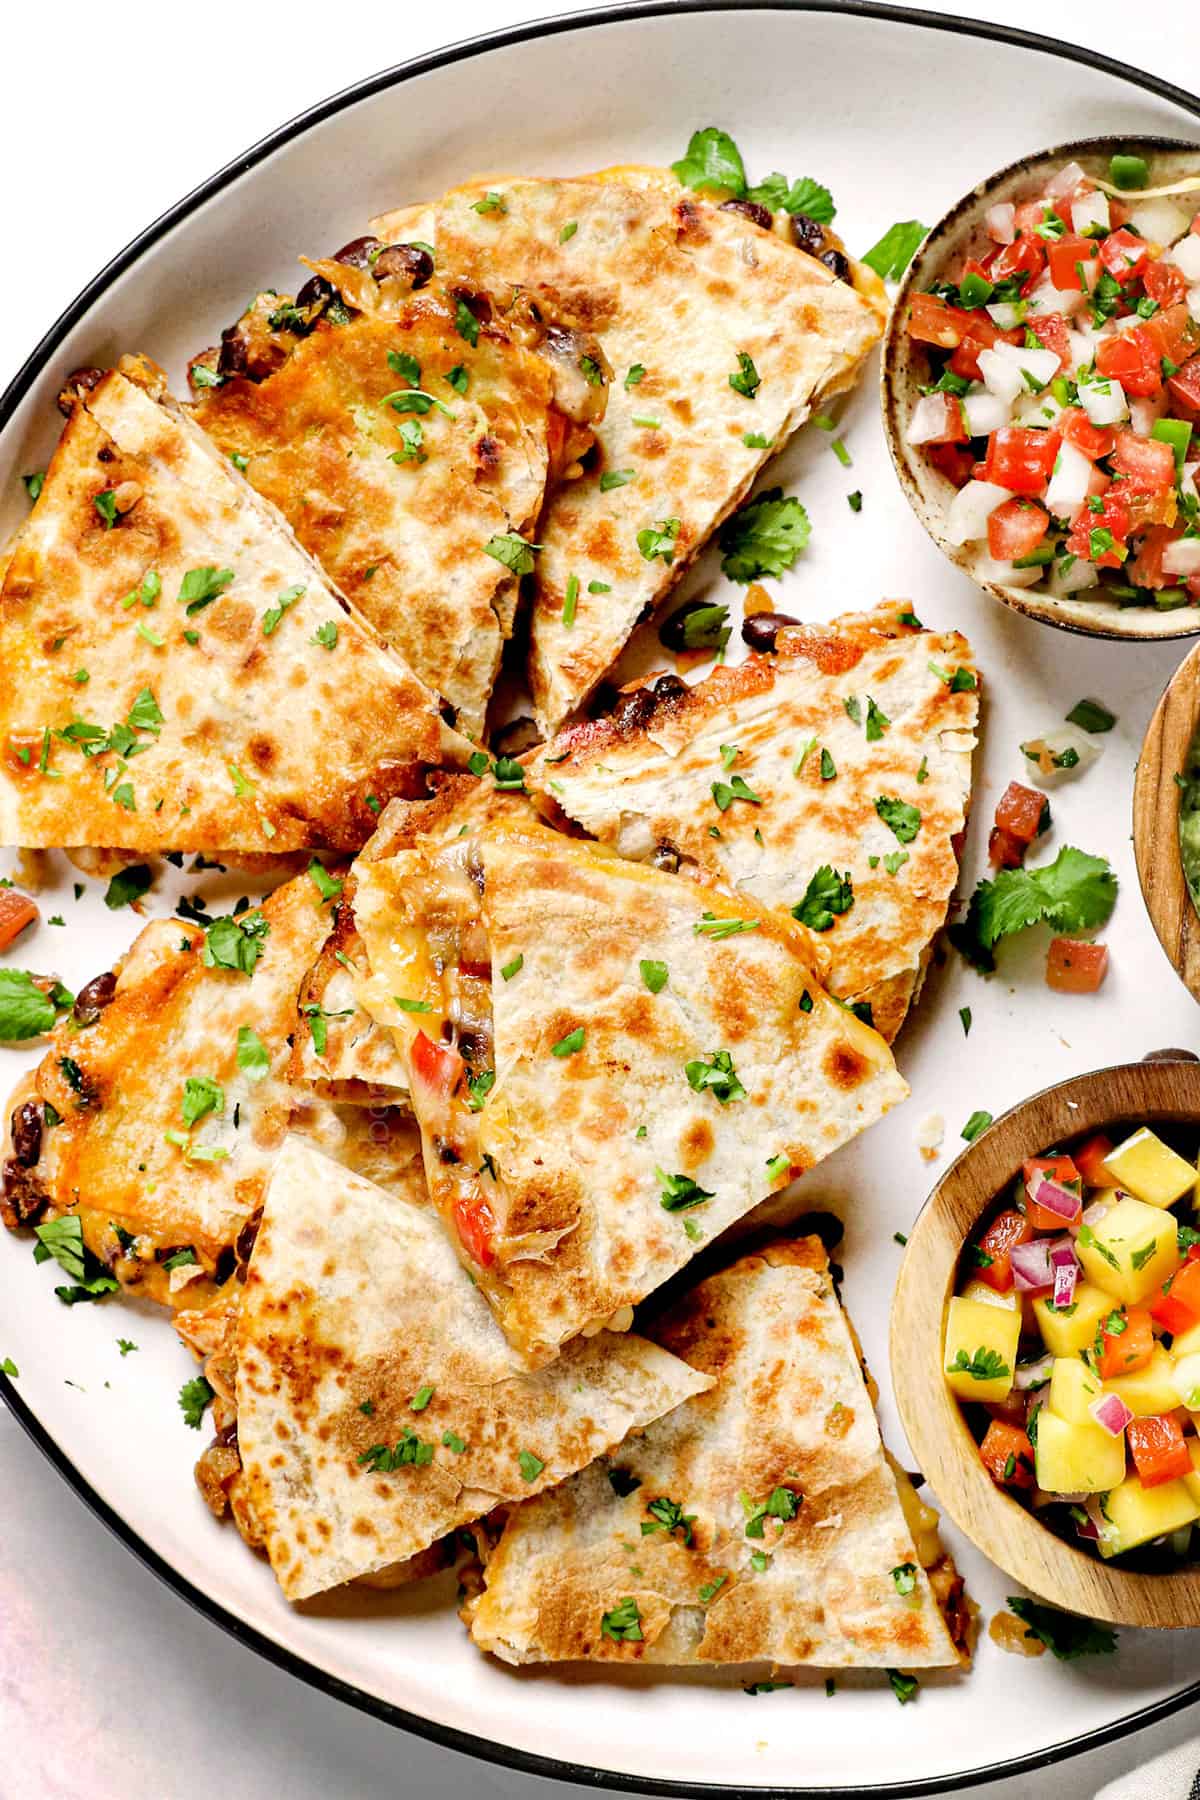
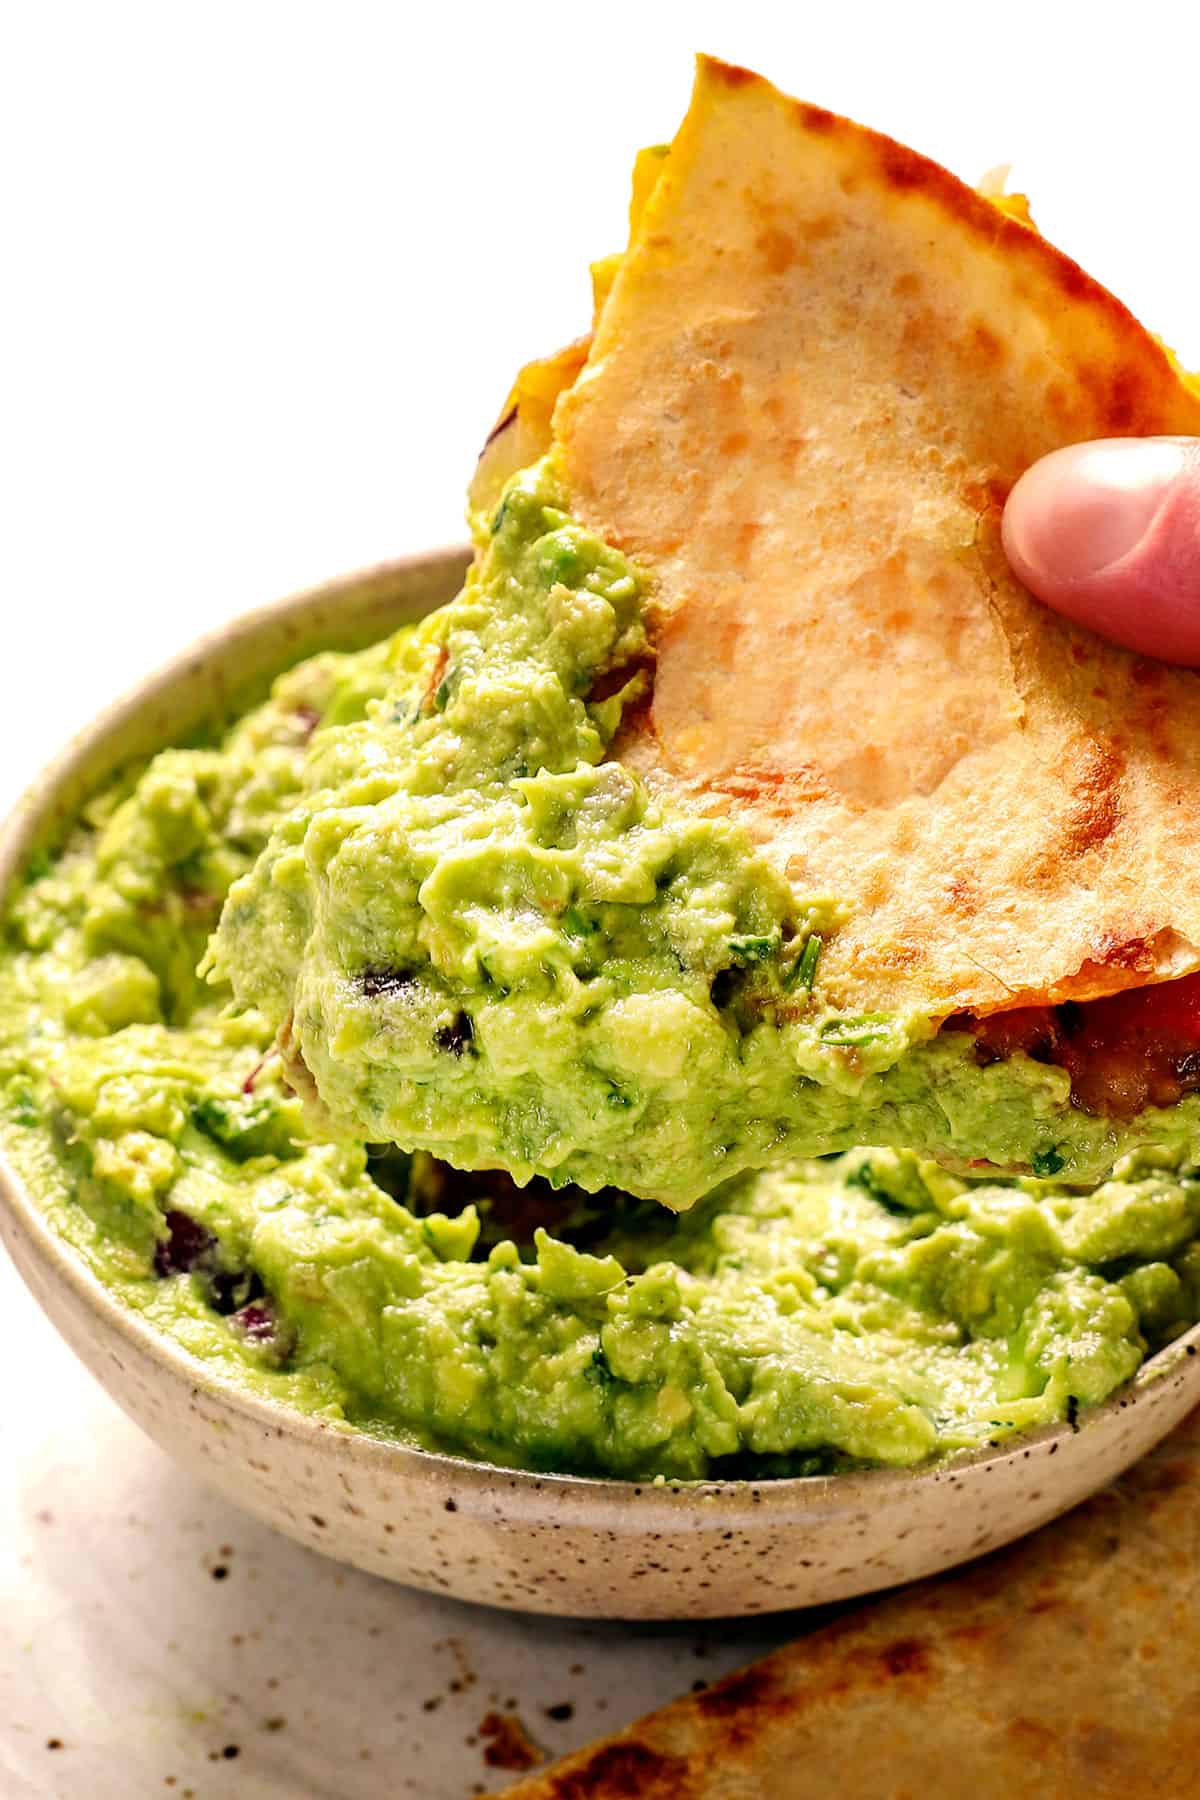
These chicken quesadillas are scrumptious on their own, but we love serving them with sour cream, salsa and guacamole. Here are some tasty serving ideas:
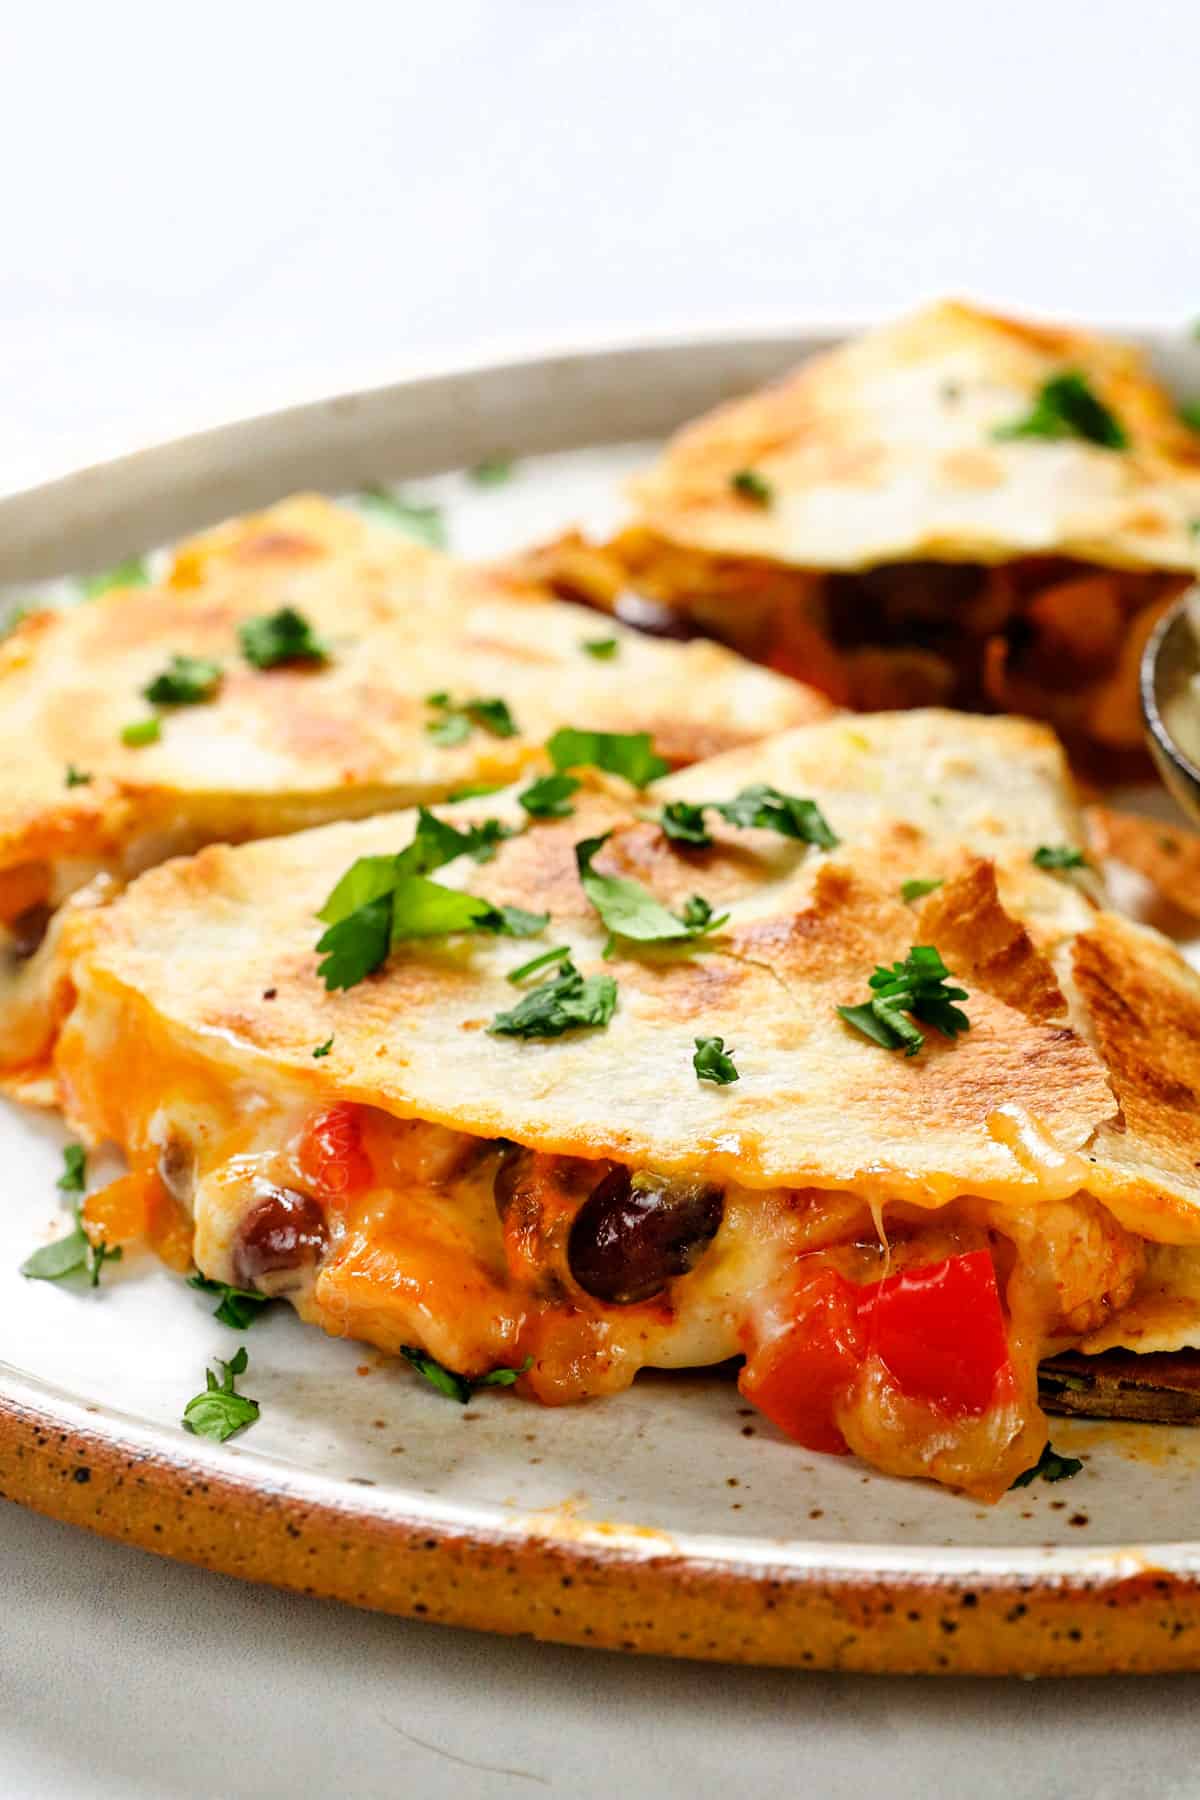

HOMEMADE CHICKEN QUESADILLA TIPS
This quesadilla recipe is pretty straightforward, but here are a few tips to make it the very best:
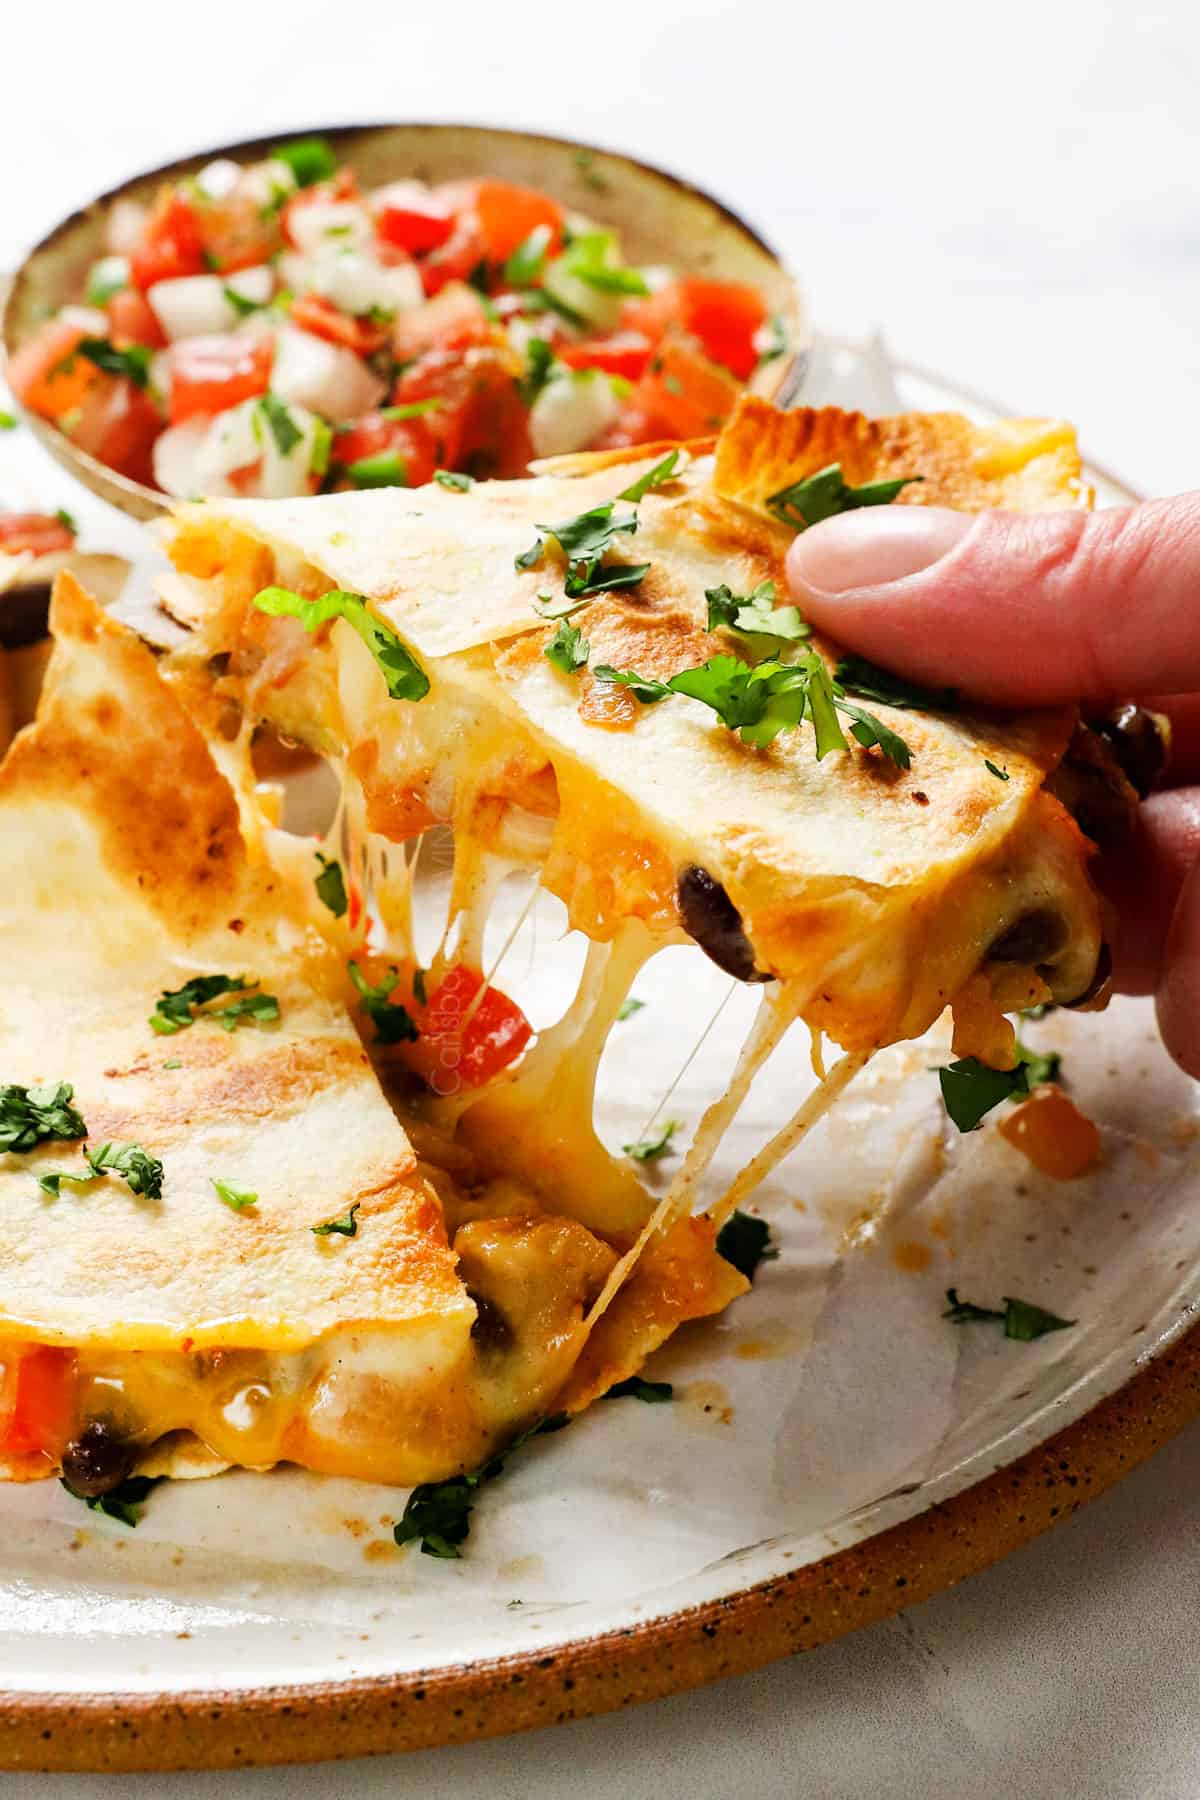

CHICKEN QUESADILLAS RECIPE VARIATIONS
Chicken quesadillas can be made with any number of chicken recipes, vegetables or cheeses! Here are just a few ideas:
Chicken:
This recipe uses freshly cooked seasoned chicken in the filling, but you may use any kind of meal prepped or leftover chicken you have on hand. Shredded rotisserie chicken would also work well in this recipe. Or, use one of the following favorite recipes:
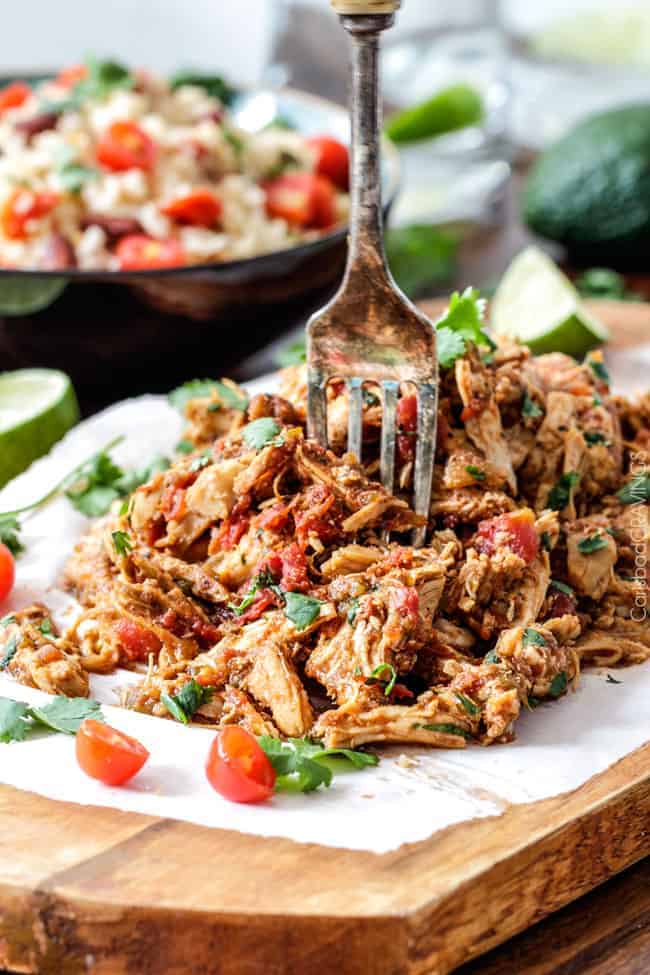
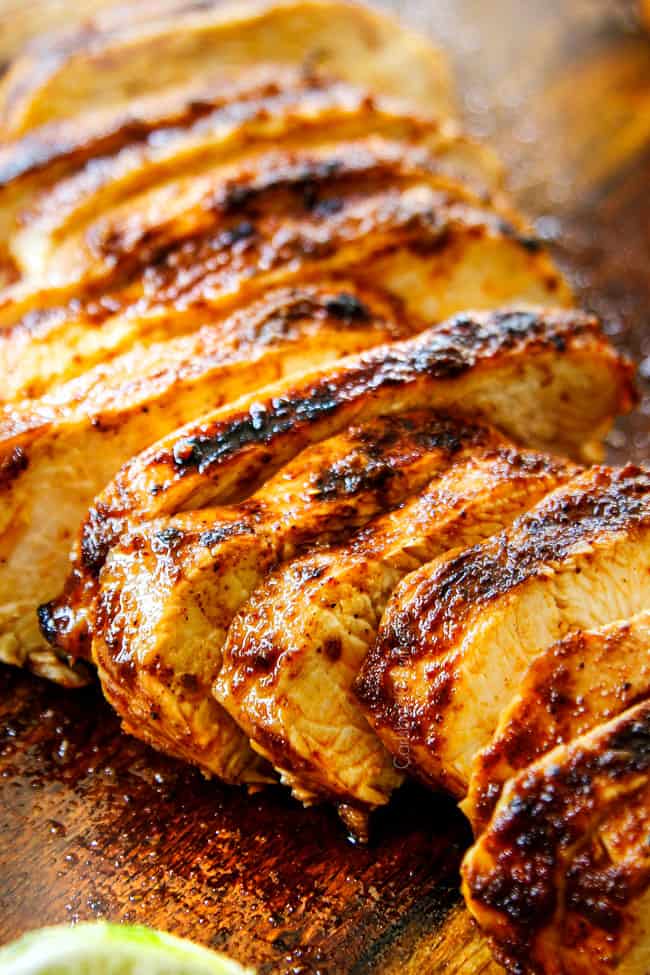
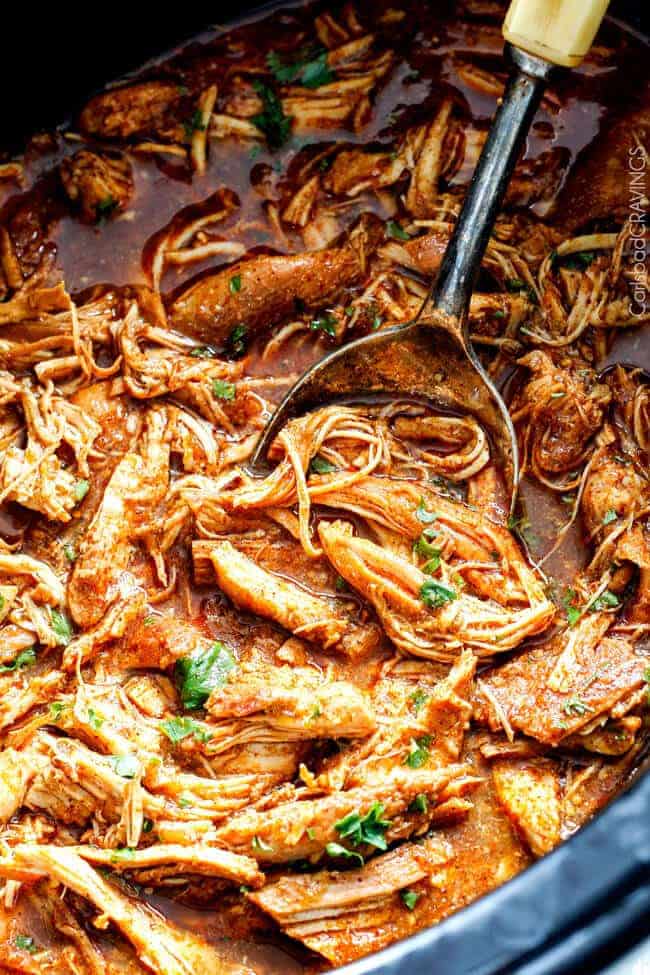
Cheese:
I wouldn’t swap out the sharp cheddar as it adds loads of flavor, but you can swap the Monterey Jack for:
Beans & Vegetables:

OUR FAVORITE SIDES FOR QUESADILLAS
These chicken quesadillas make a tasty dinner with the help of a few sides:

Can you Meal Prep Chicken Quesadillas?
Yes! Get a jump start on the quesadilla recipe by making the filling and preparing the toppings ahead of time. This will make lunch or dinner a breeze!
-Make filling. Combine chicken and veggie filling ingredients per recipe instructions. Cover and refrigerate for up to 4 days.
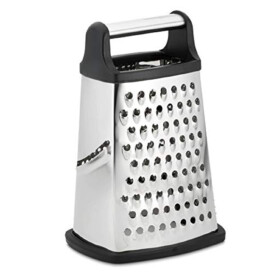
-Shred cheeses. Shred the cheeses and store in an airtight container in the fridge.
-Prep toppings. Any toppings such as pico de gallo and homemade salsa can be prepped and refrigerated ahead of time. The guacamole (if using) will keep for up to a day without much color change – just make sure to press a piece of plastic wrap directly against the surface of the guac to prevent oxidation. For a guacamole that lasts longer, stir in a little sour cream – works like a charm!

BEST CHICKEN QUESADILLA RECIPE STORAGE
This recipe for chicken quesadillas is best eaten fresh, hot and crispy from the skillet (unless you have an air fryer), but leftovers can be refrigerated for up to 4 days. Before storing, allow the quesadillas to cool completely, then stack with parchment paper in between each layer to help prevent them from becoming soggy.
can you freeze chicken quesadillas?
Yes, chicken quesadillas can be frozen for up to three months. Here’s how:
1. Let the wedges cool completely.
2. Arrange in a single layer on a baking sheet without touching.
3. Transfer to the freezer to flash freeze for 2 hours (this will prevent them from sticking together).
4. Transfer solid quesadillas to a freezer-safe plastic bag and squeeze out excess air.

TIPS FOR REHEATING
-Air fryer: This is my #1 preferred method. It crisps up the tortillas as if they were freshly made – seriously amazing! Place your quesadillas in the air fryer basket and cook for 3-4 minutes using the air fry “snack” setting, or air fry at 350 degrees F for 3-4 minutes. If reheating from frozen, air fry for closer to 10 minutes.
-Microwave: This is my least favorite method because the exterior doesn’t crisp up, but honestly, the leftovers are so good, I don’t think you’ll care! Microwave on high or 30 seconds then at 5-second intervals as needed. If reheating from frozen, microwave for 2-3 minutes, until the cheese is oozing.
-Stove: Heat a pan to low then add the quesadilla. Cook over low until reheated, flipping once.
-Oven: Place quesadillas on a baking rack placed over a baking pan. Bake in a preheated oven at 400 degrees F for 8 minutes or until warmed through. If reheating from frozen, bake for 15-25 minutes at 350 degrees F until the cheese is oozing.
WANT TO TRY THIS Quesadilla RECIPE?
PIN IT to your recipe BOARD TO SAVE FOR LATER!
FIND ME ON PINTEREST FOR MORE GREAT RECIPES! I AM ALWAYS PINNING :)!
©Carlsbad Cravings by CarlsbadCravings.com
Homemade Chicken Quesadilla
Save This Recipe To Your Recipe Box
You can now create an account on our site and save your favorite recipes all in one place!
Ingredients
Spice Mix:
- 1 1/2 teaspoons chili powder
- 1 tsp EACH ground cumin, smoked paprika, garlic powder, onion powder, salt
- 1/4-1/2 teaspoon chipotle chile pepper
Quesadillas:
- 2 tablespoons olive oil, divided
- 1 lb. boneless chicken thighs, trimmed
- 1 yellow onion, chopped
- 1 red bell pepper, chopped
- 1 cup black beans, rinsed, drained
- 3 tablespoons mild diced green chilies (optional)
- 2 garlic cloves, minced
- ½ cup cilantro, chopped (measure before chopping)
- 8 8-inch flour tortillas
- 2 cups freshly shredded Monterey Jack cheese
- 1 cup freshly shredded sharp cheddar cheese
Instructions
Cook Chicken
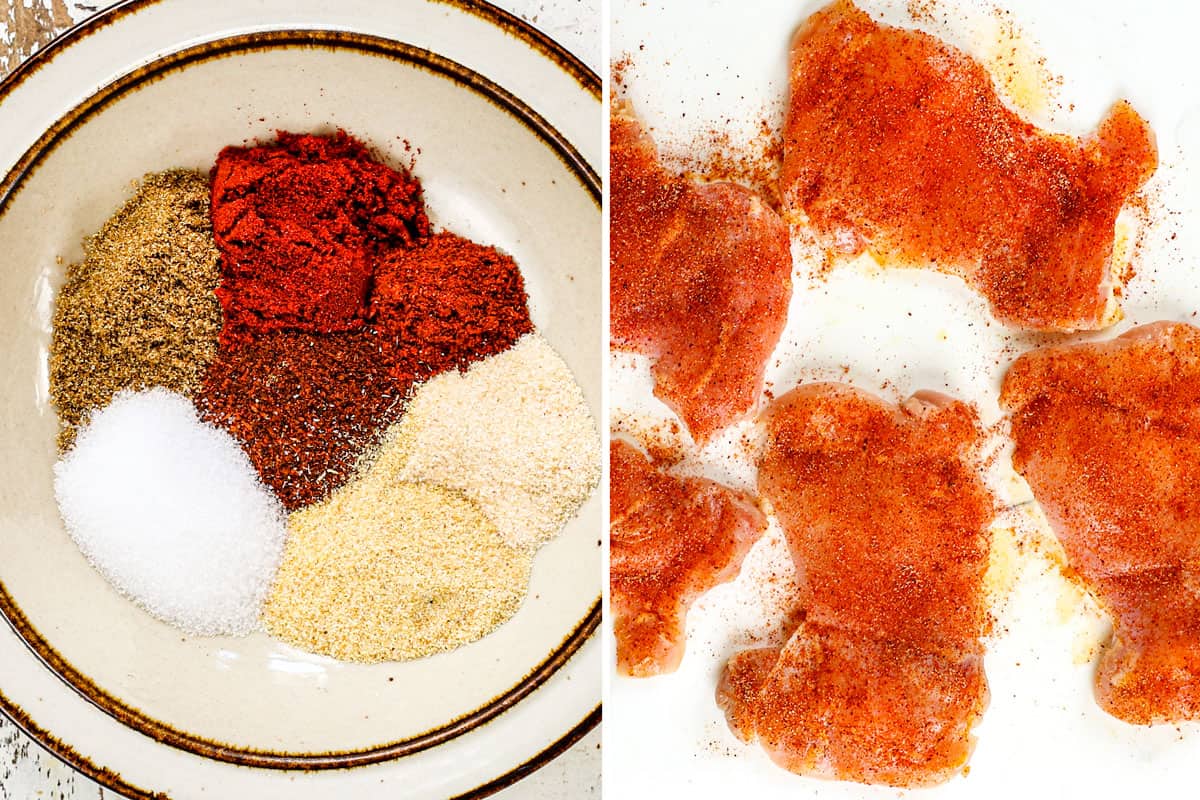
- Whisk the Spice Mix together in a small bowl.
- Pat chicken dry with paper towels, then lightly rub with a drizzle of olive oil. Season chicken with 1 ½ tablespoons Spice Mix (reserve the rest for the vegetables).
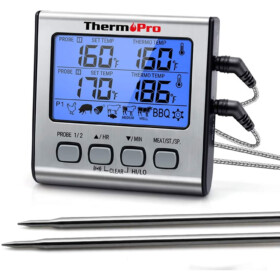
- Heat 1 tablespoon olive oil in a large skillet or indoor grill pan over medium-high heat. Cook chicken for 3-4 minutes per side, until it reaches 165 degrees F on an instant read thermometer (this is my favorite).
- Transfer chicken to cutting board; let rest for 5 minutes before dicing.
Cook Vegetables
- Heat 1 tablespoon olive oil in the now empty skillet. Add onion and cook for 3 minutes. Add bell pepper and remaining Spice Mix and cook for 2 minutes.
- Add black beans, green chilies and garlic and cook an additional 1-2 minutes, or until onions are tender and bell peppers reach desired crisp-tenderness.
- Remove from heat and stir in the diced chicken.
Assemble
- Toss the cheeses together in a large bowl for easy assembly.
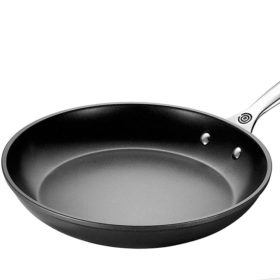
- Heat a 12-inch nonstick skillet over medium heat. Add one tortilla to the skillet and top one side with some of the cheeses (about 1/3-½ cup). Top the cheese with chicken/vegetable mixture, then sprinkle with cilantro. Fold the empty tortilla half over the filling to create a half moon.
Cook
- Lightly press down with a spatula. Cook until the bottom is golden and crispy, about 2-3 minutes.
- Flip the quesadilla over the folded edge (use the folded edge as a hinge, see video) with a spatula. Press down lightly and cook an additional 2-3 minutes, or until the tortilla is golden and crispy and the cheese is completely melted.
Serve
- Transfer to a cutting board and cut into triangles using a pizza cutter. Serve immediately with guacamole, sour cream, salsa, avocado crema. etc.
- To keep warm: Alternatively, keep the cooked quesadillas warm on a baking sheet in a 200 degrees F oven until all the quesadillas are done and you’re ready to serve.
Video
Notes
- Variations: See post for all sorts of chicken and veggie options!
- Meal Prep: The filling can be made up to 4 days ahead of time and used throughout the week. The cheeses can also be shredded and refrigerated.
- Storage: Store leftovers in the refrigerator for up to 4 days. Before storing, allow the quesadillas to cool completely, then stack with parchment paper in between each layer to help prevent them from becoming soggy.
- To freeze: Arrange wedges in a single layer on a baking sheet without touching. Flash freeze for 2 hours then transfer solid quesadillas to a freezer-safe plastic bag and squeeze out excess air.
TO REHEAT
- Air fryer: Place your quesadillas in the air fryer basket and cook for 3-4 minutes using the air fry “snack” setting, or air fry at 350 degrees F for 3-4 minutes. If reheating from frozen, air fry for closer to 10 minutes.
- Microwave: Microwave on high or 30 seconds then at 5-second intervals as needed. If reheating from frozen, microwave for 2-3 minutes, until the cheese is oozing. You may wish to toast the quesadillas in the skillet afterwards.
- Stove: Heat a pan to low then add the quesadilla. Cook over low until reheated, flipping once.
- Oven: Place quesadillas on a baking rack placed over a baking pan. Bake in a preheated oven at 400 degrees F for 8 minutes or until warmed through. If reheating from frozen, bake for 15-25 minutes at 350 degrees F until the cheese is oozing.

Did You Make This Recipe?
Tag @CarlsbadCravings and Use #CarlsbadCravngs
Leave a Review, I Always Love Hearing From You!




Erinn says
This recipe is so great! I make quesadillas a lot before I even found this recipe, we liked them. Now this recipe changed everything. They have such good flavor and more filling then just a ordinary, plain-jane chicken and cheese quesadillas. I highly recommended this recipe!
Jen says
It sounds like you are a quesadilla connoisseur Erinn! I’m so glad this recipe delivered!
Natalia says
Natalia again, Jen!!!! Good bye to my old quesadilla recipe and hello to your quesadillas.Soooooooo good!!! Fantastic recipe!!! Thank you so much.
Jen says
YAY! Thanks Natalia, I’m so glad you loved them so much!