This will be the best pumpkin pie recipe you sink your teeth into! It boasts a FLAVORFUL, luxuriously smooth, creamy filling nestled in a buttery golden crust topped with sensational salted honey whipped cream! Our step-by-step guide with detailed photos and tips ensures a crispy, never-soggy base, foolproof silky filling with concentrated flavor that eliminates excess moisture (without any gummy thickeners), and a whipped cream that can be made a day ahead!
Watch How to Make Pumpkin Pie
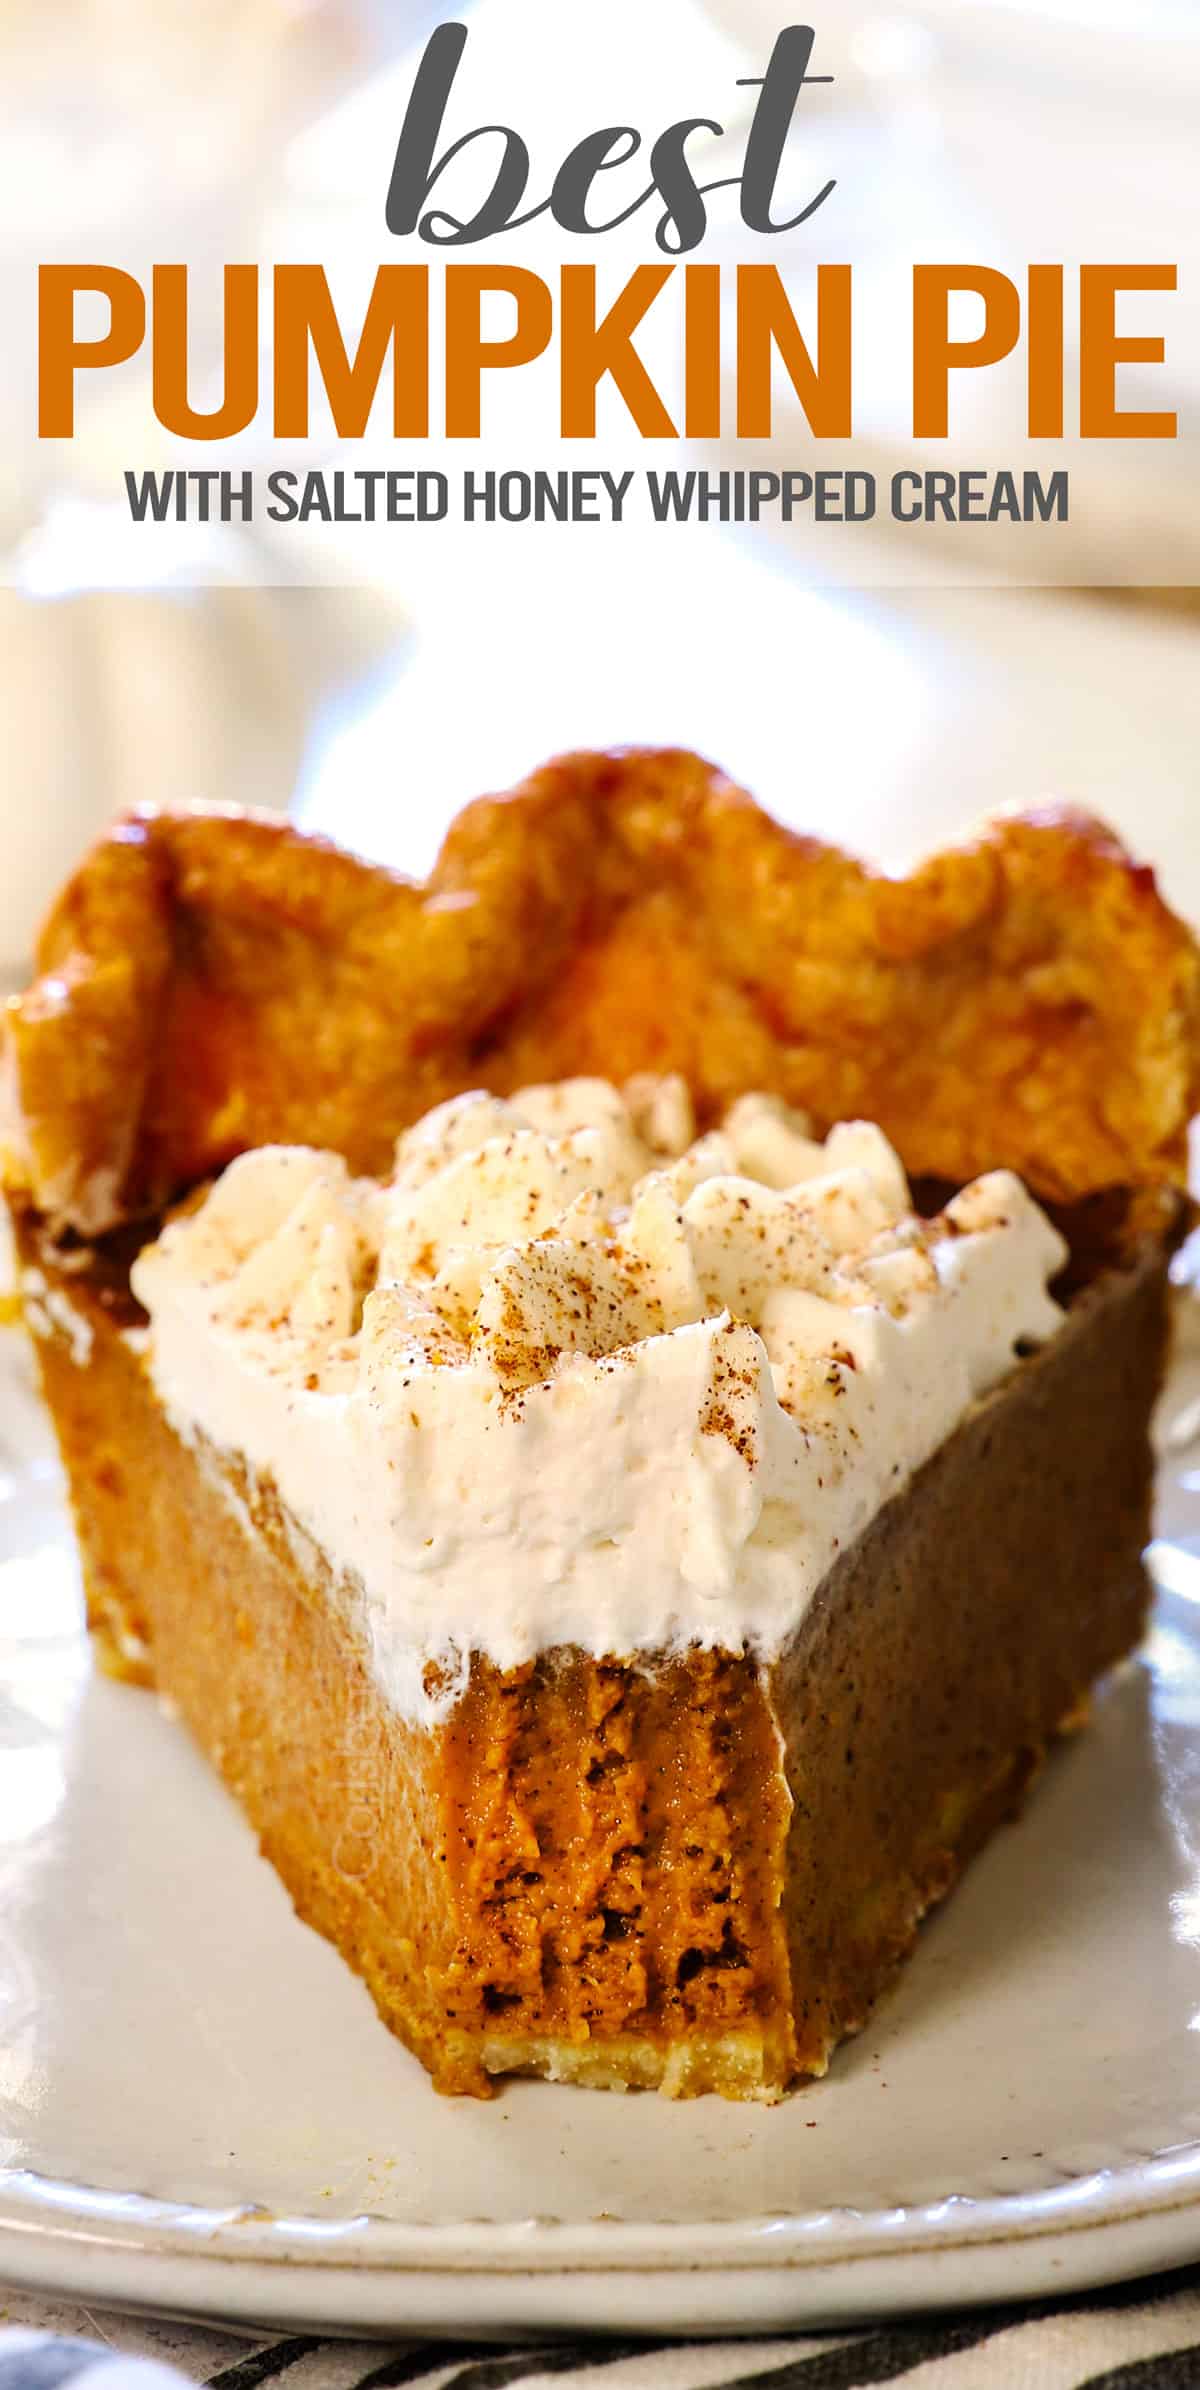

What makes this the Best Pumpkin Pie Recipe
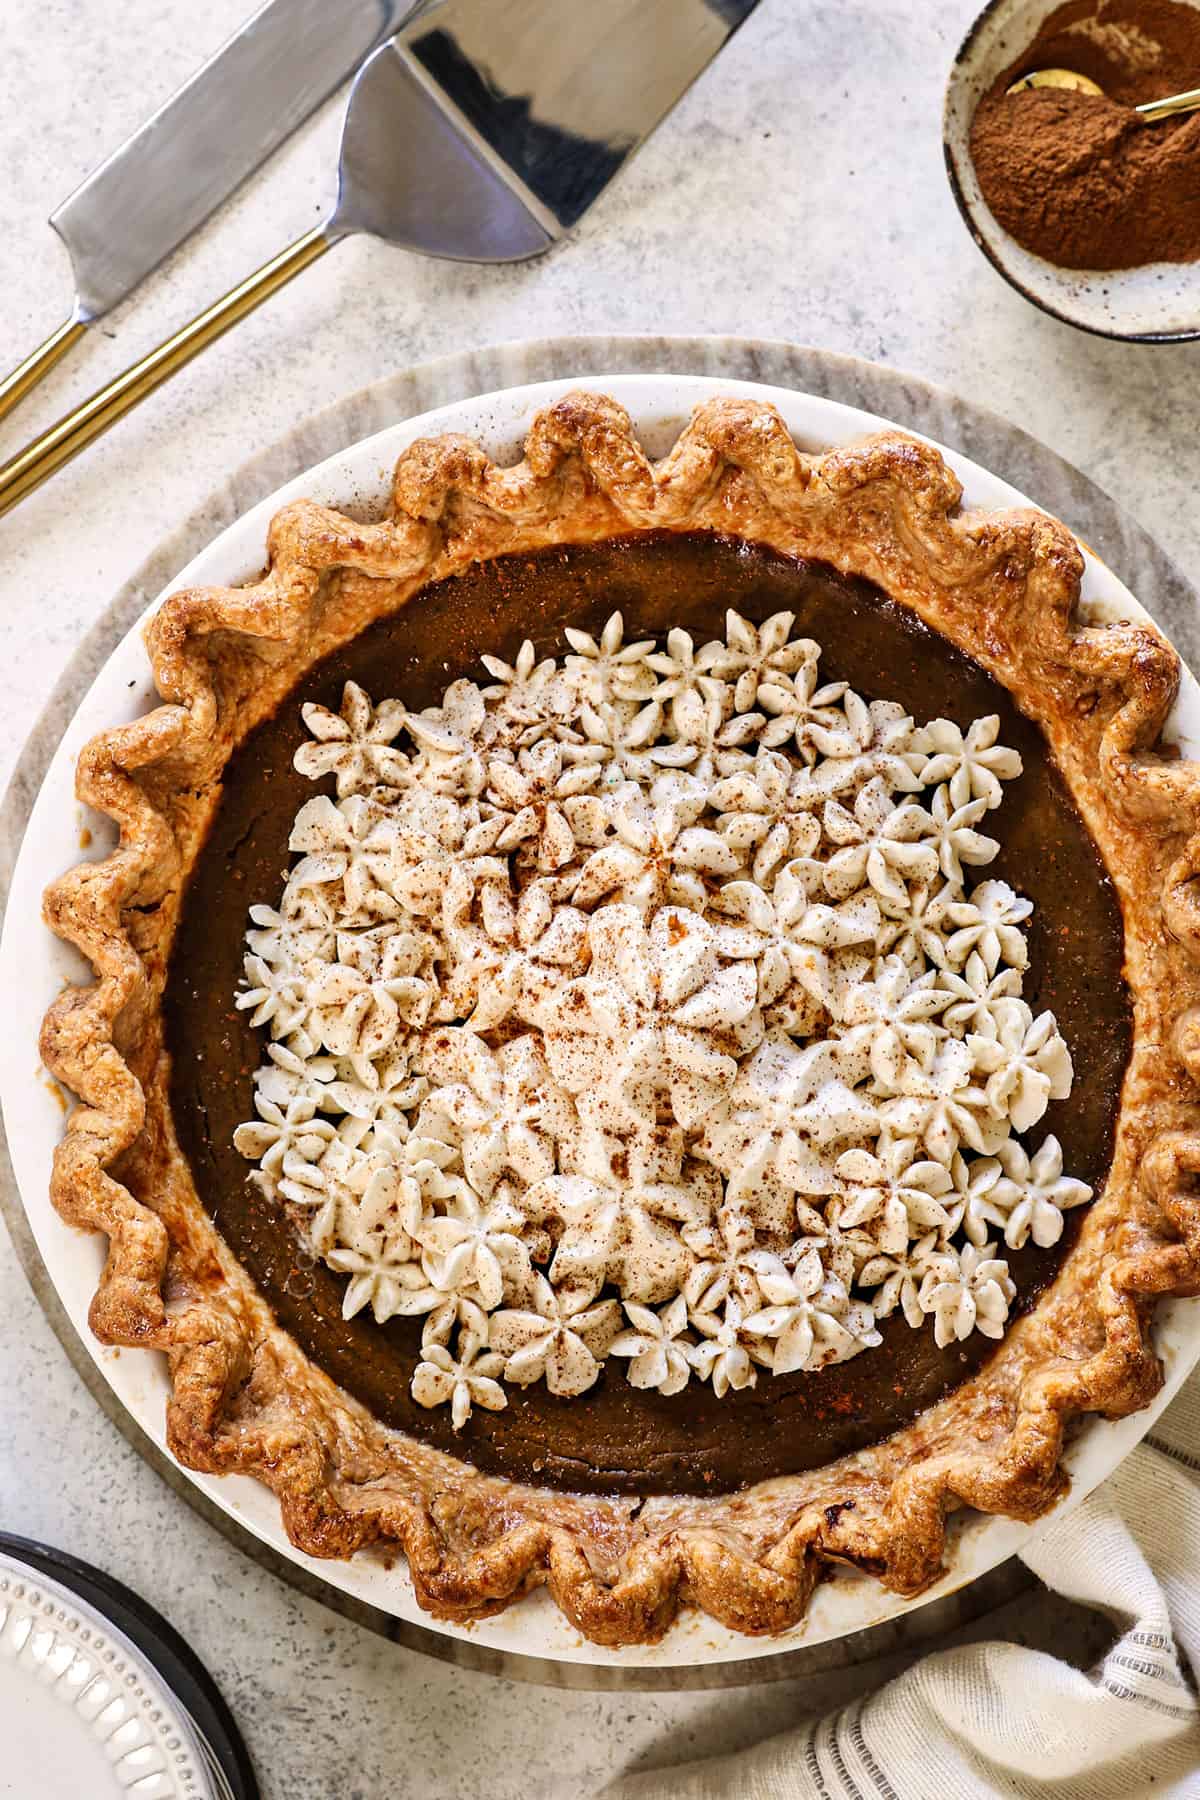

Best Pumpkin Pie Reicpe Ingredients
Let’s take a closer look at what you’ll need to make this pumpkin pie recipe (measurements in the printable recipe card at the bottom of the post):
Whipped Cream
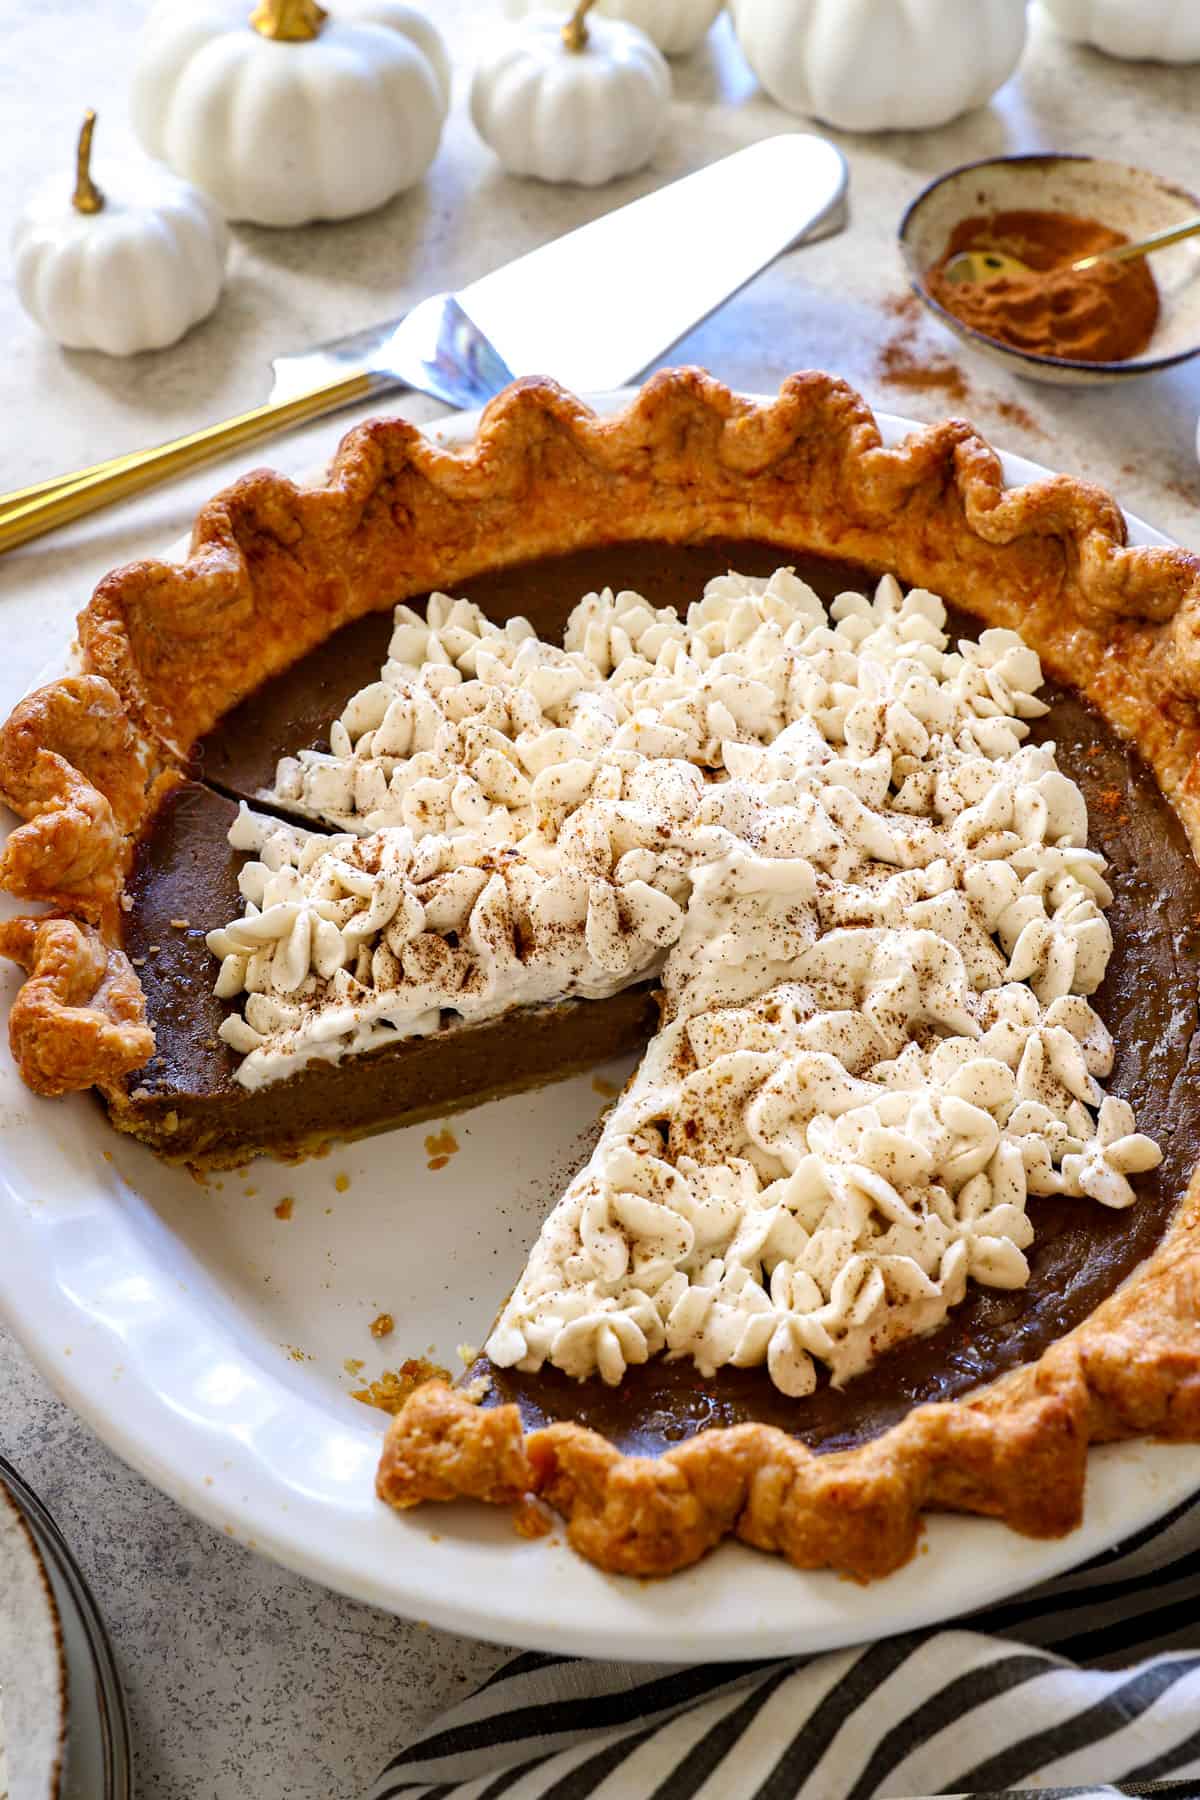

How to make Pumpkin Pie from Scratch
Let’s take a closer look at how to make pumpkin pie with step-by-step photos (full recipe in the printable recipe card at the bottom of the post):
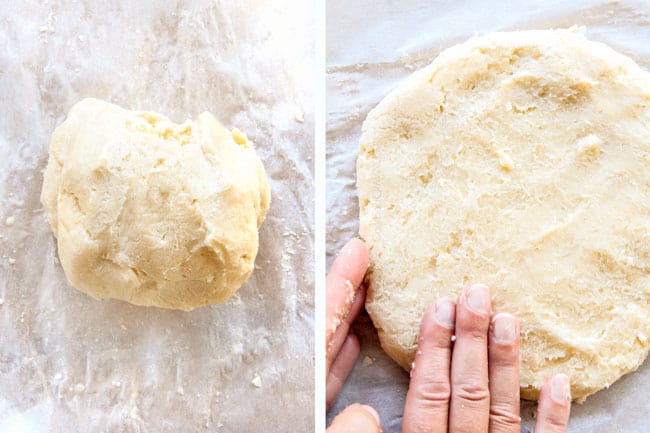
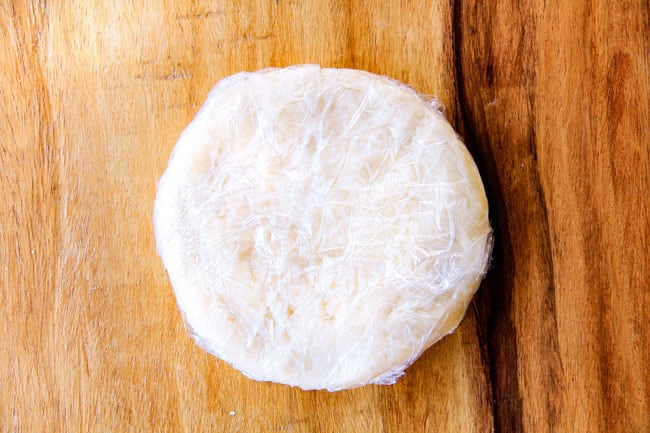
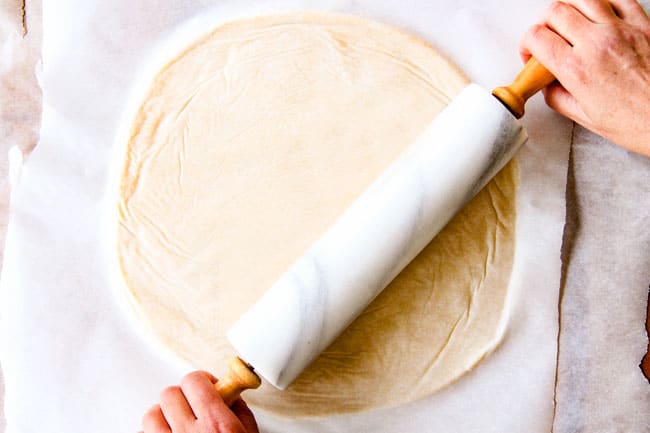
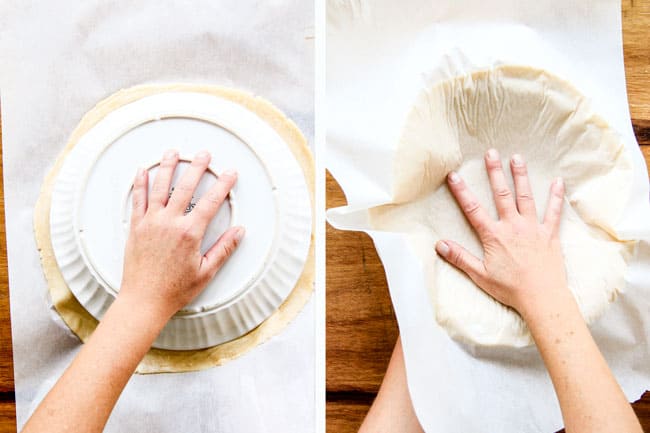
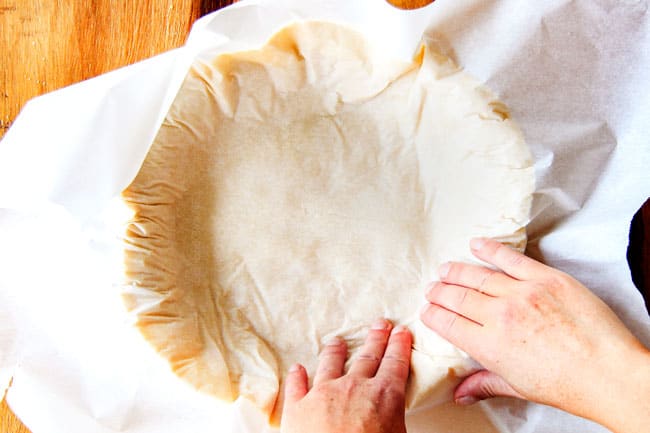
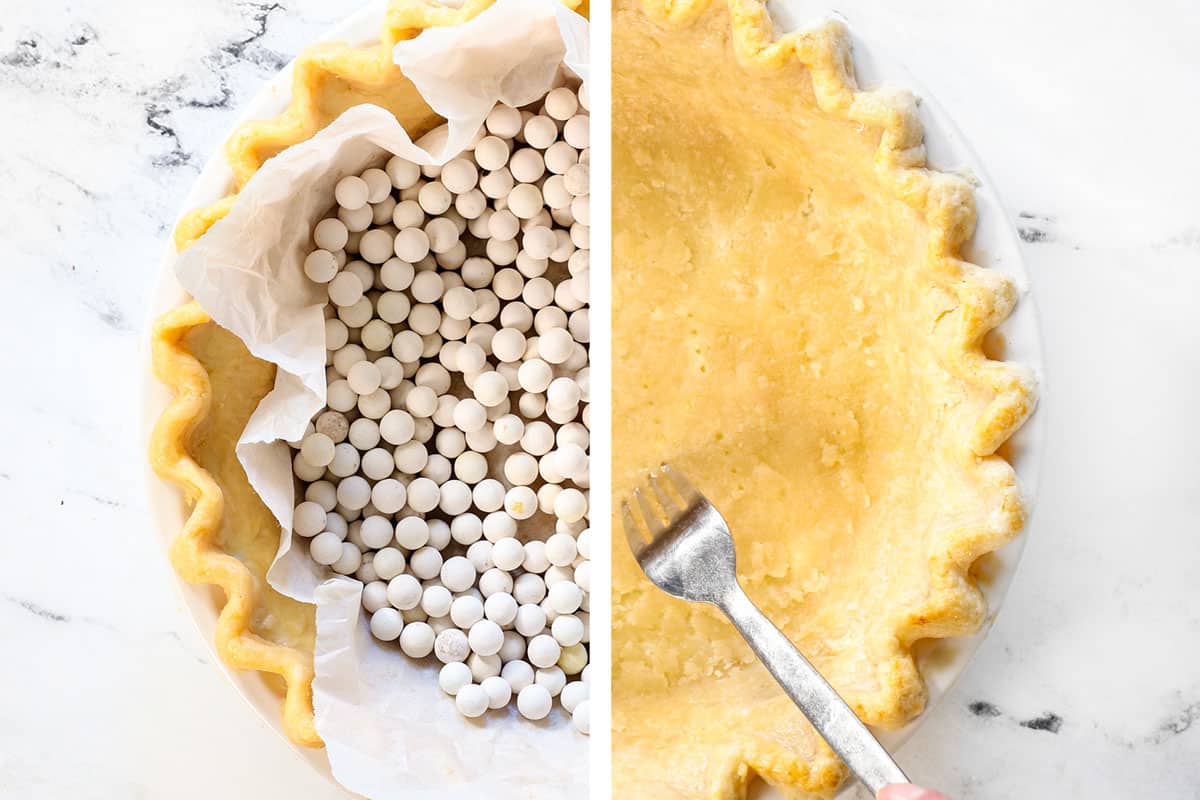
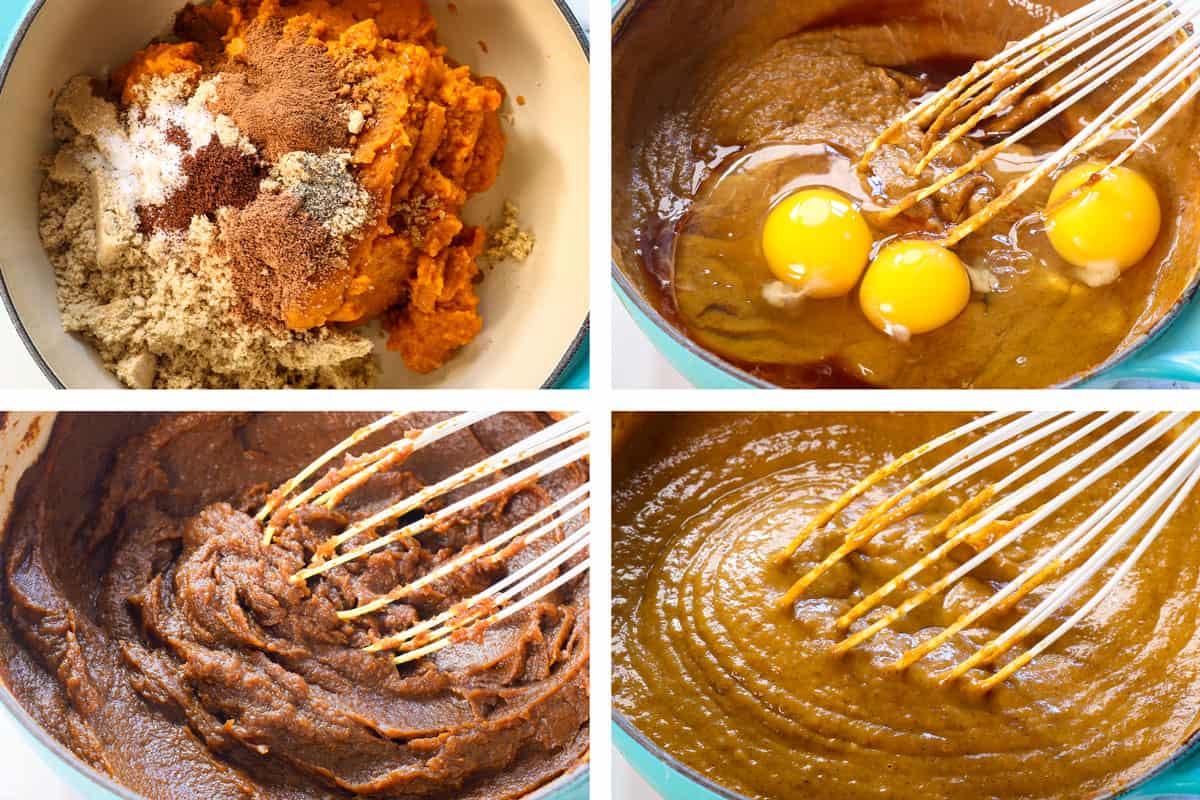
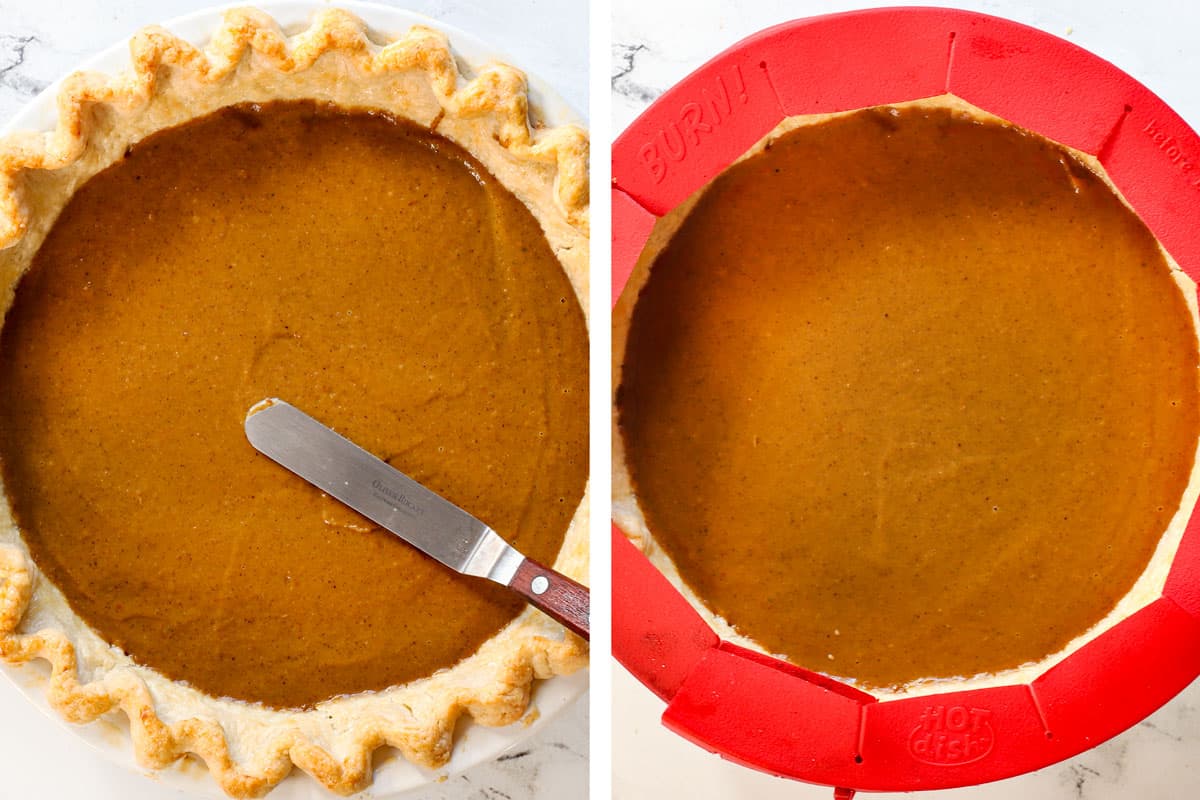
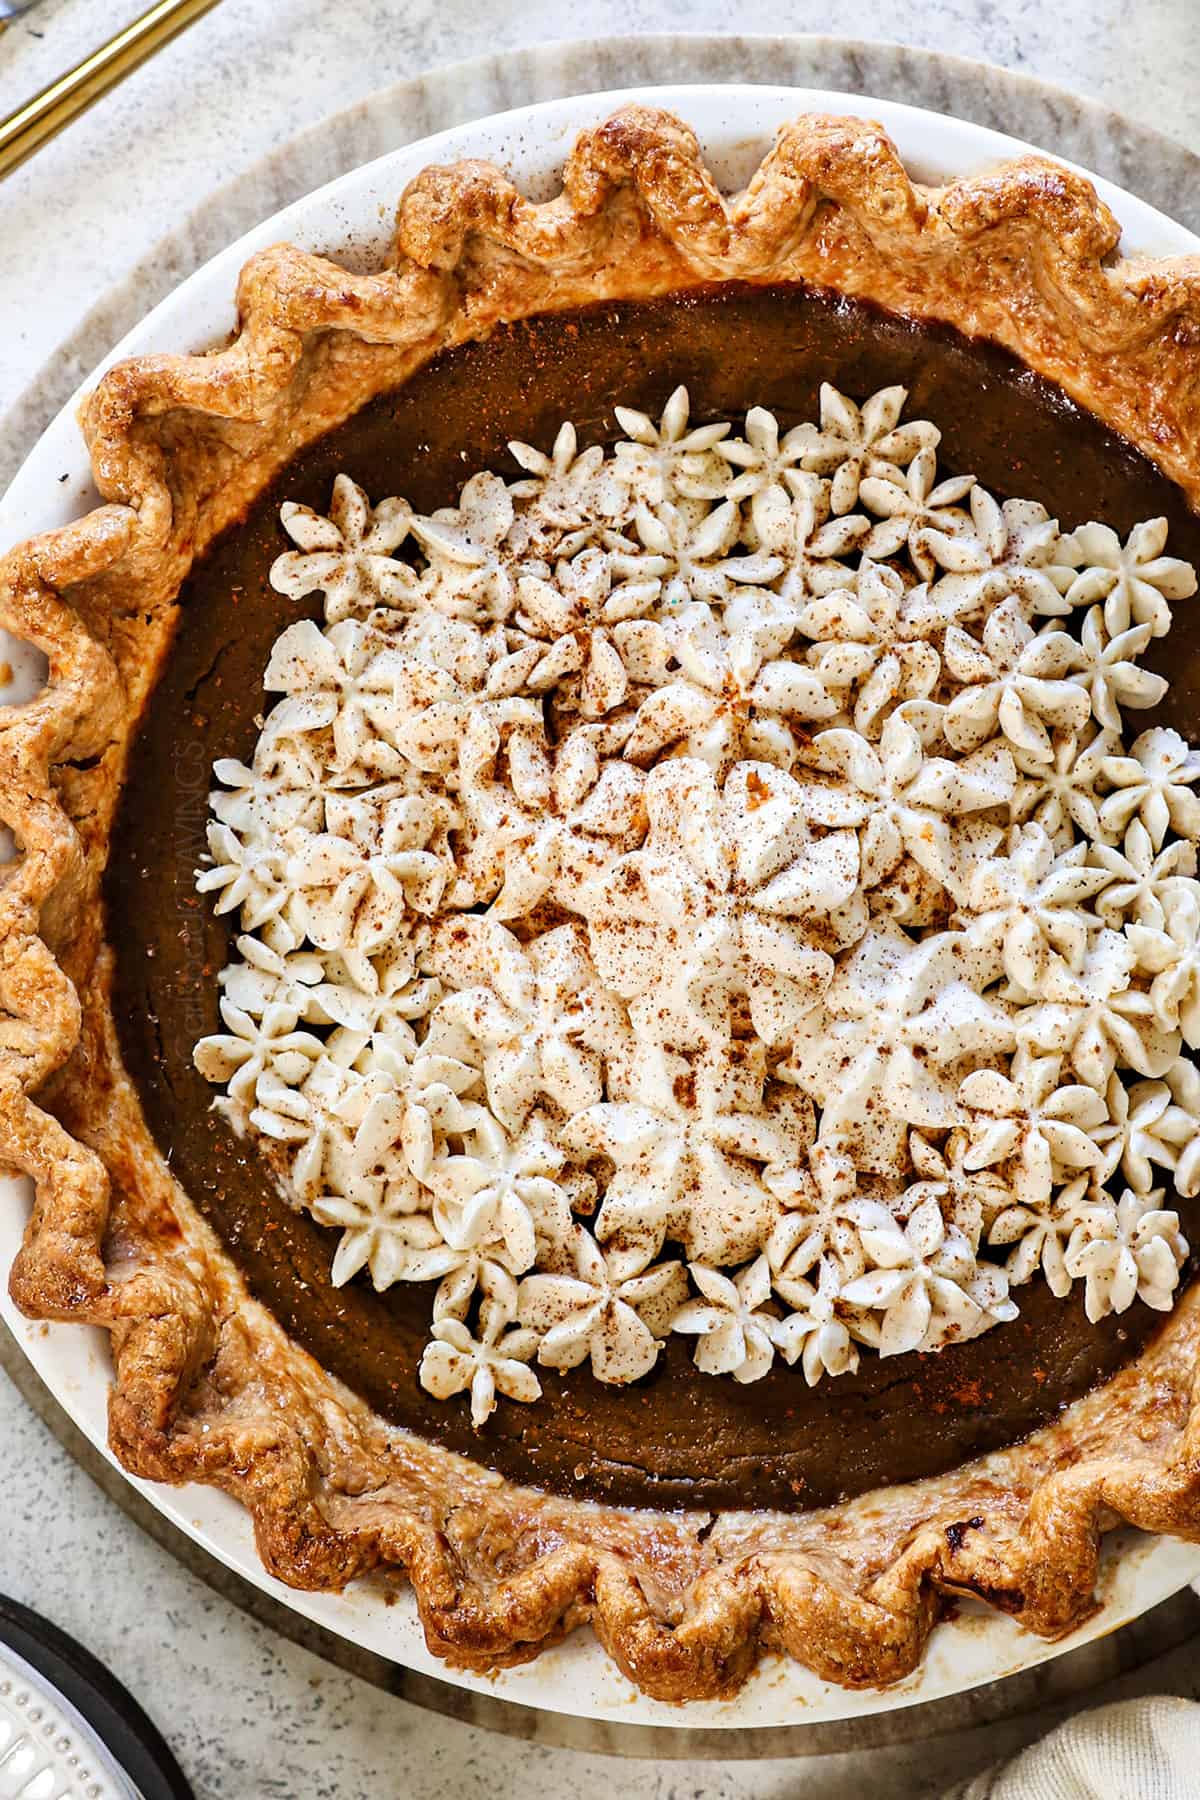

How to tell if pumpkin pie is done
Bake until the pie is cracked around the edges, the center is puffed up and slightly wobbly, and a toothpick inserted in the center comes out clean. (The pie recipe cooks for less time than other recipes because the filling is par-cooked on the stove.)

Homemade Pumpkin Pie Tips
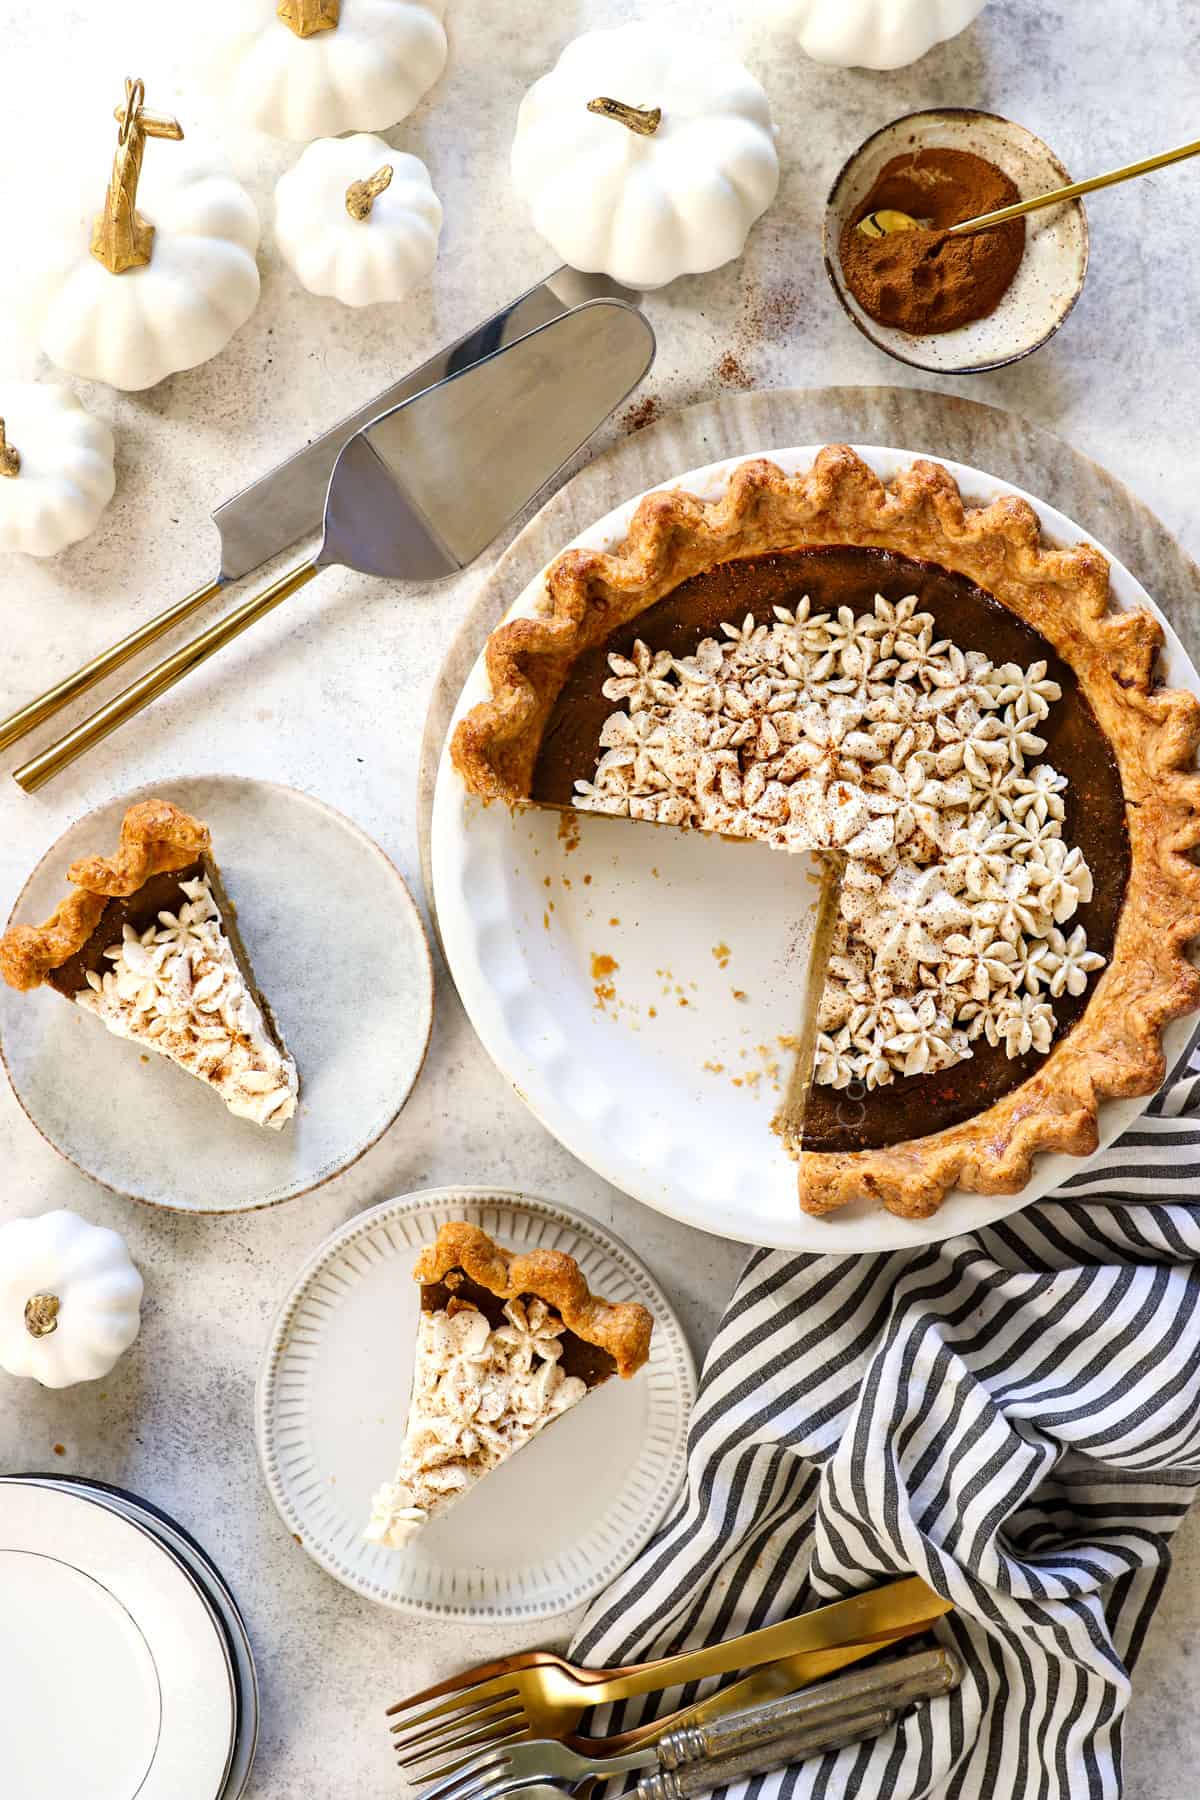

Prep Ahead homemade pumpkin pie
-100% Ahead: The pumpkin pie can be made two days in advance thanks to stabilized whipped cream. Simply pipe or spread the cream onto the pie, tent with foil, and pop the pie back in the fridge until ready to serve.
-Crust: The dough for the pie crust is best made and wrapped tightly in plastic wrap at least one day in advance (2 hours chilling minimum) or up to 5 days. You don’t want to par-bake beforehand because the filling should be poured into a warm crust so it bakes evenly on the bottom.
-Filling: The filling can be made, covered with plastic wrap pressed directly against its surface, and refrigerated for up to 2 days – it tastes the very best this way!
-Freezing: Freeze the pie for up to 3 months without the whipped cream.

Best Pumpkin Pie Recipe Variations
Each variation brings a fresh twist to classic pumpkin pie, making it an exciting dessert to adapt for any occasion!
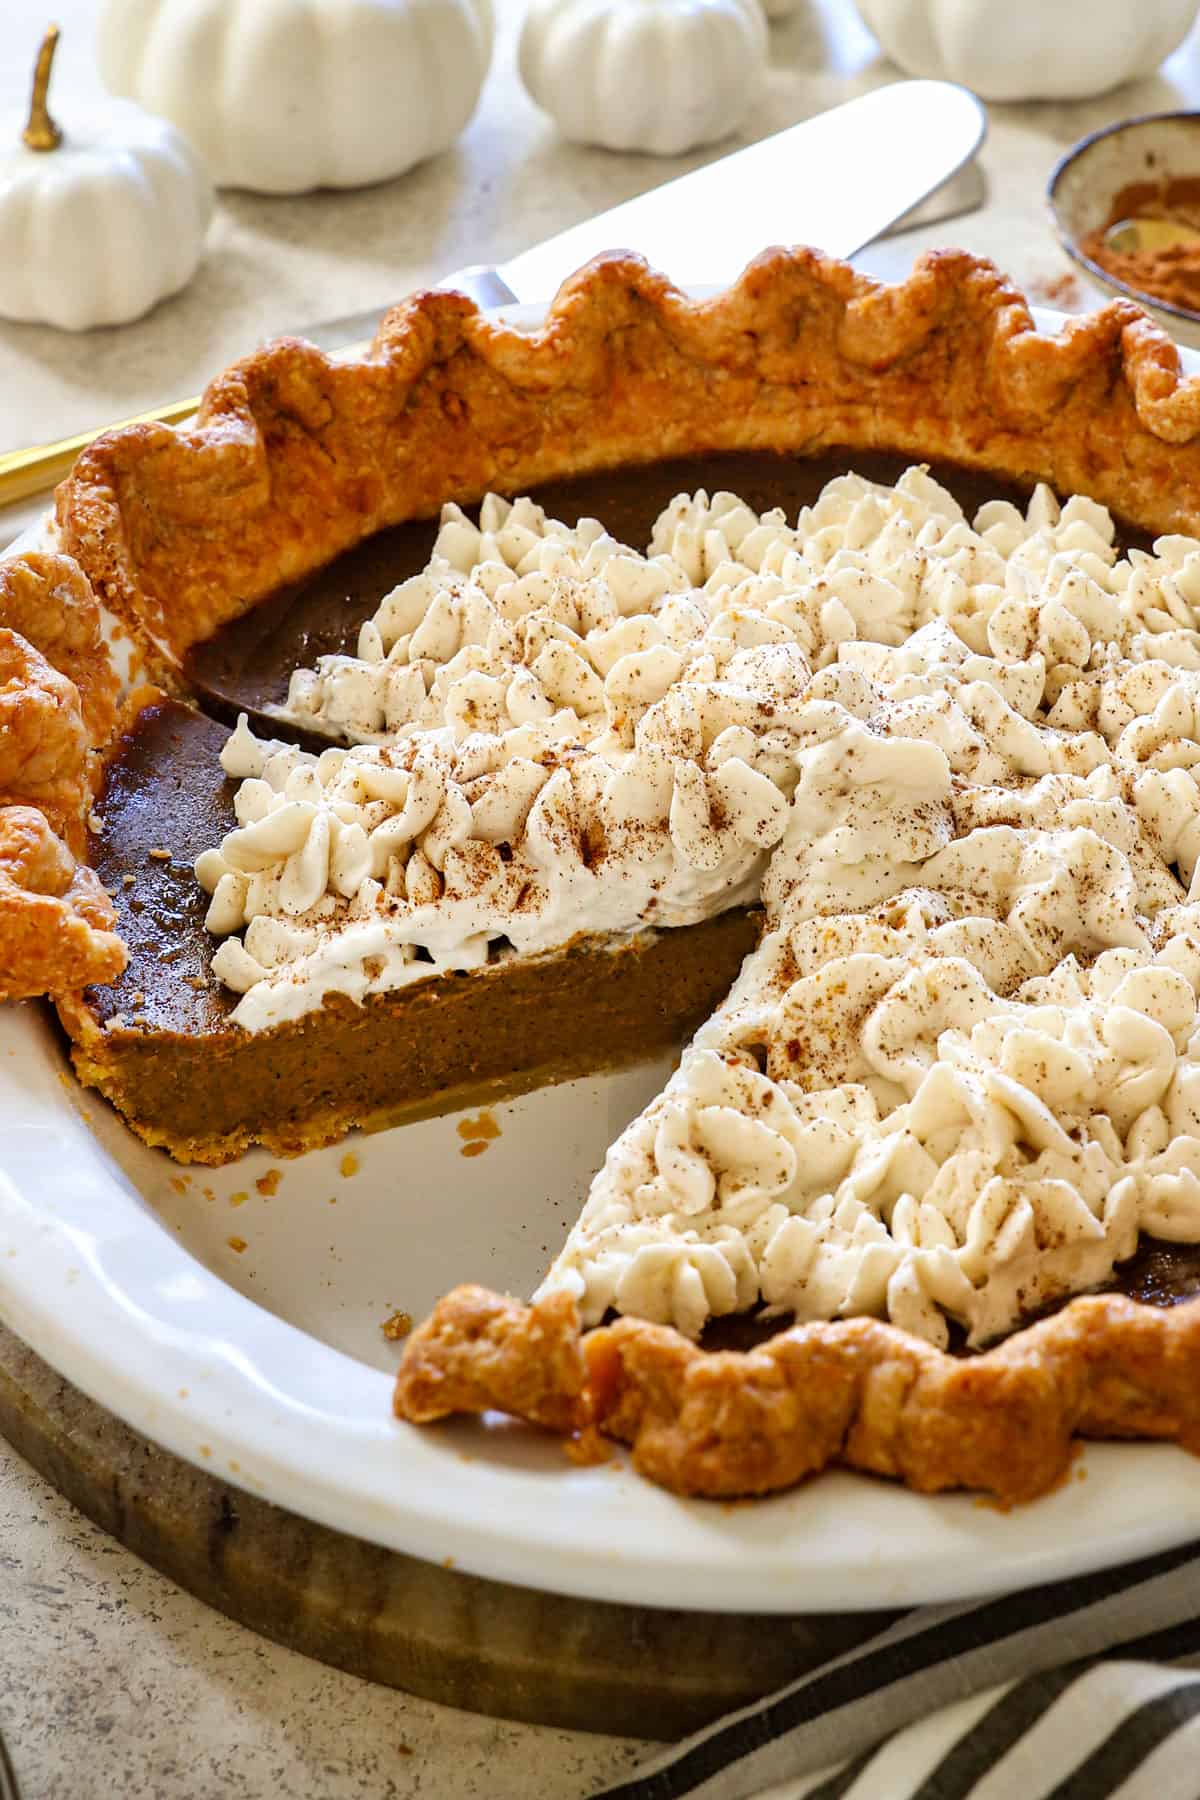

How to serve this Recipe for Pumpkin Pie
Pumpkin pie is typically served chilled or at room temperature. This allows the custard filling to set properly, creating a smooth, creamy texture. To serve this classic pumpkin pie recipe, allow the pie to cool fully and chill in the refrigerator for at least 3 hours. Chilled pumpkin pie holds its shape better, making it easier to slice cleanly. After chilling, slice with a hot knife. You can warm slices slightly (without the whipped cream) for a just-baked feel by microwaving slices for 10-15 seconds.

How to store Homemade Pumpkin Pie
To store homemade pumpkin pie, allow it to cool completely to room temperature, then cover it loosely with plastic wrap or aluminum foil and place it in the refrigerator. Pumpkin pie, like other custard pies, should be kept refrigerated for freshness and safety, as its creamy filling can spoil if left out for more than two hours. Stored properly, pumpkin pie will stay in the fridge for 4-5 days.
Can you freeze pumpkin pie?
Yes, pumpkin pie freezes well. For longer storage, you can freeze pumpkin pie by tightly wrapping it in plastic wrap, followed by foil. Freeze for up to one month; thaw it in the fridge before serving.
Homemade Pumpkin Pie FAQs
To prevent a soggy bottom on a pumpkin pie, this recipe uses these effective techniques:
1. Pre-bake (or blind-bake) the crust: Partially bake the crust before adding the pumpkin filling to create a barrier against moisture. To do this, line the crust with parchment paper, fill it with pie weights, and bake until lightly golden.
2. Brush with egg wash: Applying a thin layer of egg wash (a mixture of beaten egg and a splash of water or milk) to the crust and baking it briefly creates a seal that prevents the filling from soaking in.
3. Bake on a preheated baking sheet: Place the pie on a hot baking sheet in the oven to help the bottom crust cook faster, giving it a firmer texture.
4. Partially cook the filling: For extra moisture control, cook the pumpkin filling briefly on the stovetop to evaporate some liquid before pouring it into the crust. This can enhance both texture and flavor.
These steps help maintain a crisp crust and a perfectly set filling for a delicious pumpkin pie.
Yes, you can use regular pumpkins to make a pie, but I don’t recommend it. I tested this recipe using fresh pumpkin, and even after being roasted and blotted, the filling was still not as sturdy or creamy, and it had an herbaceous taste.
If you want to use pumpkins to make a pie, consider a few things. Standard carving pumpkins often have more watery, fibrous flesh, making them less ideal for baking than smaller, sweeter pie pumpkins or sugar pumpkins. Pie pumpkins are specifically grown for cooking and have a denser, smoother texture with a natural sweetness that works better for pies and baked goods.
Pie and regular pumpkins differ mainly in size, texture, and flavor, tailored to specific uses. Pie pumpkins, also known as sugar pumpkins, are smaller (usually 2-8 pounds), with dense, fine-grained flesh and a naturally sweet flavor that’s ideal for baking and pureeing in pies and other desserts. Their thicker flesh and lower water content help prevent pie fillings from becoming too watery.
In contrast, regular pumpkins (often used for carving) are larger, with a more fibrous, watery texture and a mild flavor, making them less ideal for baking. Their primary use is decorative, as the flesh can be stringy and lacks the natural sweetness of pie pumpkins.
For the best pumpkin pie flavor and texture, use pie pumpkins or sugar pumpkins. These smaller pumpkins (usually around 2-8 pounds) have dense, sweet flesh that purees smoothly, unlike larger carving pumpkins, which tend to be watery and stringy.
To prevent cracks, avoid overbaking and let the pie cool gradually. Slightly underbaking the pie so it’s set but still a bit jiggly in the center can help, as the filling will continue to firm up as it cools.
Pumpkin pie is best served chilled or at room temperature. Cooling the pie allows the flavors to develop fully, and it can be topped with whipped cream or ice cream for added texture.
If pumpkin pie lacks flavor, it might need more spices like cinnamon, nutmeg, ginger, or cloves. Also, using high-quality pumpkin purée and adding a pinch of salt can enhance the natural pumpkin flavor.
Pumpkin pie is done when the edges are set and the center is slightly jiggly. Insert a toothpick about an inch from the edge; if it comes out clean, the pie is ready. Overbaking can cause cracks and dryness.
Yes, you can substitute evaporated milk with half-and-half, heavy cream, or coconut milk. This can slightly change the texture, but still results in a creamy, delicious pie.
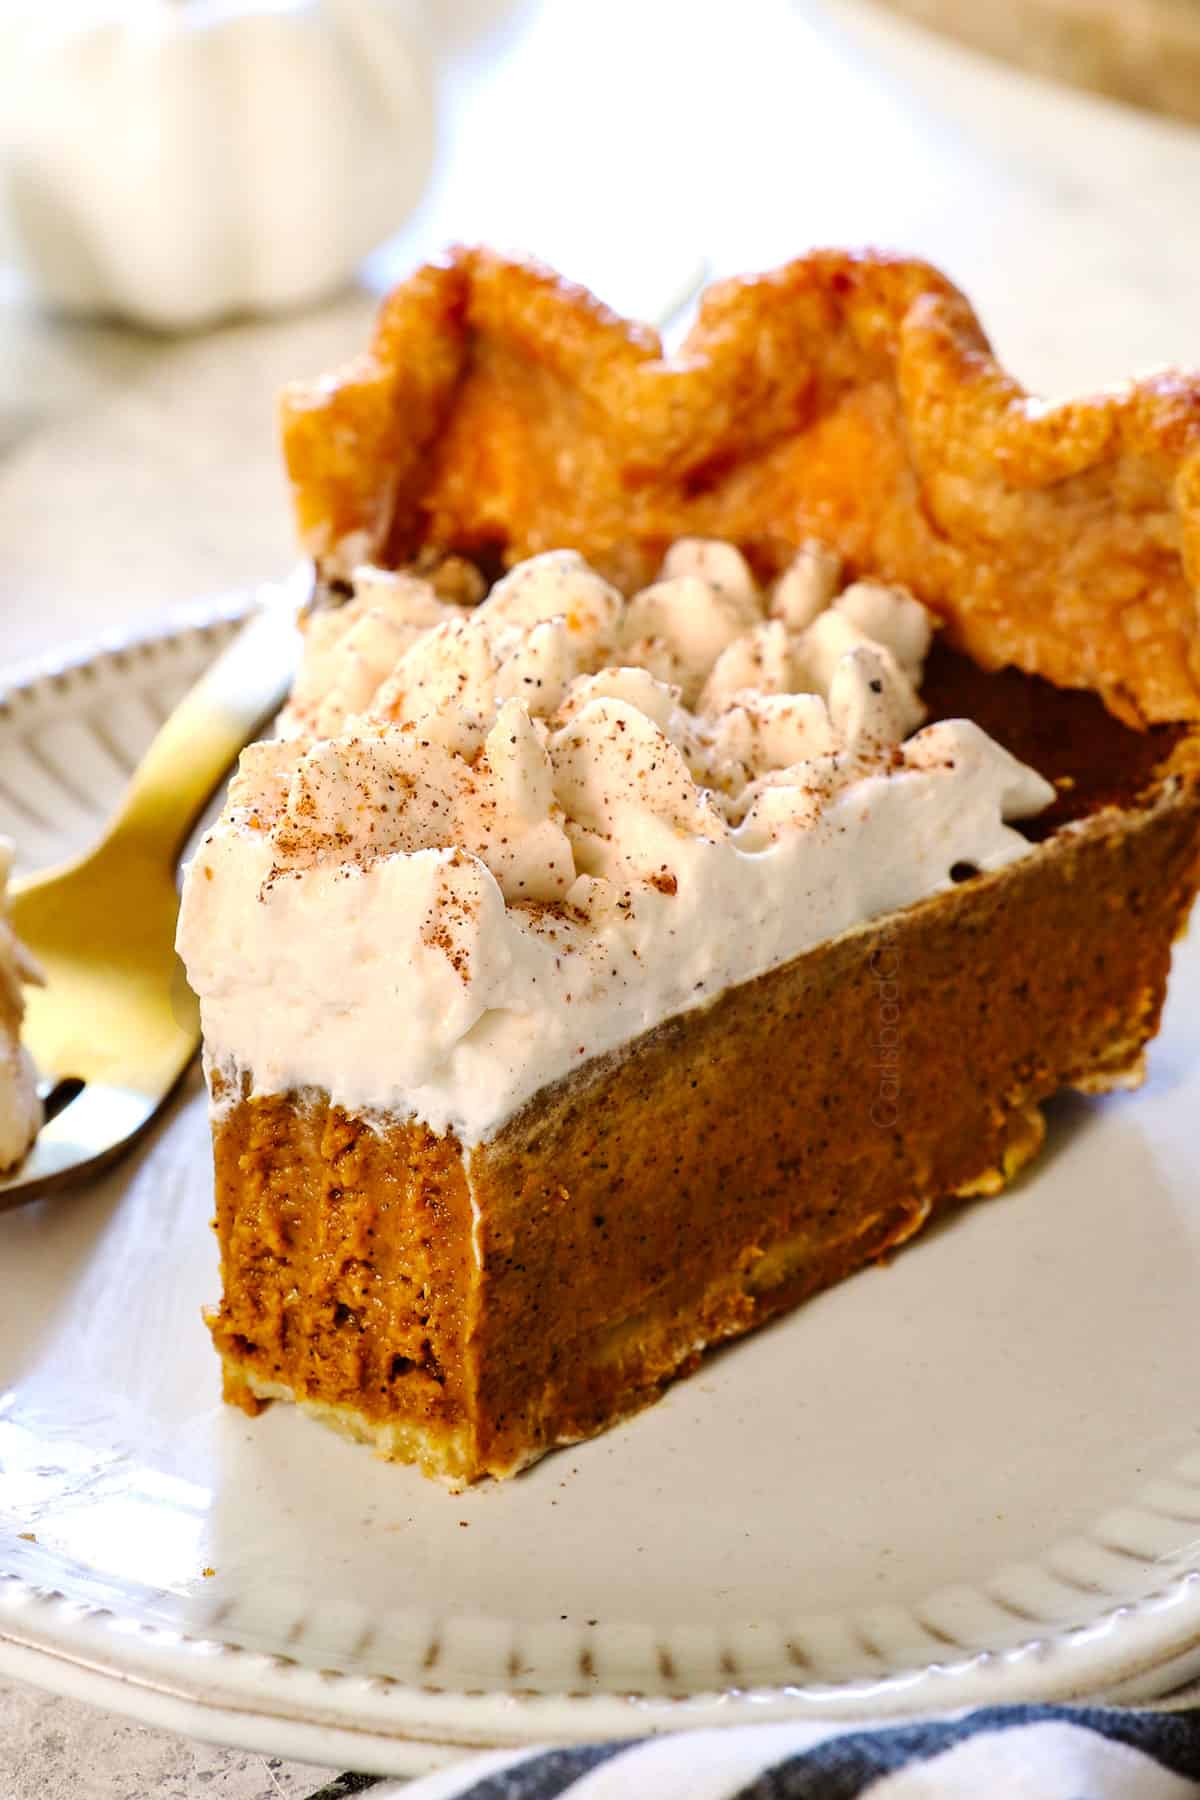
WANT TO TRY THIS Pumpkin Pie RECIPE?
PIN IT to your recipe BOARD TO SAVE FOR LATER!
FIND ME ON PINTEREST FOR MORE GREAT RECIPES! I AM ALWAYS PINNING :)!
©Carlsbad Cravings by CarlsbadCravings.com
Tools Used in This Recipe
See Favorite Tools
Pumpkin Pie Recipe from Scratch
Save This Recipe To Your Recipe Box
You can now create an account on our site and save your favorite recipes all in one place!
Ingredients
Pumpkin Pie
- 1 recipe pie crust
- 1 15 oz. can Libby's pumpkin puree NOT pumpkin pie filling
- 3/4 cup packed light brown sugar
- 2 teaspoons ground cinnamon
- 1 teaspoon ground ginger
- 1/2 tsp EACH ground nutmeg, salt
- 1/4 teaspoon ground cloves
- 1/8 teaspoon pepper
- 1 cup heavy cream
- 3 eggs
- 2 teaspoons vanilla extract
Salted Honey Whipped Cream
- 1 teaspoon unflavored gelatin
- 1 1/2 tablespoons water
- 1 cup heavy cream
- 3 tablespoons honey
- 1/2 teaspoon vanilla extract
- 1/4 teaspoon sea salt
Instructions
Crust
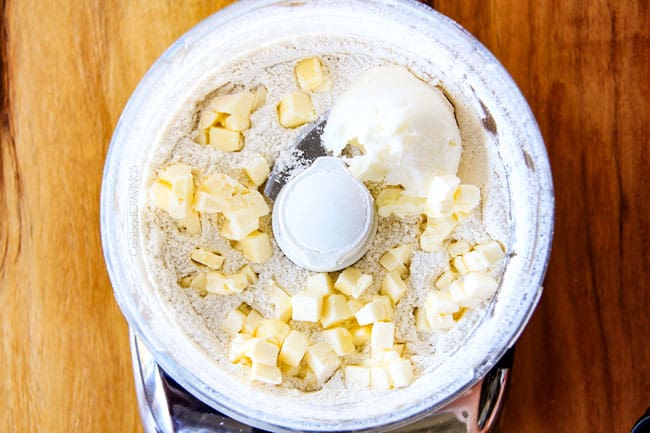
- Make Crust Dough: Prepare the crust through step 6 under Making Dough (refrigerating 8-inch disc). Click HERE for the recipe.
- Par-bake the Crust: Preheat the oven to 375°F. Line the pie shell with crinkled parchment paper; fill with pie weights or dried beans (this keeps the crust from shrinking). Par-bake for 15 minutes, then carefully remove the parchment paper and weights. Evenly prick the bottom of the crust 6-8 times with a fork. Continue to bake (without parchment/weights) for 6 minutes, until the pastry dries and barely begins to brown on the bottom.
Pumpkin Filling
- Cook Filling: Add the pumpkin, brown sugar, and spices to a medium saucepan and whisk to combine. Cook over medium-high heat for 4 minutes, stirring constantly.
- Add Cream: Remove from the heat and whisk in the heavy cream until smooth, followed by the eggs and vanilla. Pour the filling into the warm pie crust. Cover the edges with a pie shield or foil.
- Bake: Bake at 375°F for 25-35 minutes (checking at 25)– UNTIL the pie is cracked around the edges, the center is puffed up and slightly wobbly and a toothpick inserted in the center comes out clean. (The pie cooks for less time than other recipes because the filling is par-cooked on the stove.)
- Cool: Cool the pie on a wire rack for 3 hours before topping with the cream and refrigerating or serving.
Whipped Cream
- Note: The beauty of stabilized whipped cream is it holds its shape indefinitely. Add it at any point after the pie has cooled for 3 hours, then either serve immediately or refrigerate until ready to serve. If you skip the water/gelatin, add the whipped cream just before serving. It will not be stiff enough to pipe but can be spread.
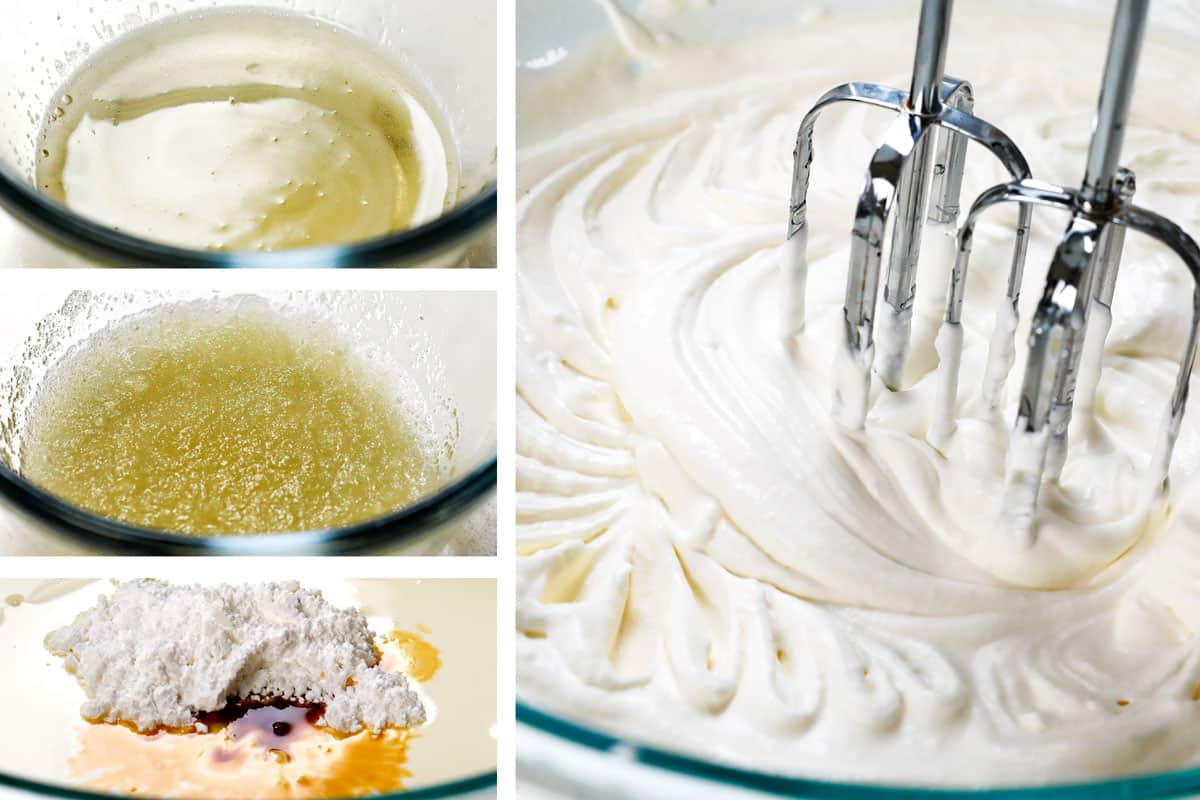
- Microwave Gelatin: Add the unflavored gelatin to a small microwave-safe bowl. Add the cold water and whisk with a fork; let stand for 5 minutes. Microwave for 20 seconds. Stir the mixture, then set aside for about 2-3 minutes while you immediately begin to beat the heavy cream.
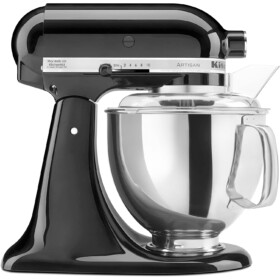
- Whip to Soft Peaks: Add the heavy cream, honey, vanilla, and salt to a large mixing bowl and whip using a stand mixer or an electric hand mixer until soft peaks form (the peaks flop over when the beaters are lifted.)
- Whip to Stiff Peaks: Turn the mixer to low and slowly pour in the gelatin mixture. Mix until combined, then increase speed to medium and continue mixing until stiff peaks form (peaks stand straight up when the beaters are lifted).
- Add to Pie: Spread the whipped cream over the cooled pie or decorate using a piping bag. Serve immediately or refrigerate until ready to serve (keeps for up to 5 days but is best within 2).
Video
Notes
Tips and Tricks
- Use High-Quality Canned: High-quality canned pumpkin (like Libby’s) is consistent and dependable, with rich flavor and the proper moisture balance.
- Blot the Pumpkin Puree: If you use a brand other than Libby’s pumpkin puree, drain the pumpkin for the best flavor and texture.
- Don’t Overmix the Filling: Gently mix the filling ingredients to avoid adding too much air, which can create bubbles and cracks. Stir by hand to ensure a smooth, dense custard.
- Use Room-Temperature Eggs: Room-temperature eggs easily blend with the other ingredients, helping you not overmix. On the other hand, cold eggs are more difficult to mix in and can break the emulsion of the sugar and oil, so the batter loses air cells, resulting in a grainy filling or a cracked filling in the center (cracked edges are okay).
- Room-Temperature Egg Hack: Add warm (not hot) tap water to a bowl, then add the eggs and let it sit for at least 20 minutes.
- Pre-Bake the Crust: For a crisp, fully cooked bottom crust, blind-bake (pre-bake) the crust before adding the filling. This extra step prevents a soggy crust, especially with a wet filling like pumpkin.
- Don’t Under or Overbake: Every oven is different, so check for doneness at the early end of the cooking window and add baking time as needed. This pumpkin pie requires less baking time because the filling is cooked on the stove for a few minutes beforehand.
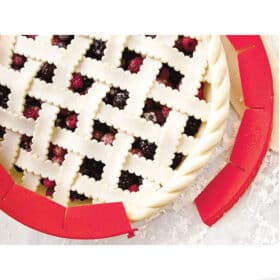
- Cover the Pie Edges: After blind-baking the crust, I cover the edges with a pie shield and bake the entire pie with the filling and the edges covered. You may need to adjust based on your oven and crust recipe, but this works for me.
- Use Gelatin After a Few Minutes: After the gelatin is microwaved, allow it to cool for 2-3 minutes so it doesn’t curdle the whipped cream. However, don’t wait too long to use it, or it will thicken and set. If this happens, microwave it again for 10-15 seconds until liquidy.
Make Ahead
- 100% Ahead: Thanks to stabilized whipped cream, the pumpkin pie can be made two days in advance. Simply pipe or spread the cream onto the pie, tent with foil, and pop the pie back in the fridge until ready to serve.
- Make-Ahead Crust: The dough for the pie crust is best made and wrapped tightly in plastic wrap at least one day in advance (2 hours chilling minimum) or up to 5 days. You don’t want to par-bake beforehand because the filling should be poured into a warm crust so it bakes evenly on the bottom.
- Filling: The filling can be made, covered with plastic wrap pressed directly against its surface, and refrigerated for up to 2 days – it tastes the very best this way!
- Freezing: Freeze the pie for up to 3 months without the whipped cream.

Did You Make This Recipe?
Tag @CarlsbadCravings and Use #CarlsbadCravngs
Leave a Review, I Always Love Hearing From You!





Stephanie says
Absolutely stunning photography and food styling of this new pumpkin pie recipe Jenn! I know nothing about piping or star tips but you had some amazing skills to make it looked topped with white star anise shaped stars, gorgeous work girl!
Jen says
Aw, thanks so much Stephanie! You are so sweet to share your admiration for my photography! It is definitely one of my passions! I hope you try out the pie – so delicious!
JM says
In the upper portion of this page it states:
“Step 2: Par-bake the Crust. Evenly prick the bottom of the crust 6-8 times with a fork.” then bake for 15 minutes but in the Instructions step 2 it says bake for 15 minutes THEN prick the bottom of the crust before baking an additional six minutes. Could you please clarify, which is it?
Jen says
My apologies – I just corrected it! The recipe is correct: prick the pastry after baking for 15 minutes.
Amy says
If you refrigerate the filling overnight, does it need to be reheated before putting in crust and baking?
Jen says
Hi Amy, no it does not need to be warmed first, you can add it straight to the warm crust from the refrigerator. Enjoy!
Elizabeth Smith says
What do you think of replacing the honey with maple syrup? (I’m not that fond of honey and maple syrup is a favorite in Maine.)
Jen says
I think it would be delicious as well!
Melanie says
This is the most delicious pumpkin pie I’ve ever made. The whipped cream is the stuff of dreams. Thank you for such a winner recipe!
Jen says
Yay for yummy pie! I’m so happy it was a winner for your holiday!