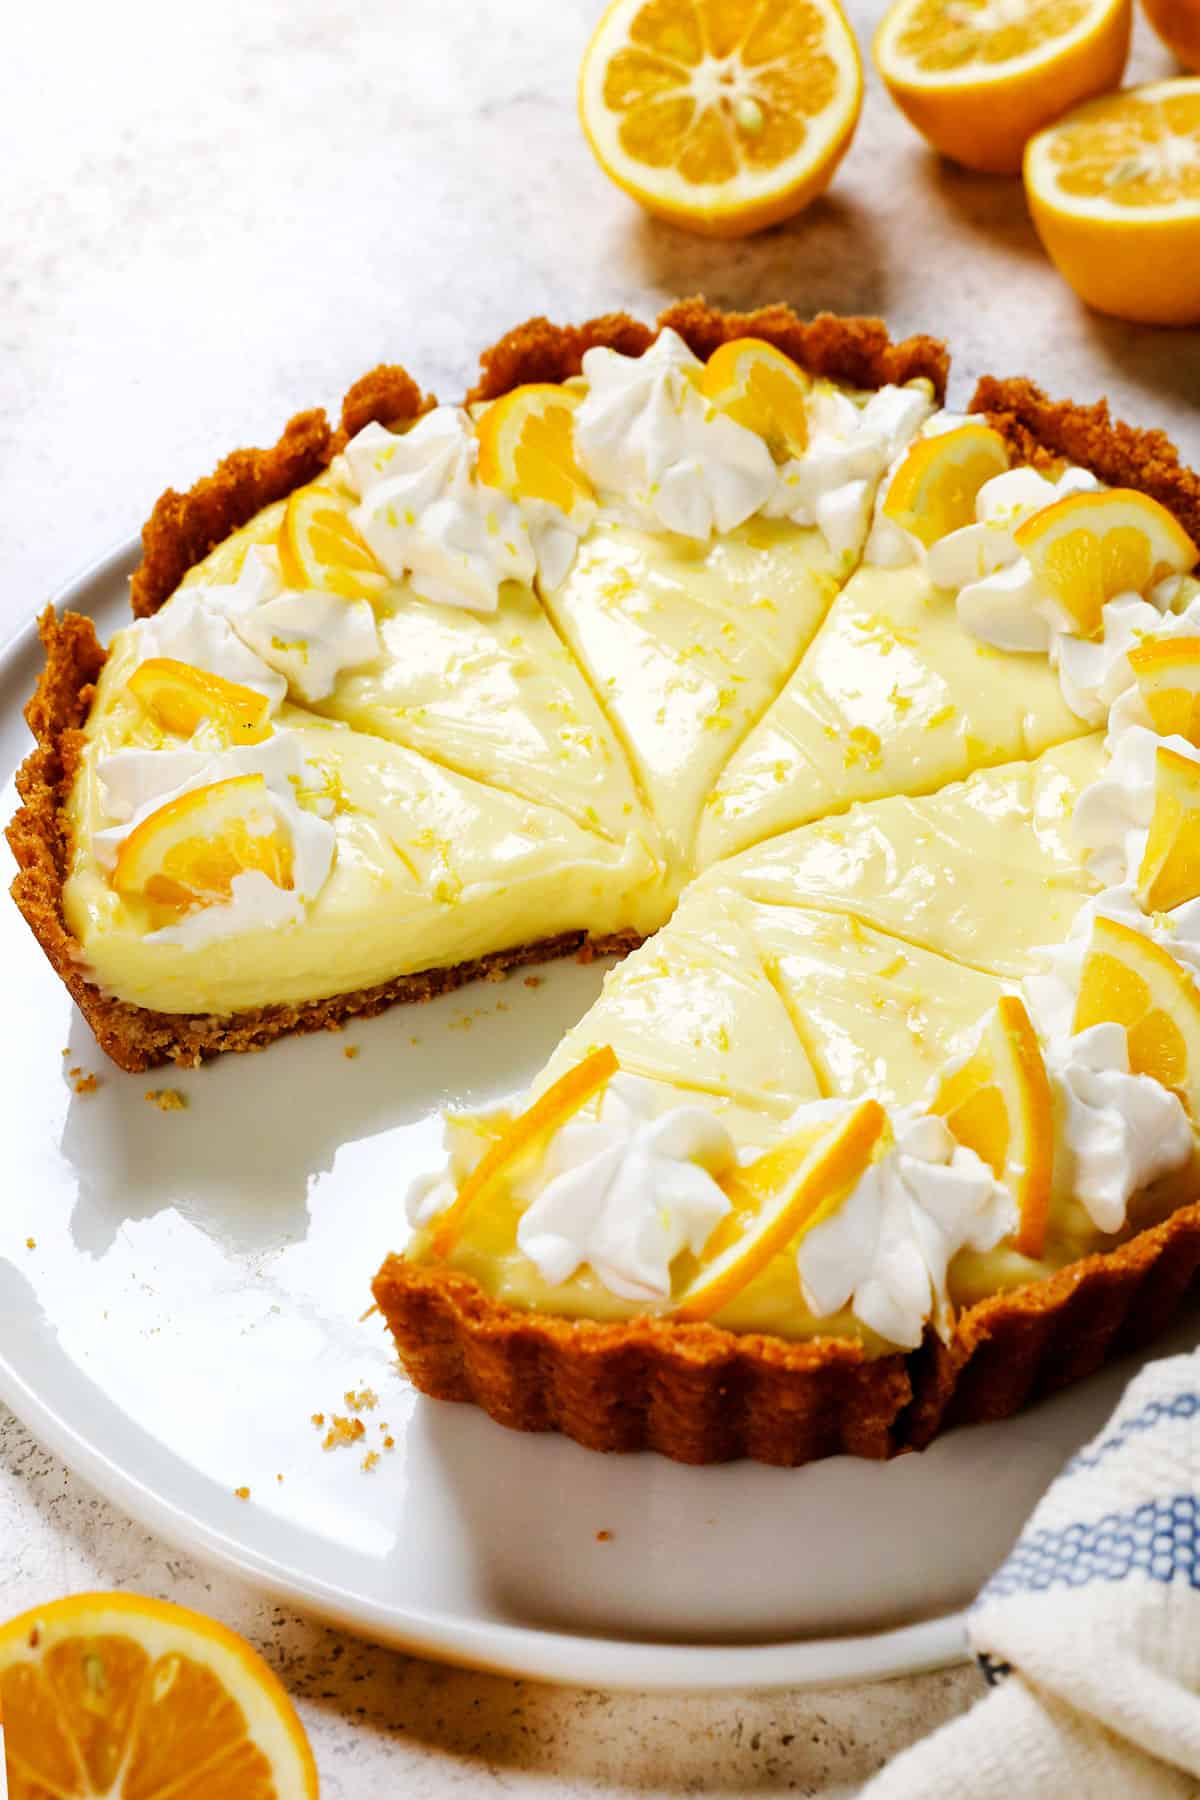
Your family and friends will go crazy over this cool and creamy lemon pie nestled in a coconut vanilla wafer crust! Its balanced lemony perfection is quick and easy to achieve with tips and tricks, step-by-step-photos and how to video. Bonus, this lemon pie recipe can be made 100% ahead of time thanks to optional stabilized whipped cream AKA stress free entertaining!
Watch How to Make lemon pie
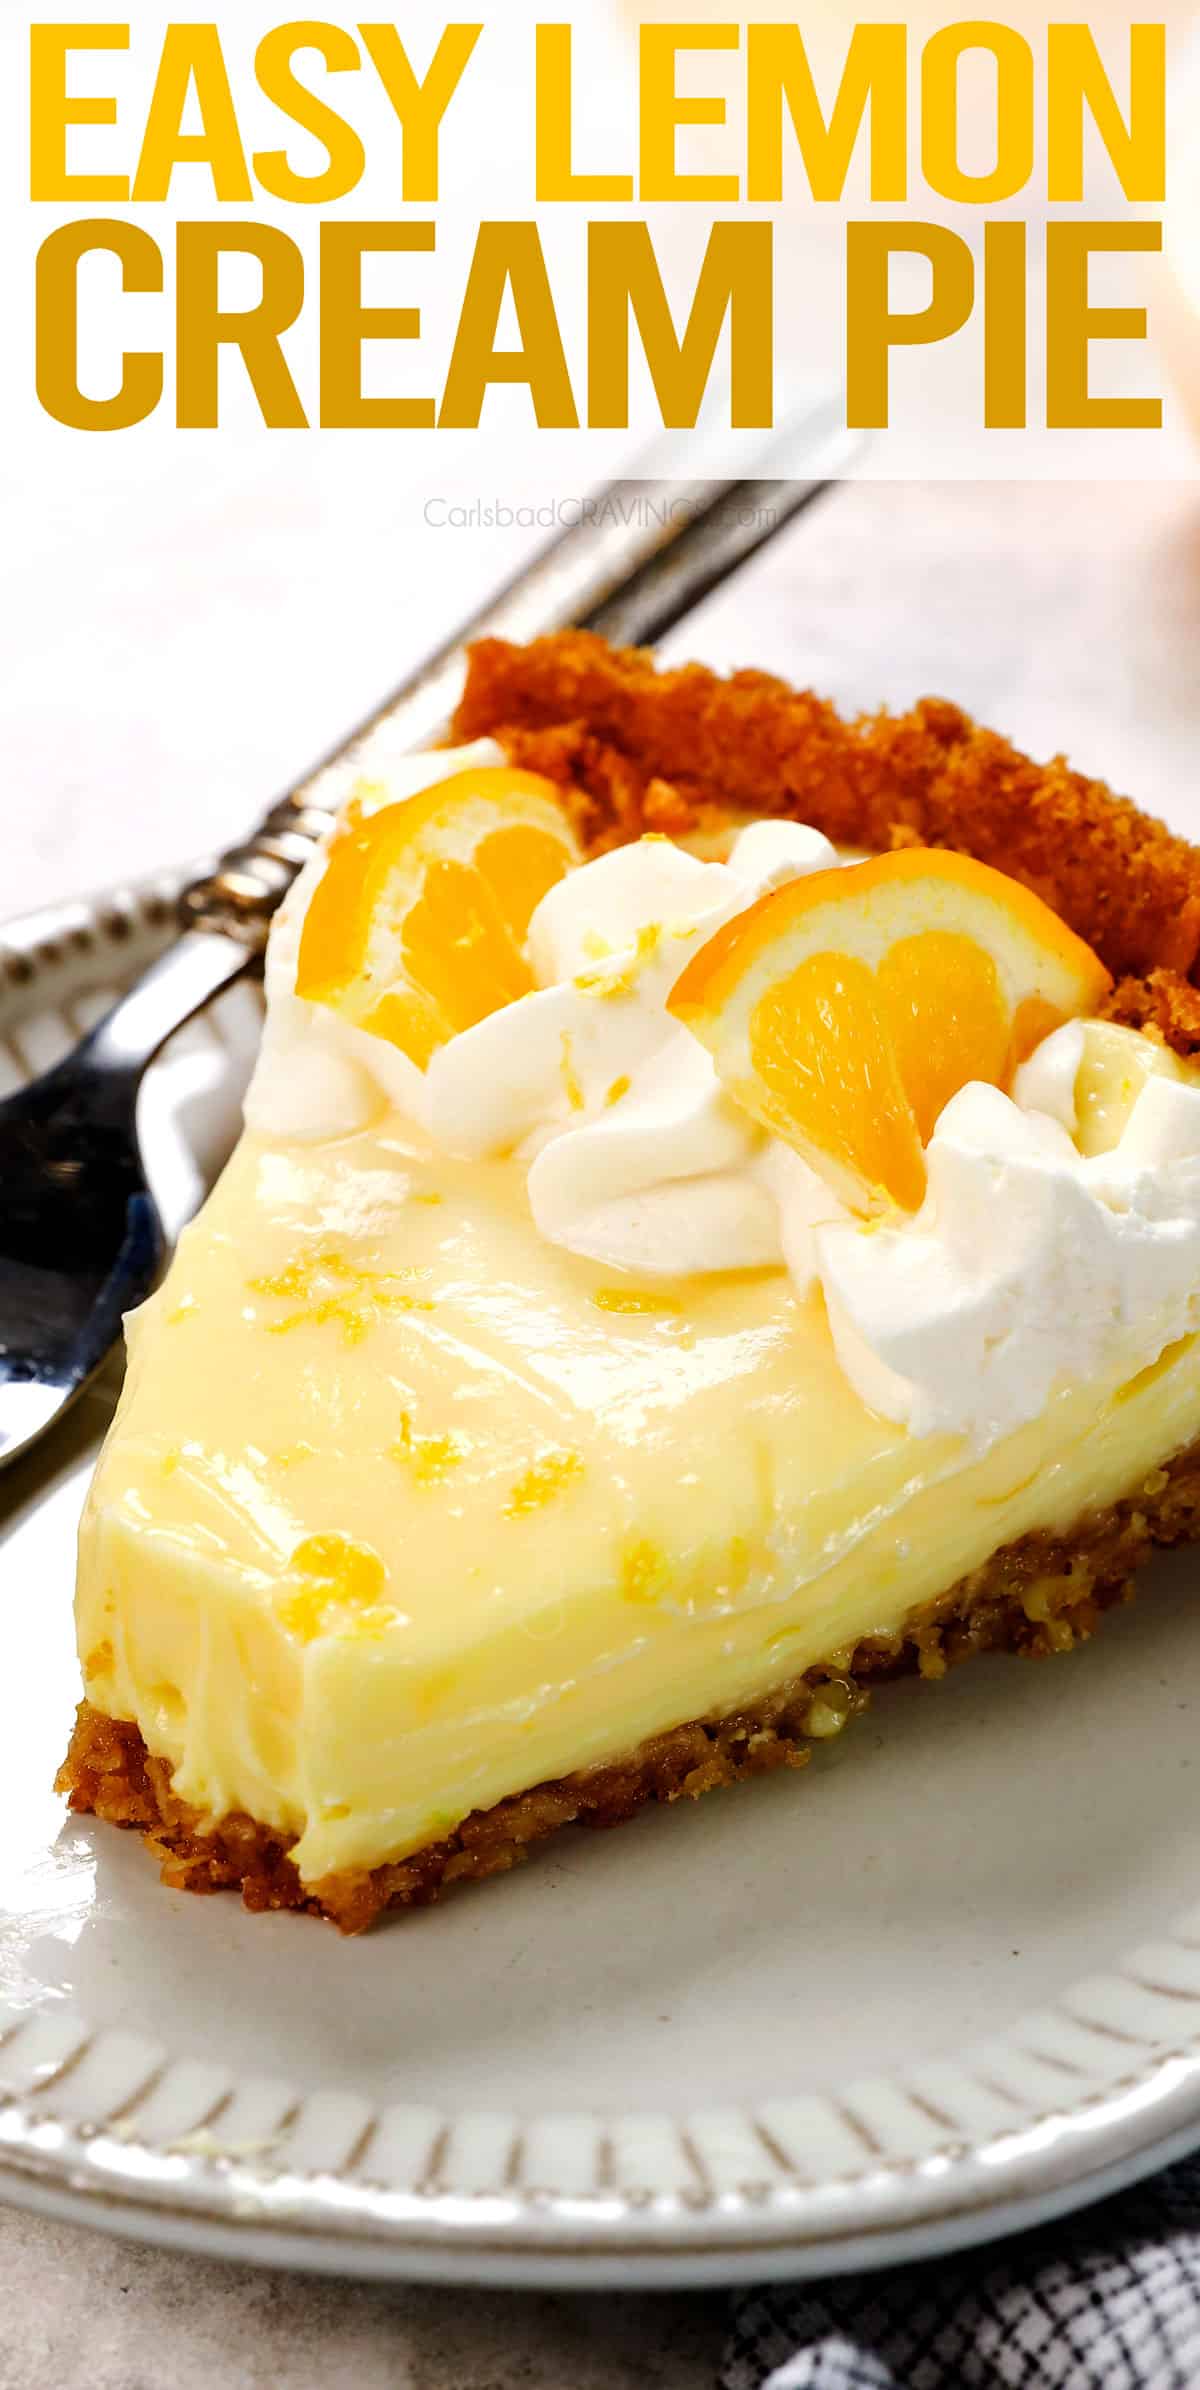

You will love this Recipe for Lemon Pie

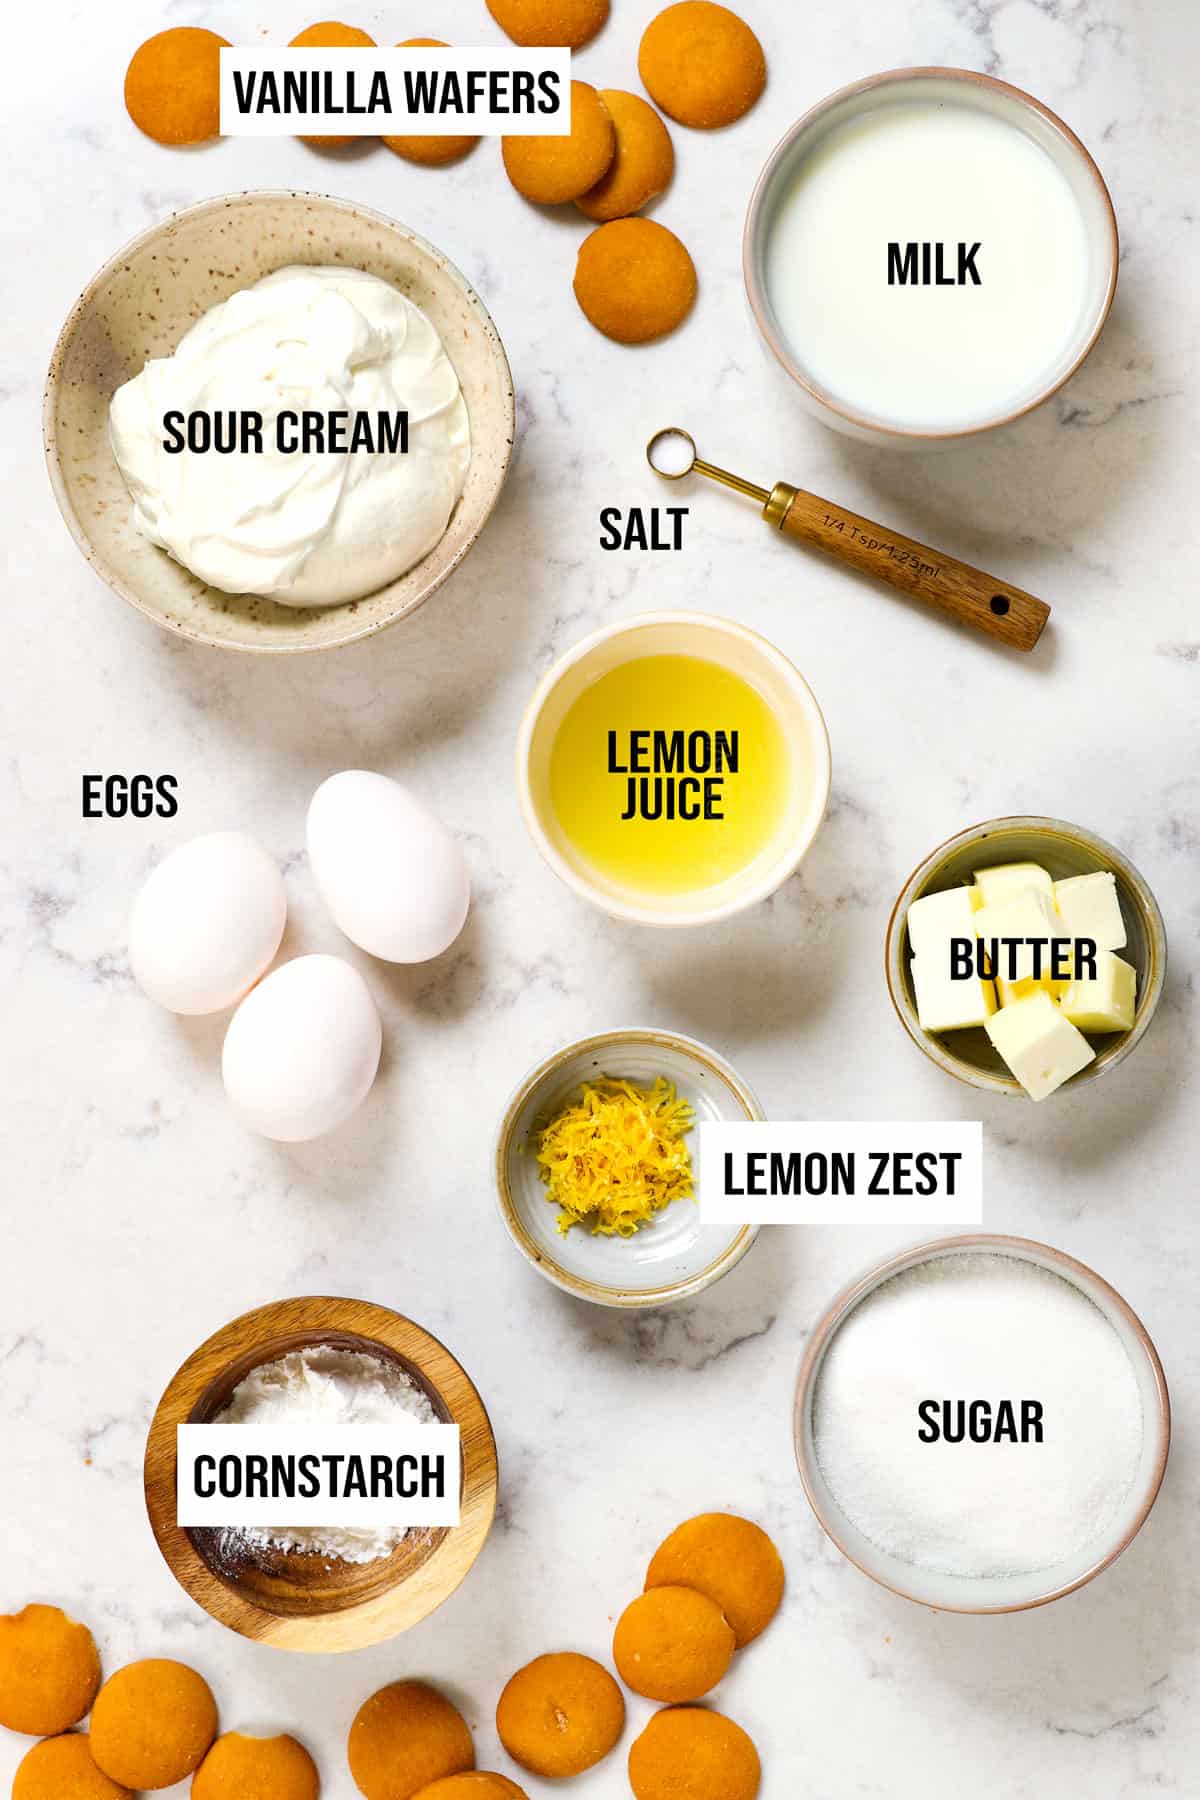
Homemade Lemon Pie ingredients
Homemade lemon pie is comprised of three parts: 1) the crust, 2) the lemon filling, and 3) the whipped cream topping. Let’s review the ingredients and answer any questions you might have (measurements in the printable recipe card at the bottom of the post):
For the creamy Lemon Pie Filling:
For the Crust:
FOR THE STABILIZED WHIPPED CREAM:
Note: You can omit the gelatin and water and make “traditional,” whipped cream. Because it is not stabilized, it must be when ready to serve and served immediately so it doesn’t deflate or weep.

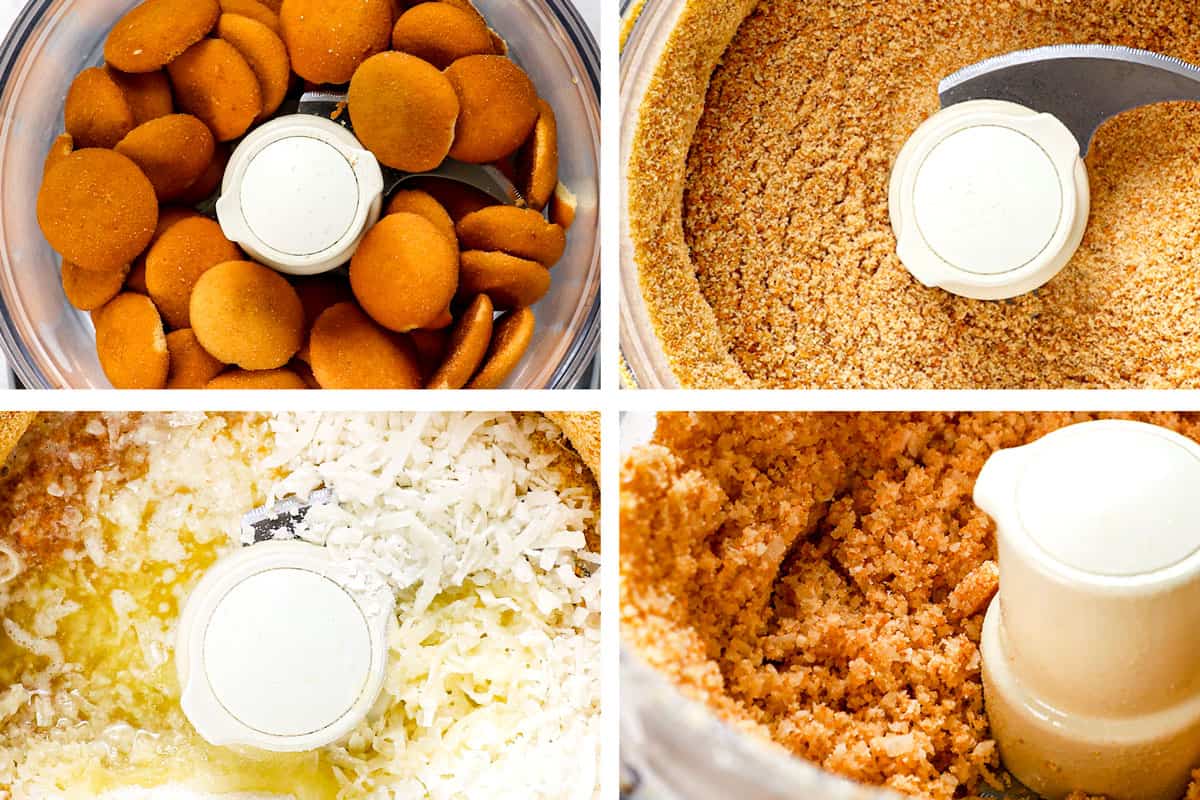
How to make Lemon Pie
Let’s take a closer look at how to make lemon pie with step-by-step photos (full recipe in the printable recipe card at the bottom of the post):


Prep Ahead homemade lemon pie
-100% Ahead: The lemon cream pie can be made 100% ahead of time thanks to stabilized whipped cream. Simply pipe the cream on the pie, tent with foil, then pop the pie back in the fridge until ready to serve.
-Make Ahead Crust: The crust can be baked and cooled up to 2 days in advance before filling. Cool, then wrap tightly and store at room temperature. The baked crust can also be frozen for up to 3 months.
-Filling: The filling can be made, covered with plastic wrap pressed directly against its surface, and refrigerated for up to 2 days.

Lemon Pie Recipe TIPS
Follow these tips and tricks for the best lemon pie recipe every time!


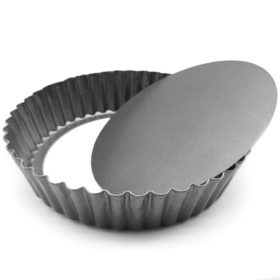
what’s the best pan for lemon pie?
A quiche pan with a removable bottom is the secret to cleanly sliced pie without crumbled crust! It’s a total game changer – I use this 9-inch quiche pan in all of my pie recipes. Of course, this recipe also works with a traditional pie dish.
When ready to serve, place the pie on an inverted bowl. The sides of the pan will drop down, leaving you with just the pie, allowing you to:
1. Easily transfer the entire pie to a plate or cake stand for beautiful presentation.
2. Slice the pie cleanly without ruining two slices before you can finally get a whole piece out.
3. Remove the slices from the pan without losing any crust.

Lemon Pie REcipe variations
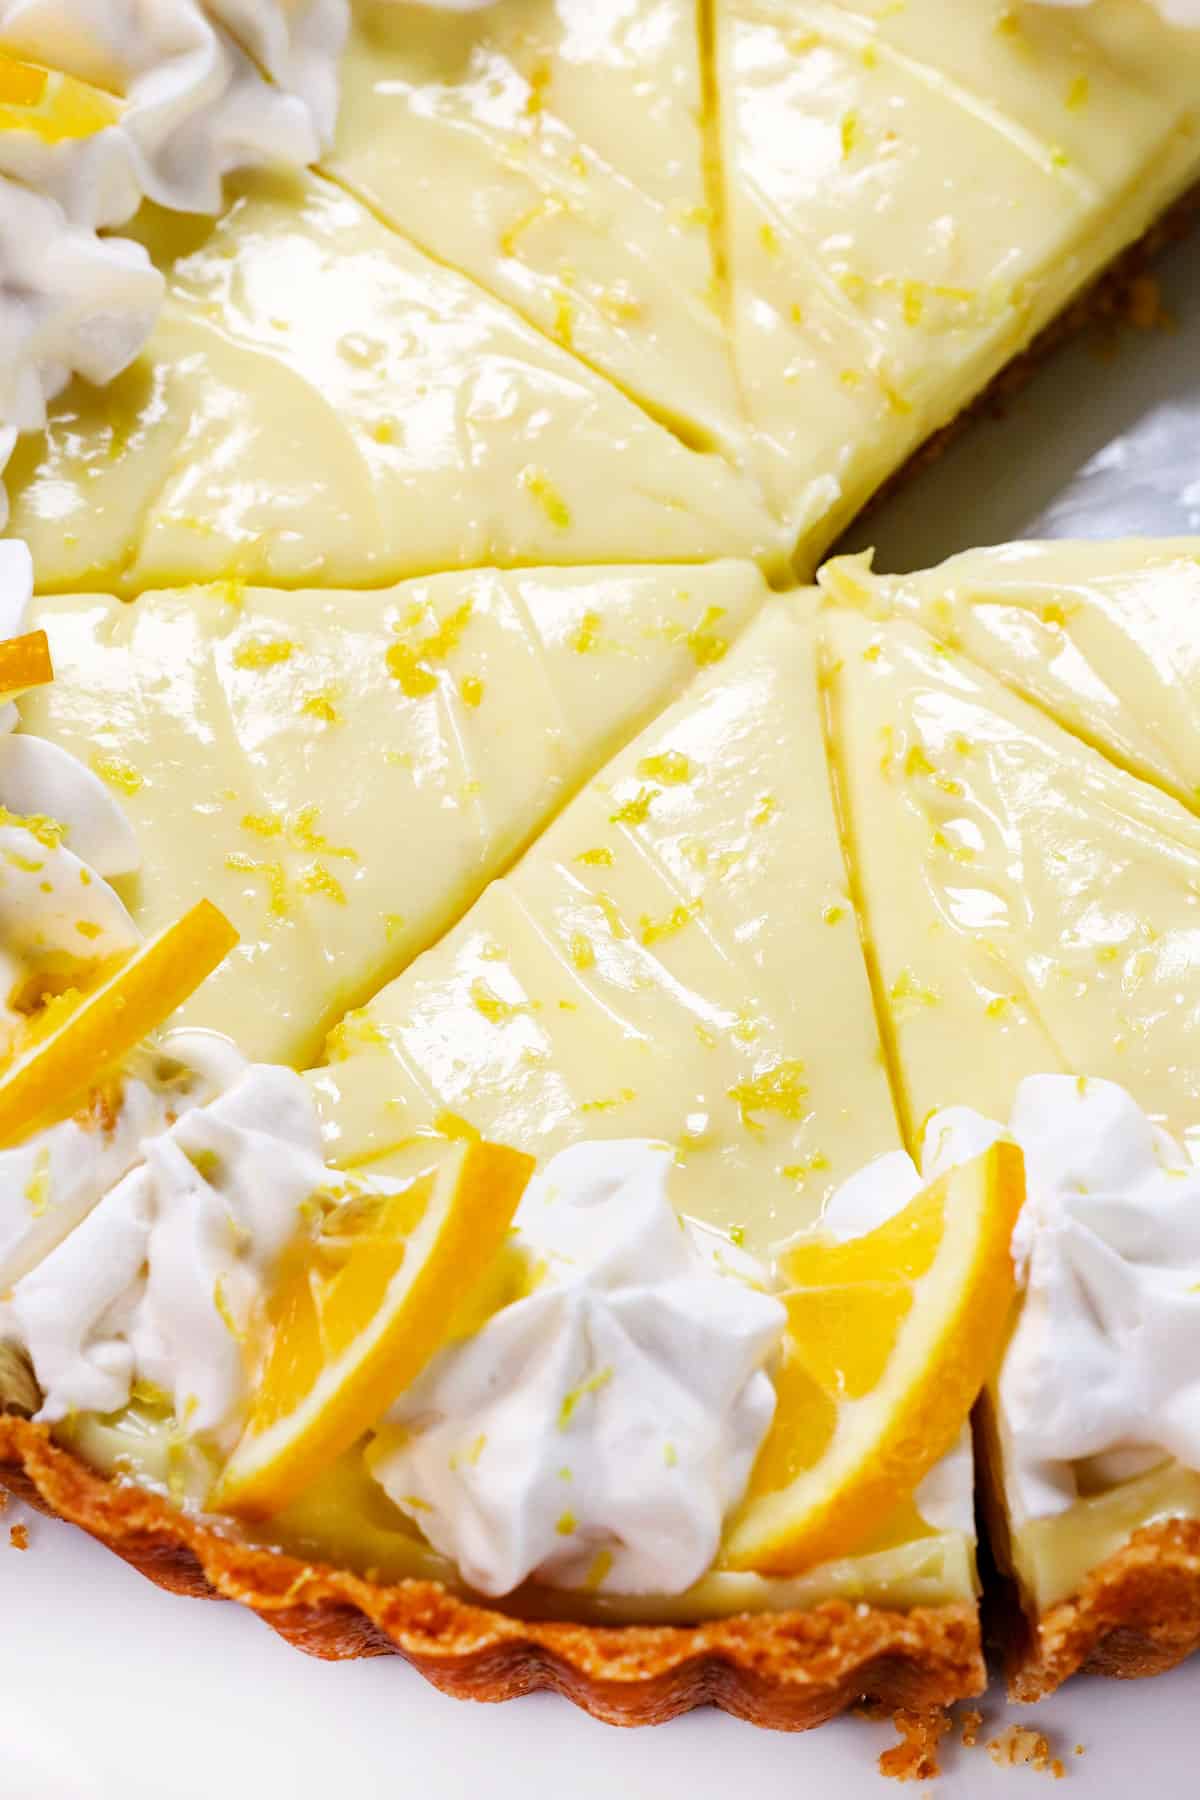

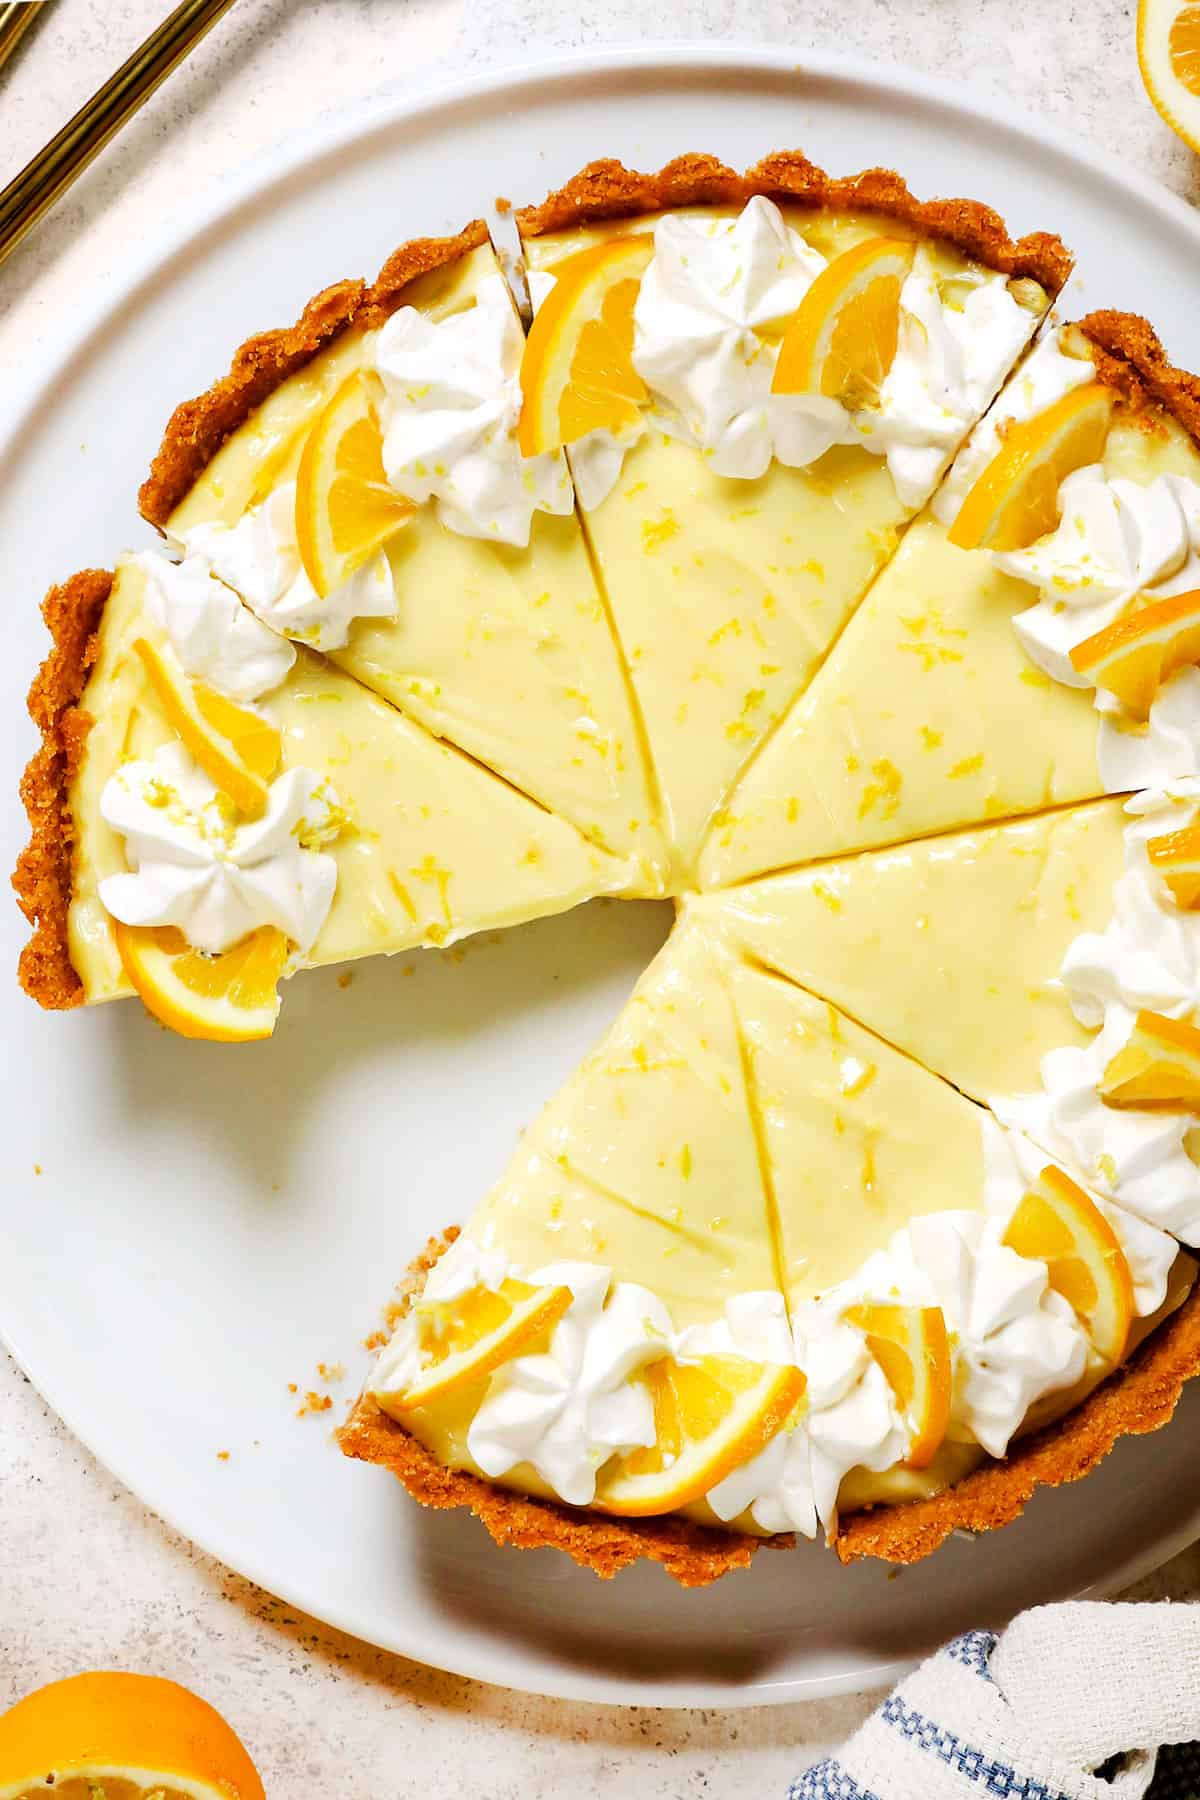
How to serve Homemade Lemon Pie
Lemon pie should be chilled for at least three hours before serving. The best way to cut the pie is the same method used for cutting cheesecake: Dip a sharp knife into hot water (this can be a hot glass of water, or run it under piping hot water for several seconds). Wipe the knife dry, then gently start slicing through the top layer, sawing as needed. Once through the top layer, press down with the knife to cut through the crust. Repeat dipping the knife in hot water and drying between every slice.

How to store Lemon Cream Pie
Tent with foil and seal all around the edges, or store in a cake caddy/container. Refrigerate for up to 3-4 days. Freeze for more long term storage.

Does Lemon Pie need to be refrigerated?
Yes, lemon pie needs to be refrigerated because lemon pie filling contains perishable ingredients like eggs and dairy. Refrigeration helps maintain the pie’s freshness and prevents bacterial growth, ensuring it stays safe to eat for longer. Additionally, refrigeration can help preserve the texture of the pie, keeping the filling firm and the crust crisp.
Can you freeze Lemon Pie?
Yes, however, it’s best to freeze lemon cream pie before adding the whipped cream. To freeze, wrap the chilled pie tightly all around in plastic wrap, then place the wrapped pie in a freezer-safe bag or container to provide additional protection. When ready to enjoy, thaw the pie overnight in the refrigerator before adding the whipped cream topping.
Lemon Cream Pie Recipe FAQs
To prevent lemon pie from getting soggy, you can take several steps:
1. Blind Bake the Crust: Pre-bake the pie crust before adding the lemon filling. This creates a barrier between the crust and the filling, helping to keep it crisp.
2. Thicken the Filling: Ensure that the lemon filling is properly thickened with cornstarch to the consistency of pudding. This helps to absorb excess moisture and prevent the crust from becoming soggy.
3. Cool Completely: Allow the pie to cool completely before slicing and serving. Cutting into the pie while it’s still warm can release steam, which can make the crust soggy.
4. Refrigerate: Store any leftover pie in the refrigerator to help maintain its texture and prevent sogginess.
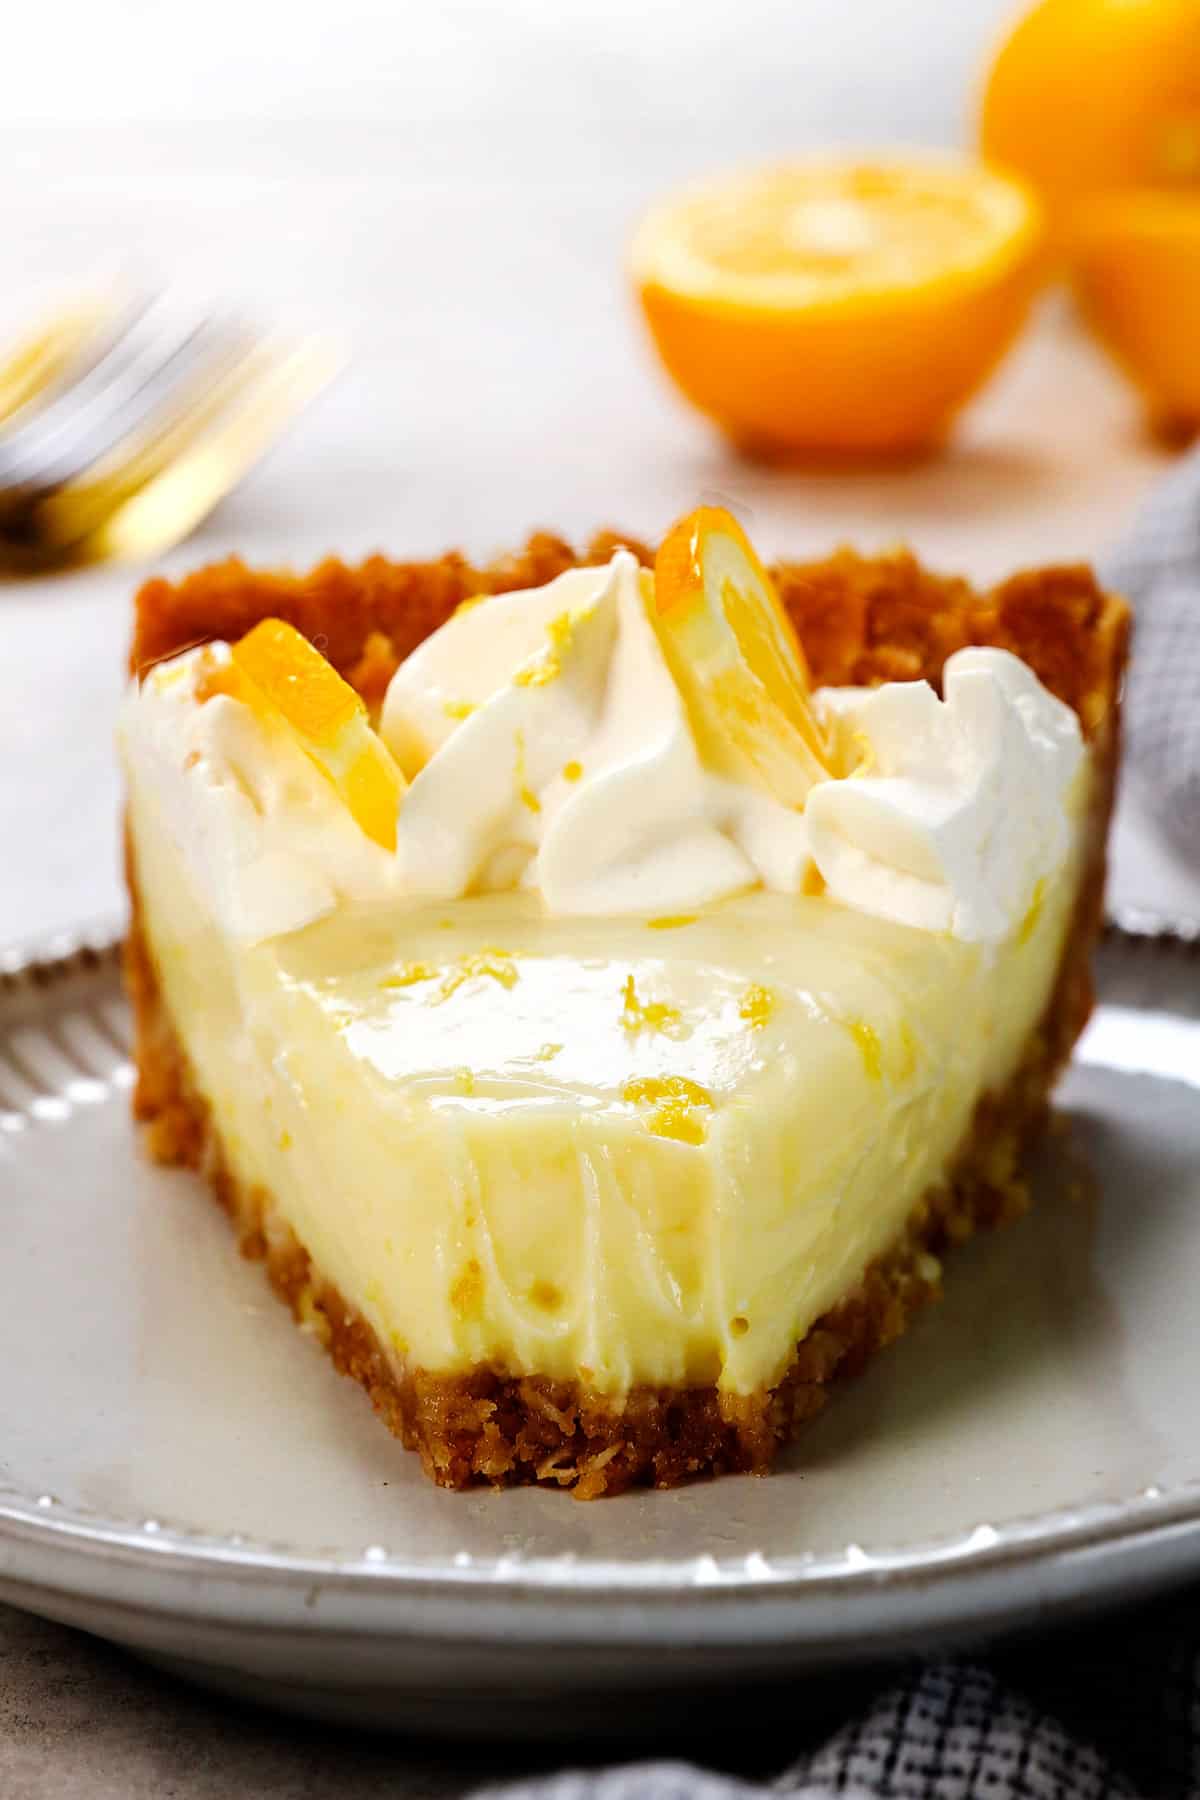
Lemon pie filling can become runny if it’s not cooked long enough, if it’s not thickened properly with a starch like cornstarch or flour. Take care to use all of the cornstarch in the recipe and cook until the texture resembles pudding, about 190-200 degrees F on an instant read thermometer.
The main difference between lemon cream and lemon meringue is the intensity of flavor and the topping. Lemon cream refers to a smooth and creamy lemon-flavored filling, often made with lemon juice, zest, sugar, eggs, butter, milk and either sour cream or cream cheese to make it creamy. It has a rich and velvety texture, that’s not quite as intense as lemon meringue. Lemon meringue pie features a layer of intensely tangy lemon curd made with similar ingredients but without the sour cream or milk, then topped with fluffy and light meringue made from whipped egg whites and sugar.

Looking for more Lemon Dessert Recipes?
Lemon Meringue Pie
Lemon Curd
Lemon Blueberry Cake
Lemon Raspberry Cake
Layered Lemon Cake
Lemon Pound Cake
Lemon Cheesecake
Lemon Cheesecake Bars
WANT TO TRY THIS Lemon Pie RECIPE?
PIN IT to your recipe BOARD TO SAVE FOR LATER!
FIND ME ON PINTEREST FOR MORE GREAT RECIPES! I AM ALWAYS PINNING :)!
©Carlsbad Cravings by CarlsbadCravings.com


Homemade Lemon Pie
Save This Recipe To Your Recipe Box
You can now create an account on our site and save your favorite recipes all in one place!
Ingredients
VANILLA WAFER COCONUT CRUST (or store-bought)
- 45 vanilla wafers (1 ½ cups crumbs) (I use Nabisco Nilla Wafers)
- 1 cup sweetened shredded coconut (optional)
- 2 tablespoons granulated sugar
- 6 tablespoons butter, melted
LEMON CREAM FILLING
- 4 egg yolks*
- 1/3 cup freshly squeezed lemon juice (regular, not Meyer)
- 2 tablespoons lemon zest
- 1 1/4 cups granulated sugar
- 1/4 cup cornstarch
- 1/8 teaspoon salt
- 1 1/4 cups milk (2% or whole)
- 6 tablespoons unsalted butter, cubed
- 1 1/4 cups full fat sour cream
STABILIZED WHIPPED CREAM (See Notes for Regular)
- 1 teaspoon unflavored gelatin
- 1 1/2 tablespoons water
- 1 cup cold heavy cream
- 3 tablespoons powdered sugar
- 1 teaspoon vanilla extract
GARNISH
- thinly sliced and quartered lemon slices (optional)
- raspberries (optional)
Instructions
CRUST
- Preheat oven to 350 degrees F.
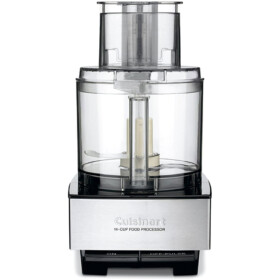
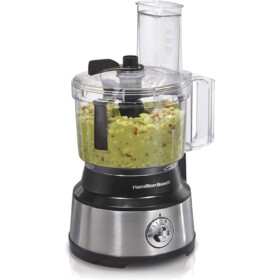
- Add vanilla wafers to a food processor and process into fine crumbs (or use a rolling pin). Add coconut, sugar and butter and pulse or stir to combine.
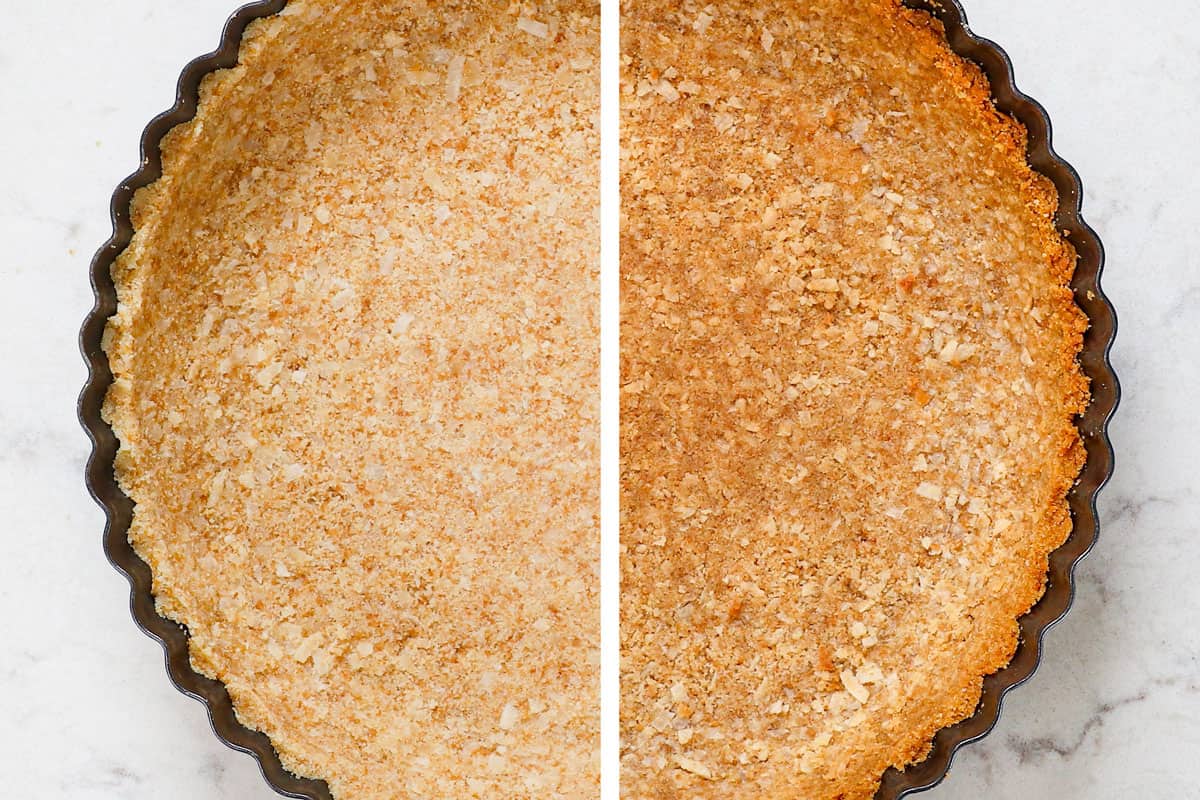
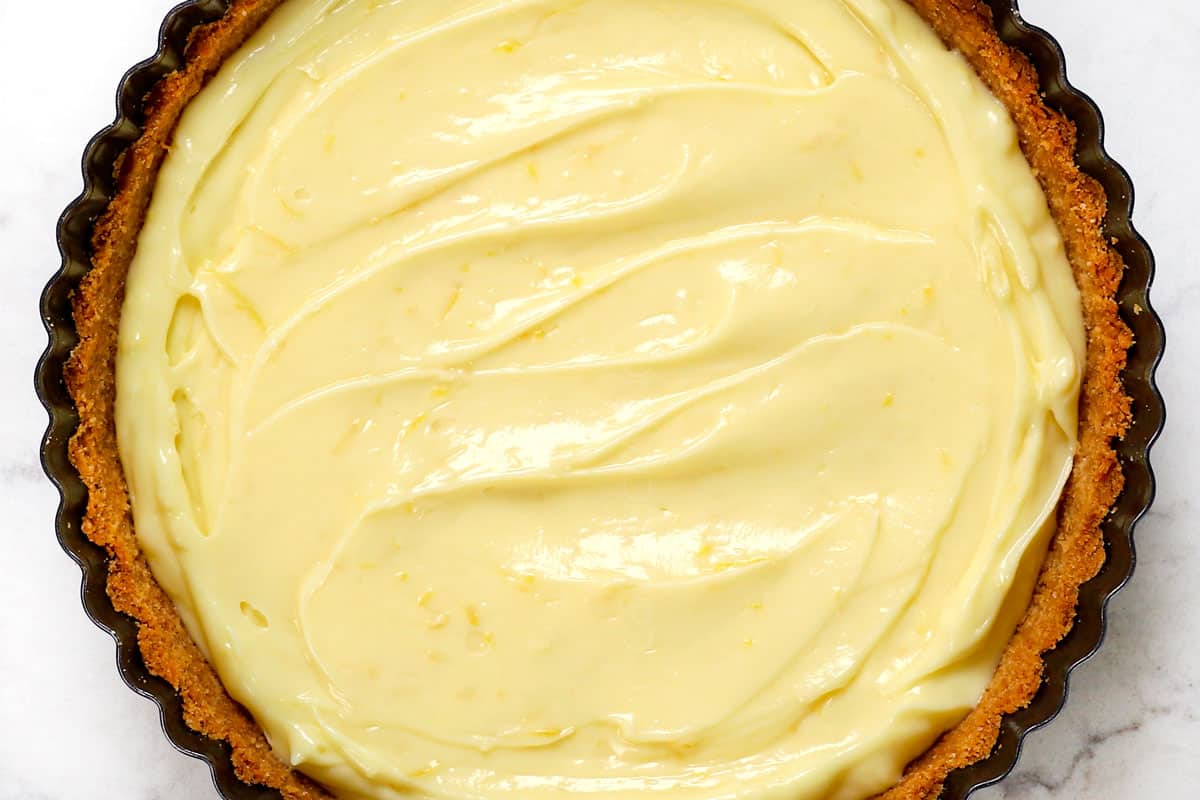
- Press crumbs evenly up the sides and onto the bottom of an ungreased 9-inch pie pan or quiche pan. If using a quiche pan (pictured), only press 1 ½ – 1 ¾ inches up the sides (because it's deeper than a pie pan).
- Bake the crust at 350 degrees F for 10 minutes or until lightly golden brown. Cool completely on a wire rack before adding the filling (about 1 hour).
LEMON CREAM FILLING
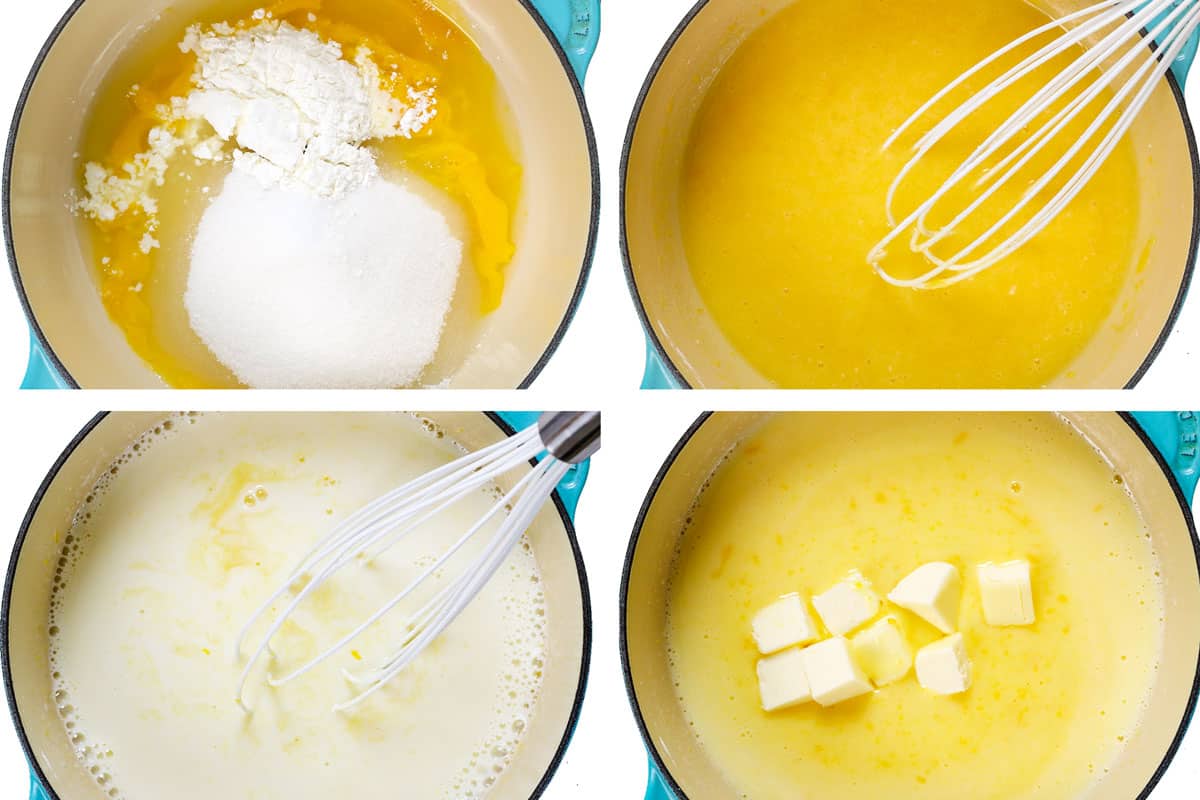
- In a small nonreactive small saucepan (stainless or enameled), whisk the egg yolks together. Add the lemon juice, lemon zest, sugar, cornstarch and salt and whisk until the cornstarch dissolves. Whisk in the milk, then add the cubed butter.
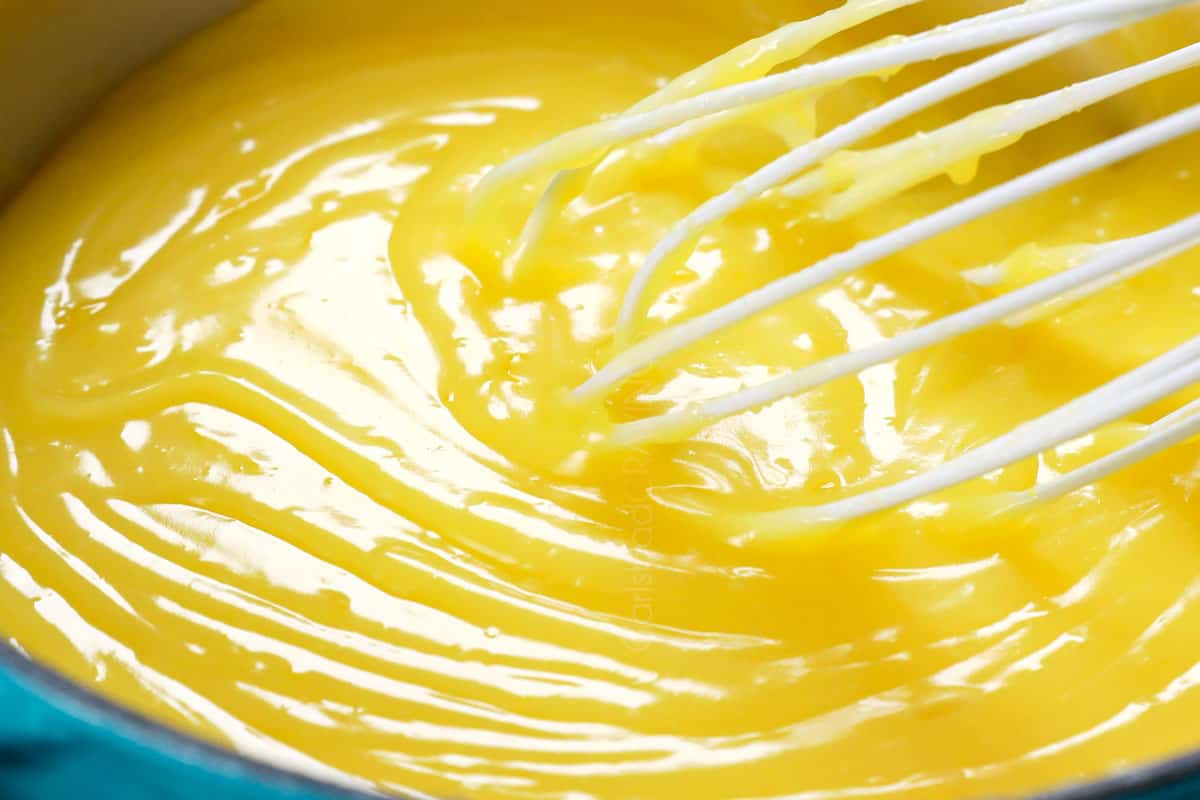
- Turn heat to medium (medium-low if your stove runs hot) and cook, stirring CONSTANTLY, making sure to scrape the bottom and sides of the pan. Cook until thickened to the consistency of pudding and the filling registers about 195-200°F on an instant-read thermometer. (Don’t stop whisking, even while taking the temperature.)
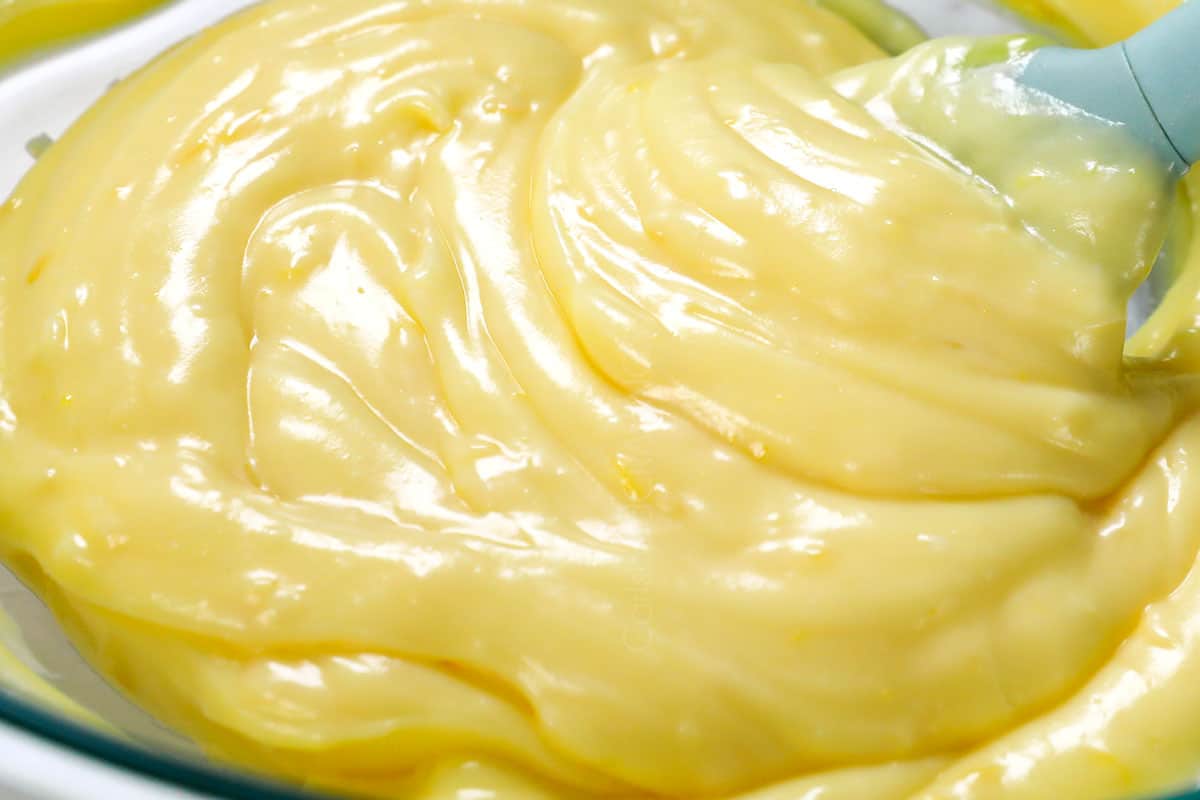
- Once thickened, immediately remove from the heat and transfer to a large bowl. Let cool to room temperature. Once cool, fold in the sour cream. Taste and, if desired, add additional lemon zest for tangier or powdered sugar for sweeter.
- Pour filling into the cooled, baked pie shell. Cover with plastic wrap pressed against the surface of the filling (don't worry about "ruining" the aesthetics of the top, you can make it pretty after chilling). Chill in the refrigerator for 3 hours.
Whipped Cream
- You may add the stabilized whipped cream at any point while the pie is chilling and return to the fridge (tented with foil) or skip the gelatin/water and add the whipped cream just before serving.
- Add unflavored gelatin to a small microwave safe bowl. Add the cold water and whisk together with a fork; let stand for 5 minutes. Microwave for 20 seconds. Stir the mixture, then set aside while you immediately begin to beat the heavy cream.
- Add heavy cream, powdered sugar, and vanilla extract to a large mixing bowl. Whip using an electric hand mixer just until soft peaks form (the peaks flop over when the beaters are lifted.)
- Turn the mixer to low and slowly pour in the gelatin mixture. Mix until combined then increase speed to medium and continue mixing until stiff peaks form (peaks stand straight up when the beaters are lifted).
- Transfer whipped cream to a piping bag and decorate as desired. The beauty of stabilized whipped cream is it will hold its shape indefinitely. If using regular whipped cream, top just before serving.
TO SERVE
- Add lemon slices just before serving (if using) so they don't weep.
- Run a knife under hot water or fill a large glass with hot water, dip the knife in the hot water before each cut. Wipe the knife clean with a towel after each cut, then repeat. Serve leftover whipped cream on the side.
Video
Notes
- *Note, the video shows 3 egg yolks, but 4 is correct.
- Tips and Tricks: See post for detailed tips, tricks, variations and step-by-step photos.
- Use gelatin right away: After the gelatin is dissolved, don’t wait too long to add it to the whipped cream or it will thicken and set. If it has hardened, microwave it again for 10-20 seconds until liquidy.
- Store-bought Crust: Use one 9-inch baked pie shell or graham cracker shell from the grocery store.
- Storage: Tent the pie with foil and seal all around the edges, or store in a cake caddy/container. Refrigerate for up to 3-4 days.
- To freeze: Freeze lemon cream pie before adding the whipped cream. Wrap the chilled pie tightly all around in plastic wrap, then place the wrapped pie in a freezer-safe bag or container to provide additional protection. When ready to enjoy, thaw the pie overnight in the refrigerator before adding the whipped cream topping.
Want To Make This Recipe?

Did You Make This Recipe?
Tag @CarlsbadCravings and Use #CarlsbadCravngs
Leave a Review, I Always Love Hearing From You!


Brenda says
This pie was fantastic! i was looking for a recipe to use up my Meyer lemons and I’m glad i used this one, even though it said not to use that kind, haha! The crust was one of my favorite parts to the pie. i will definitely use this recipe again and again, even though I’m breaking the rules
Jen says
LOL Brenda! That’s great that the Meyers worked for you! I know that it’s a little more challenging to get the zest you need for this pie but I am so thrilled that you loved this pie and that you want to make it again!
Sandy says
I made this for a neighborhood gathering. It was a hit with a lot of compliments. Great recipe with easy to follow directions. Another winner from Jenn!
Jen says
Hi Sandy! Thank you so much! That is amazing that this dessert was such a hit at your neighborhood gathering and that everyone enjoyed it! I’m so glad you found the directions easy to follow. Thanks for your sweet words and for taking the time to leave a review — I truly appreciate it!