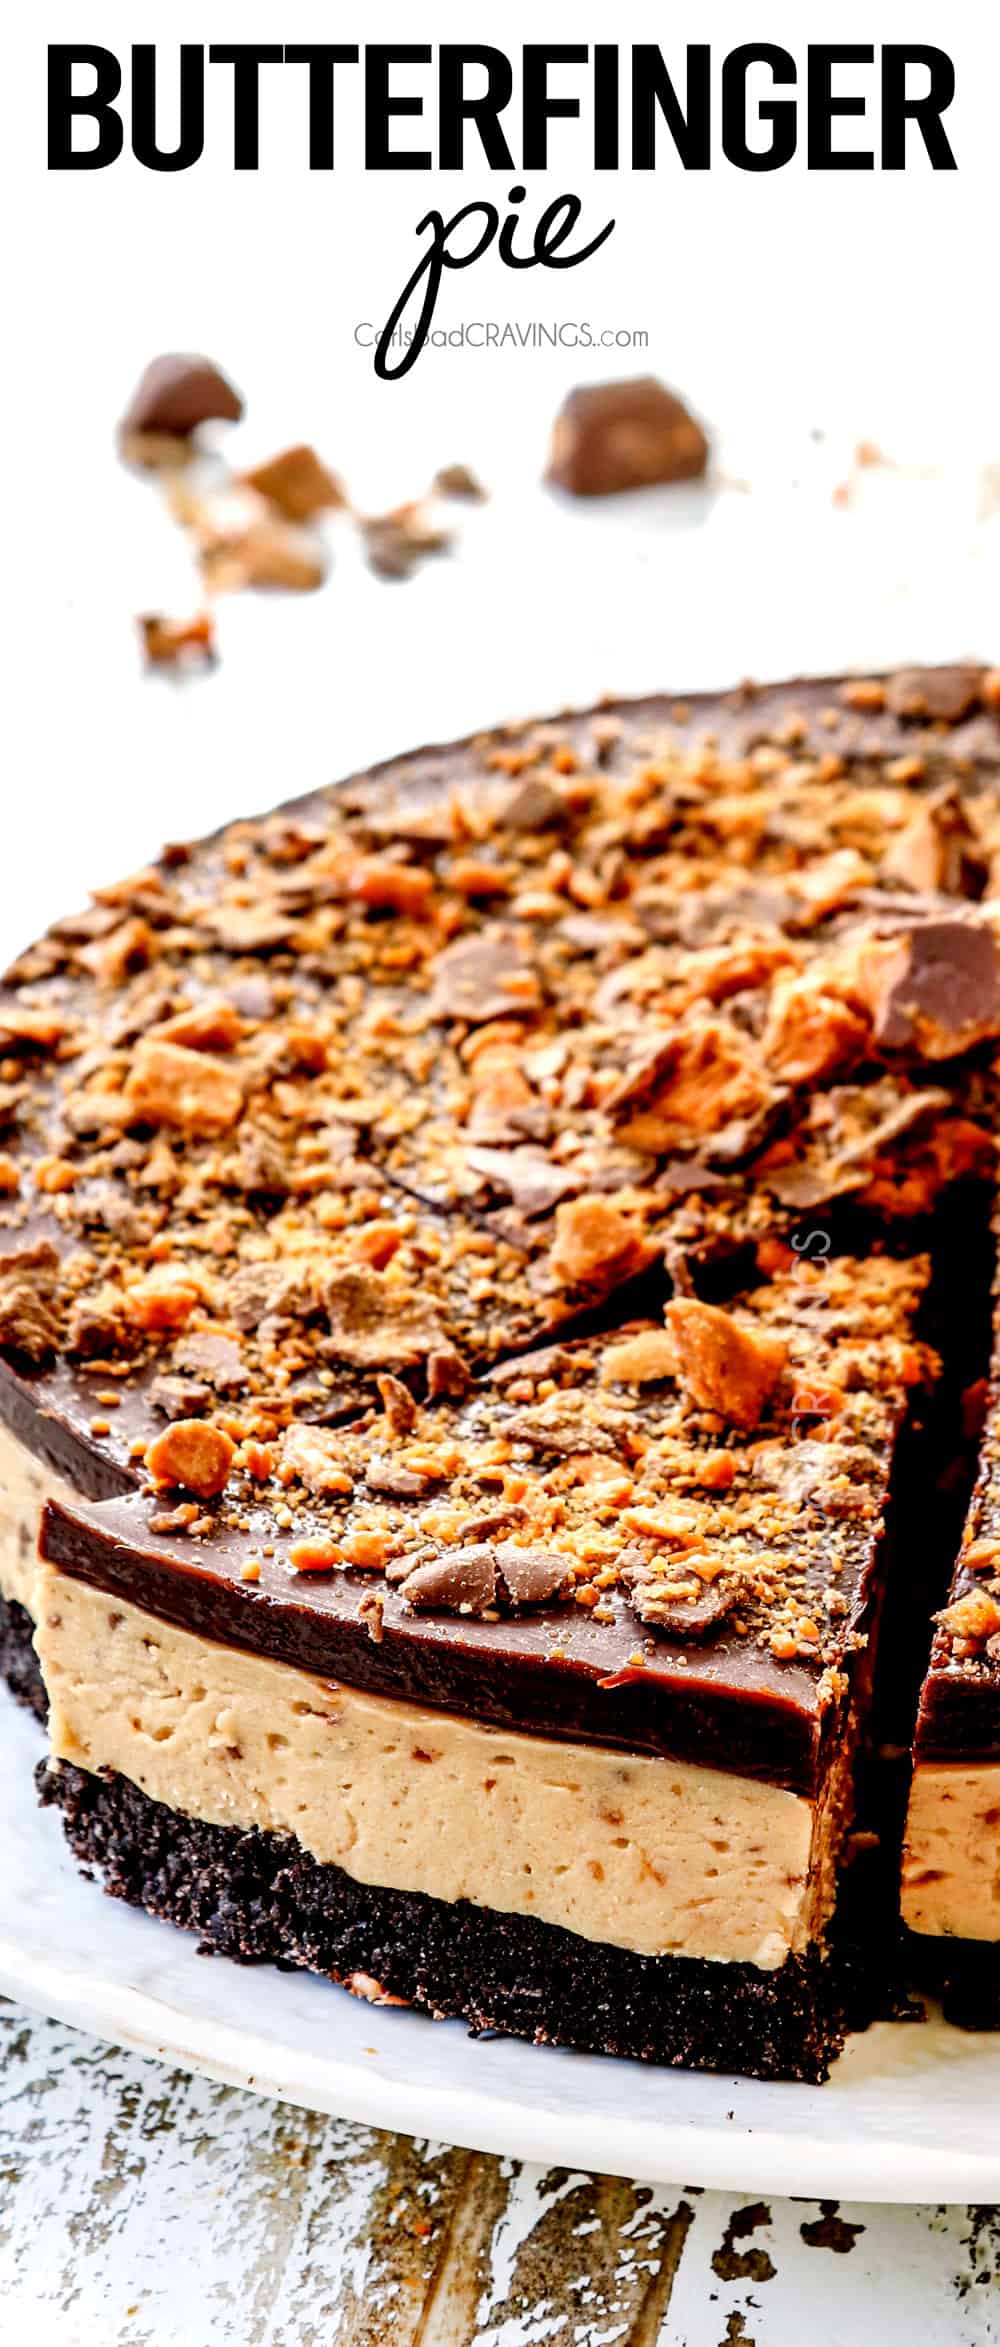
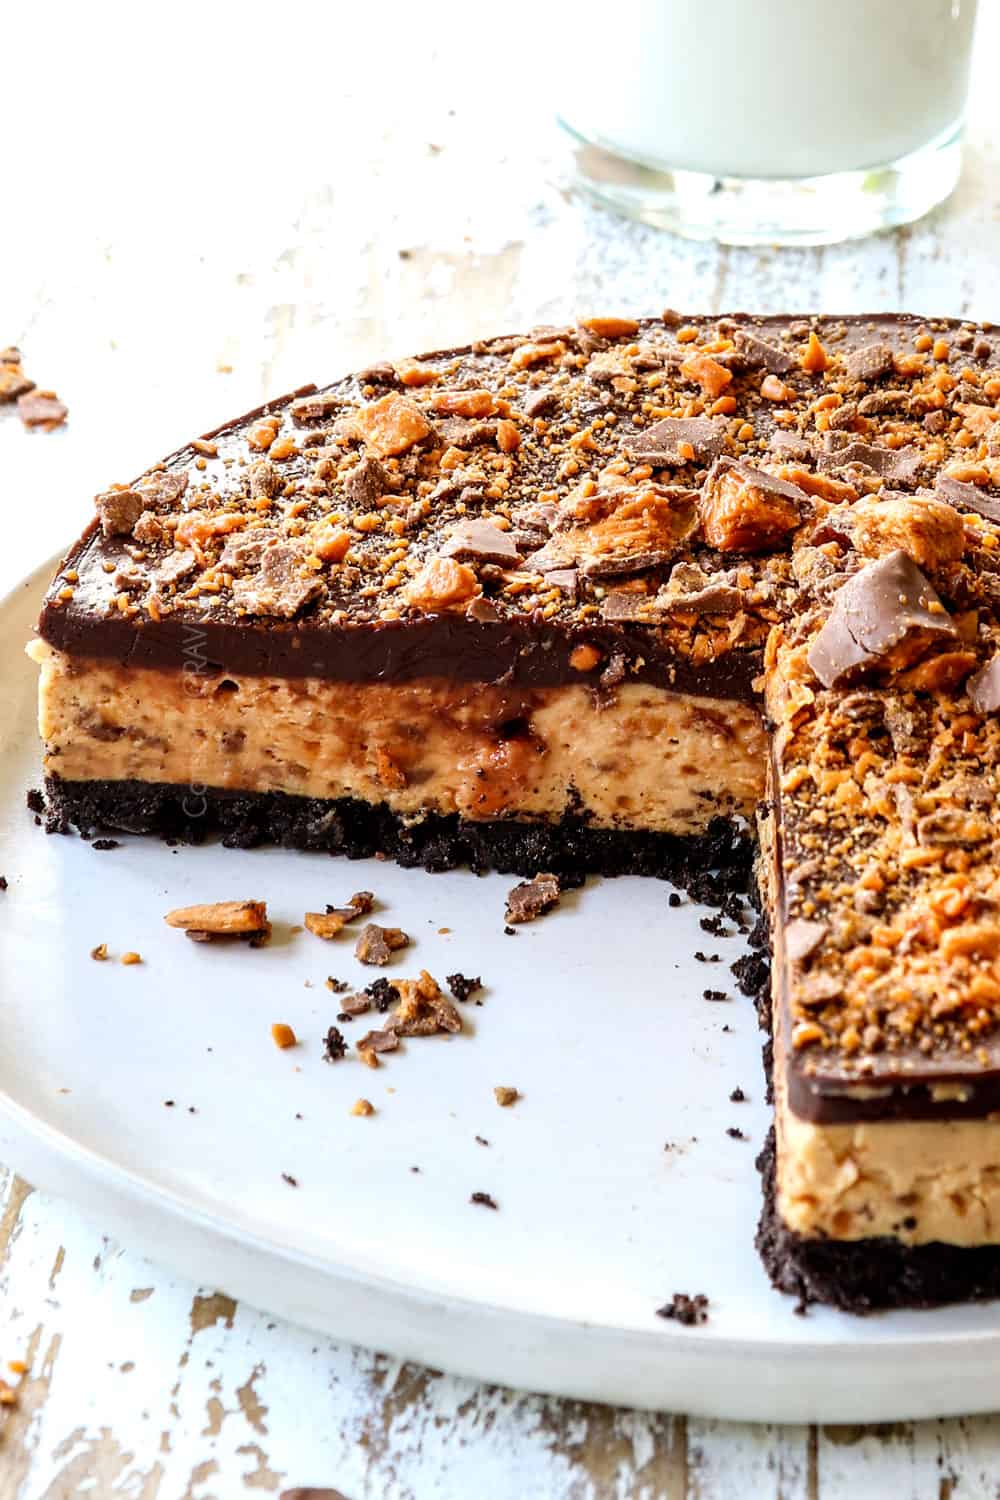
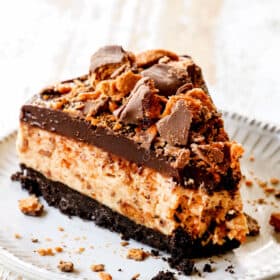
Butterfinger Pie is an easy, nearly no bake, decadently delicious, dessert that is out of this world and will have everyone begging for seconds.
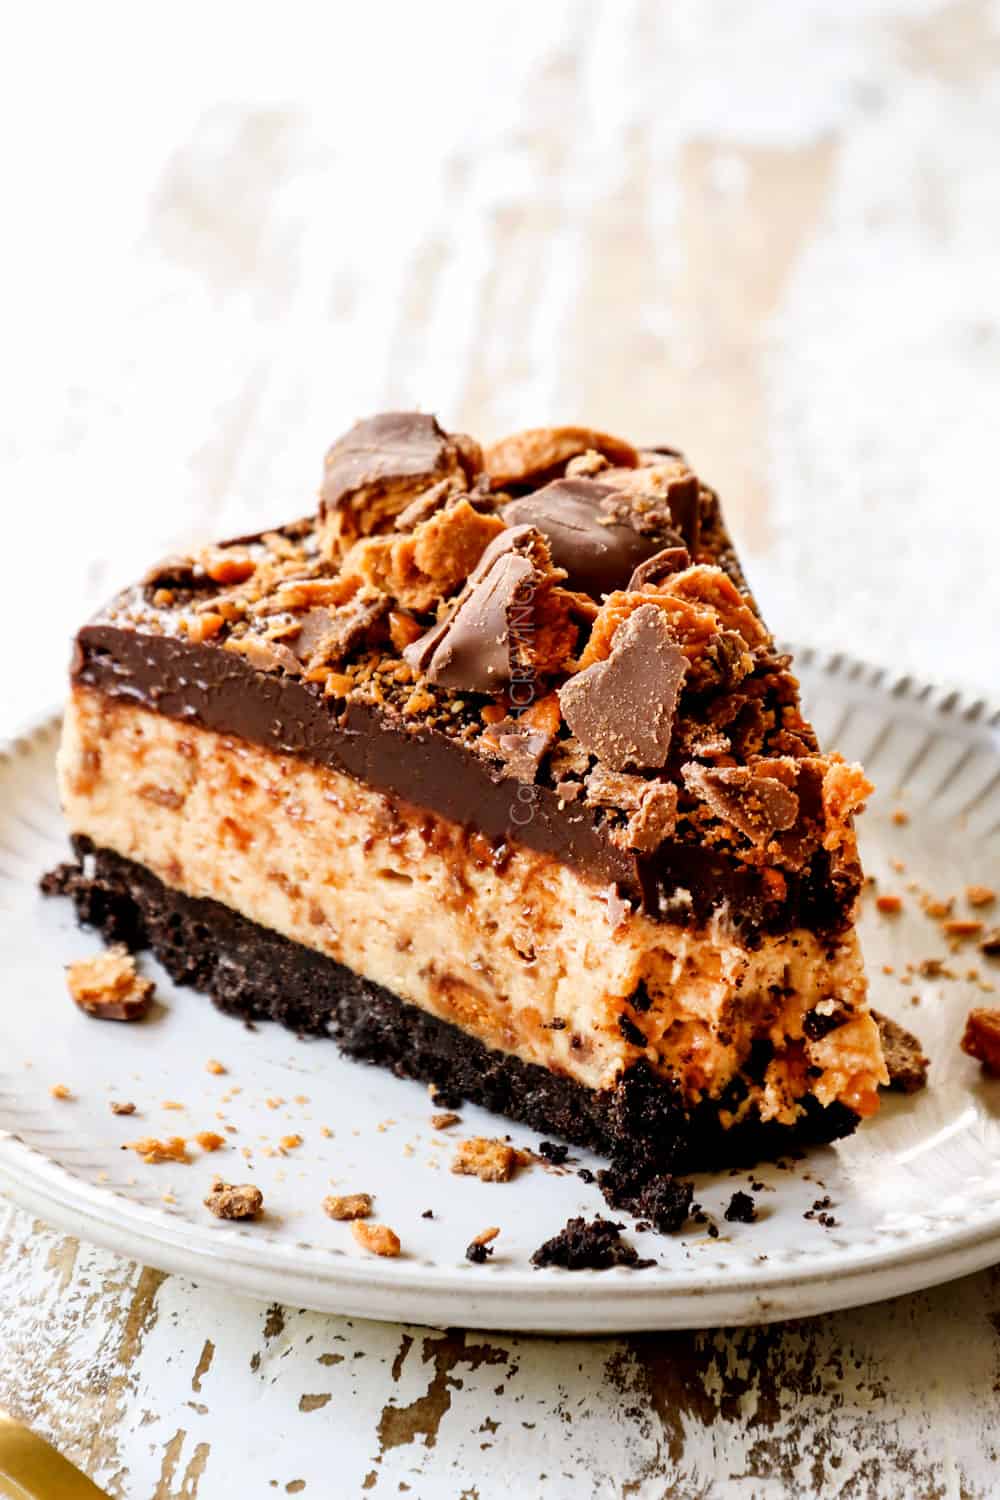
This luscious Butterfinger Pie is a total crowd pleaser that will be gobbled up in minutes. It is 100% make ahead friendly, made with simple ingredients and one of the easiest yet most impressive pie recipes out there. This Butterfinger Pie features a thick, buttery, crunchy, chocolaty Oreo crust layered with silky peanut butter filling studded with Butterfingers, blanketed in a chocolate ganache then crowned with more crushed Butterfingers. With every bite, you’ll be awed at the pillowy light filling that’s wonderfully rich at the same time with just the right amount of sweetness. Prepare to fall in love!
Tis the season for pie! Don’t miss some of our favorites like Pecan Pie, Mini Caramel Apple Pies, Pear Pie, Mud Pie, Million Dollar Cookie Pie and S’mores Pie.
Pin this recipe to save for later
How to Make Butterfinger Pie Video
Butterfinger Pie Recipe
This dreamy Butterfinger Pie is one of my absolutely favorite pies, second only to my pecan pie recipe. This downright swoon worthy recipe (yes, my husband and I both swooned) boasts the flavorings of a giant Butterfinger in mousse-like pie form.
It’s a Butterfinger lover’s dream, a peanut butter lover’s dream, an Oreo lover’s dream and everyone who loves deliciousness dream. Life simply doesn’t get better than this Butterfinger Pie recipe. You will be the hero of Thanksgiving with this pie!
Why this recipe is so dreamy:
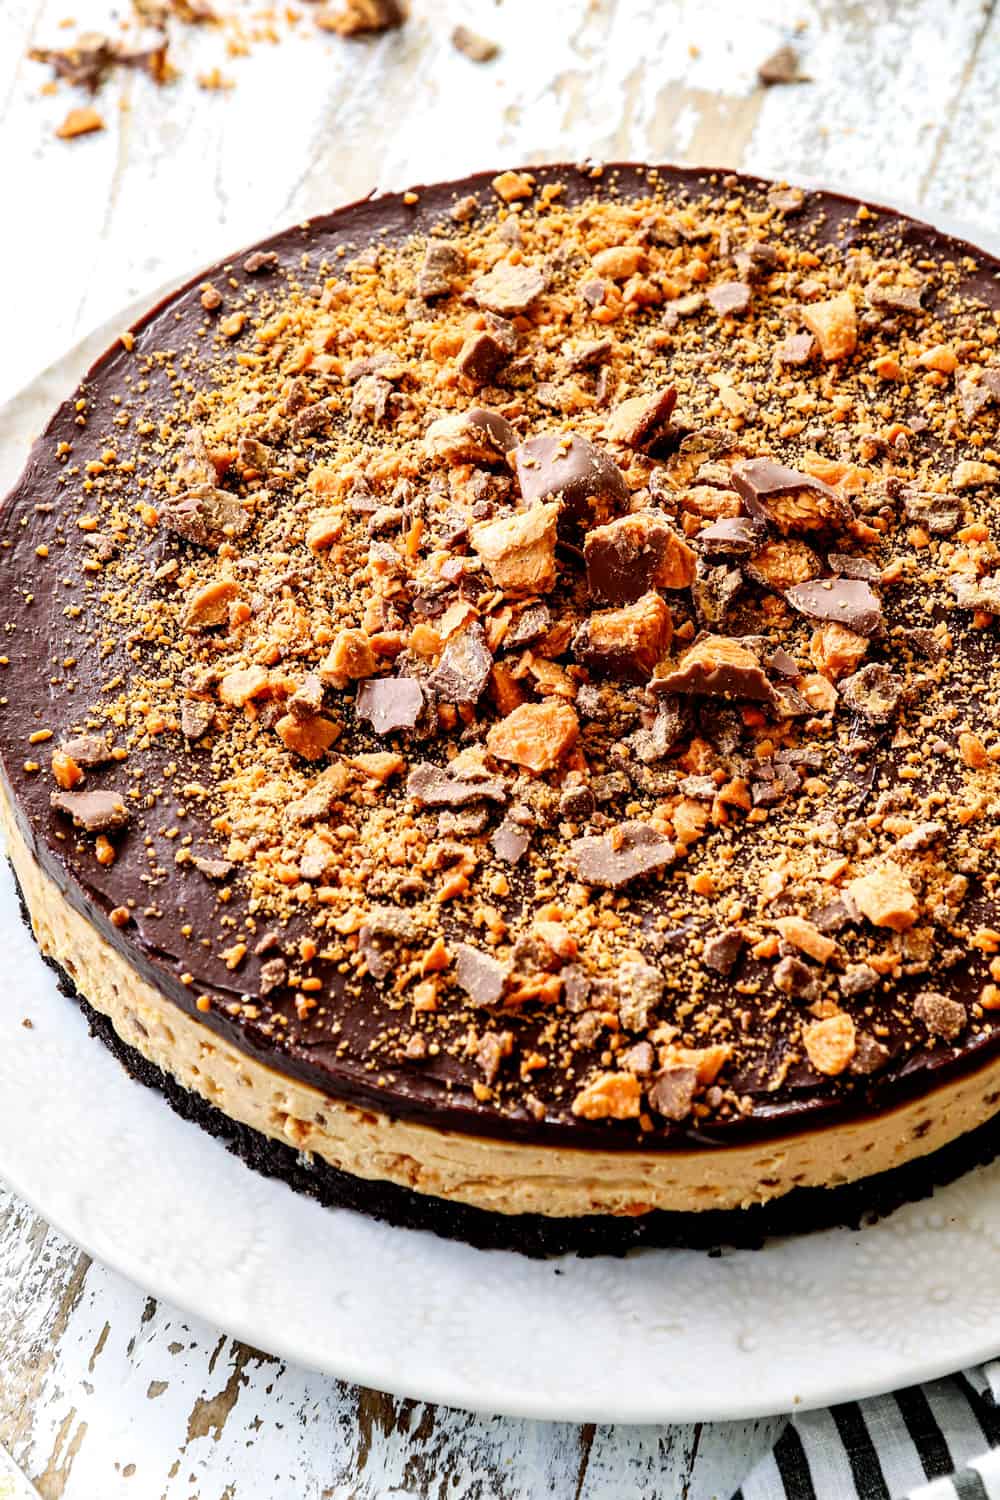
- Delicious. This recipe started off as a peanut butter pie but I decided to take it to a whole new level by adding crushed Butterfingers to both the filling and the topping. What we end up with is an obsessive worthy pie with a chocolaty Oreo crust, smooth, fluffy Butterfinger laced peanut butter filling and enveloping silky chocolate ganache. What impresses me the most about the recipe is how it strikes the perfect balance of flavor and texture – its somehow light and rich at the same time and isn’t overly sweet so it’s easy to eat half the pie if you don’t watch yourself 😉.
- Easy yet impressive. This pie recipe delivers an impressive dessert with bare minimal effort. No will ever guess how easy it is!
- No cool whip. Instead of using overly processed cool whip, this recipe uses stabilized whip cream to create the ideal creamy texture. It holds up 10X better than recipes that just use homemade whipped cream.
- The fridge does the work. This Butterfinger Pie is almost no bake – just pop the Oreo crust in the oven and that’s all the baking required!
- Quick to make. Bake the crust, beat the filling, whisk together the ganache. The most difficult part is waiting for the pie to set up in the refrigerator.
- Fabulous make ahead recipe. This pie recipe is great for stress free entertaining or bringing to a potluck because it can be made a day ahead and tastes even better the next day. Just pull it out of the fridge and serve!
- Special occasion worthy. This Butterfinger Pie is always a hit at birthdays, Father’s Day, Mother’s Day, Valentine’s Day, anniversaries, potlucks and of course, upcoming Thanksgiving!
How to Make butterfinger Pie WITHOUT Cool Whip
You will love that this Butterfinger Pie is made without Cool Whip! The main reason I don’t use whipped topping is because I prefer the texture of the filling made with stabilized whipped cream instead (heavy cream + gelatin). As an added bonus, you avoid overly processed Cool Whip which until recently was categorized as non-dairy!
Instead, the filling is made with a mixture of Butterfingers, peanut butter, cream cheese, heavy cream, powdered sugar and unflavored gelatin. Whipping the cream with unflavored gelatin then folding it in with the other beaten ingredients gives this pie a light, creamy, texture with structure without any Cool Whip. The gelatin ensures your pie doesn’t become soft and weepy straight out of the refrigerator.
- Of course, if you want to use Cool Whip instead, I’ve included how to in the recipe variations.
- If you want to make the pie with heavy cream without unflavored gelatin, be advised that the pie will be very soft and does not hold up out of the refrigerator, so plan accordingly.
WHAT KIND OF PEANUT BUTTER IS BEST?’
- Use conventional peanut butter. The general rule in no-bake pie recipes is to use spoonable peanut butter, meaning peanut butter you can spoon right out of the jar without having to mix the oil back in. Brand name peanut butter such as Skippy or Jif are perfect for this recipe.
- Use smooth peanut butter. Smooth peanut butter is ideal to create the creamiest filling – the silkier, the better.
- Avoid natural peanut butters. Natural peanut butter is great for eating but not for baking it. Peanut butter that isn’t homogenized can sometimes cause texture and emulsion issues like your filling separating due to their high ratio of oil. Additionally, I find that some natural peanut butters have a coarse texture that isn’t ideal for achieving that mousse-like pie filling.
Butterfinger Pie Recipe Ingredients
In additional to peanut butter, you will need the following ingredients to make this Butterfinger Pie:
- Butterfingers: you will need 8 ounces or 1 ½ cups crushed Butterfingers for the filling and another 2-4 ounces for the topping. You can use any Butterfinger configuration to achieve this – they even sell crushed Butterfingers!
- Oreos: use the whole Oreo – including the filling!
- Cream cheese: you can’t really taste the cream cheese, just the peanut butter, but the cream cheese adds the needed body and richness to the filling. Full fat will create the creamiest filling.
- Heavy cream: is used to make the homemade whipped cream that gives the filling airiness and lightness like a mousse and is also used to make the chocolate ganache. Look for “heavy whipping cream” at the grocery store. You must use heavy cream – no other substitutions will work. Take care that your heavy cream is very cold, remove it from the refrigerator just when ready to use.
- Unflavored gelatin: is a miracle worker added to the heavy whipping cream to create stabilized whipped cream that adds structure to the Butterfinger Pie. Unflavored gelatin is a common baking ingredient and can be found next to the packages of Jell-O and pudding at your grocery store. I use it all the time when I want to dollop cake or cheesecake with whipped cream ahead of time that will hold its shape, so I promise your purchase will not go to waste.
- Powdered sugar: also known as confectioner’s sugar, sweetens the filling without any grittiness. It also interacts better with the gelatin.
- Vanilla extract: use quality extract for best results.
- Chocolate: use quality baking chocolate. Baking chocolate is cooled, hardened chocolate liquor with a higher percentage of cocoa butter than chocolate chips because it’s intended to be baked with and therefore melts beautifully for ganache.
- Corn syrup: keeps the ganache shiny, smooth and pliable after being refrigerated. You can omit the corn syrup if you really are opposed but the ganache will not be as smooth, shiny, flexible or overall successful.
Can I Make Butterfinger Pie Gluten Free?
Yes. Original Butterfingers are gluten free as are the filling ingredients. The only ingredient with gluten are the Oreos which you can substitute with gluten free chocolate cookies or sandwich cookies, or even gluten free graham crackers. If your substitution does not contain a filling, then add 2 tablespoons extra butter to the crust.

HOW TO SOFTEN CREAM CHEESE no bake pie
Cream cheese is a key ingredient in this Butterfinger Pie recipe so it’s important that it’s super soft in order to produce a silky, lump free filling. To soften cream cheese, you have a couple options:
- Microwave: this method works great but you must babysit the cream cheese and microwave at small intervals so you don’t scorch it – so proceed with care and caution. Cube cream cheese and transfer to a microwave safe plate. Microwave for 20 seconds then at 10 second intervals, flipping cubes and microwave another 10 seconds. Repeat until cream cheese is very soft.
- Microwave + counter: cube cream cheese and transfer it to a microwave safe plate. Microwave for 20 seconds then at 10 second intervals, then allow cream cheese to sit at room temperature for 30 minutes to finish softening. This gives it a head start to soften at room temperature without the threat of scorching. I cheat and cover the microwaved cream cheese with plastic wrap and place it outside to soften more quickly.
How to Make Butterfinger Pie
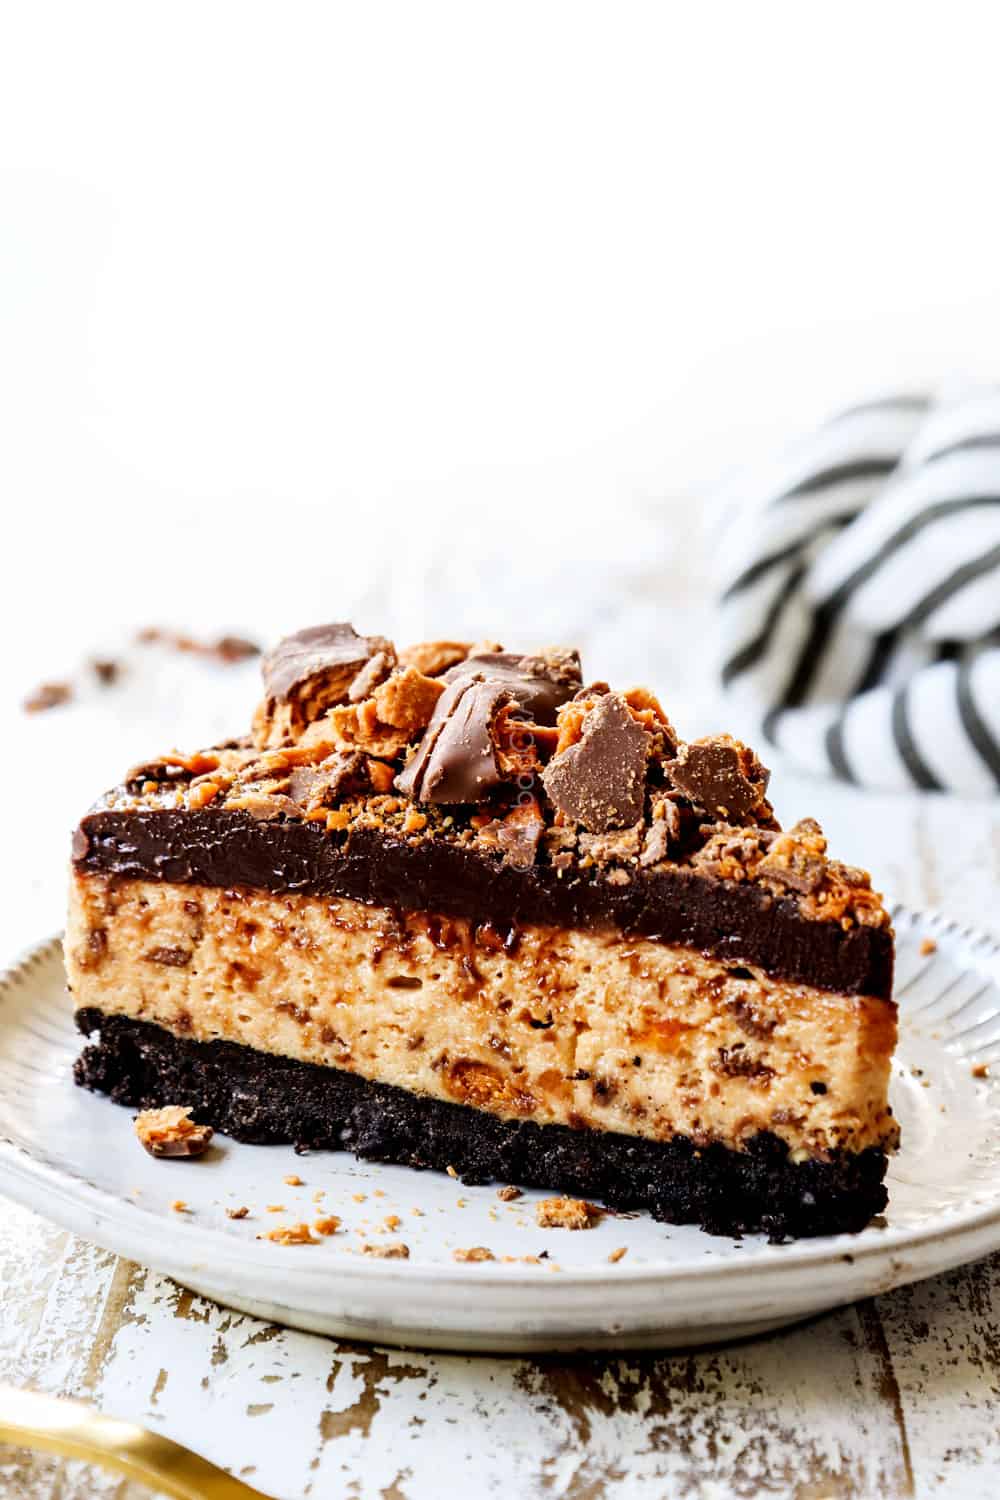
This recipe is comprised of 4 main parts: 1) the crust, 2) the stabilized whipped cream, 3) the peanut butter filling and 4) the ganache. Each element is quick and easy to make so please don’t be overwhelmed. Here’s how to make it (as always, the step-by-step recipe video and full instructions with measurements can be found in the recipe card at the bottom of the post):
Step 1: Oreo Crust
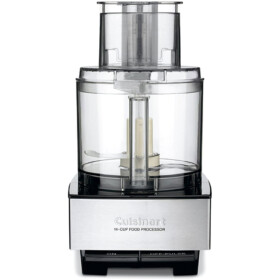
- Crush Oreos: for the extra thick Oreo crust, finely crush the Oreos with a food processor then pulse with the butter. You can also use a freezer bag and a rolling pin, then combine the crumbs with butter in a bowl.
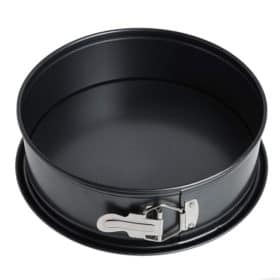
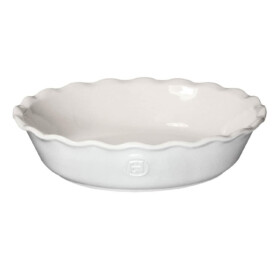
- Add to pan: transfer the moistened crumbs to a pie plate or I like to use a springform pan like this one from Amazon because the pie is easier to remove from the pan and slice. You could also use a deep dish tart pan. Firmly press the crumbs into the bottom of the pan and/or up the sides if using a pie plate in an even layer.
- Bake the crust: bake the crust at 325 degrees F for about 10 minutes then allow to cool while you make the filling. Baking the crust before adding the filling allows it to seal together and cooling the crust before adding the filling prevents it from becoming soggy.

Step 2: stabilized Whipped Cream
- Microwave gelatin: add unflavored gelatin to a microwave safe bowl then pour the cold water over top; let stand for 5 minutes. Transfer the gelatin mixture to the microwave and microwave for 10 seconds. Stir the mixture, then set aside to cool slightly.
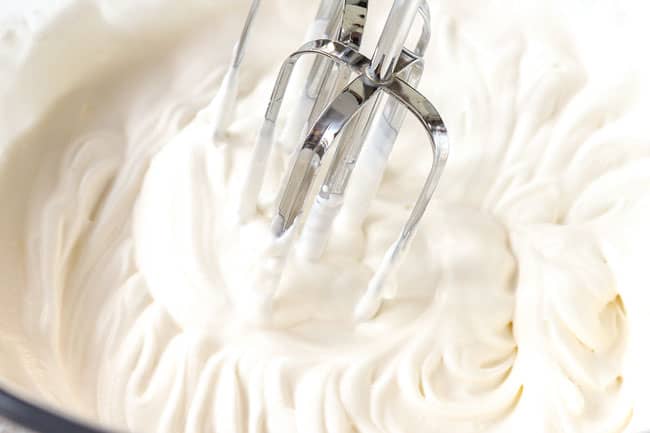
- Whip cream to soft peaks: whip the heavy cream in a bowl until it thickens and forms soft peaks (the whipped cream folds over when you lift the beaters out of the bowl).
- Add gelatin: once you’ve reached the soft peak stage, slowly pour the cooled gelatin mixture in as you’re mixing the whipped cream and continue to mix until the whipped cream forms stiff peaks (the whipped cream stands straight up and doesn’t fold over when you lift the beaters out of the bowl).
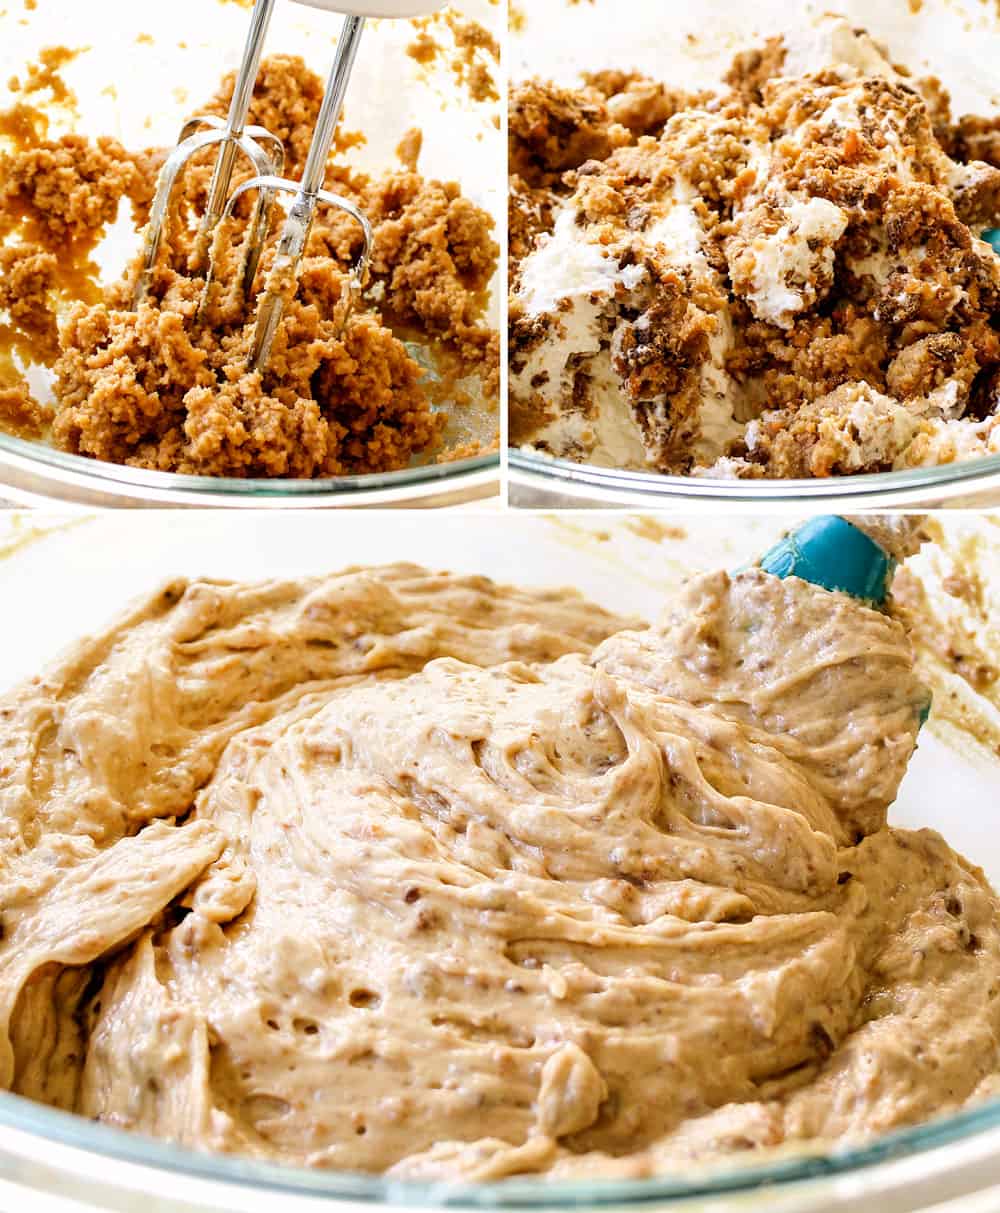
Step 3: Beat Filling
- Beat the peanut butter filling: in a separate large mixing bowl, using the same beaters (no need to clean), beat the cream cheese, powdered sugar and peanut butter on medium-low until combined. Increase speed to medium-high and beat until light and fluffy, about 2 minutes.
- Add the whipped cream: fold in the whipped cream and Butterfingers until evenly combined. The result is a creamy, airy peanut butter filling.
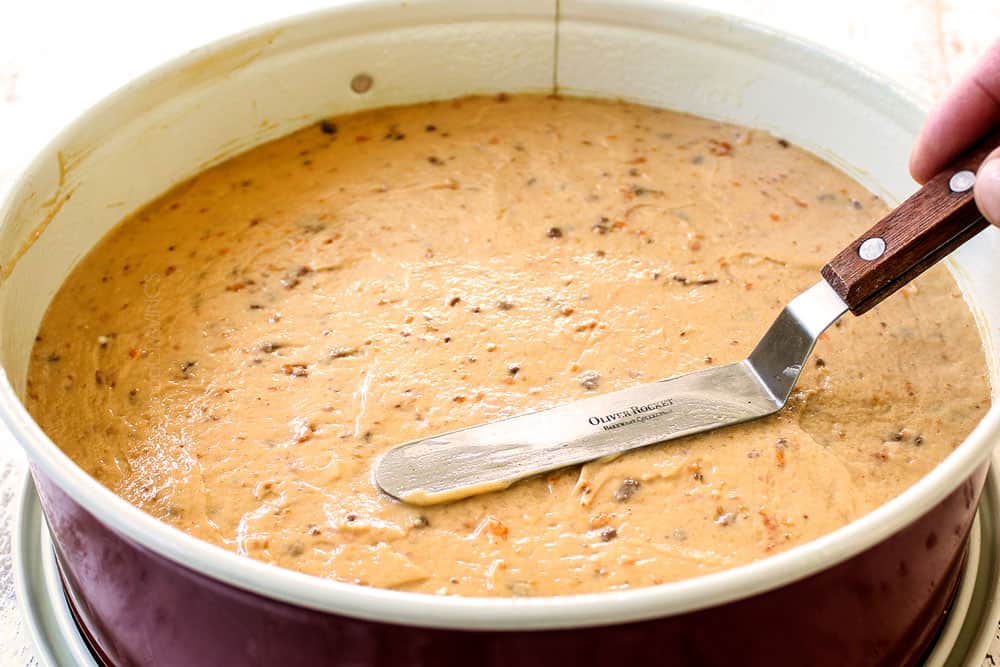
Step 4: Chill
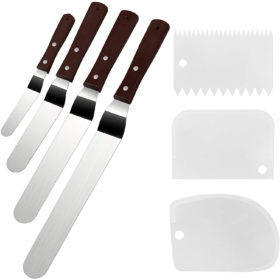
- Add the mixture to the pan: pour the mixture into the prepared pan and smooth the top. I like to use an icing spatula for this.
- Chill: pop the pie in the freezer to harden up a bit while you make the ganache.
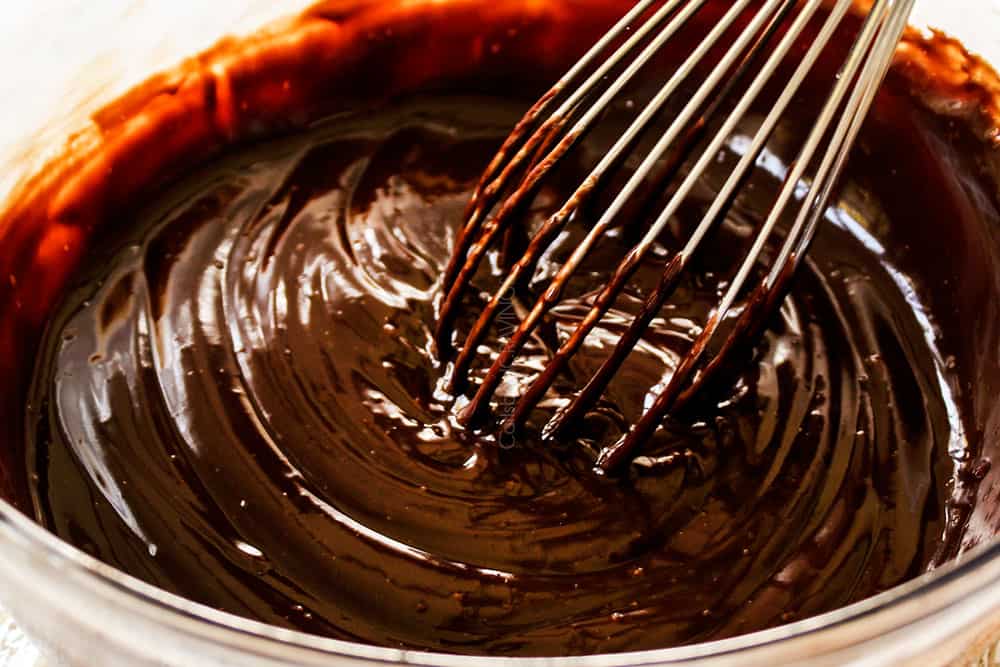
Step 6: Add topping
- Make ganache: you only need 3 ingredients for the chocolate ganache topping – chocolate, heavy cream and corn syrup. Heat the heavy cream and corn syrup in the microwave then add the chopped chocolate. Let it stand for a couple of minutes, then whisk vigorously until ganache is melted and smooth. See my chocolate ganache page if you need extra help with it.
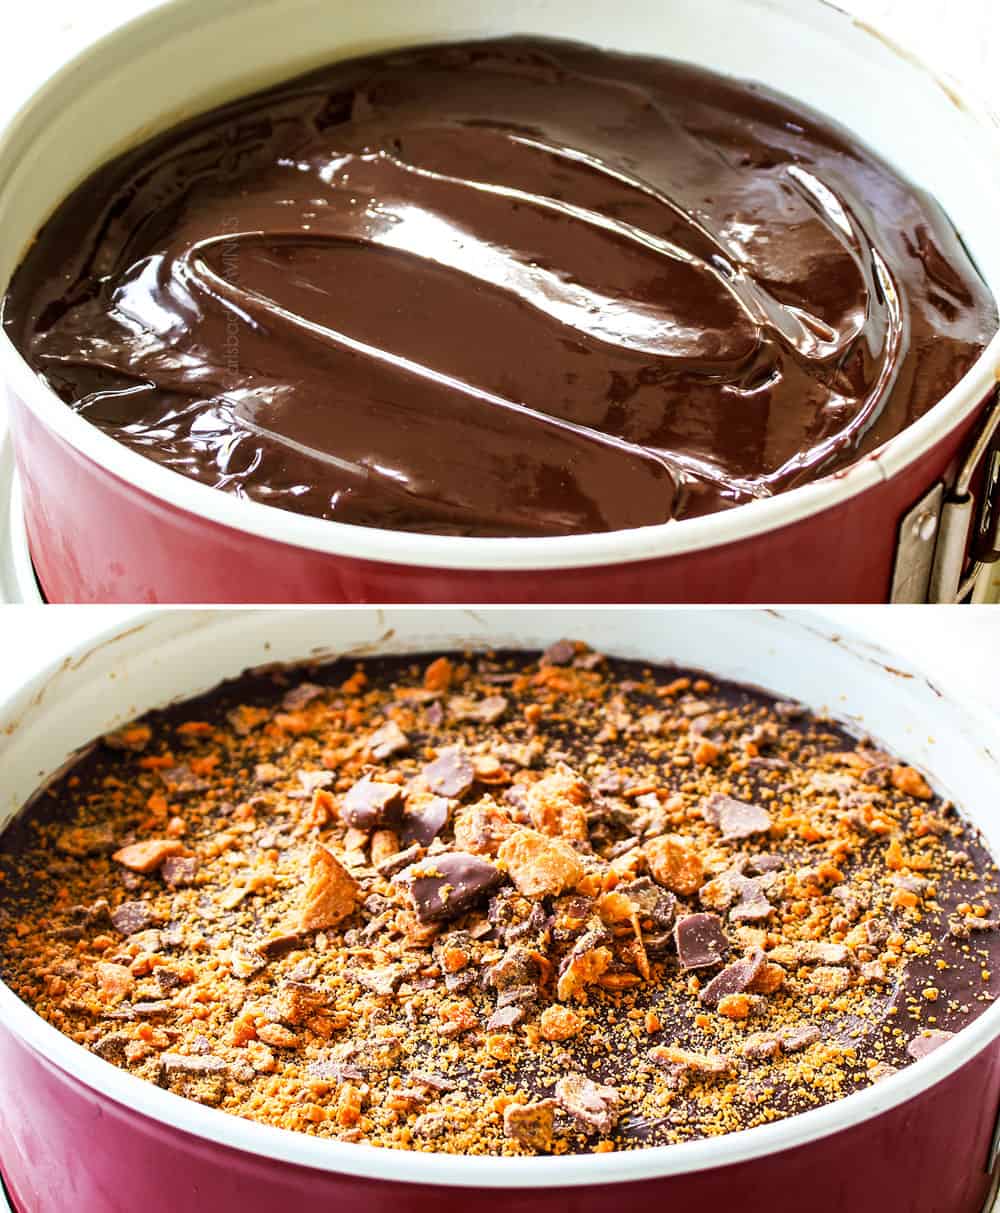
- Add toppings: pour the ganache over top of the pie, spreading to the edges then top with crushed Butterfingers.
Step 7: Chill
Cover and chill the pie in the refrigerator for at least 5 hours before serving or freeze for 2 hours then let the pie sit at room temperature for 20 minutes or so to soften up a bit before serving.
Helpful Tips for the best no bake pie
- Use a commercial brand creamy peanut butter. Use Skippy or Jif because it will blend more easily, won’t separate and create a silkier filling.
- Use quality chocolate for the ganache. Use baking chocolate bars. If you have to use chocolate chips, use a quality brand with a higher percentage of cocoa butter like Guittard or Ghirardelli. Many other chocolate brands contain less cocoa butter and will not melt as seamlessly and can leave you with stubborn chocolate pieces AKA they’re not suitable for ganache.
- Use a food processor. The easiest way to make the crumbs for the crust is in your food processor – it literally takes seconds! If you don’t have a food processor, you can crush the crackers in a plastic bag with a rolling pin or side of a can.
- Use fine crumbs. The finer the crumbs, the more cohesive the crust and less crumbly it will be when baked.
- Press crumbs firmly into pan. Use the bottom of a cup or measuring cup to get the crust layer nice and compact so it doesn’t crumble later.
- Use soft cream cheese. The cream cheese should be soft enough that you can stick your finger in it. If it is not soft enough, then it will yield lumpy filling (see methods to soften cream cheese above).
- Use the stabilized whipped cream. If you want a filling that won’t weep or soften immediately, don’t skip the gelatin.
- Chill bowl and beaters. It’s best to chill your bowl and beaters for about 15 minutes before making the whipped cream. It’s not essential, but chilling helps your whipped cream thicken more quickly and increases the volume.
- Time gelatin. Don’t wait too long to add the gelatin the whipped cream or it can harden. If it has hardened, microwave it again for 10 seconds and then let it slightly cool before adding the whipped cream.
- Don’t overwhip the whipped cream. Stop mixing when you see stiff peaks because over-whipped cream becomes grainy.
- Slice with a hot knife. Using a hot knife is the best method for creating clean slices of pie. You can either run the knife under hot water or fill a large glass with hot water, then dip the knife in the hot water before each cut. Wipe the knife clean with a paper towel after each cut, then repeat.
butterfinger PIE VARIATIONS
- Use a store-bought crust. For a 100% no-bake pie, pick up a store-bought Oreo crust.
- Use a different crust. Swap the Oreos for peanut butter Oreos, 14 sheets chocolate Graham crackers or any other chocolate cookie. You can even use peanut butter cookies! If you use a cookie/cracker without filling, increase the butter in the crust to 7 tablespoons.
- Use Cool Whip. Omit the heavy cream and gelatin and fold in 12 ounces of frozen whipped topping instead. Decrease the sugar to ⅓ cup because Cool Whip is already sweet.
- Omit the ganache. Instead, drizzle melted chocolate all over the top of the pie.
- Use chunky peanut butter. If you are looking for more texture in the pie, opt for chunky peanut butter instead.
- Swap peanut butter. If you’re allergic to peanut butter, try SunButter. Be aware that if your nut butter has a different texture than peanut butter (some nut butters are a lot runnier), that may affect the end result.
- Change the candy. The peanut butter pie base would be delicious with Reese’s or Snickers instead.
- Omit Butterfingers. Turn this Butterfinger Pie into a Peanut Butter Pie by omitting the Butterfingers. Top with chopped peanuts and/or a drizzle of chocolate or top with whipped cream.
- Add whipped cream topping. Top the ganache or replace the ganache with homemade whipped cream.
- Add sea salt. Sprinkle the top with sea salt for sweet and salty bite.
- Turn into bars. You can make this Butterfinger Pie in an 8×8″ baking dish. I would line the pan with foil with overhanging edges and grease with nonstick cooking spray.
How to Serve
This Butterfinger Pie should be kept in the refrigerator until ready to serve because it will soften, then slice it right away (easiest to slice when chilled). If you are taking it somewhere, freeze the pie for at least an hour and let it soften for 20-30 minutes at room temperature before serving or pop it in the freezer for 20 minutes once you arrive at your location.
HOW TO STORE
This Butterfinger Pie should be covered and stored in the refrigerator for up to 4 days or frozen for up to 2 months. If stored in the freezer more than 1 hour, let it sit at room temperature for 20 minutes or so before serving to soften up a bit.
HOW TO FREEZE
- After the ganache has set, wrap the Butterfinger Pie twice in plastic wrap followed by heavy duty aluminum foil.
- Freeze for up to 2 months.
- Let the pie set at room temperature for 20-30 minutes before serving.
WANT TO TRY this butterfinger pie?
PIN it TO YOUR pie or dessert BOARD TO SAVE FOR LATER!
FIND ME ON PINTEREST FOR MORE GREAT RECIPES! I AM ALWAYS PINNING :)!
©Carlsbad Cravings by CarlsbadCravings.com
Butterfinger Pie
Save This Recipe To Your Recipe Box
You can now create an account on our site and save your favorite recipes all in one place!
Ingredients
Crust
- 24 Oreos with filling
- 5 tablespoons unsalted butter, melted
Filling
- 1 teaspoon unflavored gelatin, see notes
- 1 1/2 tablespoons water
- 1 cup heavy cream
- 1 teaspoon vanilla extract
- 8 ounces cream cheese, very soft
- 1 cup powdered sugar
- 3/4 cup creamy conventional peanut butter
- 8 ounces (1 ½ cups) chopped butterfingers, plus more for the topping
Chocolate Ganache
- 8 oz. semisweet baking chocolate, chopped
- 2 tablespoons corn syrup
- 2/3 cup heavy cream
Instructions
CRUST
- Preheat oven to 325 degrees F. Grease the sides only of a 9-inch springform pan (don’t grease pie plate if using).
- Add the Oreos and butter to a food processor and process until finely ground (or crush with a rolling pin then mix with butter in a bowl).
- Pour the crumbs into the springform pan or pie plate and use the bottom of a measuring cup or glass to firmly press the crumbs into the bottom. If using a pie plate, also press the crumbs up the sides.
- Bake at 325 for 10-12 minutes. Transfer to a wire rack and cool completely.
STABILIZED WHIPPED CREAM
- Add the unflavored gelatin to a microwave safe bowl then pour the cold water over top; let stand for 5 minutes. Microwave for 10 seconds. Stir the mixture, then set aside. Immediately proceed with the next step.
- Add 1 cup heavy cream and vanilla extract to a medium mixing bowl. Whip using an electric hand mixer until soft peaks form (the whipped cream folds over when you lift the beaters out of the bowl).
- Turn the mixer to low and slowly pour in the gelatin mixture. Mix until well combined then increase the speed to medium and continue mixing until stiff peaks form (the whipped cream stands straight up and doesn’t fold over when you lift the beaters out of the bowl).
FILLING
- In a separate large mixing bowl, using the same beaters (no need to clean), beat the cream cheese, powdered sugar and peanut butter on medium-low until combined. Increase speed to medium-high and beat until light and fluffy, about 2 minutes.
- Add the whipped cream and the Butterfingers to the peanut butter mixture and fold until evenly combined.
- Pour the mixture into the prepared pan and freeze while you make the ganache.
GANACHE
- Add the heavy cream and corn syrup to a large microwave safe bowl. Microwave until just boiling, about 2 minutes. Remove from microwave and add chopped chocolate. Let stand 3 minutes, then whisk vigorously until ganache is melted and smooth.
- Let the ganache cool to warm, then pour it over the top of the pie and spread it to edges. Sprinkle the top with desired amount of crushed Butterfingers.
CHILL
- Cover and chill the pie in the refrigerator for at least 5 hours before serving (then slice and serve immediately because it will soften) or freeze for at least 2 hours. If frozen, let the pie sit at room temperature for 20 minutes or so to soften up a bit before serving.
- Use a hot knife to slice the pie for the cleanest slices. You can either run the knife under hot water or fill a large glass with hot water, then dip the knife in the hot water before each cut. Wipe the knife clean with a paper towel after each cut, then repeat.
Video
Notes
- Do I have to use gelatin? Whipping the cream with unflavored gelatin then folding it in with the other beaten ingredients gives this pie a light, creamy, texture with structure without any Cool Whip. The gelatin ensures your pie doesn’t become soft and weepy straight out of the refrigerator. Unflavored gelatin is a common baking ingredient and can be found next to the packages of Jell-O and pudding at your grocery store.
- Why can’t I use natural peanut butter? Peanut butter that isn’t homogenized can sometimes cause texture and emulsion issues like your filling separating due to their high ratio of oil. Additionally, I find that some natural peanut butters have a coarse texture that isn’t ideal for achieving that mousse-like pie filling.
- Can I use chocolate chips? I recommend baking chocolate for the silkiest ganache because it has a higher percentage of cocoa butter. If you have to use chocolate chips, use a quality brand with a higher percentage of cocoa butter like Guittard or Ghirardelli. Most other brands will not work.
- Do I have to add corn syrup? Corn syrup keeps the ganache shiny, smooth and pliable after being refrigerated. You can omit the corn syrup if you really are opposed but the ganache will not be as smooth, shiny, flexible or overall successful.
- Variations: see post of lots of fun variations, tips and tricks!
How to serve and store
- How to serve: the pie should be kept in the refrigerator until ready to serve because it will soften, then slice it right away (easiest to slice when chilled). If you are taking it somewhere, freeze the pie for at least an hour and let it soften for 20-30 minutes at room temperature before serving or pop it in the freezer for 20 minutes once you arrive at your location.
- How to store: the pie should be covered and stored in the refrigerator for up to 4 days or frozen for up to 2 months. If stored in the freezer more than 1 hour, let it sit at room temperature for 20 minutes or so before serving to soften up a bit.
- To freeze: after the ganache has set, wrap the Butterfinger Pie twice in plastic wrap followed by heavy duty aluminum foil. Freeze for up to 2 months. Let the pie set at room temperature for 20-30 minutes before serving.
Want To Make This Recipe?

Did You Make This Recipe?
Tag @CarlsbadCravings and Use #CarlsbadCravngs
Leave a Review, I Always Love Hearing From You!


L Booth says
Guess what? Oreo now makes a gluten free version. Very nice for people like me with allergies.
Jen says
That is wonderful, so happy to hear that!
Gail Wilson says
Jen,
Once again you “hit it out of the park”! I made this pie today for my anniversary. It was absolutely the perfect ending to a wonderful meal. The dinner included Pork Medallions in Mushroom Gravy, baked Brussels Sprouts and mashed potatoes. Without your recipes we would have had mashed potatoes. LOL. Thank you for sharing your recipes and God Bless you to continue.
Jen says
Thanks for being the first to review this recipe Gail! I’m particularly excited you loved it because it is a new favorite around here. Your whole dinner sounds incredible and I’m honored to have been a part of it :). Happy anniversary!!!!!xo
Susan says
Followed your instructions to the T . . . This was excellent. Brought it to a friends that made his own chicken parmesan with Greek salad on the side. It all was really good, but I liked dessert the best! Thanks again for a great recipe.
Jen says
You’re so welcome Susan, I’m so pleased it was the hit of the night!
Carrie Pyros says
Absolutley delicious!!! Sent some over to my daughter in a to go box because she was not feeling well… The FIRST text I got was…. I devoured that awesome pie you made!!! So KUDOS FOR THE RECIPE!!!
Jen says
That is awesome, thank you so much Carrie! I hope you daughter feels better soon!
Brenda Rivera says
Soooo, my microwave just died! Not sure how to proceed with the gelatin. Hoping to make this for Xmas. Was making it for Turkey day, but we had some sickies so that didn’t happen! Looks amazing! Also, I should mention that I use your recipes ALOT and there isn’t one thing we haven’t liked! I do have a challenge though with my people. One cannot eat onions and one is pescatarian. It’s sooooo hard to not cook with onions!!!
Jen says
Thanks so much for your kind words Brenda, I’m honored you’re loving my recipes so much! As far as the gelatin, I would add the cold water and let stand per instructions (in a heat proof bowl) and then stand the bowl in a bowl of hot water and stir until the gelatin dissolves. Hope that helps!
Kam says
Wow, this is amazing. I made this for Thanksgiving and was so proud of myself that it turned out looking just like your picture. I don’t make a lot of desserts but wanted to try this. Followed the instructions and it was so, so good. I love your recipes and instructions. This is my favorite cooking blog.
Jen says
Thanks so much for making my day Kam! I’m thrilled this Butterfinger Pie turned out picture perfect and was a huge hit! Thanks for following along and making my recipes!
Mary says
This looks amazing, was just wondering if you could put this in muffin tins for individual portions, any suggestions if it’s possible, would I wan to grease the bottoms or just the sides…..
Jen says
Hi Mary, yes, this recipe would be delicious in muffin tins! I would line the bottom of the tins with parchment paper instead of greasing, that way the bottom isn’t greasy and they easily remove from the tins. Hope that helps!
Ashley says
Absolutely delicious! I never leave comments but this was worth the comment!
Jen says
That is everything, thank you!!!
Angela says
Hi,
For the crust can you use graham cracker crust store bought one in a pinch or didn’t feel like making the crust?
Jen says
Absolutely!
Tina says
Great recipe!
Jen says
Thanks Tina!