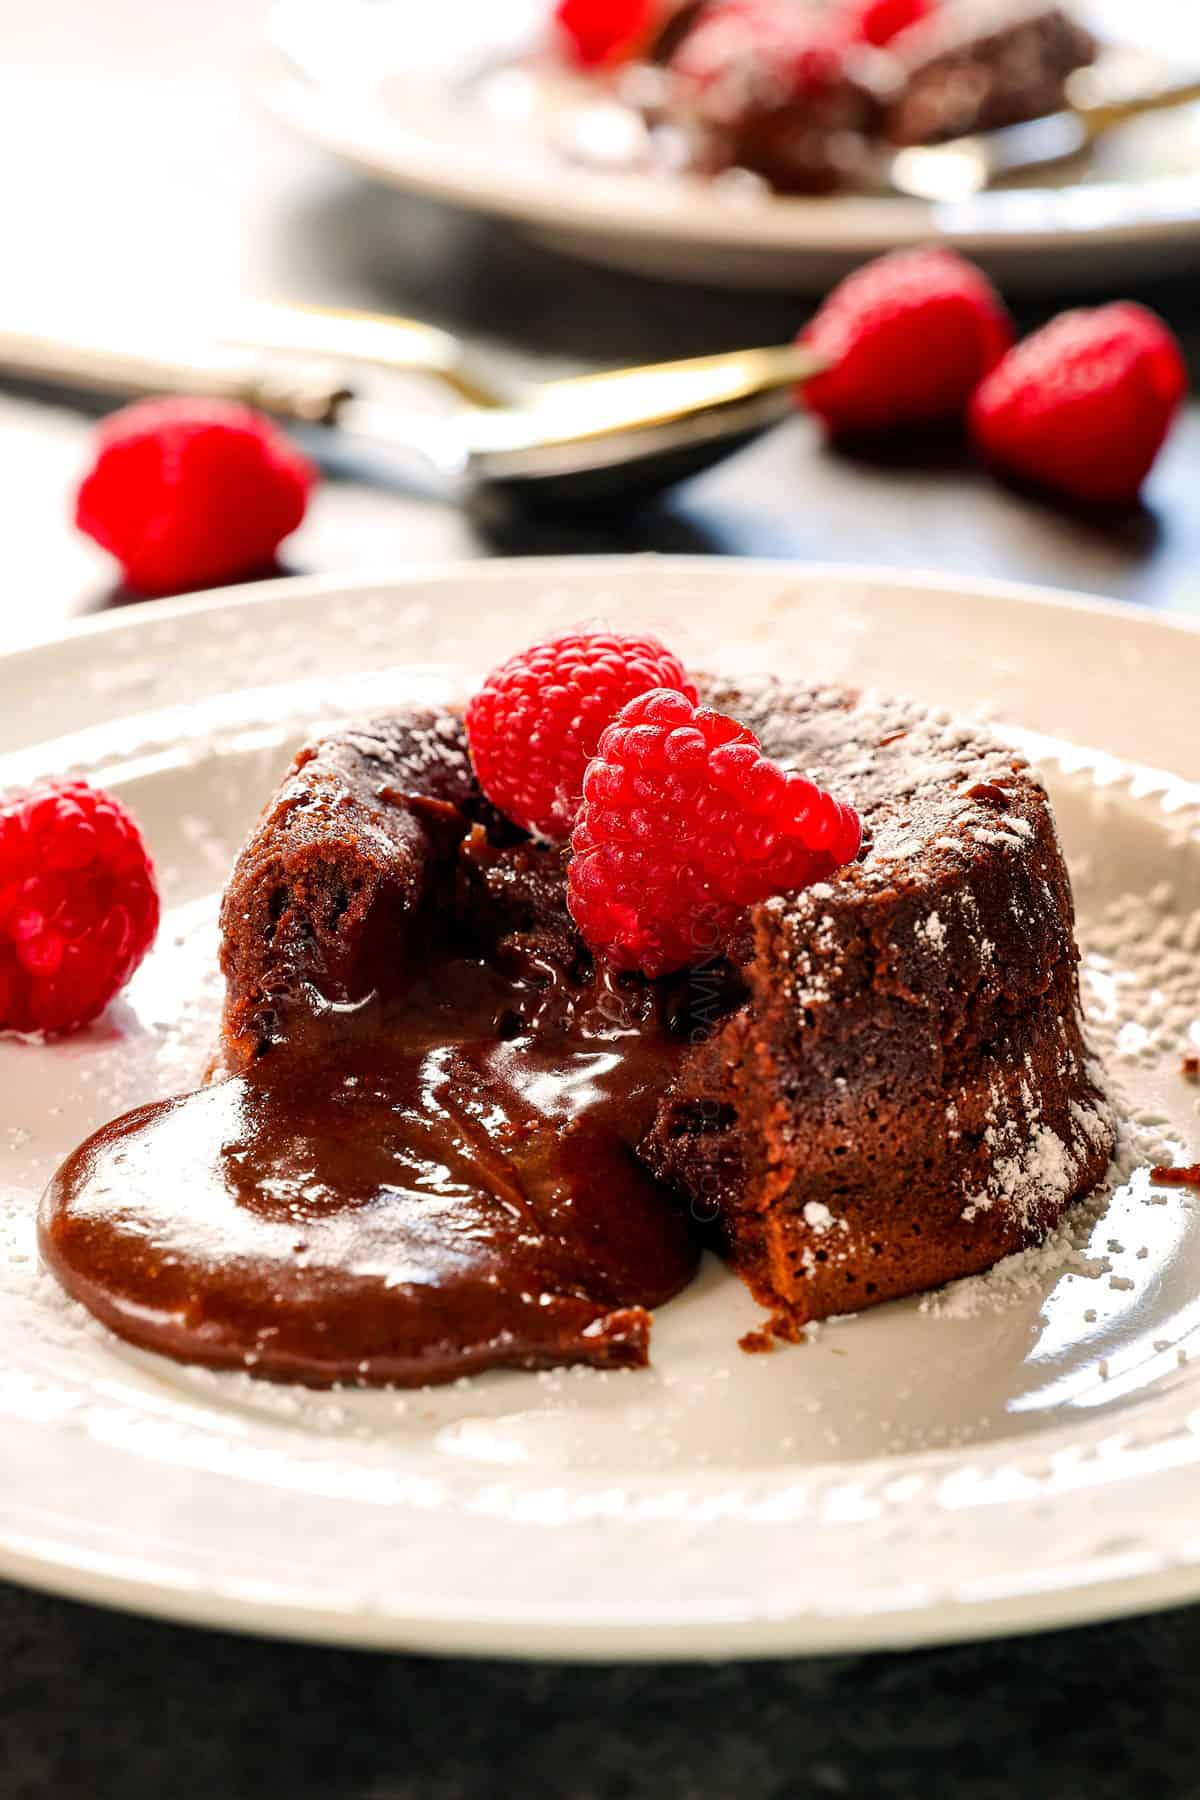
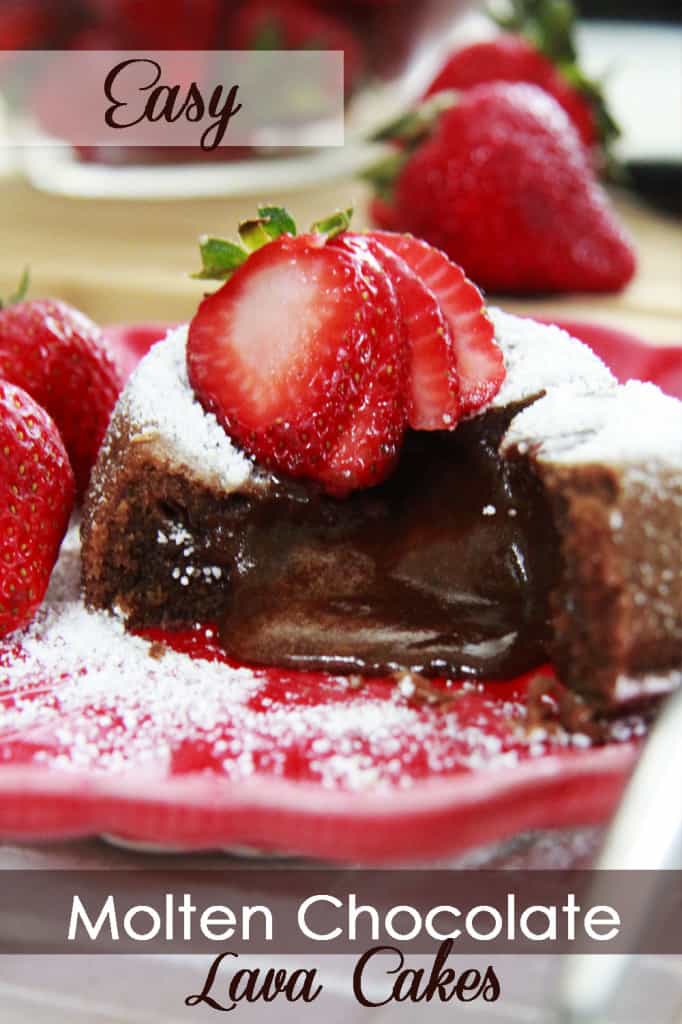
This Chocolate Lava Cake recipe boasts a stunning molten chocolate center but is shockingly easy to make with only 5 ingredients!
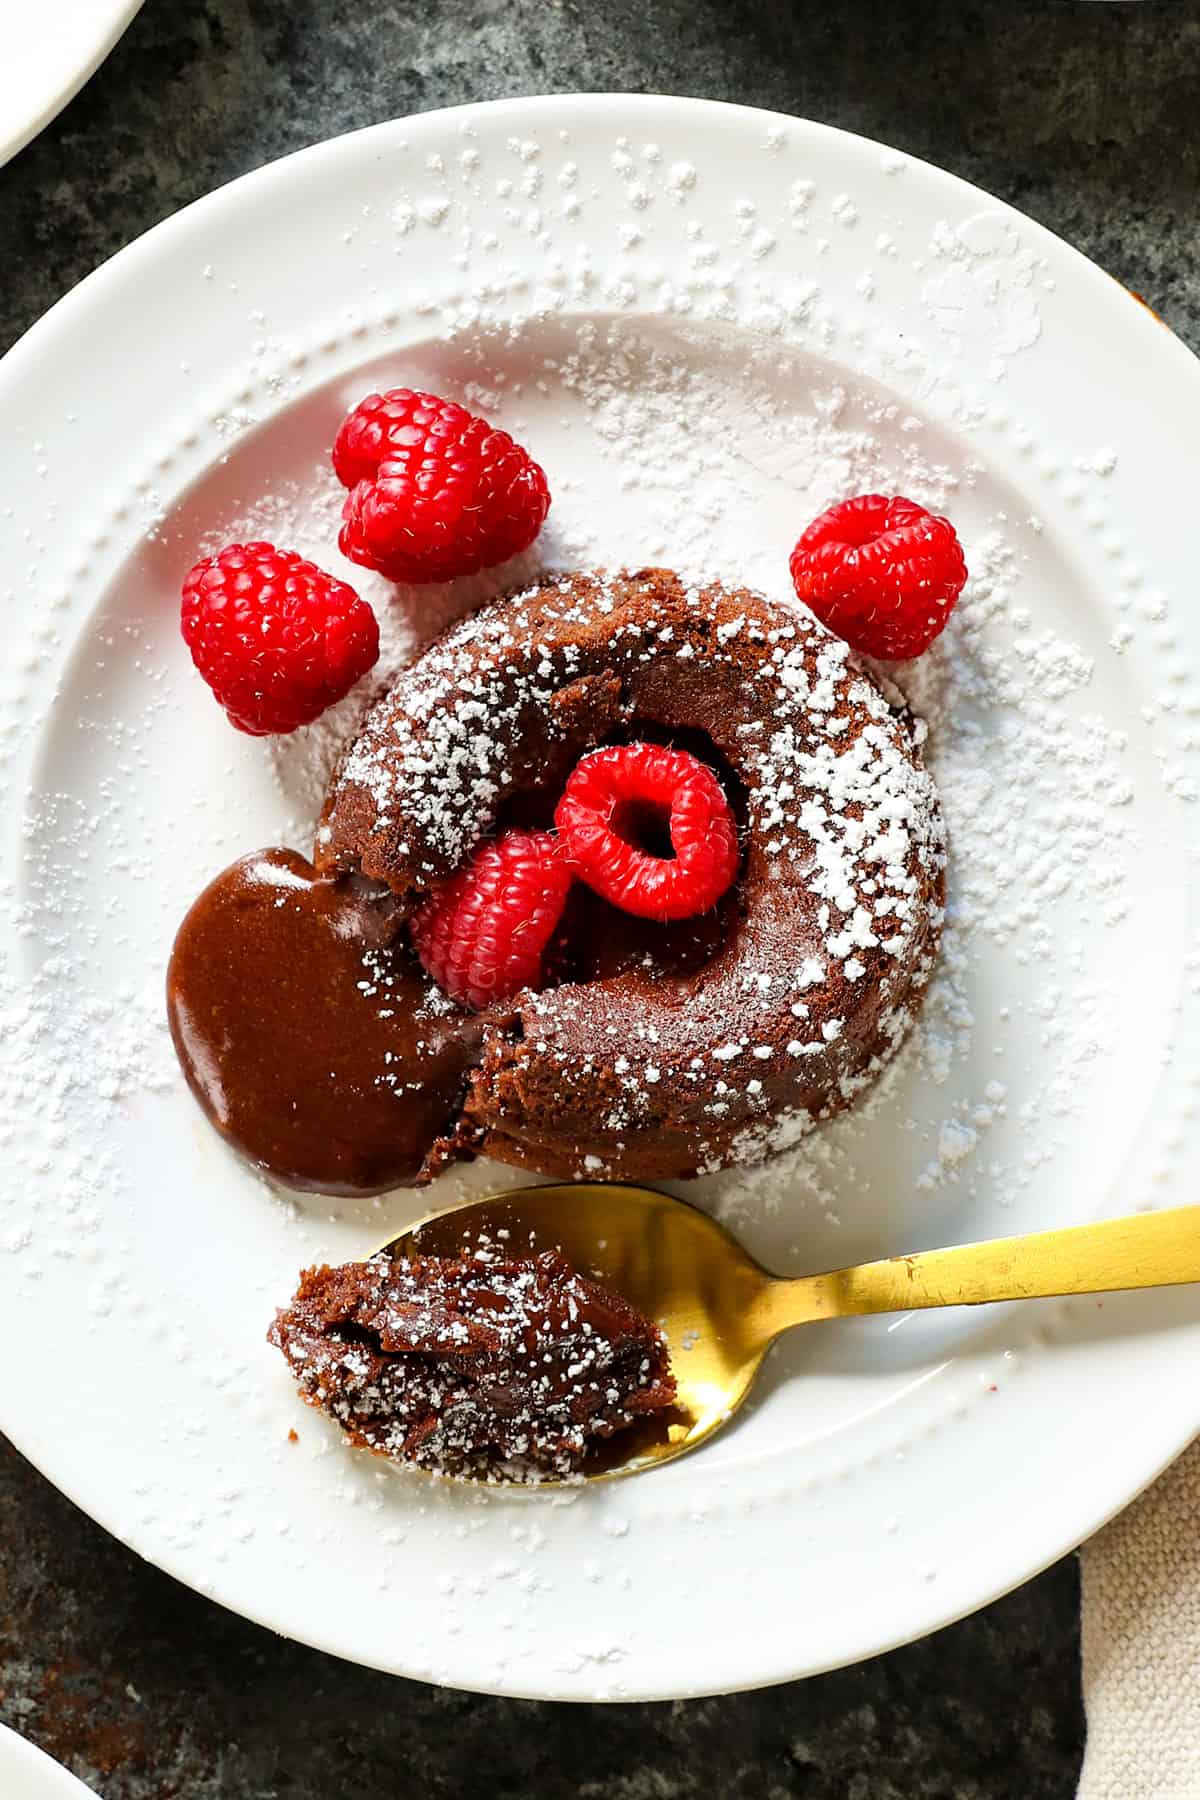
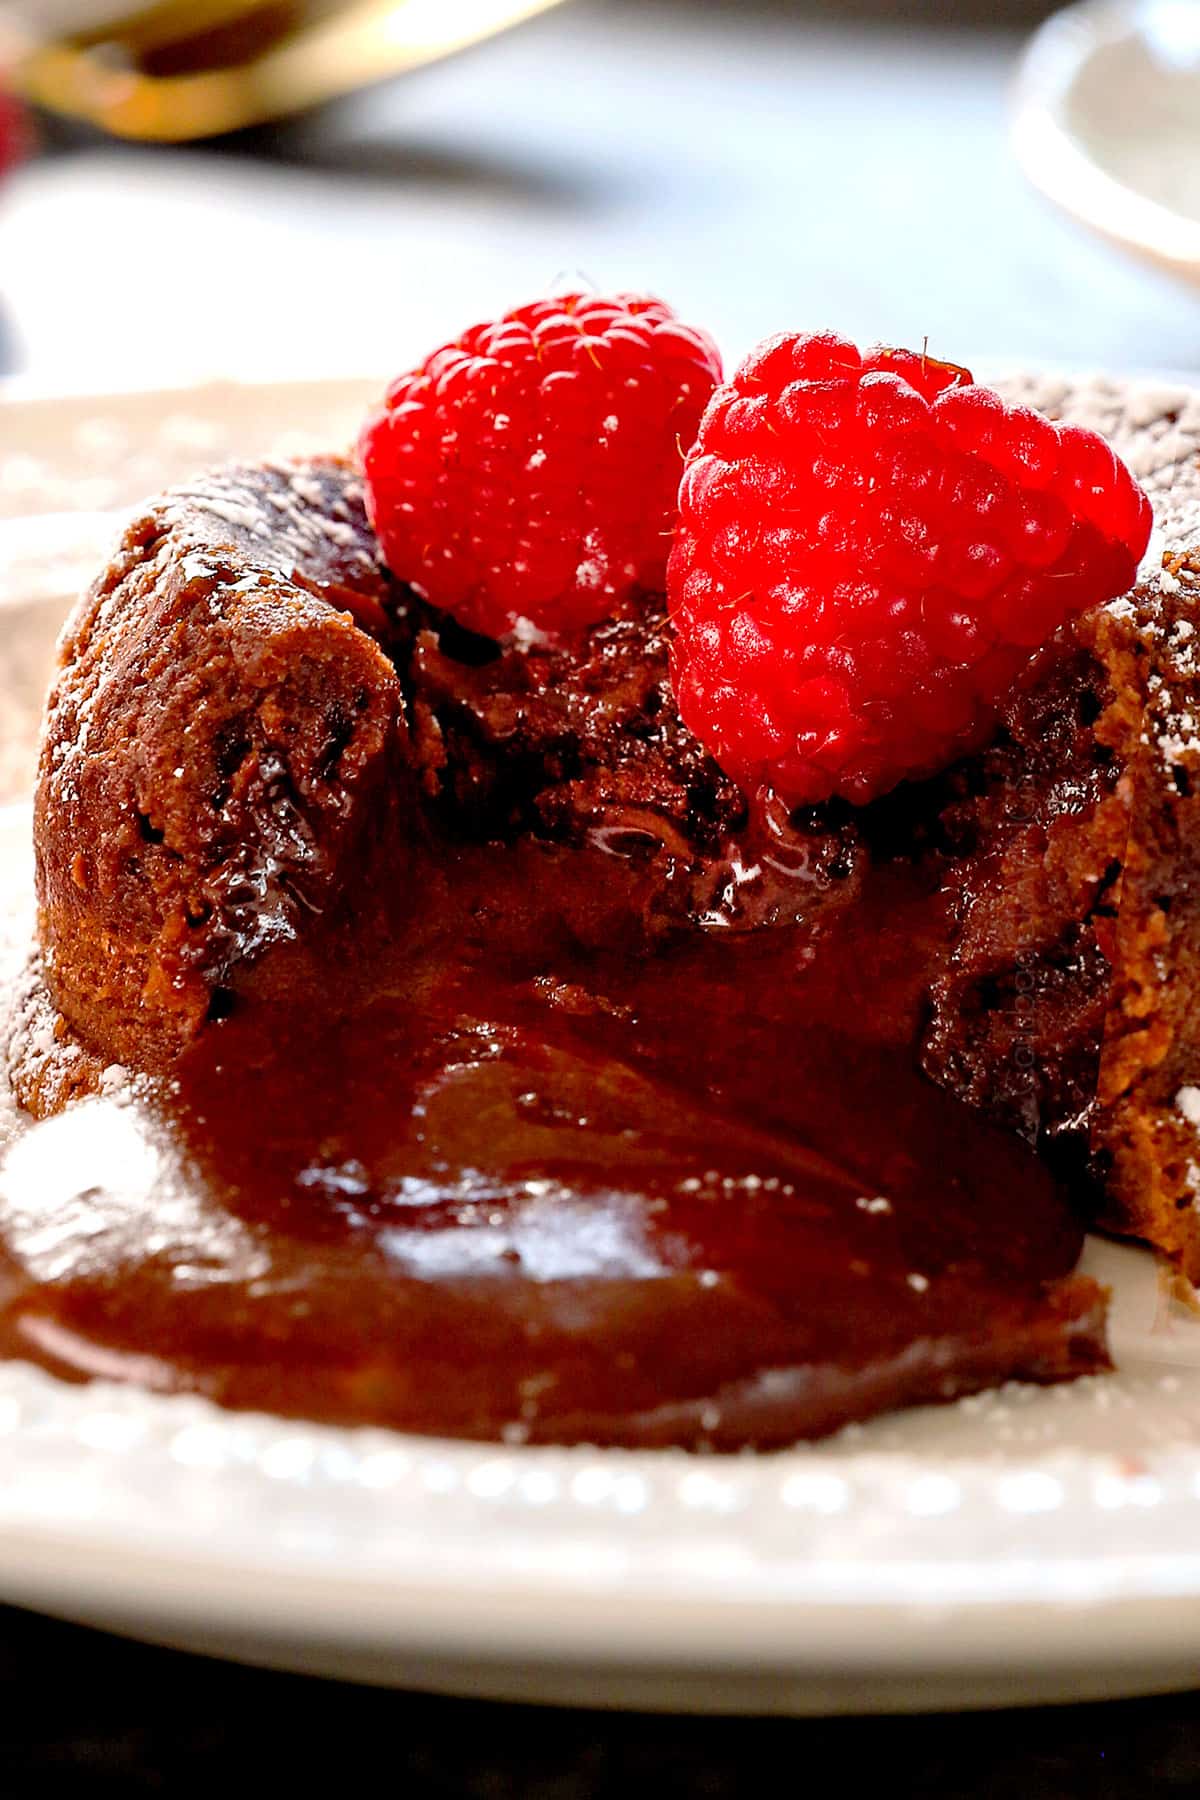
These Chocolate Lava Cakes are sure to impress with a rich and decadent cakey outside, and a river of silky, warm chocolate that streams out the center once you slice into it. Best of all, this recipe is shockingly easy to make at home! These Molten Lava Cakes are on your table from start to finish in less than 30 minutes, without any special equipment – just a bowl and a whisk (you can even use a muffin tin instead of ramekins), and 5 pantry friendly ingredients (eggs, powdered sugar, butter, flour, chocolate). You can prep the batter ahead of time and refrigerate then just pop your cakes in the oven for stress free entertaining. Prepare Molten Lava Cakes for holidays, (like upcoming Valentine’s Day!), dinner parties, birthdays, Sunday dinner, movie night or an indulgent late night snack!
For more yummy chocolate, try Chocolate Covered Strawberries, Homemade Hot Chocolate, Chocolate Raspberry Cake and Chocolate Lasagna.
Recipe photos updated 2/1/23 – same great recipe!
WATCH: How to make Lava Cake


What readers are saying about this Chocolate Lava Cake Recipe:
“I don’t usually comment on recipes but this cake was just TOO easy and TOO good to not stop by and say WOW. Amazing cake and really easy to bake.” Jo-Ann
“Just made these for my book club and they were amazing! 5 star!” -Jane
“I made these for Christmas last year and they were a hit!… I’ve tried multiple lava cake recipes before in the past and this one is by far the best—and it’s also so simple. Thanks a million.” – Carly
“…I was amazed at how easy it was. My 3 year old daughter helped me and we had funny making them. The best part was how amazingly delicious they are. So good! So easy! Awesome recipe!!!!!” – Stacy
“I’ve tried three different recipes in preparation for the gourmet club dinner that I will be hosting in December, and my search is over – thank you! Your recipe worked perfectly for me, was delicious and is sure to impress my guests. I can’t thank you enough for sharing.” – Barb (From Ohio)

Why You’ll Love These Lava Cakes
Indulgently chocolaty. This Chocolate Lava Cake recipe is dangerously delicious with rich, warm, fudgy chocolate cake and a warm river of chocolate lava that oozes from its center once sliced into.
Impressive for every occasion. I wanted to update this recipe in time for Valentine’s Day because Molten Lava Cakes look and tastes royally gourmet for special occasions like Valentine’s Day, Mother’s Day, Father’s Day, birthdays, etc. but are secretly super simple to whip up! Win-win!
Perfect size. Molten Lava Cakes are the stunning individual-sized cakes of your dreams that make for beautiful presentation – no slicing required!
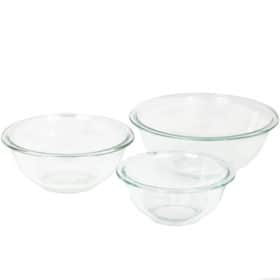
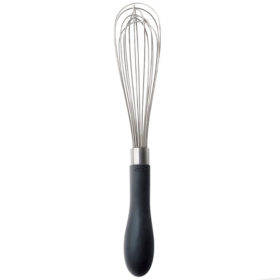
No mixer or ramekins required. One bowl and one whisk are all you need to make this recipe. And bonus, if you don’t have ramekins, you can use a muffin pan instead!
5 Pantry friendly ingredients. This recipe is made with just chocolate, butter, sugar, eggs, and flour.
Quick to make and bake. This Lava Cake recipe can be whipped up in less then 15 minutes then baked for just 12 minutes – that’s less than 30 minutes for this showstopping, restaurant quality dessert.
No cooling time. This is a hassle-free dessert without any layering, frosting or cooling. That means you don’t have to wait for hours to dig in – the Chocolate Lava Cakes are best straight out of the oven!
Prep ahead friendly. You can assemble the cakes, refrigerate, then just pop them in the oven when guests arrive.
CHOCOLATE LAVA CAKE Recipe INGREDIENTS:
These Chocolate Lava Cakes are fabulous because they’re made with pantry friendly ingredients! Let’s take a closer look at what you’ll need (full recipe in the printable recipe card at the bottom of the post):

What ramekins should I use?
The size of the ramekins, also called soufflé cups, matters because it affects the depth and width of the Molten Lava Cakes which will affect the cooking time. For this recipe, I used four 6 oz. ramekins. If you have smaller or larger ramekins, you can use them, but you will need to adjust the baking time accordingly.

Can I make Chocolate Lava Cakes without Ramekins?
If you don’t have ramekins – never fear, your muffin pan is here! The muffin cups in a standard muffin pan/cupcake pan are 4 ounces, smaller than our 6 ounce ramekins. Therefore, you will need to divide the batter between 6 muffin cups instead of 4 and bake for 8-10 minutes. Use a butter knife, spoon or offset spatula to release the cakes from the pan and place each upside down on individual plates.
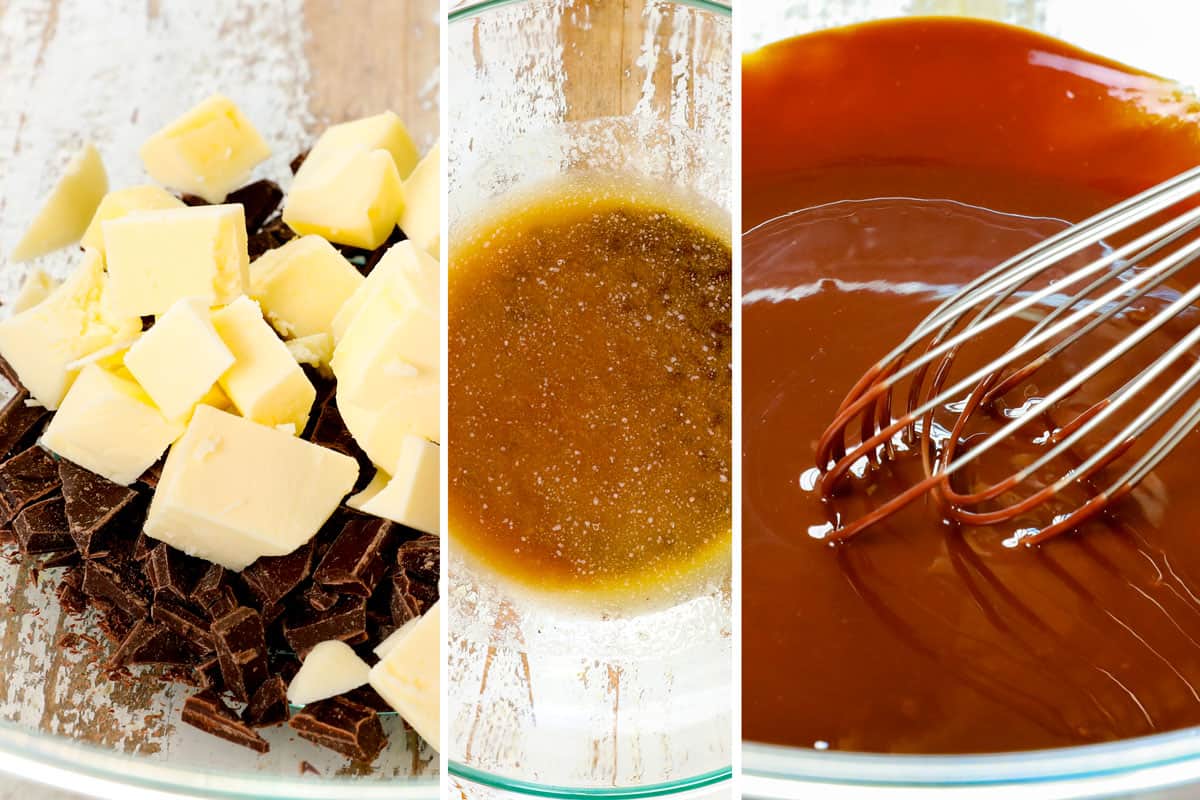
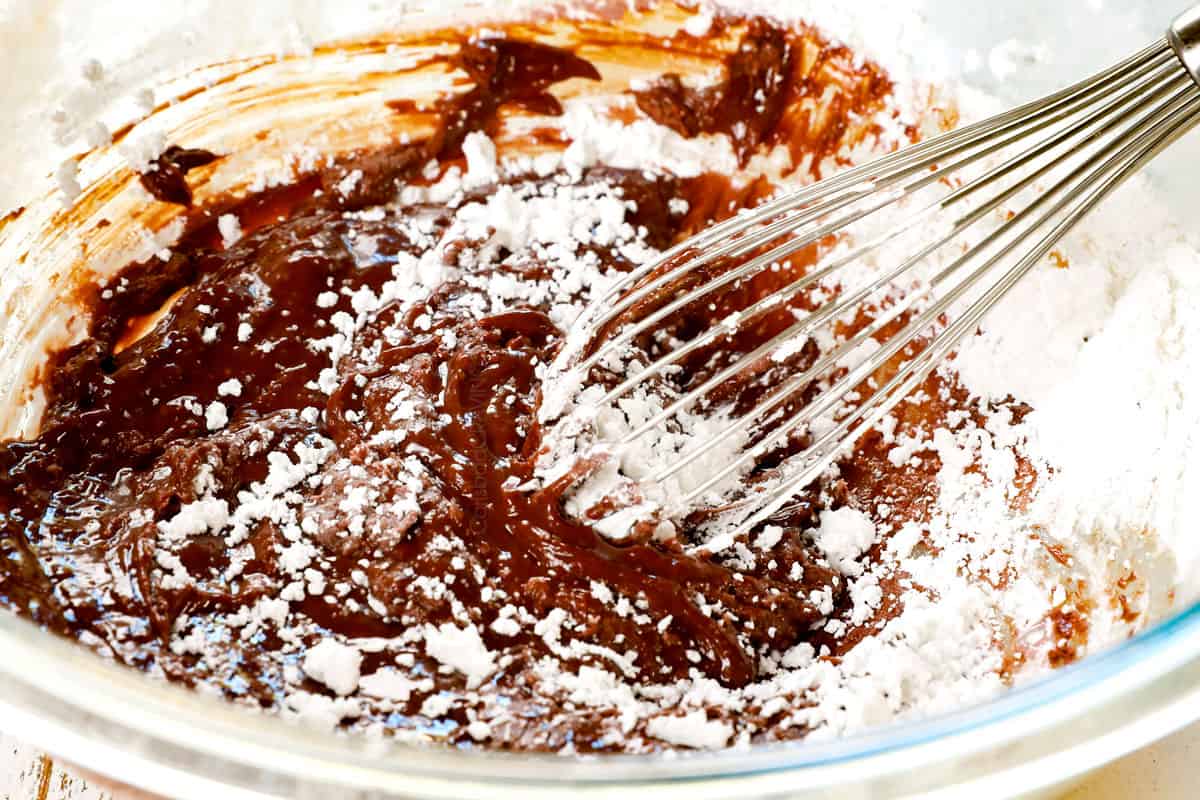
How to make Lava Cake
This Chocolate Lava Cake recipe is SO easy to make! Here is a breakdown of the steps for perfect cakes every time (full recipe in the printable recipe card at the bottom of the post):
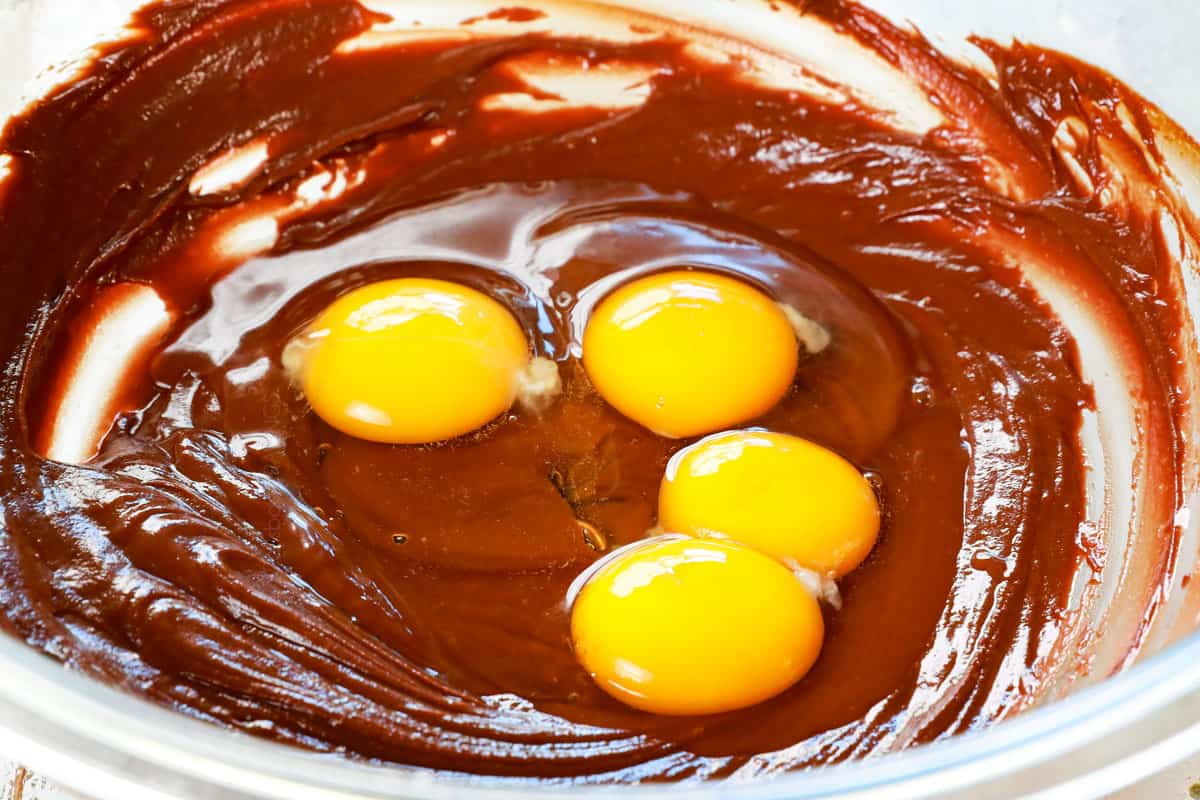
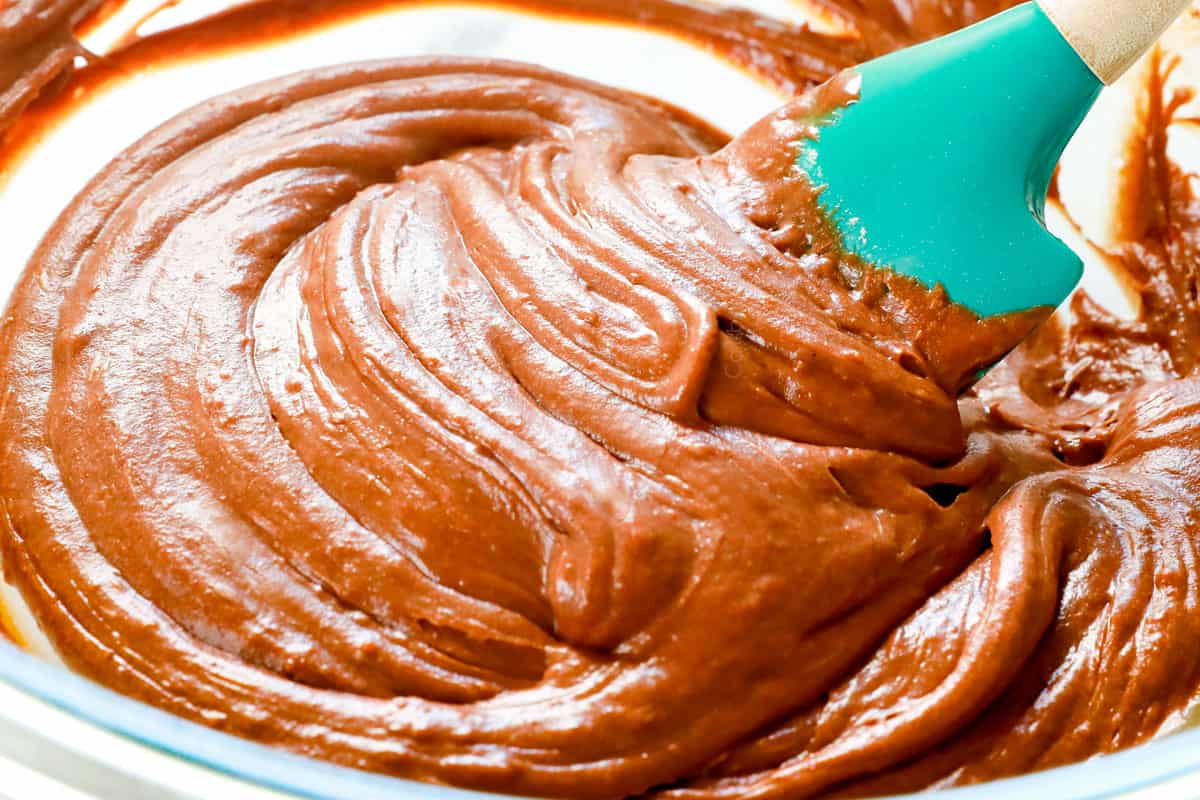
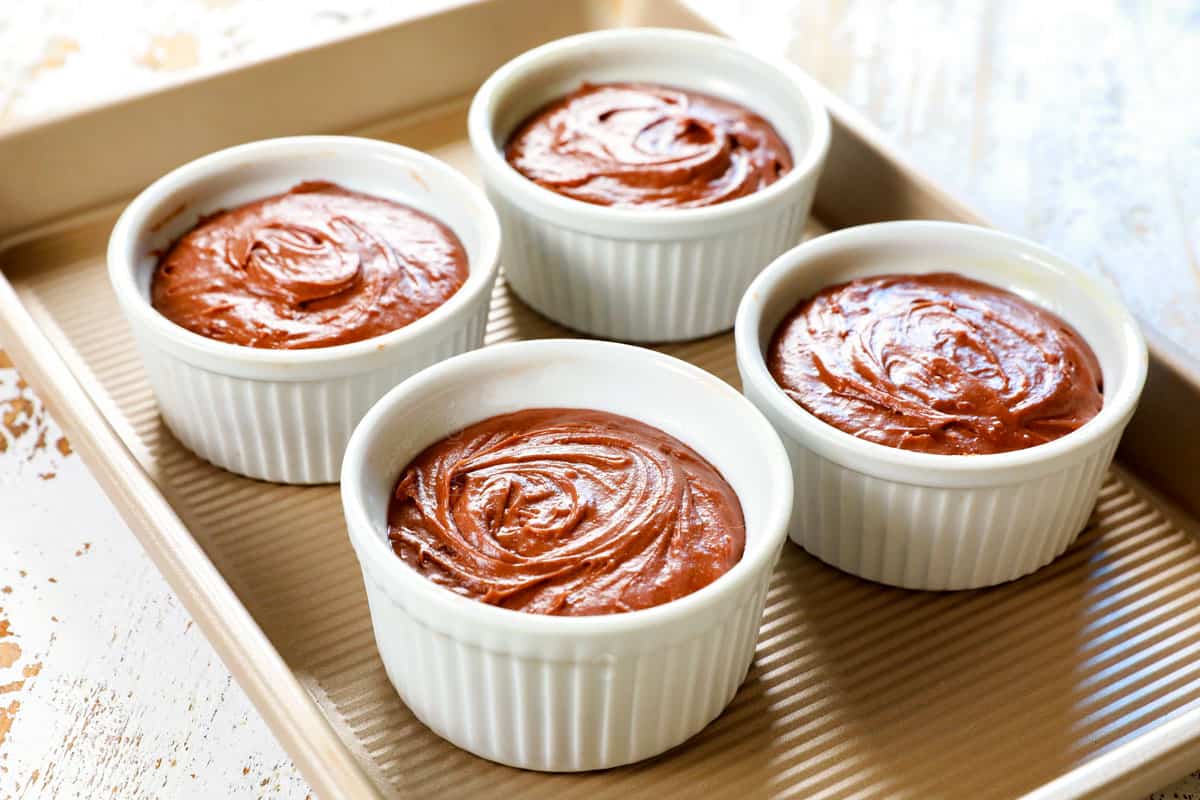
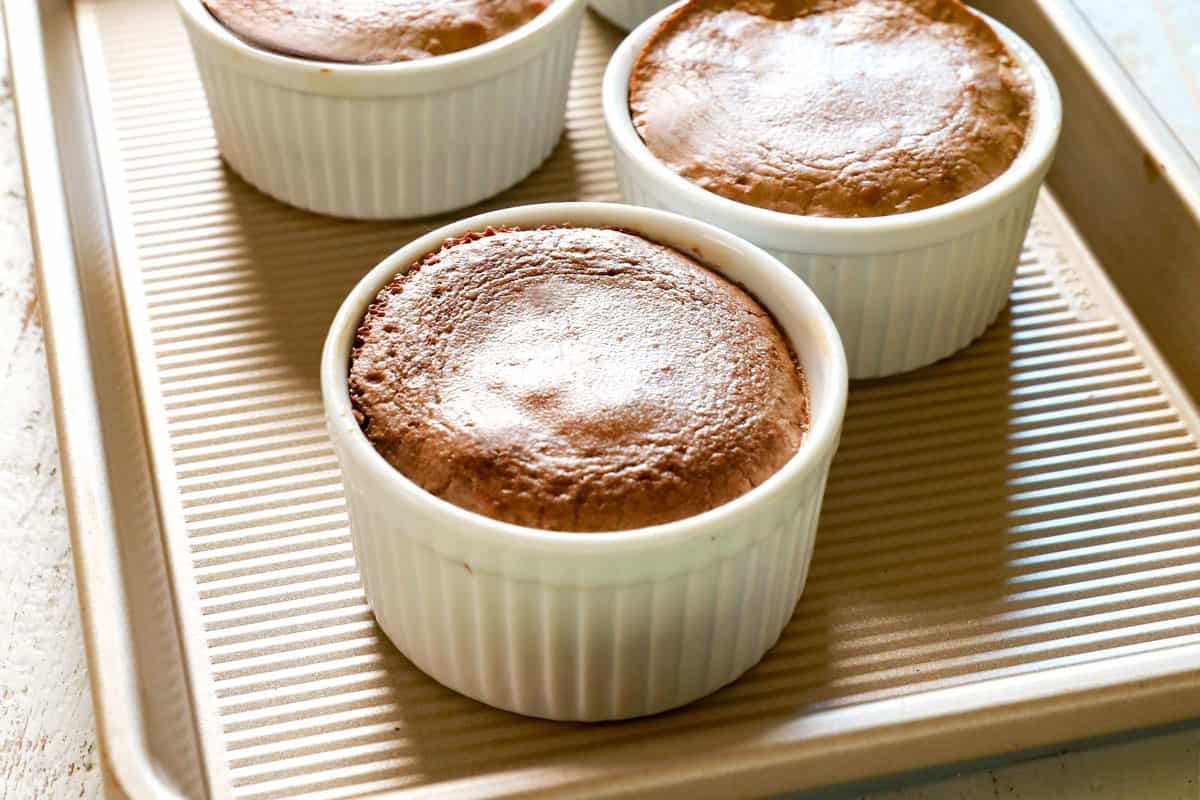
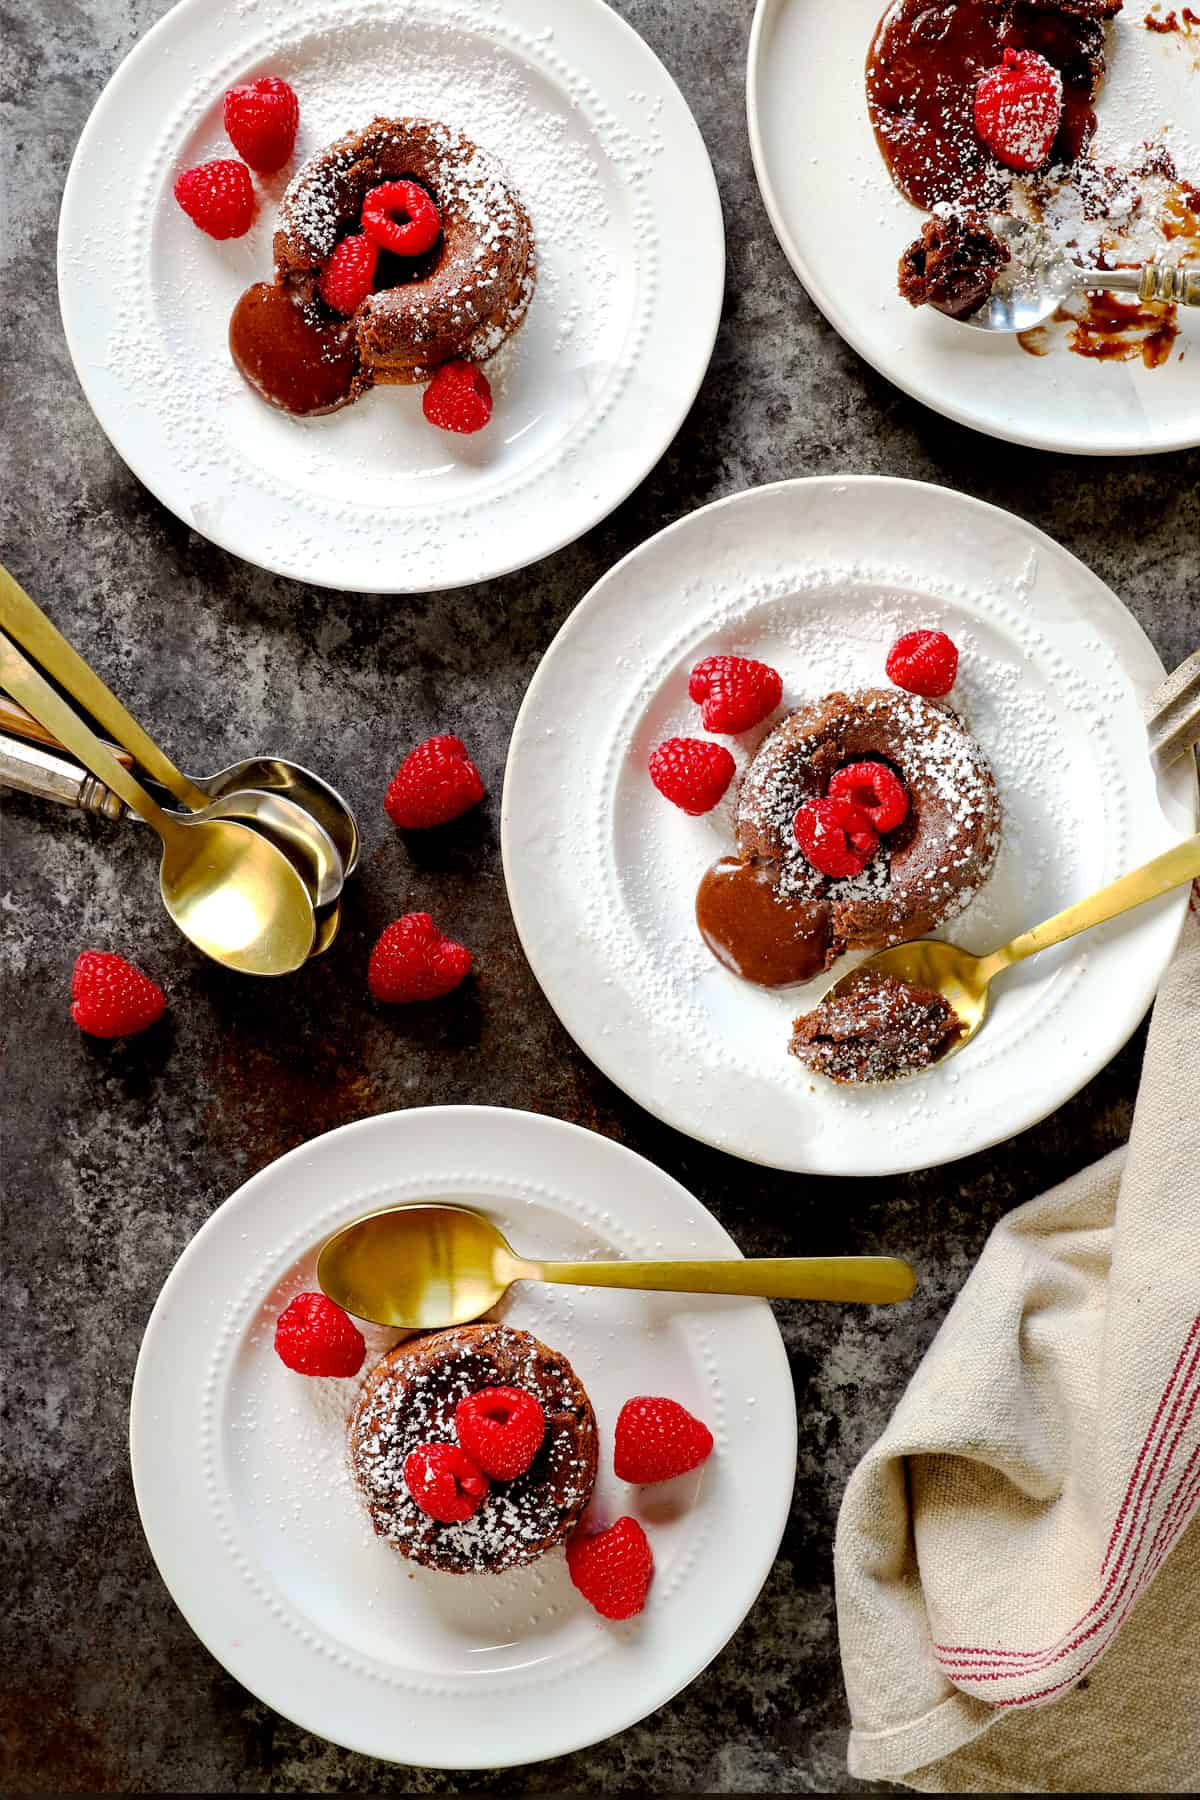

HOW DO YOU KNOW WHEN MOLTEN CHOCOLATE LAVA CAKE IS DONE?
Taking your Chocolate Lava Cakes out of the oven at the correct time is crucial for lava success. I recommend baking the cakes for 11 to 13 minutes; however, because every oven is different, start checking at 11 minutes. You will know your Molten Lava Cakes are done when the edges are cooked, but the center is still slightly shiny and jiggly; it should be set (not wet to the touch) but it will look undercooked.
You can double test for doneness by gently touching the top of a cake with your finger. If your finger is clean, you’re good to remove the cakes from the oven. If your finger has some wet batter on it, bake the cakes for an additional 1 to 2 minutes.

CAN I PREPARE MOLTEN LAVA CAKE AHEAD OF TIME?
YES! I love that Molten Lava Cakes are prep ahead friendly for stress free entertaining. You have a few options to prep ahead:
Individual ramekins: I suggest lining the bottoms of the ramekins with parchment paper before spraying with non-stick spray with flour. This ensures your cakes don’t stick to the bottom of the ramekins after sitting for a longer period of time prior to cooking. Next, add the batter, cover with plastic wrap, and refrigerate for up to one day. When ready to bake, set the ramekins on the counter for 30 minutes to help come to room temperature. I’ve had some readers say the Molten Lava Cakes take a little longer to bake this way, closer to 15-20 minutes, so check for doneness early, but be flexible.
Prepared batter: Prepare the batter according to directions, cover the mixing bowl tightly with plastic wrap and store it for up to two days in the refrigerator.
Frozen batter: Transfer the batter to the ramekins, cover with plastic wrap and freeze for up to 3 months. Thaw in the refrigerator overnight before baking.
HOW DO I BAKE MY Chocolate LAVA CAKES FROM THE REFRIGERATOR?
Before baking your Molten Chocolate Lava Cakes from the refrigerator, place them (or your mixing bowl with batter) on the kitchen counter and allow to come to room temperature for 30 minutes. I’ve had some readers say the Molten Lava Cakes take a little longer to bake this way, closer to 15-20 minutes, so check for doneness early, but be flexible.

Lava Cake Recipe Tips

possible Molten Lava Cake variations
Have fun experimenting with this Lava Cake recipe! Here are just a few ideas:
filling ideas include:
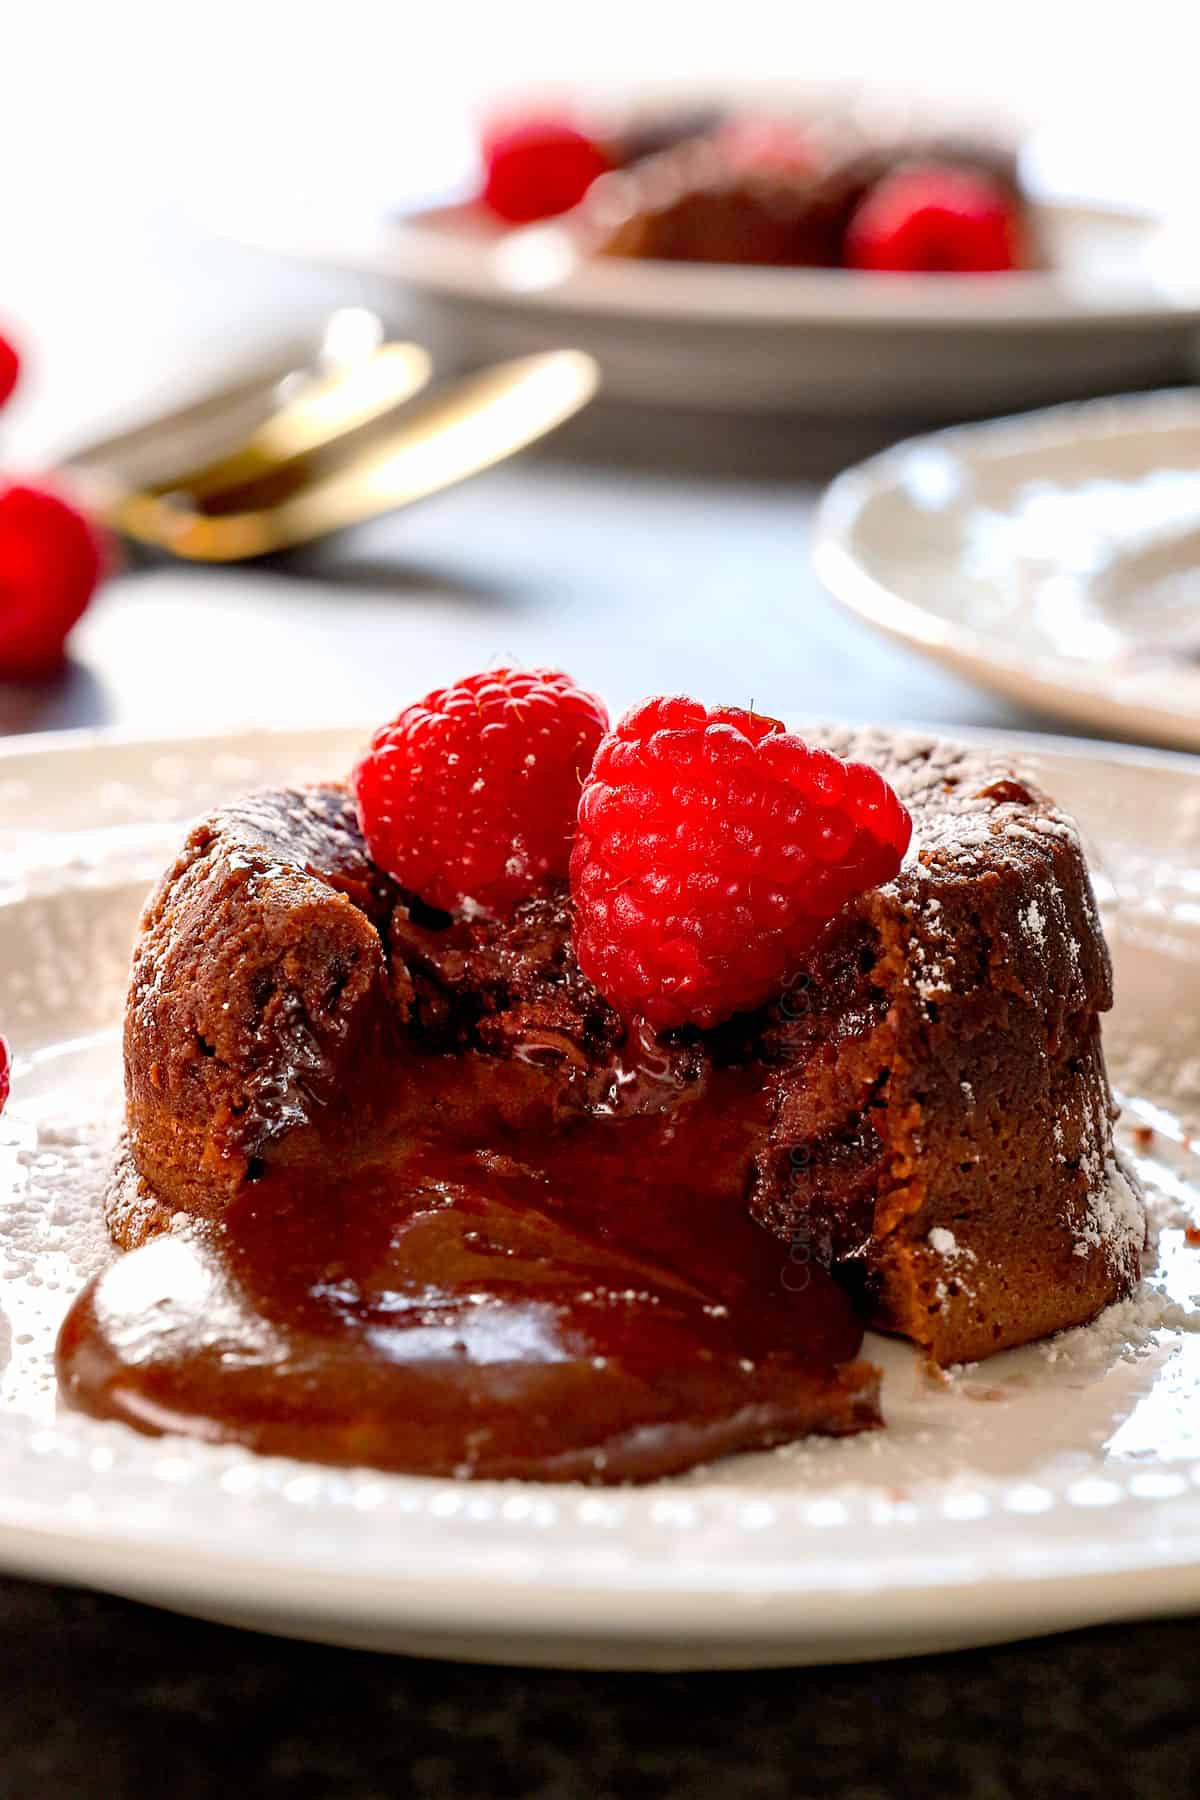

ways to serve Chocolate Lava Cake
Chocolate Lava Cakes are fabulous in their own decadence, but even more delicious with some toppings. Here are a few ideas:
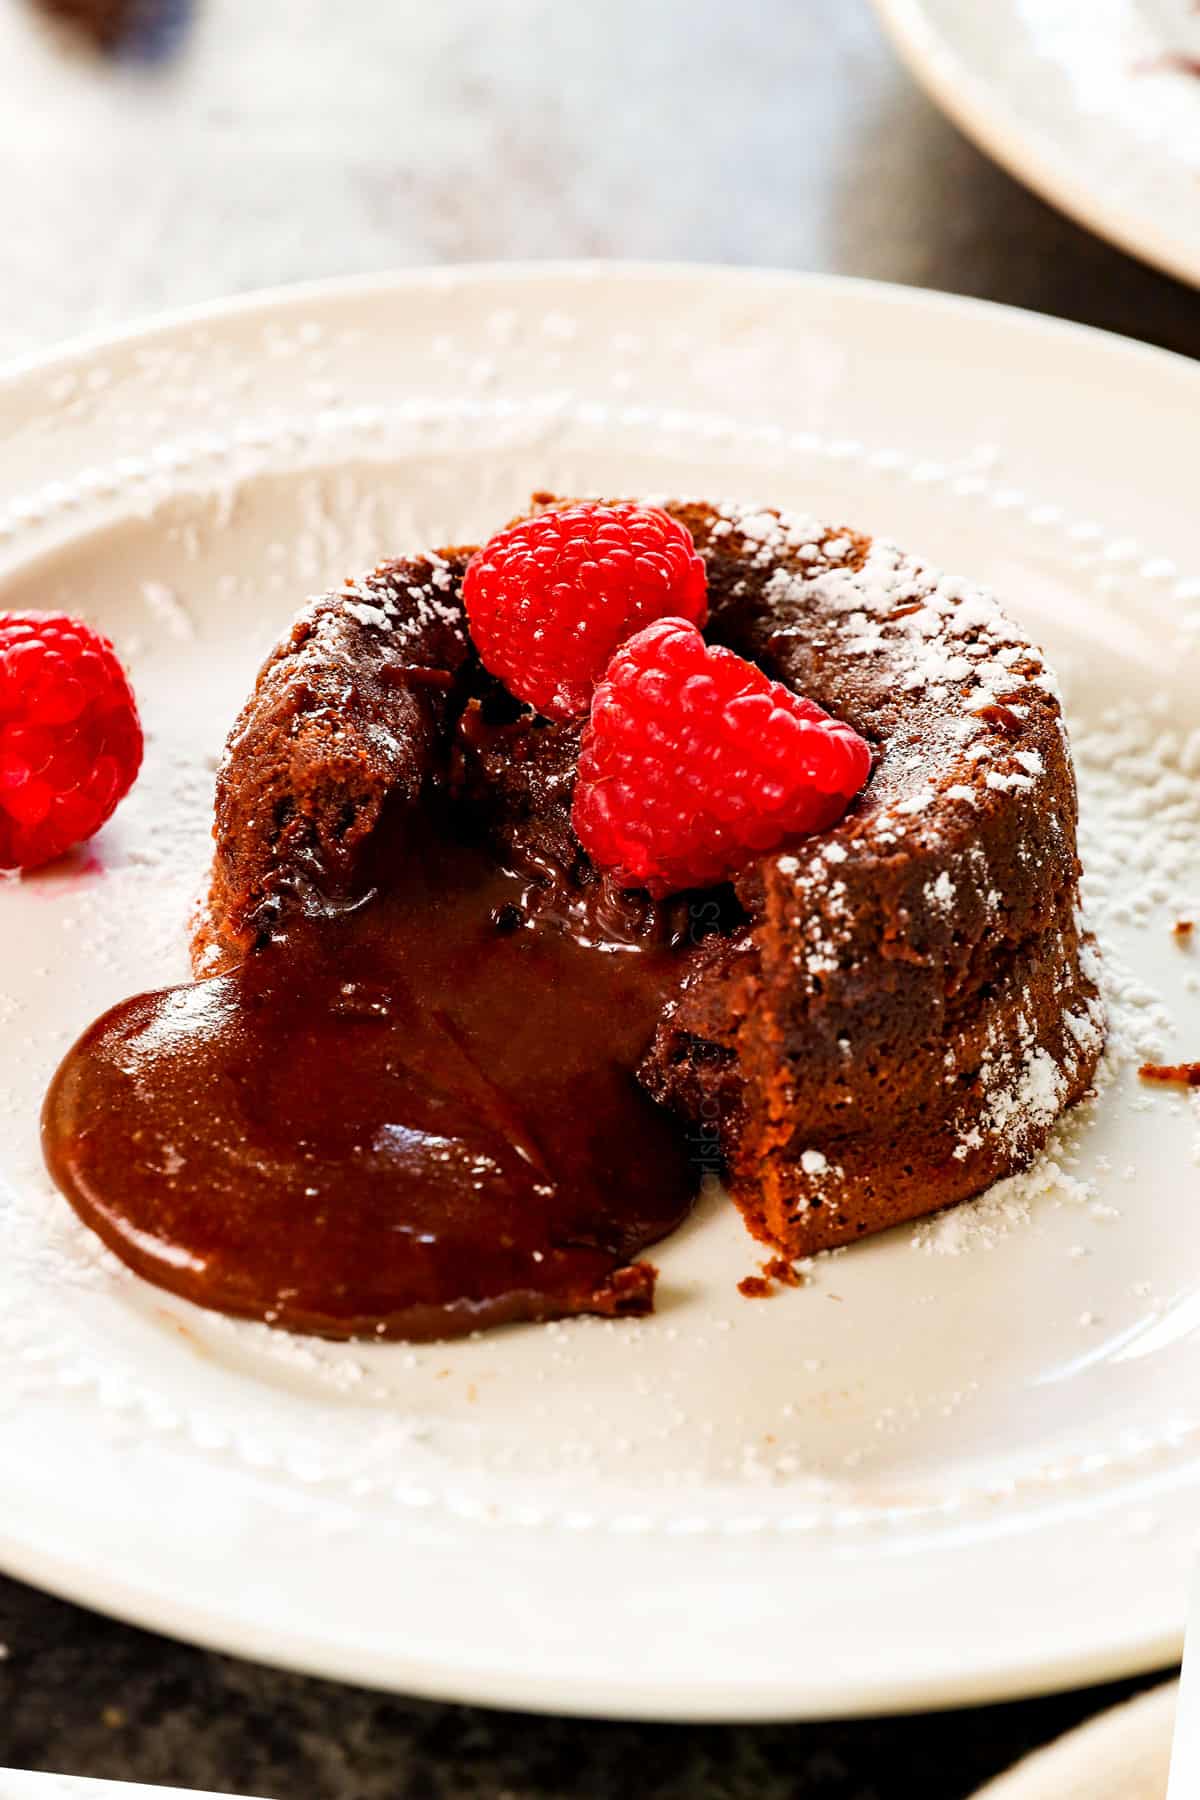

HOW DO YOU STORE LEFTOVER MOLTEN LAVA CAKE?
Chocolate Lava Cake is best eaten immediately. I don’t want you to miss out on the warm melted chocolate lava in the center of the cake! The longer the cake sits once removed from the oven, the more time it has to continue cooking and for the center to solidify.
However, if you want to refrigerate your baked cakes, cover them with plastic wrap and store in the refrigerator for up to three days. Just be aware that your Molten Lava Cake will now just be a tasty chocolate cake.
CAN I FREEZE CHOCOLATE LAVA CAKE?
It’s best to freeze the Molten Lava Cakes before baking. Wrap the ramekins a few times in plastic wrap, followed by foil, then freeze for up to 3 months. Thaw overnight in the refrigerator, then bring to room temperature before baking according to recipe directions.
You can freeze baked Chocolate Molten Lava cake, although you will loose the molten lava center. You will get the best experience from this dessert if you eat your cakes fresh from the oven. If you do freeze them, let the cakes cool completely, then wrap individually and securely in plastic wrap, followed by foil. Freeze for up to three months.
Can I REHEAT baked LAVA CAKE?
Molten Chocolate Lava Cakes are best enjoyed hot, immediately after they are removed from the oven. When you reheat them, you are cooking the center, so it is more likely to be fudgy instead of like “lava.”
However, I have had success by slicing into the cake immediately after it is baked and allowing some of the lava to stream out of the cake before cooling and refrigerating. When you heat the sliced cake, the streaming lava will remain liquidy.

how to reheat chocolate LAVA CAKE
Keeping in mind that reheated Chocolate Lava Cakes will be more gooey then molten, here’s how:
1. Unwrap the cake and place it on a microwave safe dish.
2. Cover with damp paper towel.
3. Heat on medium power for about 15-20 seconds, or until slightly warmed.
CHOCOLATE LAVA CAKE FAQS
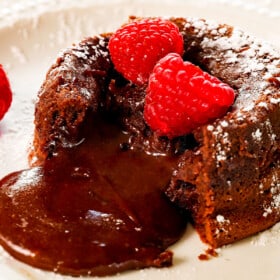
Chocolate Lava Cake is a small, individual-sized cake traditionally baked in a ramekin. It is made by whisking chocolate, flour, eggs, butter and powdered sugar together by hand. What sets Chocolate Lava Cake apart from soufflés and other cake recipes is the center is purposefully slightly under-baked, resulting in a melty, molten chocolate center that oozes out when you cut into it.
Molten Lava Cakes consist of a soft, warm chocolate cake outside giving way to a creamy, smooth stream of warm liquid chocolate inside, ensuring every forkful is bathed in velvety chocolate. It will be love at first bite.
Soufflés and Chocolate Lava Cakes are similar in appearance, share many of the same ingredients and are even served with similar toppings, but don’t be fooled, they are not the same dessert. The differences lie in the texture of the desserts as well as the presentation:
1. A soufflé is fully cooked, whereas a lava cake maintains a runny, chocolatey liquid center. This does not mean that soufflés are the same consistency as cake. A soufflé is definitely moist in the center, much more so than a slice of regular cake would be.
2. The soufflé has a merengue appearance on top and a light texture. Chocolate Lava Cakes are denser than a soufflé, and as previously mentioned, boast a river of chocolate lava that oozes from its center once cut into.
3. Soufflé comes in a variety of flavors like chocolate, lemon or even cheese. Molten lava cake features one flavor- chocolate!
4. While soufflés are typically served in their baking container, Chocolate Lava Cakes are inverted onto serving plates where all of their gooey goodness can flow freely.
A chef in New York City, Jean-Georges Vongerichten, is credited with inventing Chocolate Molten Lava Cake in 1987. Vongerichten removed a sponge cake from the oven too early and realized that while the center was still runny, the outside of the cake had a texture and taste that were desirable.
Fun Food Fact: Vongerichten is the man behind the famous Jean-Georges restaurant located in New York’s Trump International Hotel and Tower. However, Jacques Torres, a French chef and chocolatier, who also happens to be a judge and co-host of the popular food show Nailed It!, says that the Lava Cake already existed in France before Vongerichten claimed to have invented it. Wherever the truth lies, our lives are blessed from the creation of the Chocolate Lava Cake!
Just like in custard, the interior of the Lava Cake reaches over 165 degrees Fahrenheit, which is high enough to eliminate any bacterial risk from the eggs. You may use pasteurized eggs, however, if you have any concerns.
If the centers are still liquidy to the touch after 12 minutes, continue to bake an additional 1 to 2 minutes. When the cakes are done, they will have risen completely, look firm on the outside, but the centers will still look shiny and jiggle just a bit.
No, it reaches past 160 degrees F, just like custard, so it is safe to eat.
No difference whatsoever! They both refer to the rich, personal-sized chocolate cakes with a gooey, chocolaty center. They are also known as Molten Lava Cake, Molten Chocolate Lava Cake.
Chocolate Lava Cakes are served hot from the oven, with just a one to two minute rest before being inverted onto the serving plates. They must be served hot, otherwise, the molten lava centers will thicken as the cakes continue to bake and cool.
Yes, both unbaked and baked Lava Cakes should be refrigerated.
Yes! You can double or triple the recipe, but the cakes will likely need an extra minute or two in the oven. Take extra care to evenly divide the batter between the ramekins or muffin tin.
WANT TO TRY THIS chocolate lava cake RECIPE?
PIN IT to your chocolate or dessert recipe BOARD TO SAVE FOR LATER!
FIND ME ON PINTEREST FOR MORE GREAT RECIPES! I AM ALWAYS PINNING :)!
©Carlsbad Cravings by CarlsbadCravings.com
Molten Lava Cake Recipe
Save This Recipe To Your Recipe Box
You can now create an account on our site and save your favorite recipes all in one place!
Ingredients
- 4 6-8 oz. custard cups/ramekins
- 1/2 cup salted butter (or unsalted butter + ¼ tsp salt)
- 4 oz. semi-sweet baking chocolate, roughly chopped (I HIGHLY recommend Ghirardelli)
- 1 cup powdered sugar
- 2 whole eggs, at room temperature
- 2 egg yolks, at room temperature
- 1/3 cup flour + 1 tablespoon
For serving (Optional, pick your favs)
- powdered sugar
- fresh berries
- vanilla ice cream
Instructions
- Preheat oven to 425 degrees. Generously spray 4 small ramekins/custard cups with nonstick baking spray WITH flour or grease and dust your cups with cocoa powder. Place cups on a baking sheet.
- Add butter and baking chocolate to a large microwave-safe bowl and microwave for 1 minute, or until butter is melted, then stir until butter and chocolate are completely smooth.
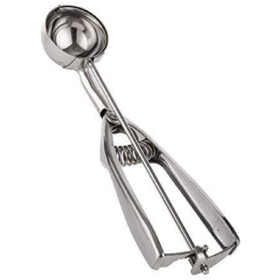
- Evenly spoon batter into prepared cups (I use a large cookie scoop). Bake for 11-13 minutes at 425 degrees F, or until the sides are firm but the centers look slightly shiny and jiggly but are not wet to the touch.
- Let cool for 2 minutes, then gently loosen cakes from custard cups by sliding a knife around the edges of each cake; then invert cakes onto serving plates.
- Dust with powdered sugar or top with ice cream and berries if desired. Serve immediately (because the cakes will continue to cook in the center).
Video
Notes
- To use a muffin tin: The muffin cups in a standard muffin pan/cupcake pan are 4 ounces, smaller than our 6-ounce ramekins. Therefore, you will need to divide the batter between 6 muffin cups instead of 4 and bake for 8-10 minutes. Use a butter knife, spoon or offset spatula to release the cakes from the pan and place each upside down on individual plates (and don’t forget to grease your muffin pan!).
- Use quality chocolate: It is CRUCIAL to use quality baking chocolate for this recipe or your filling will be grainy and you may miss the lava center completely. Set yourself up for success by using QUALITY baking chocolate such as Ghirardelli brand. Baking chocolate is cooled, hardened chocolate liquor with a high percentage of cocoa butter because it’s intended to be baked with and therefore melts beautifully, whereas, chocolate chips contain less cocoa butter and will not melt seamlessly.
- Room temperature eggs hack: Add warm (not hot) tap water to a bowl then add eggs (still in their shells) for at least 20 minutes.
- Scoop and level flour: Whenever you measure flour, don’t scoop it into the flour bag/container or else the flour will compress; packed flour yields denser, drier Molten Lava Cakes. Rather, fluff, then scoop the flour into a measuring cup with a spoon and then level.
- Evenly divide the batter: It’s important that you add the same amount of batter to each ramekin so the cakes bake evenly. You can use a measuring cup, cookie scoop or kitchen scale to help.
- Can I reheat baked Molten Lava Cake? Molten Chocolate Lava Cakes are best enjoyed hot, immediately after removed from the oven. When you reheat them, you are cooking the center, so it is more likely to be fudgy instead of like “lava.” However, I have had success by slicing into the cake immediately after it is baked and allowing some of the lava to stream out of the cake before cooling and refrigerating. When you heat the sliced cake, the streaming lava will remain liquidy.
Prep Ahead
I love that Molten Lava Cakes are prep ahead friendly for stress free entertaining. You have a few options to prep ahead:- Prepared batter: Prepare the batter according to directions, cover the mixing bowl tightly with plastic wrap and store it for up to two days in the refrigerator. Bring to room temperature before adding to ramekins.
- Individual ramekins: I suggest lining the bottoms of the ramekins with parchment paper before spraying with non-stick spray with flour. This ensures your cakes don’t stick to the bottom of the ramekins after sitting for a longer period of time prior to cooking. Next, add the batter, cover with plastic wrap, and refrigerate for up to one day. When ready to bake, set the ramekins on the counter for 30 minutes to help come to room temperature. I’ve had some readers say the Molten Lava Cakes take a little longer to bake this way, closer to 15-20 minutes, so check for doneness early, but be flexible.
- Frozen batter: Again, line the ramekins with parchment paper. Transfer the batter to the ramekins, cover with plastic wrap and freeze for up to 3 months. Thaw in the refrigerator overnight before baking.

Did You Make This Recipe?
Tag @CarlsbadCravings and Use #CarlsbadCravngs
Leave a Review, I Always Love Hearing From You!
Recipe Source: Adapted from Kraft Recipes





Serena | Serena Bakes Simply From Scratch says
Yum! Love Molten Lava Cakes!
Jen says
Yes, they are the best! Thanks for stopping by Serena!
Mary says
They absolutely look soooo delicious….My 9 year old granddaughter and I decided to try them for her mother’s birthday. I received some cute mini bunt cake pans (too adorable)…of course not thinking. We served them after dinner, nice and hot…but to our surprise they did not have the lava in them, they looked great and tasted fabulous. Of course I hade to explain to my granddaughter what happened and had a good laugh but throughly enjoyed the cake and evening. Thanks again for the wonderful pictures and recipe. We will try again with the correct pans.
Jen says
Hi Mary, what a fun dessert to make with your granddaughter – and what a fun grandma you are! I am happy they looked pretty and tasted great at least without the lava 🙂 If you are willing to play with the baking times, you can probably figure out how to make the lava cakes come out (with the lava:) in your cute pans by baking for less time. It might take some trial and error but I consider that a good thing when the collateral damage is extra cake 🙂
Sophia @ NY Foodgasm says
Didn’t realize it was soooo easy Jenn! Beautiful job they look AMAZING! What a crowd pleaser!
Jen says
Yes, SO EASY! Love an easy and delicious dessert – or delicious, easy anything! Thanks Sophia!
Choya says
I just gained 10 lbs looking at your pictures. That looks amazing and I am sure it tasted amazing too. Thanks for sharing.
Jen says
LOL! Thank goodness they are in portion control cups right?!
Mary Ann says
Wow! I had to share on Pinterest, looks delicious and your pictures are awesome! I am really, truly, enjoying your blog!
Jen says
Thank you so much Mary Ann, that means SO MUCH coming from an amazing, accomplished photographer as yourself! So happy you are enjoying it, that makes me so happy!
Paula Parker says
Wow , looks complicated, but it’s easy-peasy. Elegant as well
Jen says
Love easy-peasy! 🙂 Doesn’t get much easier or more delicious! Thanks for stopping by Paula!
kungphoo says
My kids love lava cakes.. My daughter has always wanted to make one, now she has a recipe!
Jen says
I am so excited for your daughter to try these out! And for you because then you can eat some 🙂
Sheena @ Hot Eats and Cool Reads says
These look so wonderful!! Wish I had one now!
Jen says
Thanks Sheena! I wish I could give you one!!
Leila says
Interesting!!! I have made a larger lava cake, but by no means was it this simple! I am definitely going to have to try your recipe! Thank you for sharing!!
Jen says
Oh yes, please do because it is SUPER simple! And there is portion control with smaller ones 🙂
Shelby says
I have never made this! I have never even eaten it. Can you believe that? Grumpy has though and he loves it so I think I will have to finally just do it since it is so easy to do. I sure hope I don’t mess it up. LOL
Jen says
LOL! You won’t mess it up! and if by some chance you do, you can try again because it is so easy :)! I am excited for you to finally try Molten Chocolate Lava Cakes – you won’t be able to STOP making them!
Vicky (@aroundandupsidedown) says
Oh my – this looks exquisite! All your fantastic pictures are making me feel very hungry!
Love Vicky
Around and Upside Down
Jen says
I’m glad my pictures are appetizing but sorry they are making you hungry, LOL!
Bella Vida Letty says
Wonderful post. The recipe looks delicious and I really like how many photos you posted. I’ve pinned this recipe to my food board on Pinterest.
Jen says
Thanks so much for pinning! Sometimes its hard to cut down on which pictures I want to use – so I just use them all, so I am happy you enjoyed the 🙂 Thanks for stopping by!
Jennifer Johnson says
I really want some of these like today!!
Jen says
Hopefully you can make them soon! Like today – or better yet someone else can make them for you because they are so easy 🙂 !
Kelly Kimmell says
This looks divine, will have to try to make this.
Jen says
Oh yes, please do! You will NOT be disappointed!
Anyonita says
This soundsSO easy! 🙂 I’ve got to give it a try!11111
Emily says
Gorgeous pictures! These look so good!
Jen says
Thank you so much Emily!
Jolene says
These look wonderful! And lovely pictures! Could you bake it in something other than custard cups? I don’t have any of those 🙂
Jen says
hhhmmm…If you have any other oven proof baking dishes that are 6-8 oz., then they would certainly work, but if they are any larger, then batter gets too spread out and will no cook correctly to create the “lava.” Although I have never done it, you could try them in cupcake tins and cook for less time. Sorry if this isn’t helpful, its all I can think of! Good luck!
Lyla A. says
OMG…these are to die for! I’ve attempted this once in the past. They were good, but I over cooked them. These came out perfectly, and there was one for each of us to enjoy. I don’t have ramekins (on my must buy list), so I used some small cereal bowls. They took me more like 17-18 minutes because at 12 they were still jiggly. I was worried I had overcooked them again, but I did not. Yum!
Jen says
YAY! I am SO happy you loved them and what an ingenious idea to use small cereal bowls!!! Thanks Lyla!
Stacy says
Jen, I made this incredible dessert for my hubby (and family) last night. I was amazed at how easy it was. My 3 year old daughter helped me and we had funny making them. The best part was how amazingly deliciuos they are. So good! So easy! Awesome recipe!!!!!
Jen says
Hi Stacy! I am so glad you made and loved these lava cakes! I love it when people make a recipe and can see how delicious they really are (and easy!) I hope all is well! Miss you!
Sophie says
Hi Jenn!! Yours look amazing!!
I’ve had a couple of misfortunes with chocolate lava cakes.
I made 3 batches all of which came out over cooked.
I use an OTG (oven, toaster, grill) and small size ramekins.
I bake them for 10mins (sometimes lesser) but the lava come on top and the insides are cooked.
I need advice!!
P.S: can I use vanilla extract in the batter?
xoxoxo
Sophie
Jen says
Hi Sophie, I am so sorry your lava cakes didn’t turn out!!! I am not familiar with cooking with an OTG one but it sounds like it alters the cooking time. My suggestion would be to cook them for even less time (you might want to make 3 and take them out at 5 minutes, if its too runny, then then next one at 6 min, 8, min) – you want the edges to look cooked but the center can look undercooked – wet but not jiggly. Sorry I can’t be of more help! I really don’t know without cooking them myself in an OTG. Good luck! and yes, vanilla extract in the batter would be tasty 🙂
Paula Steinbeisser says
Just made these & they were fantastic! I halved the recipe to just make 2, as there are only 2 of us. I did everything the same except only microwaved the butter & chocolate for 30 seconds as there was less to melt. Will definitely be making those again when my college kids are home! Thanks for a wonderful recipe!
Jen says
Yay! so happy you made these and loved them Paula! You have more self control than I to half the recipe 🙂 This will be so fun to make with your college kids! You might have to triple the recipe then!
Susan Slear says
I would like to make these for a company dinner later this week. Could I put the batter in ramekins ahead of time so I don’t have to prep with company waiting?
I’d like to have them all ready to go and bake them after dinner? Do you think that would work or do they need to be mixed and baked immediately?
Jen says
Hi Susan, these will be so fun for company! I think it should be just fine to make the batter ahead of time and put it in the ramekins but I would suggest lining the bottom of the ramekins with greased parchment paper so the cake doesn’t stick, just because the batter will be sitting in there longer. Have fun and enjoy!
Barb says
Dear Jen,
I had the best molten lava cake of my life while visiting my daughter in St. Louis, France, as few years ago. I’ve never been able to match the recipe, but this recipe will do perfectly fine. I’ve tried three different recipes in preparation for the gourmet club dinner that I will be hosting in December, and my search is over – thank you! Your recipe worked perfectly for me, was delicious and is sure to impress my guests. I can’t thank you enough for sharing.
Hugs to you,
Barb (From Ohio)
Jen says
Hi Barb! Thank you so much for your thoughtful comment – I am SO HAPPY your search is over and that you love this lava cake! What a fun dessert it will be to serve your dinner guests! I hope you have a wonderful time and enjoy lots of rich, melting chocolate for years to come 🙂 Hugs to you! Jen
Eden says
Hi Jen! Do you think these could be held overnight or hours before already baked? How long do you think they’d store when cooled? I want to bake them in advanced because I wont have time to bake the night of. THANK YOU!
Jen says
Hi Eden! Yes, you can prepare the batter overnight or hours before baking in the refrigerator, just bring the batter to room temperature before baking. After baked, they should be served right away or the inside will still continue to cook and they won’t be “lava” anymore – still delicious just not the same effect. Hope that helps. Enjoy!
Ashley says
Hi, love your lava cake recipe! i was wondering if i could replace the 2 egg yolks with a whole egg instead? thanks 🙂
Jen says
Hi Ashley! So happy you love the recipe! I wouldn’t recommend replacing the egg yolks with a whole egg as the egg yolk adds moisture and acts as an emulsifier and with just whole egg the cake would by drier and possibly even rubbery. Hope that helps!
Jo-Anne says
Hi, I don’t usually comment on recipes but this cake was just TOO easy and TOO good to not stop by and say WOW. Amazing cake and really easy to bake.
Jen says
That’s awesome Jo-Anne! So happy they were so easy and “comment stopping” good :)! Thank you so much for taking the time to comment!
Avni says
Do you know what the bake time might be for 2 10 oz ramekins?
Jen says
Hi Avni, I have never made 10 oz. lava cakes so I’m sorry I can’t tell you an exact time. I would go by appearance, baking until the edges are firm and the center is just barely baked (still slightly soft but not jiggly). You might need to do a practice run. Sorry I can’t be more helpful!
Avni says
Also, is there any way to bake these and then stop them from cooking so I could eat them at a later time? Like could I maybe put it in the fridge and stick it back in the oven when I’m ready to eat it?
Jen says
Hi Avni, sorry, there isn’t a way to prepare these ahead of time without the center cooking. The center cooks as it cools and if you put it in the fridge and reheated it, it would still cook as it cooled and cook more in the oven. My best suggestion is to prepare the batter ahead of time and pour into your ramekins and refrigerate for up to 1 day. When ready to bake, bring the batter to room temperature. Good luck!
Cristina says
Hi!
I want to make these lava cakes, but I’m confused about the chocolate quantity necessary. Is it the whole 4 oz package or just 4 of the 1/4 oz squares?
Jen says
Hi Cristina, I am sorry for the confusion – I will edit the recipe to clarify. You use one 4 oz. package – just disregard the 4 square reference. Hope this helps – enjoy!
Lana says
They turned out perfectly! This was the second time I made molten lava cakes, and I was so happy to see that piece of chocolaty heaven leak out like a stream of chocolate. I baked them for exactly 12 minutes, and also added a bit of rum aroma. Thank you for the recipe!
Jen says
You are so welcome Lana! I am so happy these turned out perfectly, and I love your description of “chocolaty heaven leak out like a stream” – holy yum! can I use that?! 🙂
Jane says
Just made these for my book club and they were amazing! 5 star! Can’t figure out a way to rate this officially. I tripled the recipe, and put batter in ramekins as directed, covered with saran and refrigerated for several hours. I took them out to come to room temp about a half hour before baking. They took longer – maybe 15-20 min because they must have been cold. Came our perfect!! Thank you for an amazing recipe.
Jen says
What an amazing dessert for Book Club! I’m thrilled you were able to prep them ahead of time and that they turned out wonderfully! Thank you so much Jane!
MasterRusk says
There is nothing better than a really good lava cake, and it looks as though this one hits the mark! Can’t resist that melted chocolate.
Jen says
Agreed! Lava cakes are the perfect dessert every time!
Carly says
I made these for Christmas last year and they were a hit! My family has requested them for birthdays since, and now again for Christmas this year. I’ve tried multiple lava cake recipes before in the past and this one is by far the best—and it’s also so simple. Thanks a million <3
Jen says
You are so welcome Carly! Thank you so much for taking the time to comment and let me know what a hit these have been all year – I love that! Merry Christmas!
Lisa Kelly says
Your instructions are foolproof! Thank you! Delicious ending to Easter dinner
Jen says
YAY! I’m so happy they were a hit, Happy Easter!
Brooke says
Hi Jen, I came across this recipe because I want to make it for my mom’s birthday – she LOVES chocolate lava cake. She is gluten free though, and I was wondering if I am able to use almond flour instead of regular flour? Will my cake set properly? Thanks so much in advance!
Jen says
Hi Brooke, unfortunately I have not experimented with other flours other than AP. The best bet would be to go with Rob Mills 1 to 1 gluten free baking flour. Happy birthday to your Mom!
Zunaira says
HI
I just wanna ask that can we use semi-sweet chocolate chips instead of semi-sweet chocolate.
Jen says
Hi Zunaira, you can use chocolate chips if they are a quality brand like Ghirardelli or Guittard otherwise the chips have too much filler and won’t melt well. I hope this helps!
brooke says
can i use dark chocolate like lindt
Jen says
Hi Brooke, you can absolutely use your favorite chocolate, enjoy!
Tina says
This recipe sounds delish and seems so easy. What would you recommend if i do not have ramekins on hand? Thanks!
Jen says
Hi Tina, if you have any small oven proof container like glass bowls than you can use those. You can also try using a muffin tin but the baking time will be less.
Nick says
Hey Jen!
Can’t wait to try out this recipe! Curious to know if I could possibly use a 8oz silicone cake mold vs a ramekin?
Thank you!
Nick 🙂
Jen says
I think that could work but it might be more difficult to remove them in one piece. Let me know how it goes!
Shannon says
This was amazing!!! Turned out perfect. Made the batter last night
Jen says
I’m so glad, thank you Shannon! Happy Valentine’s Day!
Beth says
This was heavenly for our wine group dessert. I made these in muffin tins and prepared them a few hours before baking. I forgot to line them with parchment paper, but the Pam and cocoa was enough for easy release!
I didn’t change the recipe at all and baked it at our hostess’s house. Unfortunately, her oven ran a bit hot and after 9 min the edges were a bit charred. Fortunately the lava still flowed and the crowd LOVED it, so it’s very forgiving. I sprinkled just a bit of powdered sugar and served it topped with crème fresche for the gals, vanilla ice cream for the guys. This accompanied red wine beautifully and the group was impressed. Thank you!
Jen says
Thank you for trying out the recipe and sharing your experience! I’m so glad this was a hit!
Susan Wolters says
This recipe looks wonderful and has great reviews. I was wondering if I could make these in individual cast iron skillets? Thanks! Susan
Jen says
I think that should work fine if they are served right away otherwise the residual heat will continue to cook them through. Good luck!
Julie Klauer says
Made this recipe last night for a dinner party and it was superb!!! I made the batter up in the afternoon and put it in the refrigerator covered in a big bowl. I took it out about an hour before baking so it could come to room temperature. Also, before our guests arrived, I sprayed and floured the ramekins and just put them on the countertop covered loosely with tin foil. It was the best dessert ever!!!
Jen says
Thank you!! I’m thrilled they were a hit!