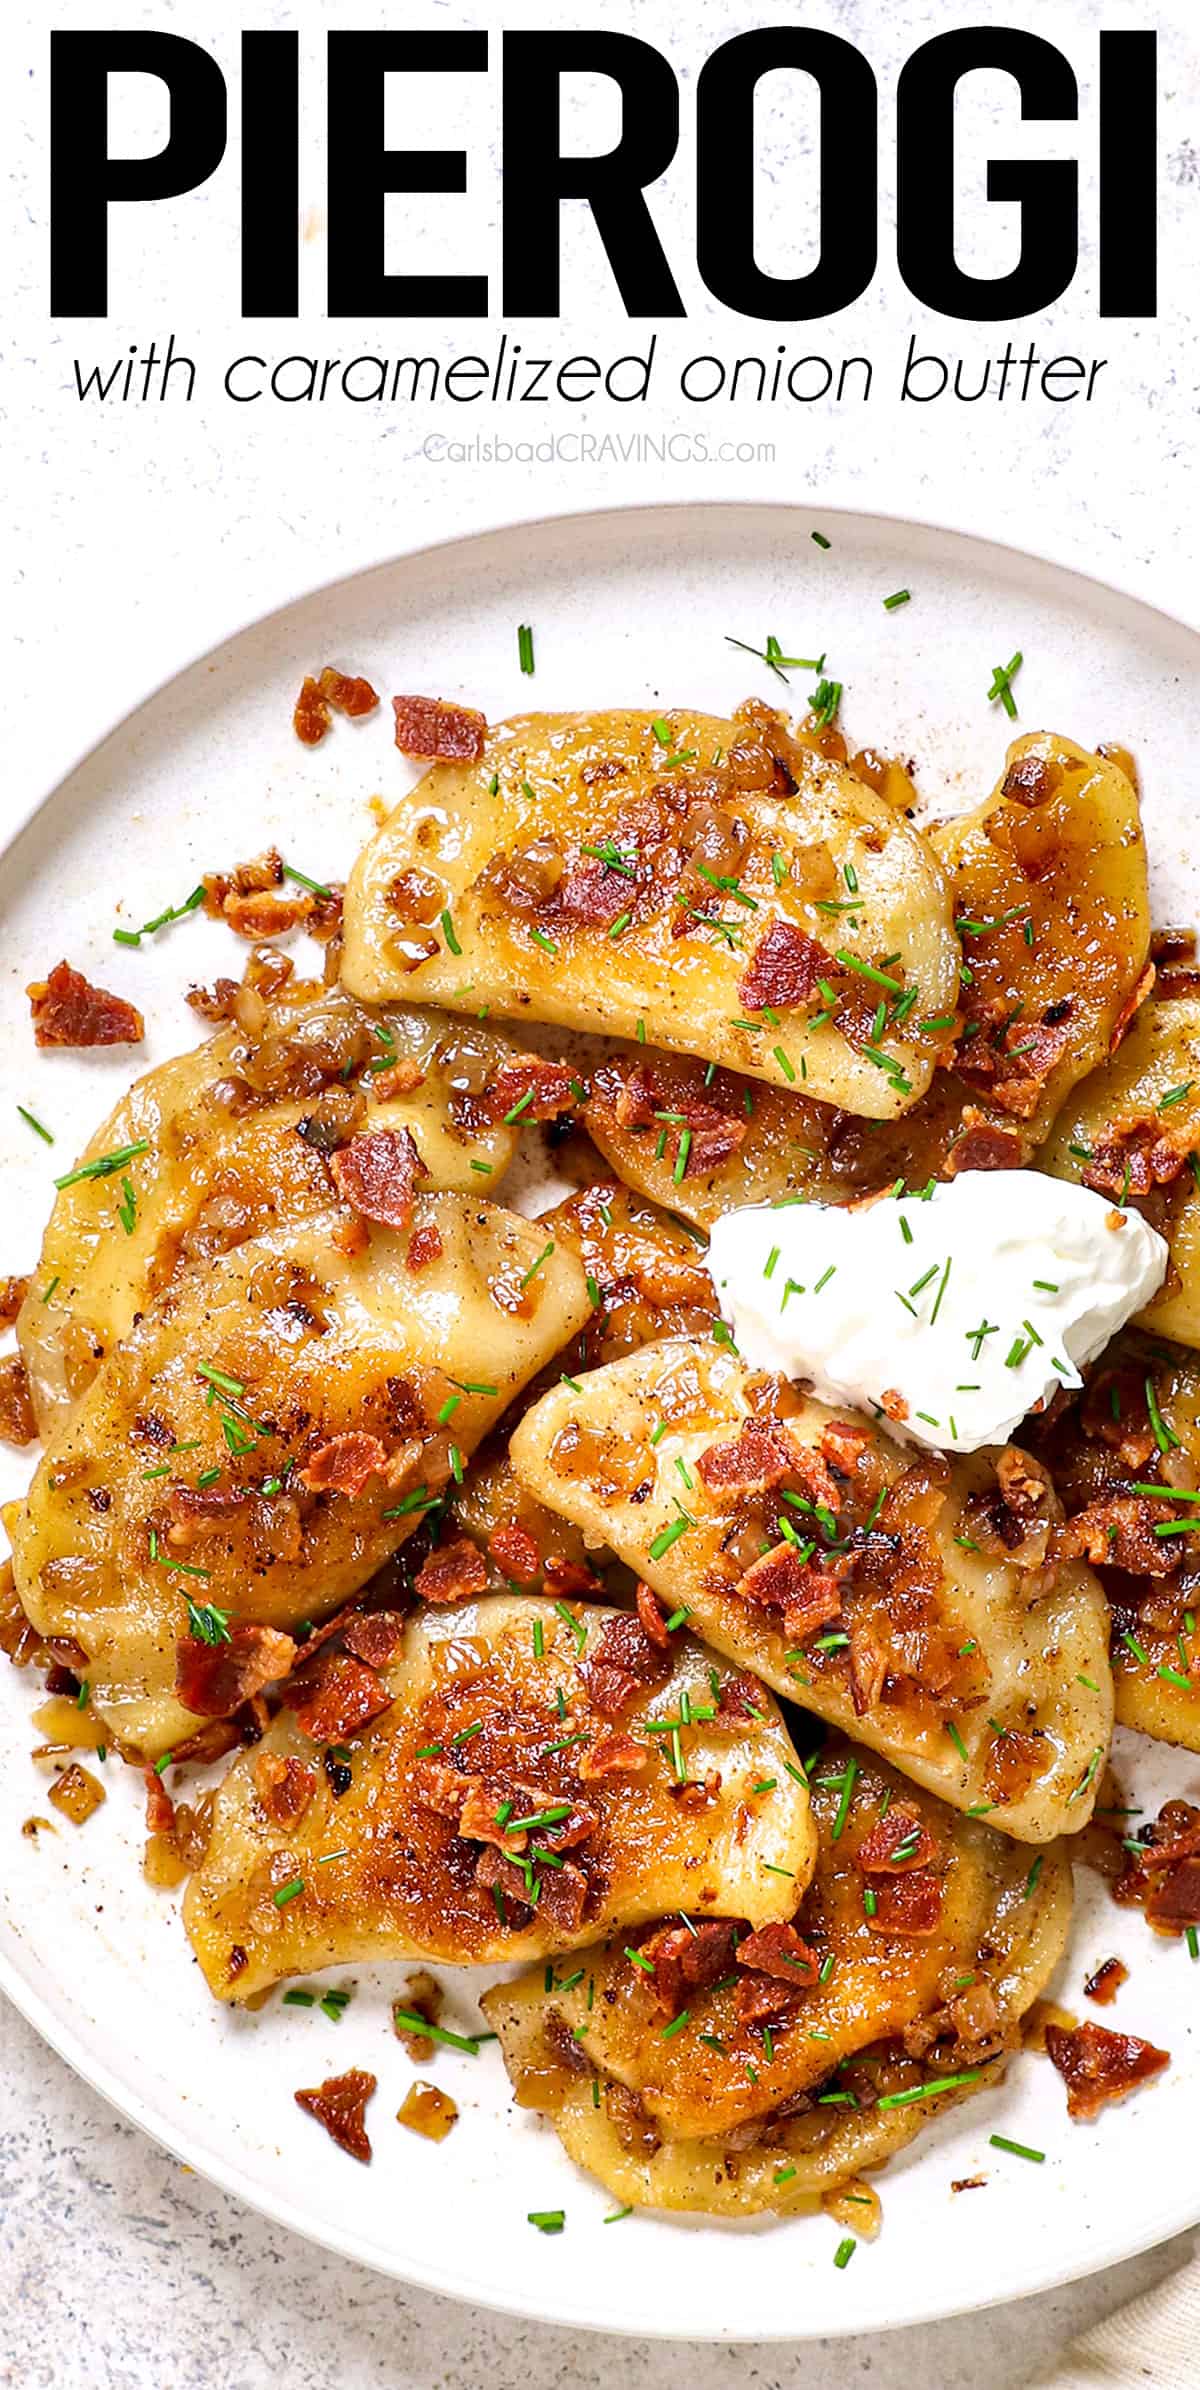
Learn how to make irresistible pierogi, pan-fried to golden, pillowy, chewy, crispy perfection, then finished with caramelized onion butter sauce, with step-by-step photos, video, tips and tricks! These delectable Polish dumplings are made with foolproof dough that’s flexible, and forgiving, made in a mixer or by hand, with versatile filling options. Tips for how to make as little or as many pierogi as you like, how to make ahead and how to cook from frozen!
Watch How to Make Homemade Pierogi

What is a Pierogi?
A pierogi is a traditional Polish dumpling made from unleavened dough that is filled with a variety of savory or sweet ingredients. The dough is rolled out and cut into circles, then filled with a mixture of potatoes, cheese, meat, cabbage, mushrooms, or fruit, depending on the desired flavor. The filled dough is then folded over and sealed, forming a half-moon shape or a pocket, before being boiled or pan fried (or both). Pierogi are often served with toppings such as sour cream, caramelized onions, bacon bits, or butter, and are enjoyed as a main dish, side dish, or dessert in Polish and Eastern European cuisine.

Why You’ll Love this Pierogi Recipe

Best Pierogi Recipe Ingredients
You will be amazed at how simple ingredients combine for a melty flavor explosion! Let’s take a closer look at what you’ll need to make this pierogi recipe (measurements in the printable recipe card at the bottom of the post):
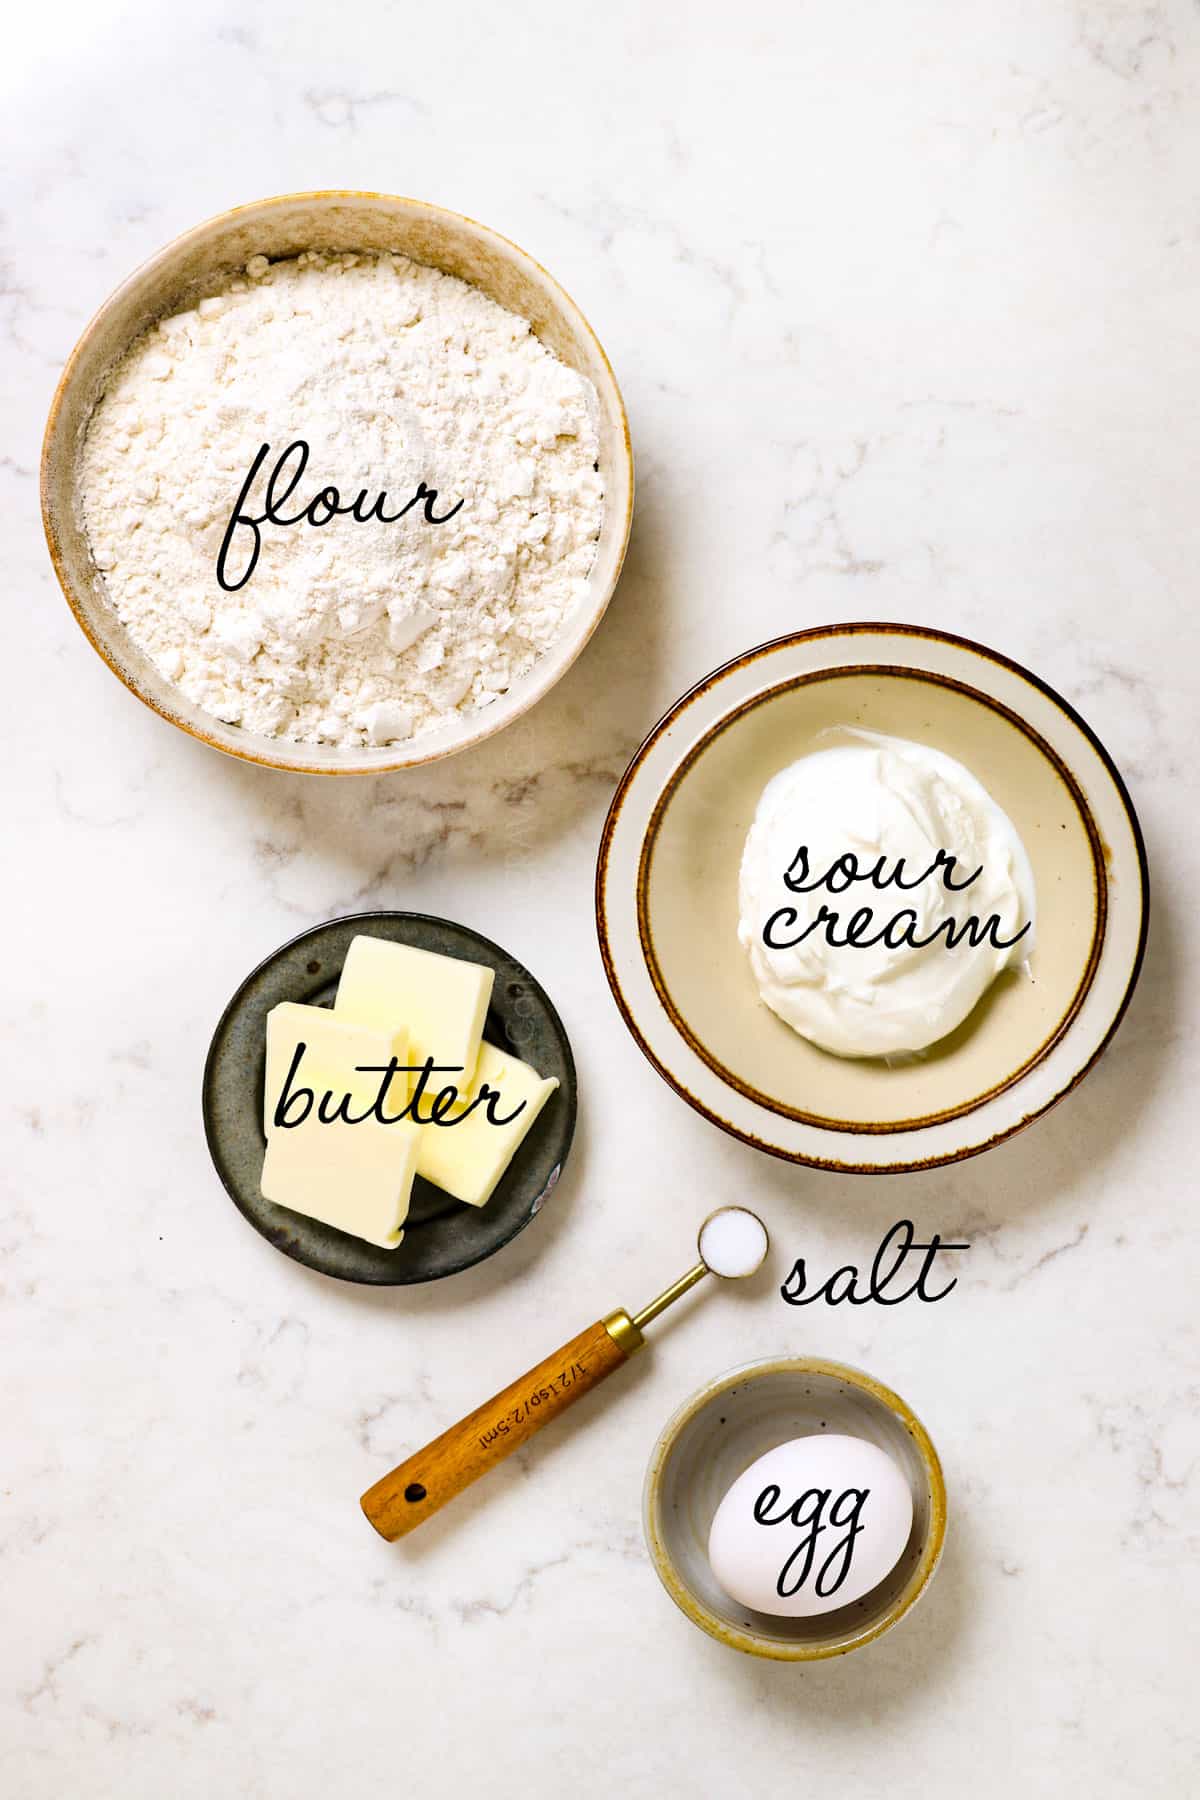
FOR THE Pierogi dough:
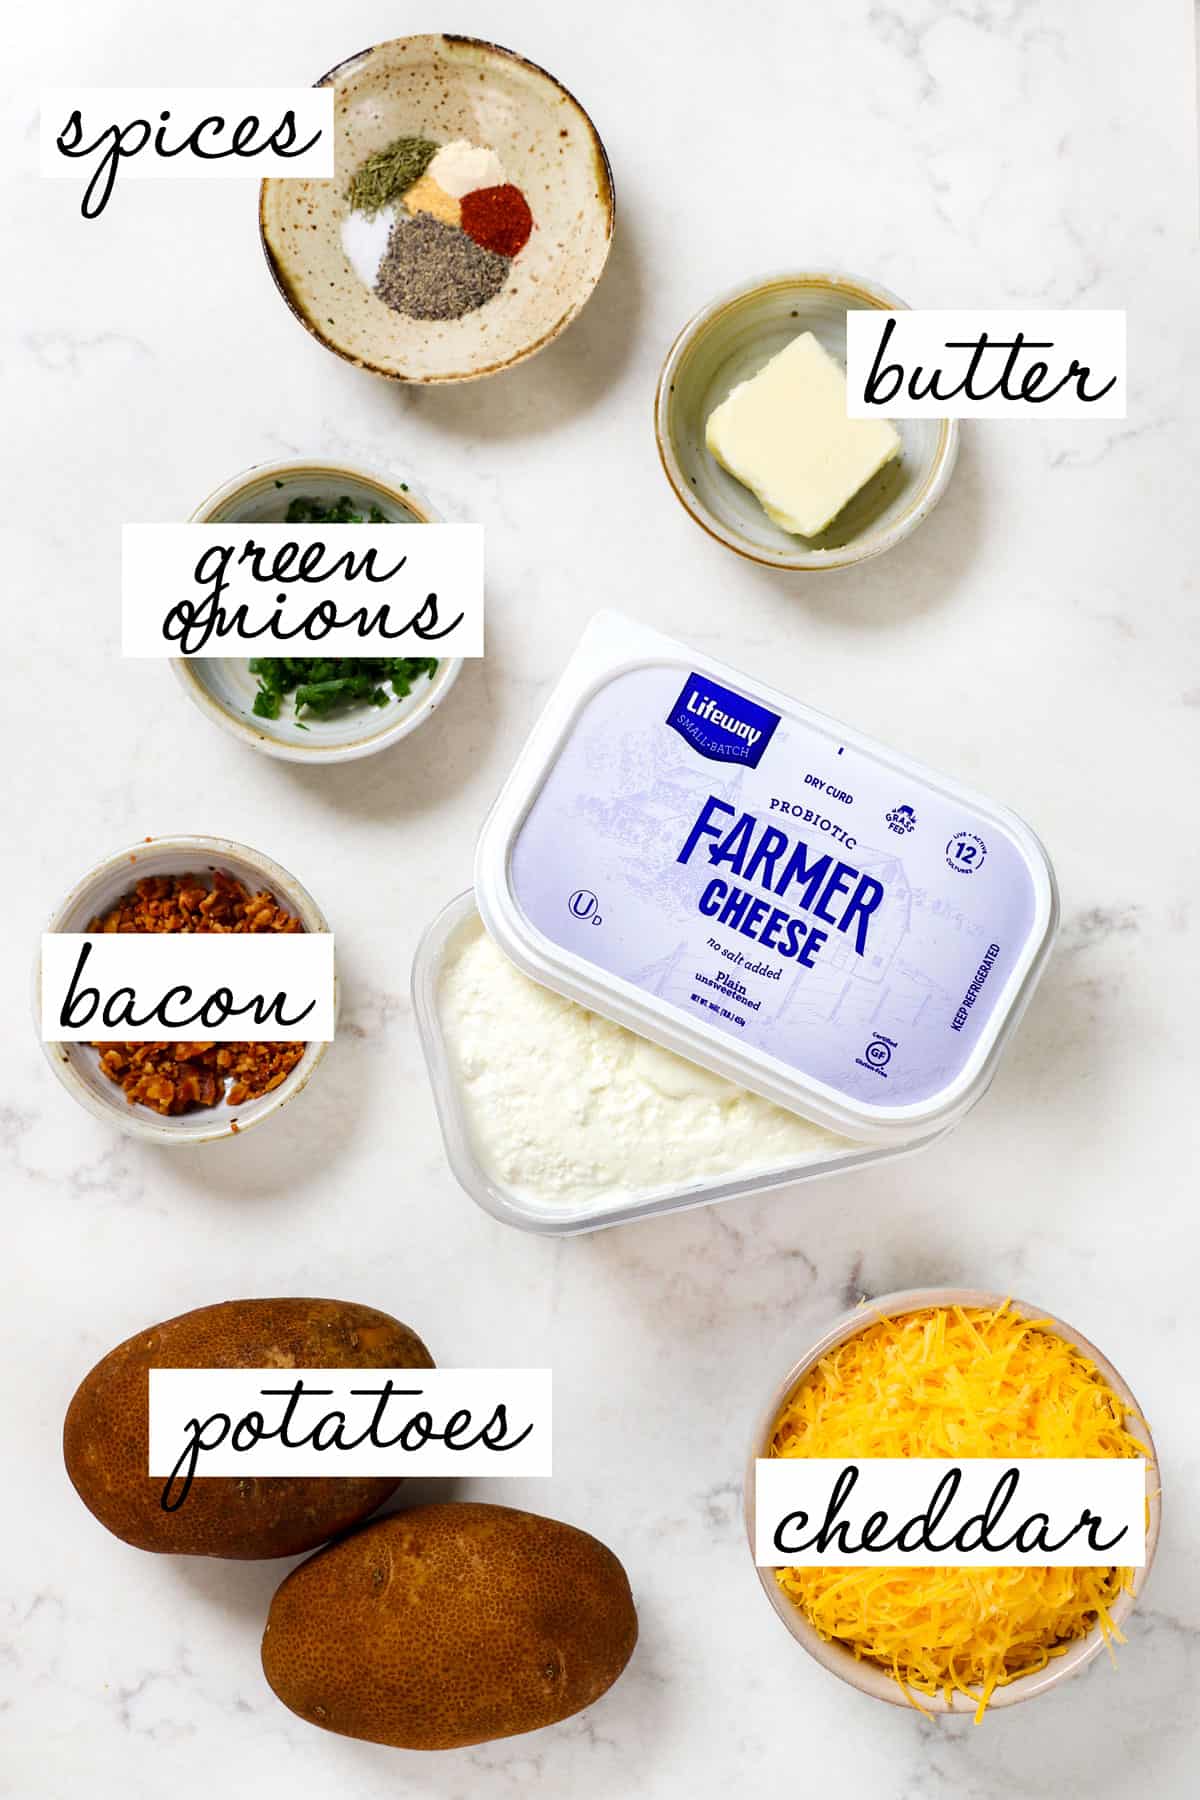
For the pierogi filling:
For the pierogi Sauce:

How to Make Pierogi
Let’s take a closer look at how to make pierogi with step-by-step photos (full recipe and video in the printable recipe card at the bottom of the post):
How to Make Pierogi Dough
How to Make Pierogi Filling
How to Wrap Pierogi
How To Cook Pierogi
Sauce for Pierogi

Best Pierogi Recipe Tips

pierogi recipe variations
These are just a few examples of the many creative and delicious pierogi filling variations you can experiment with. Feel free to mix and match!

What to Serve with Pierogi
Pierogi pairs well with a variety of accompaniments to complement their flavors and textures. Here are some delicious options to serve with pierogi:

How to Store Homemade Pierogi
Leftovers with sauce: Store leftover in an airtight container in the refrigerator for up to 5 days. .
MAKE AHEAD OPTIONS:
Uncooked pierogi: Arrange pierogi on a parchment paper lined baking sheet in a single layer. Cover with a damp towel, then wrap tightly with plastic wrap. Refrigerated for up to 4 hours, then proceed to boil.
Boiled pierogi (not pan fried yet): Allow the homemade pierogi to cool completely after boiling, then transfer to an airtight container or resealable plastic bag, arranging in a single layer to prevent sticking with parchment paper in between any layers. Store in the refrigerator for up to 3-4 days. When ready to eat, pan-fry until heated through and golden brown.
Freeze before pan frying: Freeze uncooked pierogi, see section below.
Can you freeze homemade pierogi?
Absolutely! Frozen pierogi taste just as good as new! Arrange the pierogi in a single layer on a parchment paper lined baking sheet. Cover with a damp towel, then wrap in plastic wrap. Flash freeze until solid, about 1-2 hours. Once frozen, transfer the pierogi to a resealable plastic bag or airtight container. Store for up to 1 month. When ready to enjoy, cook the frozen pierogi directly from frozen adding a few extra minutes to the boiling time.

How to reheat piergoi recipe
If the pierogi is already combined with the sauce, reheat in a skillet for a couple minutes until warmed through, or reheat in the microwave for 1 minute, then at 15 second intervals.
Homemade Pierogi Recipe FAQs
Yes! Boiling pierogis before pan-frying them ensures the dough is cooked through and the cheese is thoroughly melted, before crisping up the exterior by frying. Boiling first also prevents the pierogies from sticking together while frying.
It’s best to use a combination of both boiling, and then sautéing pierogis to achieve the ideal texture. Here’s why:
1. First, boiling partially cooks the pierogies, ensuring they are tender and evenly heated through before sautéing. This helps to avoid undercooked dough and ensures a consistent texture.
2. Additionally, boiling helps to prevent the pierogies from sticking together during sautéing.
3. It also softens the dough slightly, making it more receptive to browning and crisping in the pan.
4. Finally, boiling enhances the flavor of the pierogies by infusing them with seasoning from the cooking water.
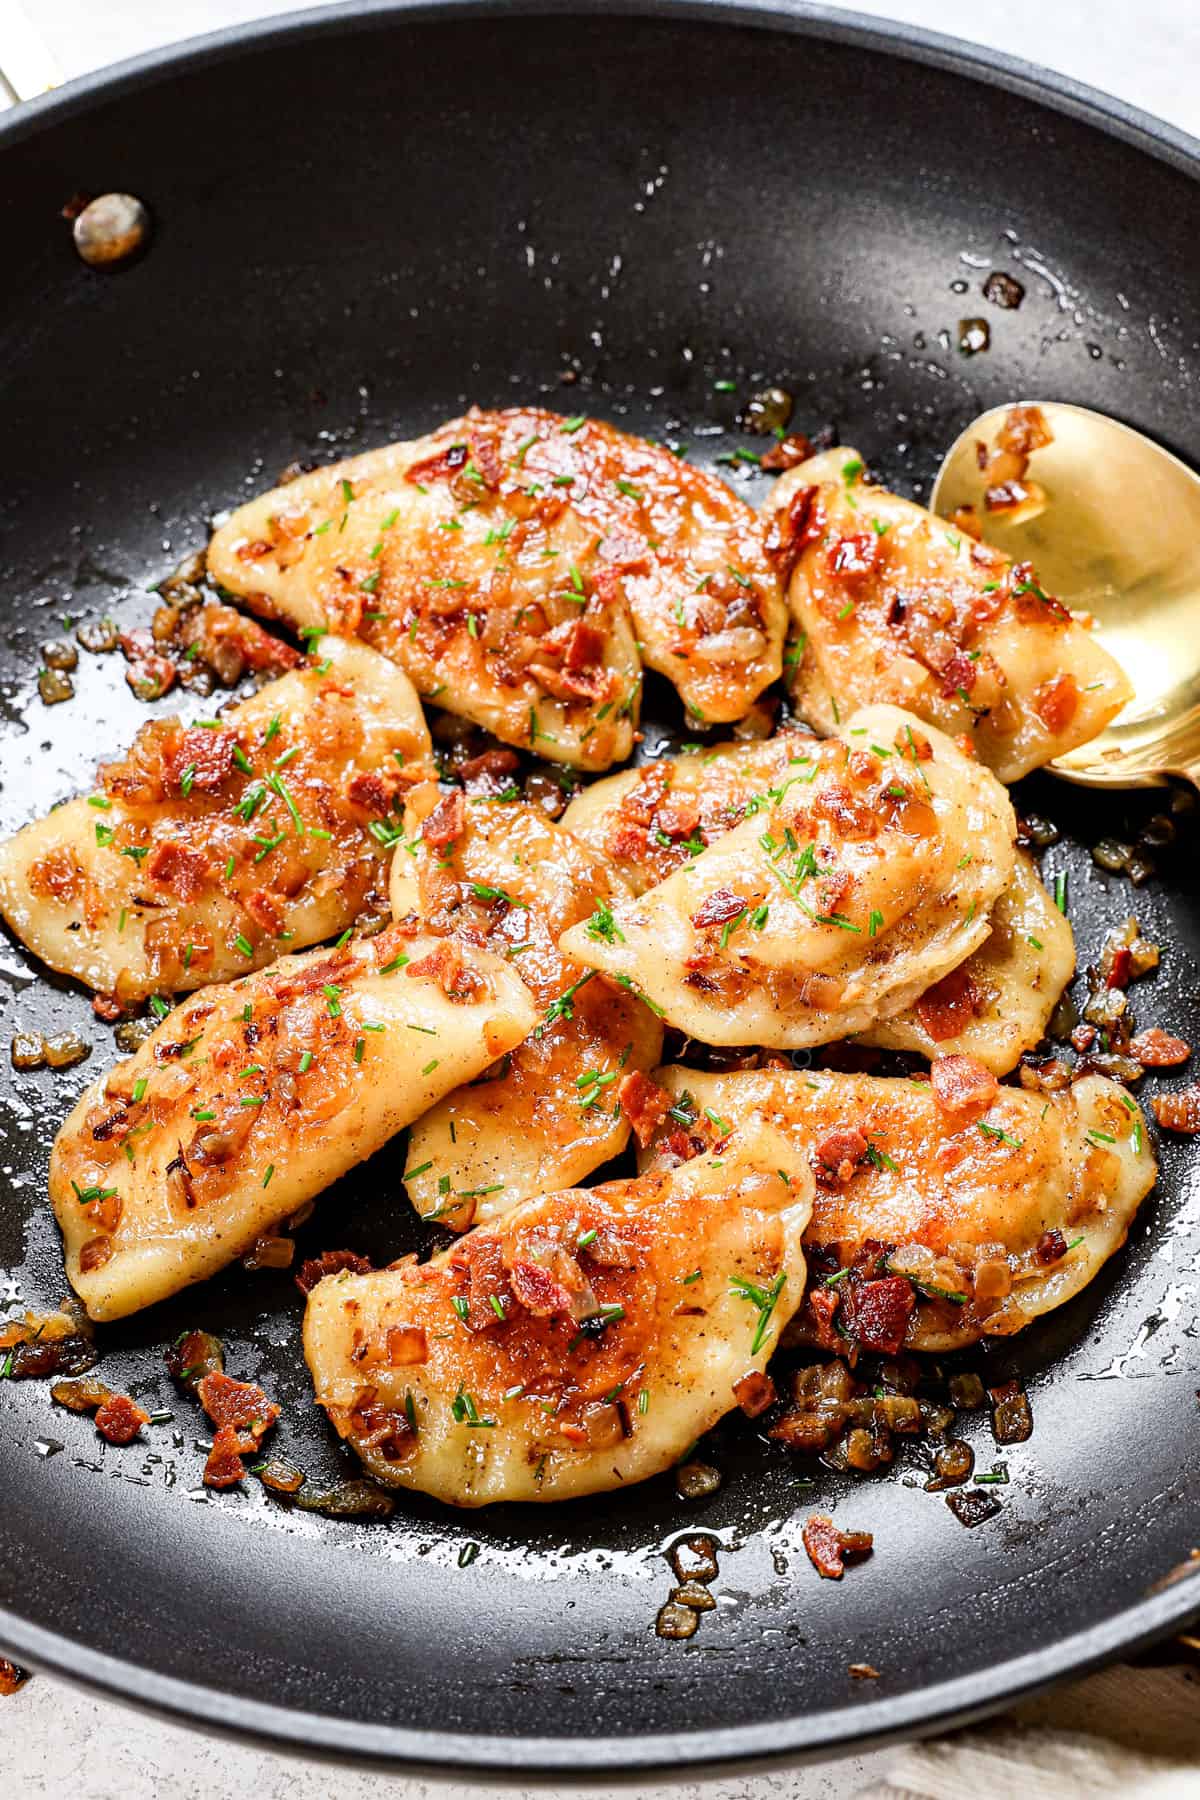
The best way to cook pierogis is to boil them first and then pan-fry them in butter for added flavor and crispiness. This ensures they are evenly cooked with a melty, cheesy interior and crispy exterior.
The best way to cook frozen pierogies is to boil them per usual, adding a couple minutes to the cooking time, then proceed to pan fry them. Pan fry the pierogies for a few minutes on each side, or until they are golden brown and crispy. Serve hot with your favorite toppings or dipping sauces, such as sour cream, caramelized onions, or bacon bits.
No, farmer’s cheese is not simply drained cottage cheese. While both farmer’s cheese and cottage cheese are fresh cheeses made from curdled milk, they are produced differently and have distinct textures and flavors. Farmer’s cheese is made by curdling milk, then separating the curds from the whey and pressing the curds to form a firm, crumbly cheese. Cottage cheese, on the other hand, is made by curdling milk with an acidic ingredient and allowing it to coagulate into soft, creamy curds. While both cheeses can be drained to some extent, they are not the same product, as they have different textures, flavors, and culinary uses.

WANT TO TRY THIS RECIPE?
PIN IT to your recipe BOARD TO SAVE FOR LATER!
FIND ME ON PINTEREST FOR MORE GREAT RECIPES! I AM ALWAYS PINNING :)!
©Carlsbad Cravings by CarlsbadCravings.com


Homemade Pierogi
Save This Recipe To Your Recipe Box
You can now create an account on our site and save your favorite recipes all in one place!
Ingredients
Dough
- 1/2 cup sour cream, room temperature
- 4 tablespoons unsalted butter, softened
- 1 egg
- 240 grams all purpose flour (YOU MUST WEIGH IT)
- 1/2 teaspoon table salt
- cooking spray with flour (for hands)
Filling
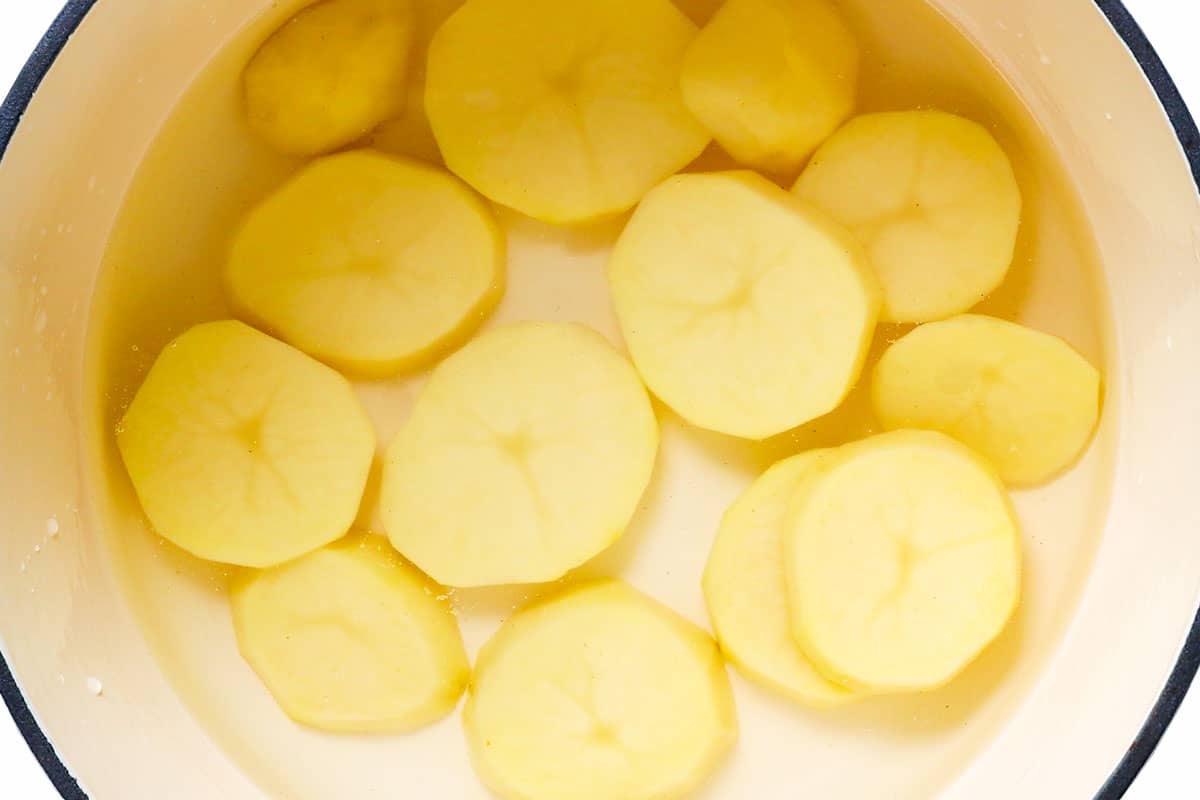
- 12 ounces Russet potatoes, peeled and sliced 1/2" thick
- 1/2 tablespoon table salt for cooking water
- 2 tablespoons unsalted butter, melty soft
- 1/3 cup farmers cheese* (may sub strained cottage cheese)
- 3/4 cup finely shredded cheddar cheese
- 2 tablespoons finely chopped cooked bacon (optional) (<<<click for oven bacon)
- 2 tablespoons minced green onions
- 1/4 tsp EACH salt, pepper, plus more to taste
- 1/8 tsp EACH onion powder. garlic powder, paprika, dried dill weed (optional)
Caramelized Onion Butter Sauce
- 9 tablespoons unsalted butter, divided
- 1 medium yellow onion, diced
- 1 tablespoon table salt for cooking
Instructions
To make the dough:
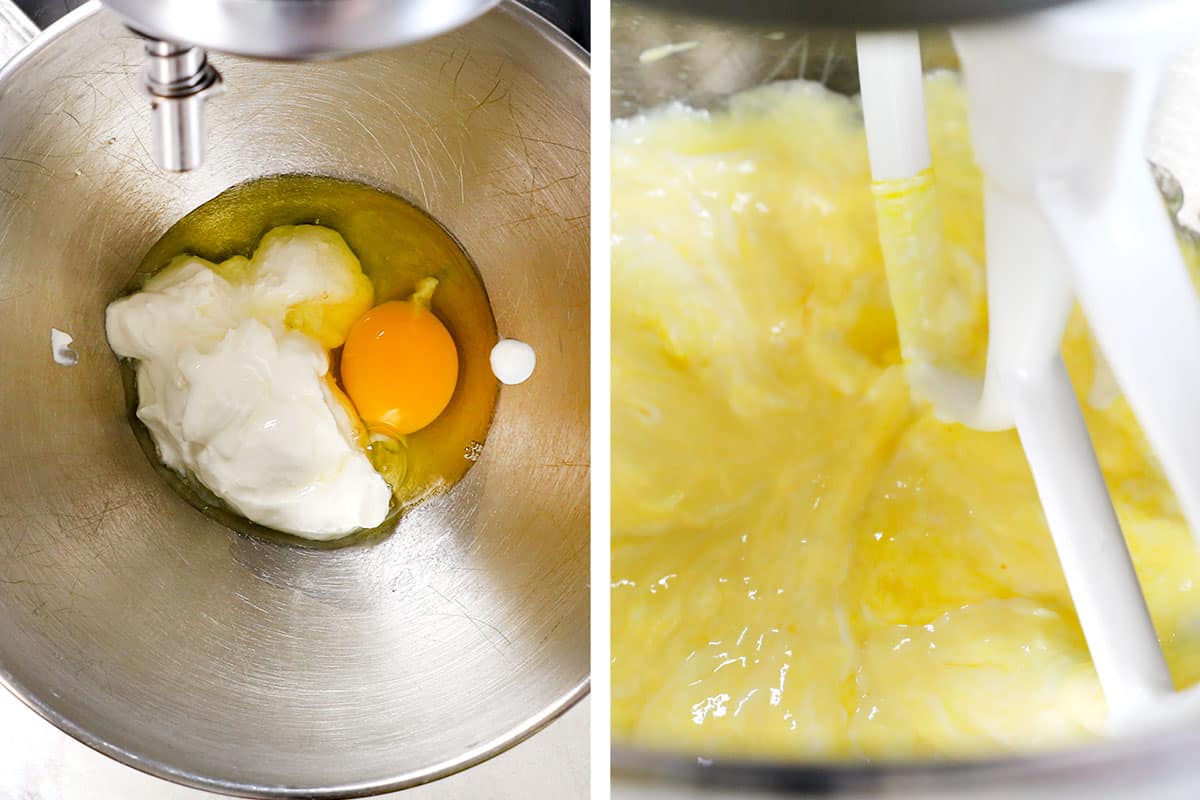
- Combine Ingredients: Fit a stand mixer with the paddle attachment. Add the sour cream, butter and egg and mix until blended. With the mixer on low, mix in the flour and salt.
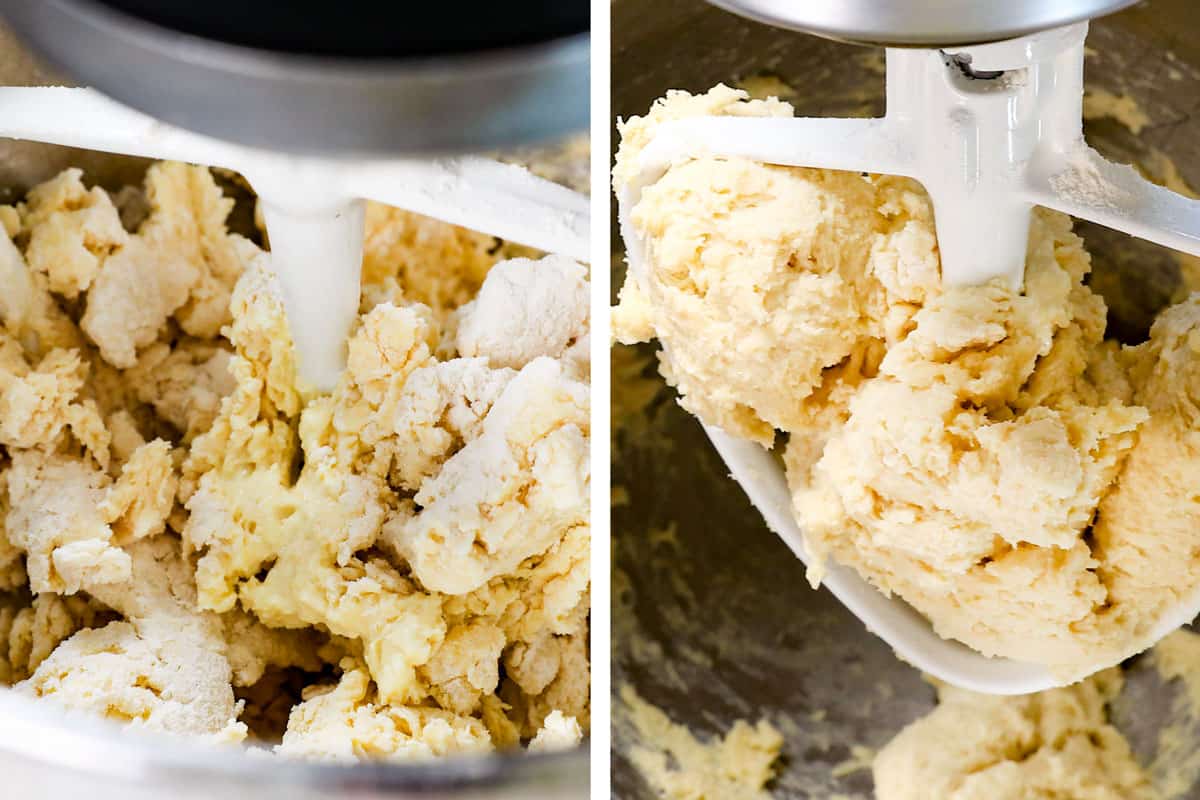
- Mix: Increase speed to medium and continue to mix until the dough mostly comes together into a sticky ball (there will be some left in the bowl).
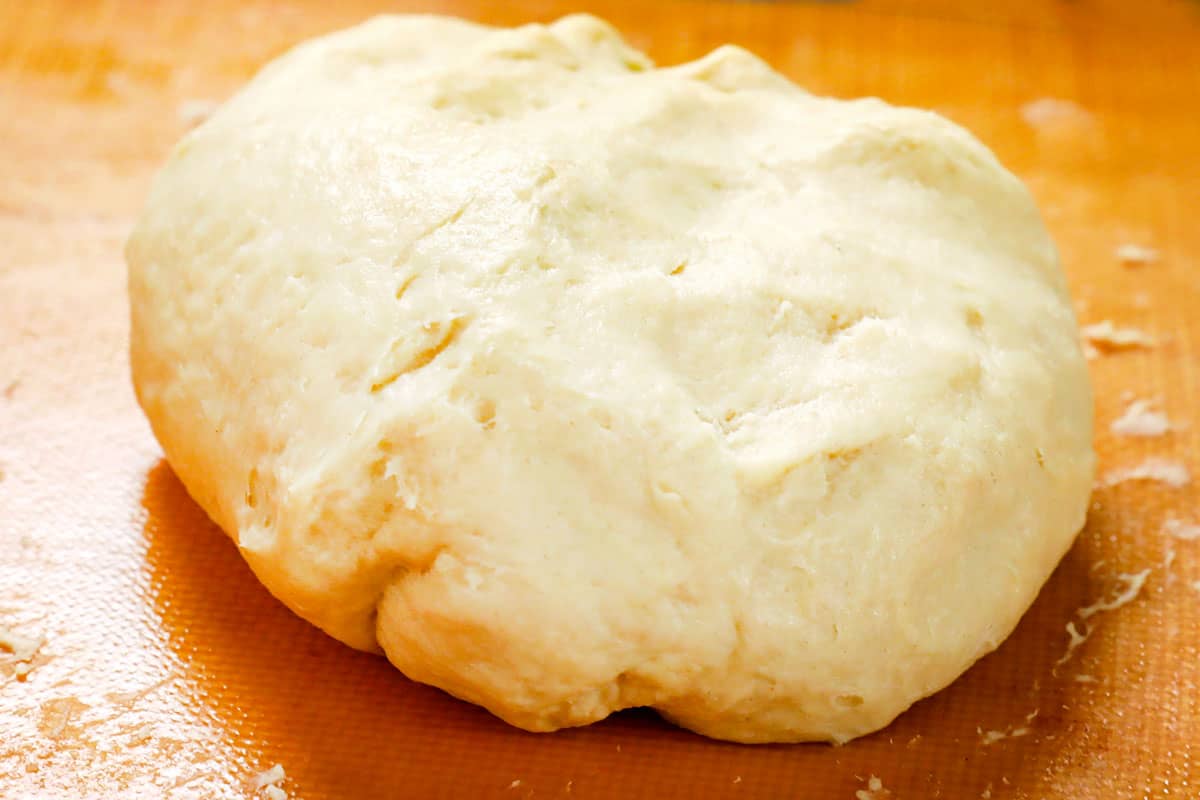
- Knead Dough: Using a spatula, transfer dough to a parchment lined counter or nonstick baking mat, do NOT add any extra flour. Spray your hands with cooking spray with flour in it. The dough will be very sticky at first but will come together as you knead. Knead by hand, using your fingers, until it becomes smooth, pliable and a little sticky but is still moist.
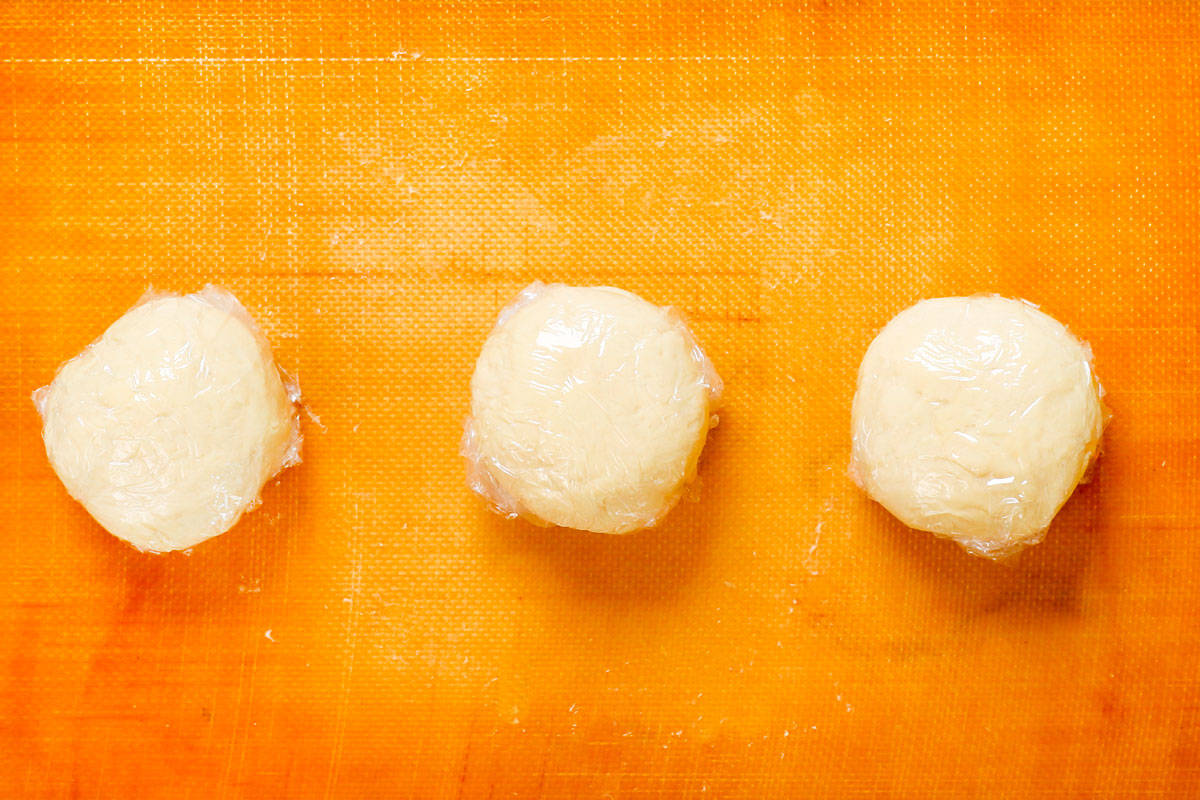
- Refrigerate: Separate the dough into three sections. Wrap each section tightly in plastic wrap. Refrigerate for 60 minutes, or up to 48 hours.
To Make Filling:
- The filling can be made at any point and refrigerated until ready to use.
- Boil potatoes: Add potatoes to a large pot and fill with cold water until it reaches 1-2 inches above the potatoes. Cover to help bring to a boil over high heat. Once boiling, add the salt, reduce to medium and simmer, uncovered, until potatoes are fork tender, about 15 minutes.
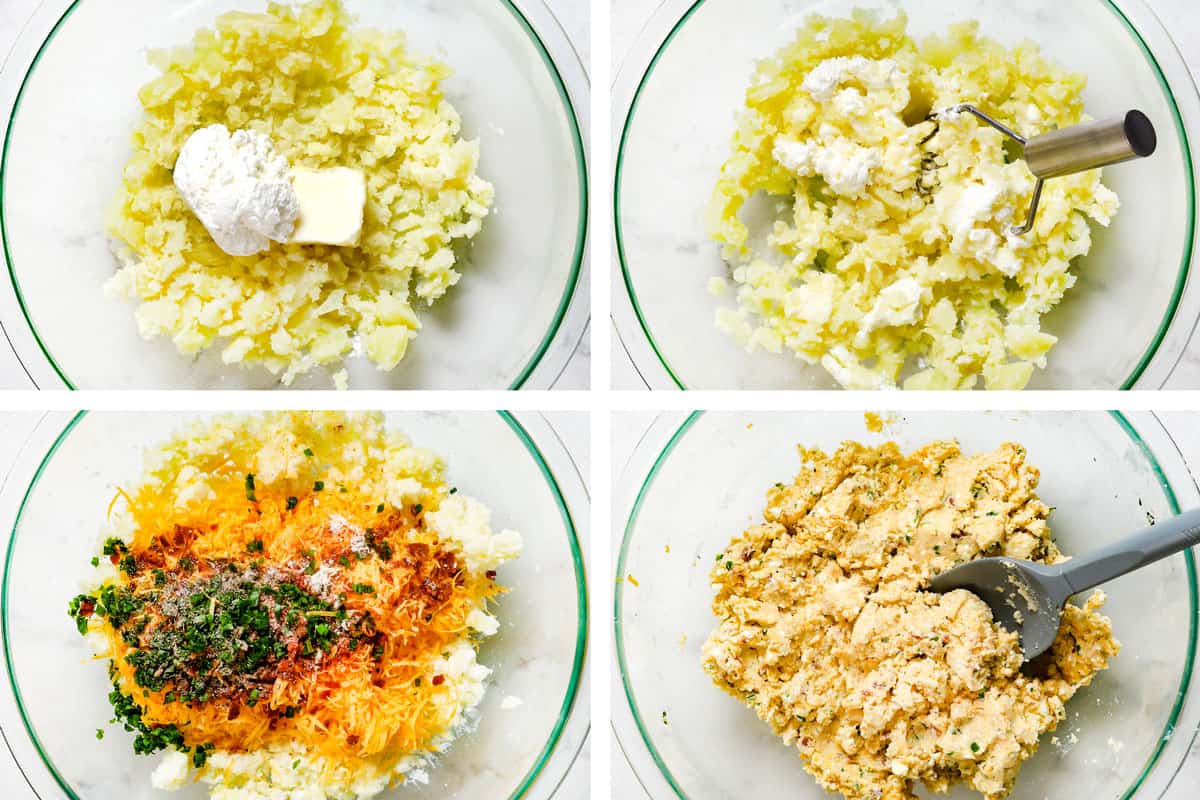
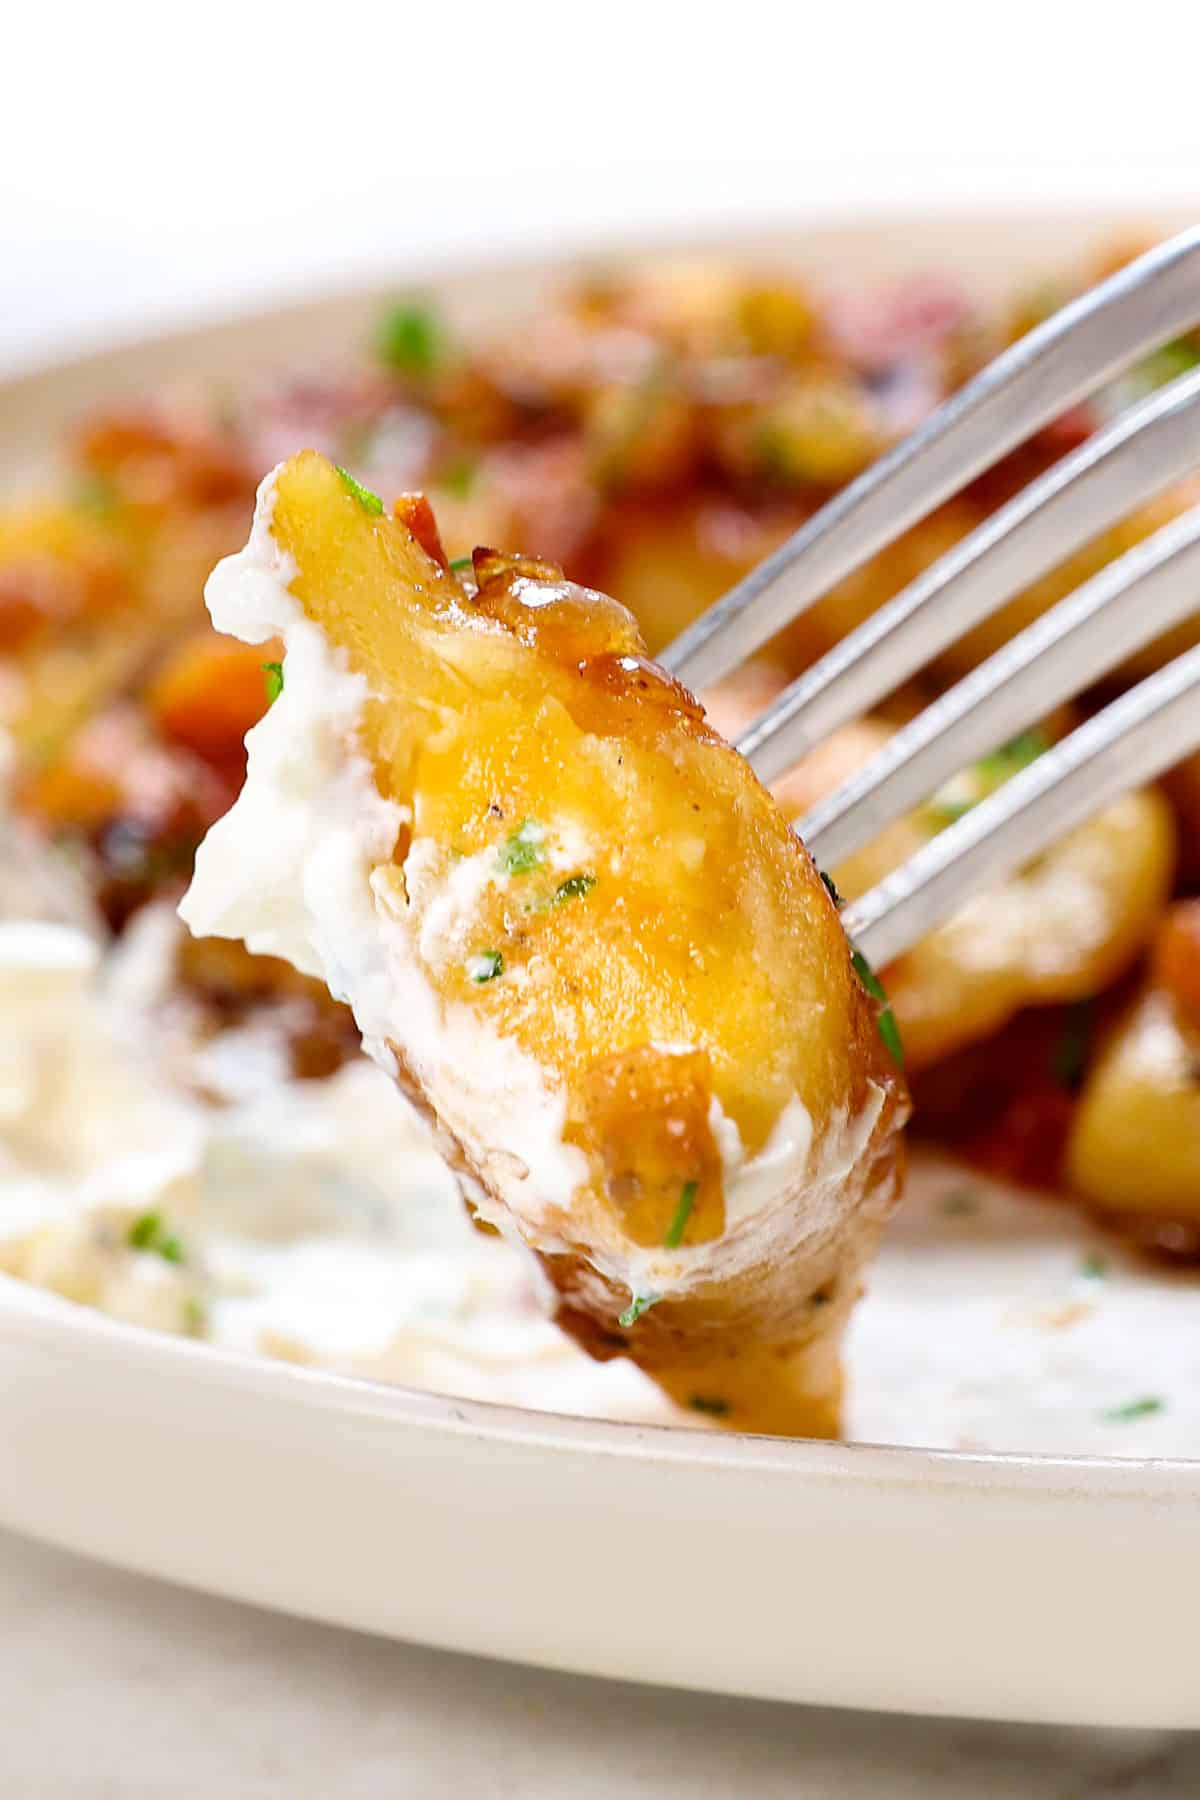
- Mash: Drain the potatoes well in a strainer. Add them a large bowl and mash. Add butter and farmers cheese and mash until combined. Stir in all remaining ingredients with a sturdy spatula/spoon. Stir and mash until thoroughly combined and the filling is cool to the touch. Taste and adjust the seasonings if desired, keeping in mind the cheese will be melty (I add more pepper).
TO WRAP PIEROGIS:
- Prep: Line a baking sheet with parchment paper or nonstick mat.
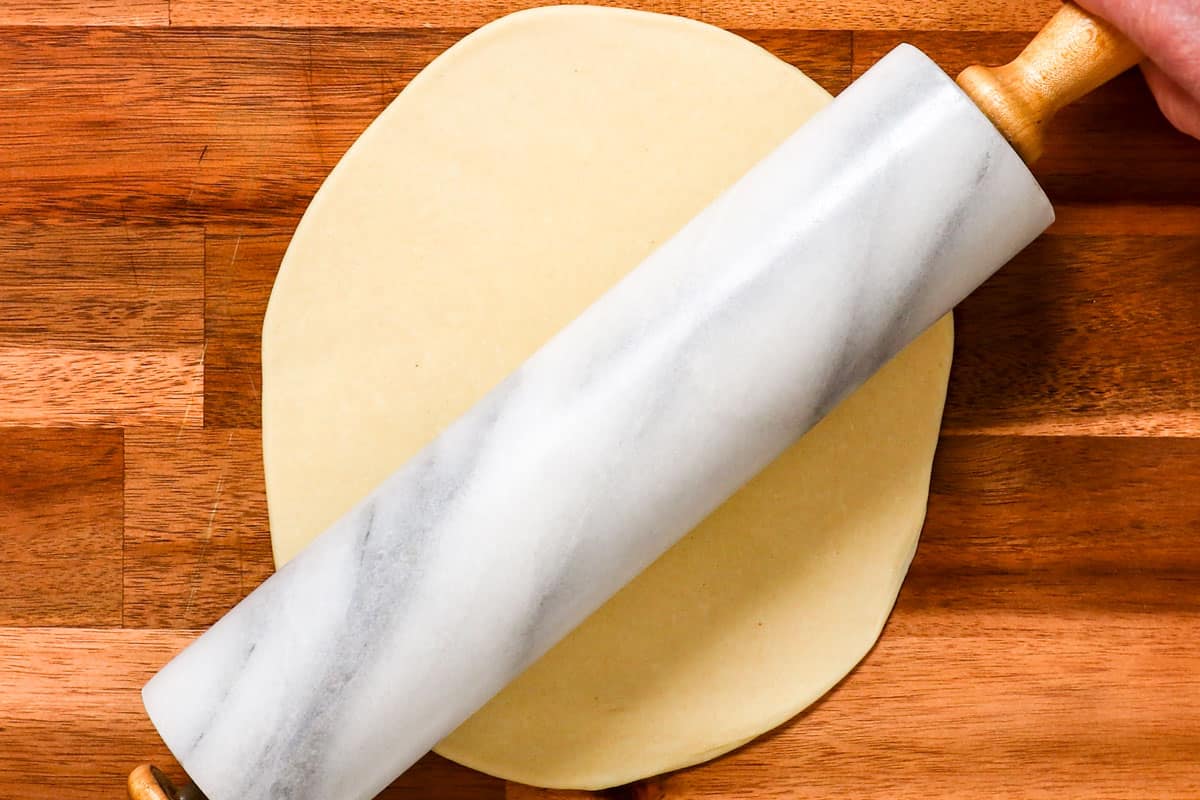
- Roll Out Dough: Working with one dough ball at a time (keep the others wrapped in the refrigerator), roll the dough 1/8" thick on a lightly floured surface.
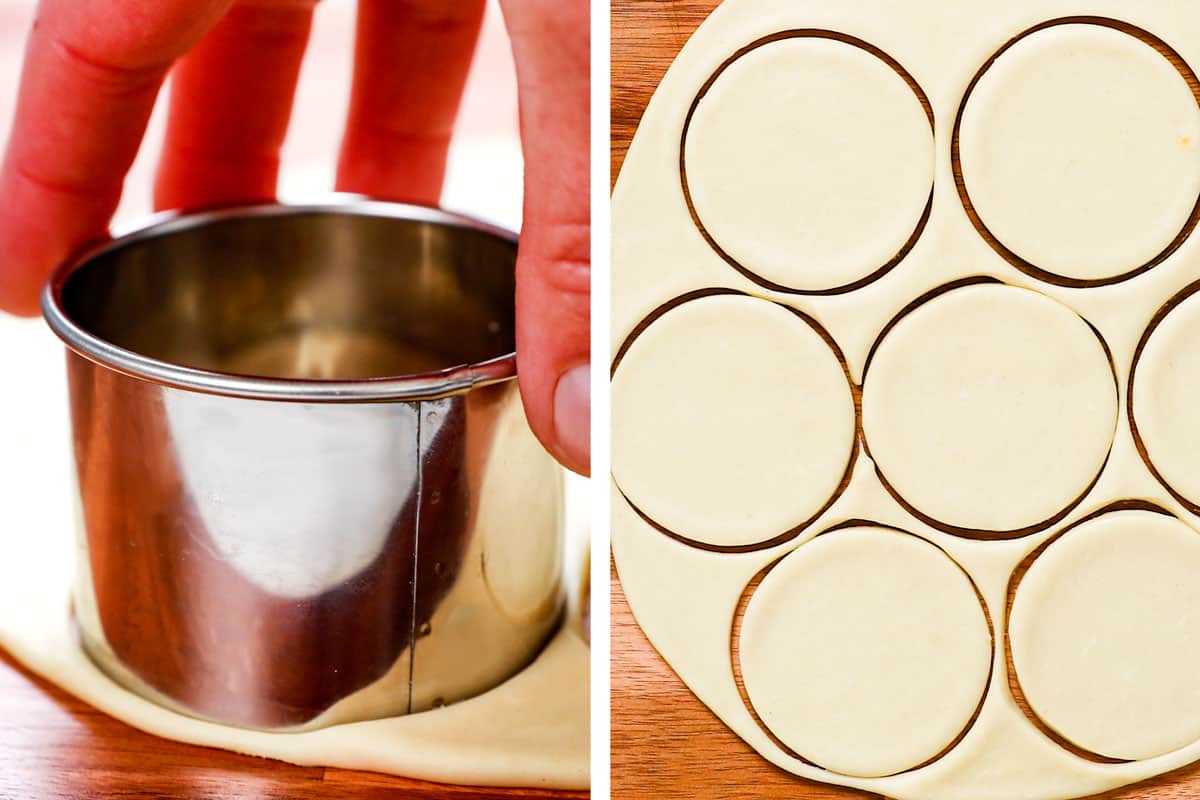
- Cut Dough: Use a 3" round biscuit cutter to cut circles of dough. Gather any scraps of dough (to reroll later) and wrap in plastic wrap and refrigerate.
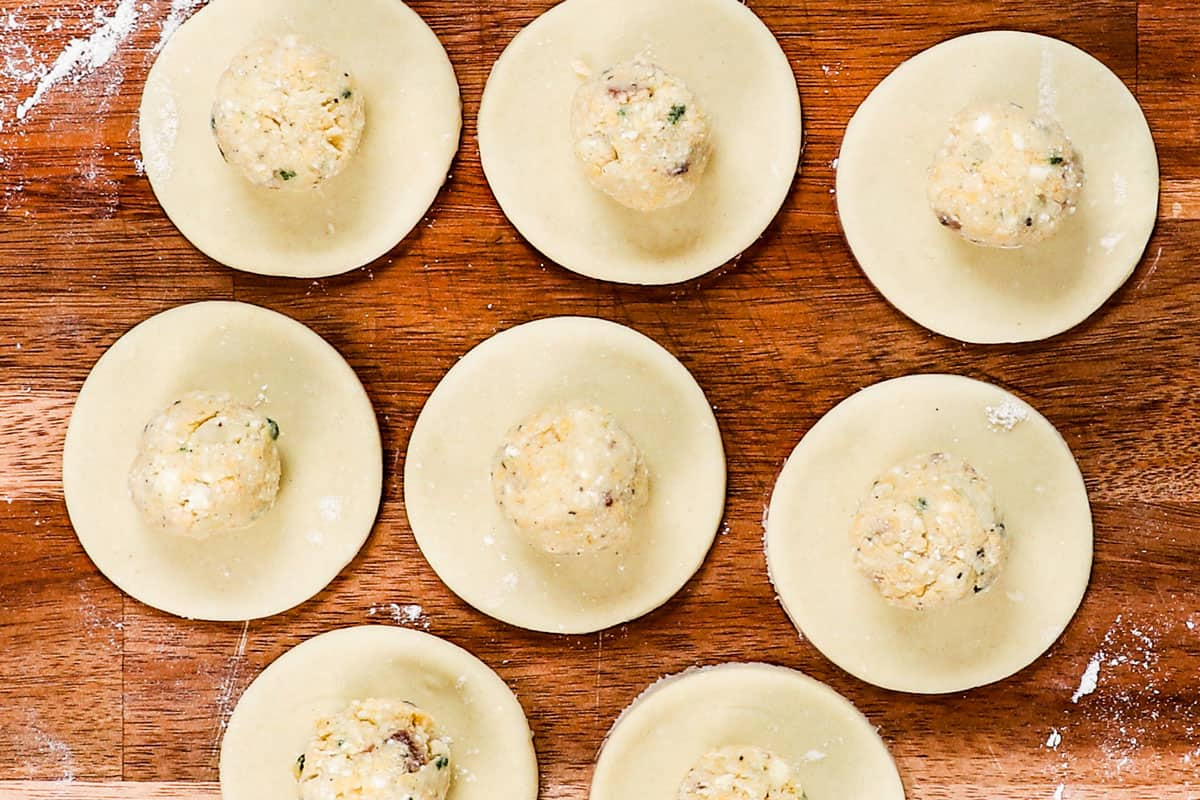
- Add Filling: Place 1 scant tablespoon filling (about 2 teaspoons, but scant TBS is easier) in the middle of each round of dough, and shape filling into an oval. Dip a finger in water and run it along half the edge of the circle.
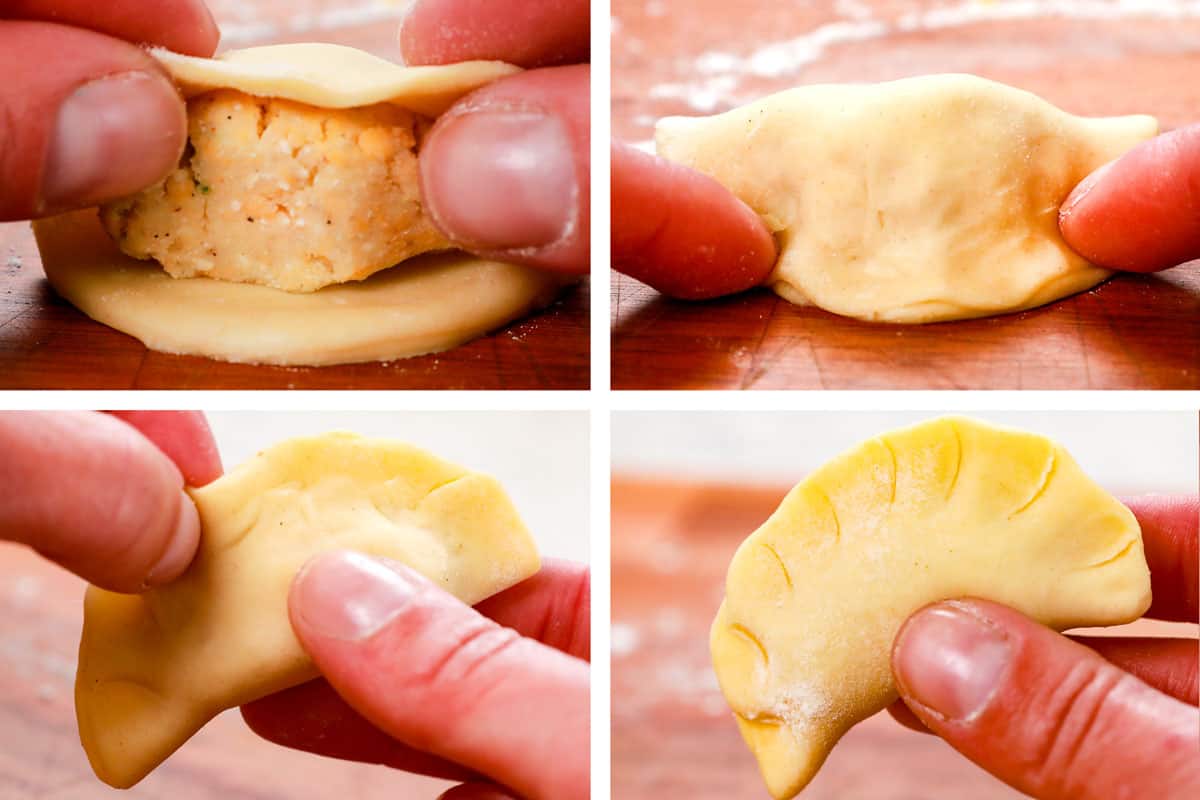
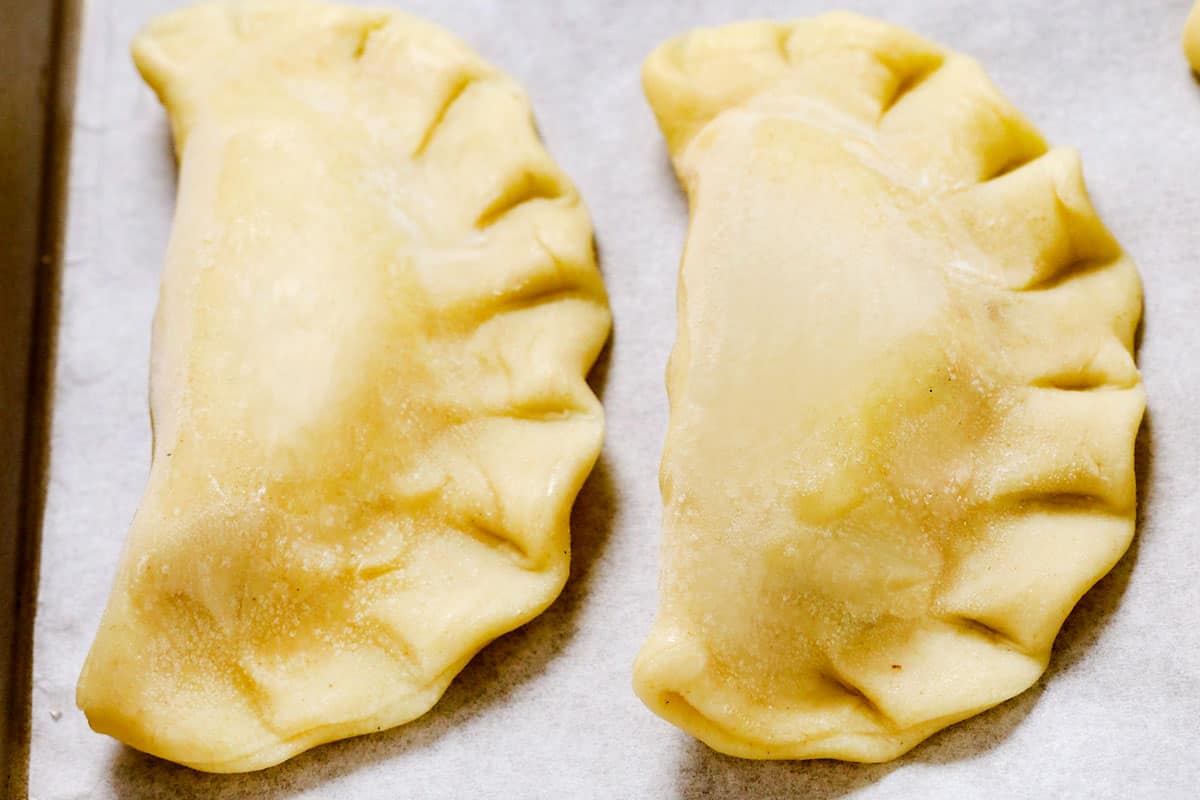
- Double Seal: Gently fold the dough over to form a semi-circle, pinching the top of the half moon to seal, then working your way around to seal the edges together. Seal again by crimping the edges with the back of a spoon, the tines of a fork, or I fold and twist (see video).
- Keep Damp: Transfer pierogi to the prepared baking sheet and cover with a damp kitchen towel. Repeat with the remaining dough. At the end, gather all the surplus dough, and roll it out again and repeat.
- MAKE AHEAD: The pierogi can either be cooked at this point or covered in plastic wrap (with the damp towel) and refrigerated for up to 4 hours. They can also be frozen (See Notes for Instructions).
To Caramelize Onions:
- Prep Water: Bring a large pot of water to a boil (to cook pierogis). Meanwhile,
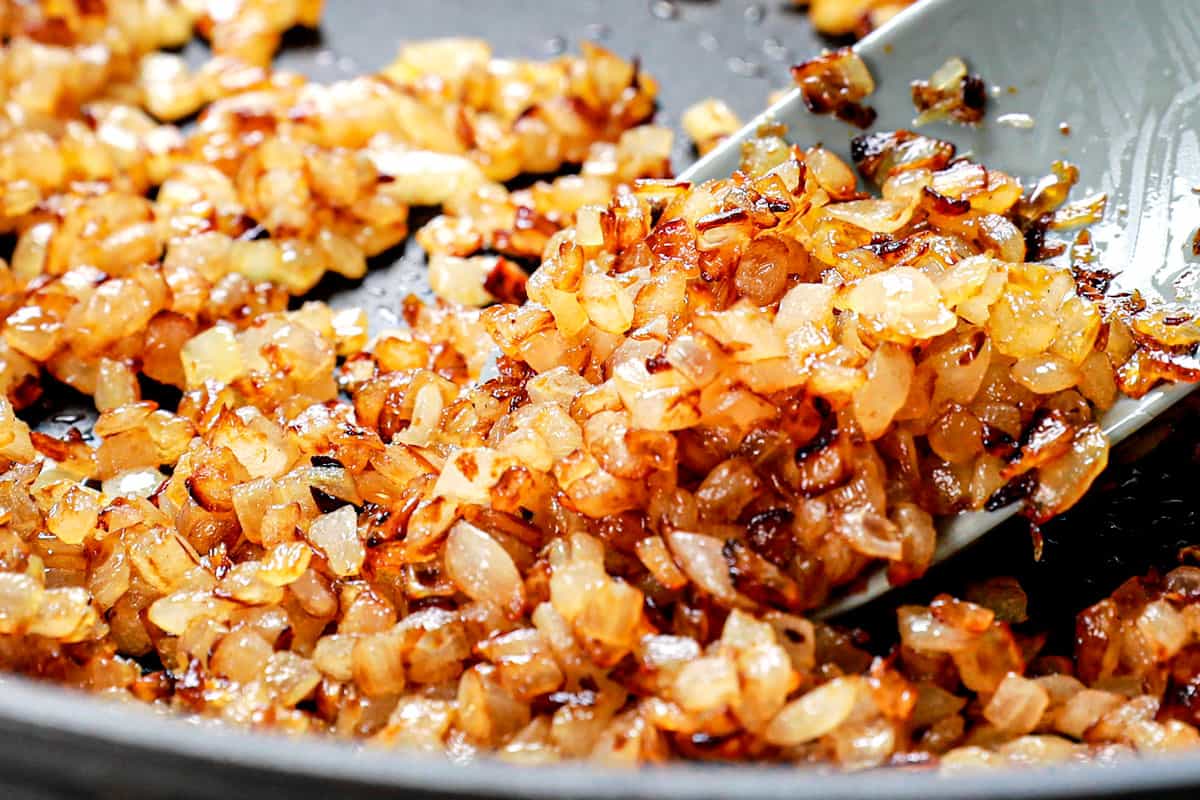
- Caramelize Onions: Melt 3 tablespoons butter in a large NONSTICK skillet (this is my exact one). Add diced onions and cook over medium until golden, about 15 minutes. Transfer onions to a bowl for later. Add 2 tablespoons butter to the skillet and remove from heat (the butter will melt from residual heat and be the base of the sauce).
To Cook & Serve Pierogis:
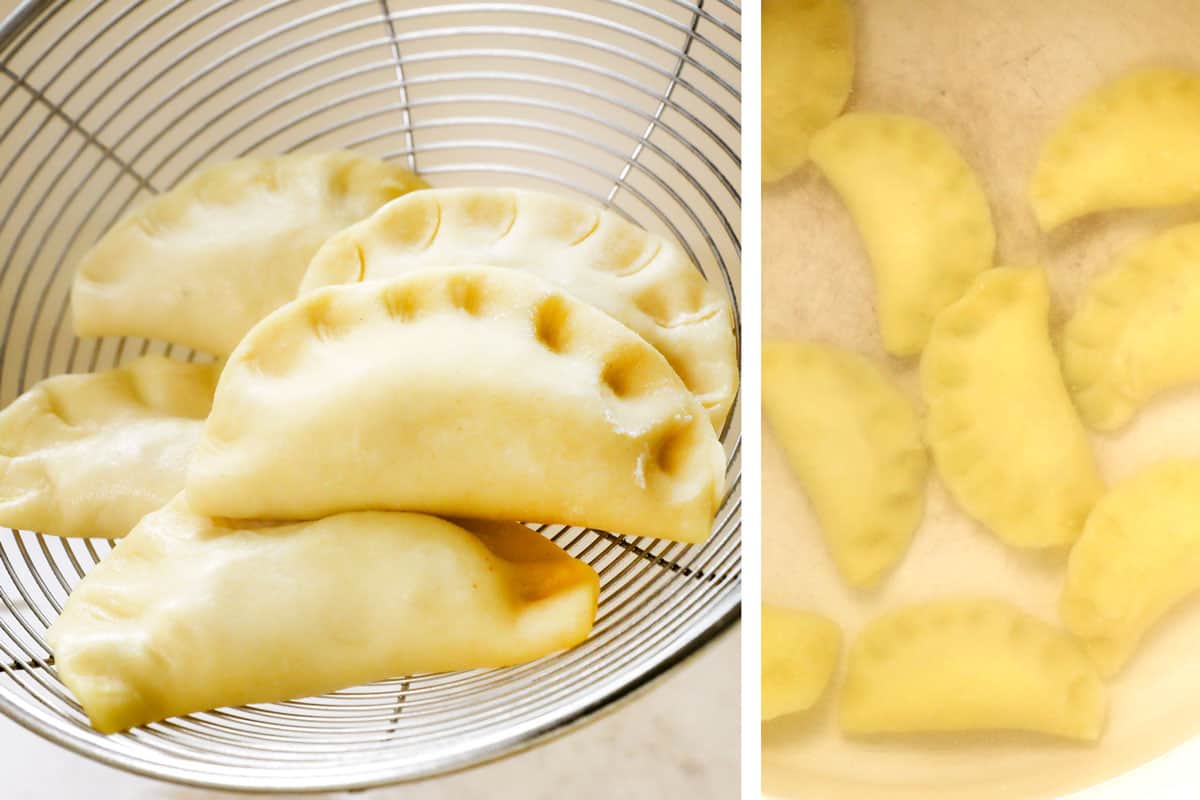
- Boil pierogis: Add 1 tablespoon salt to the large pot of boiling water. Gently add 10-12 pierogis at a time using a spider strainer and cook until they float, about 4 to 5 minutes. The last couple minutes, heat the skillet with the butter over medium heat.
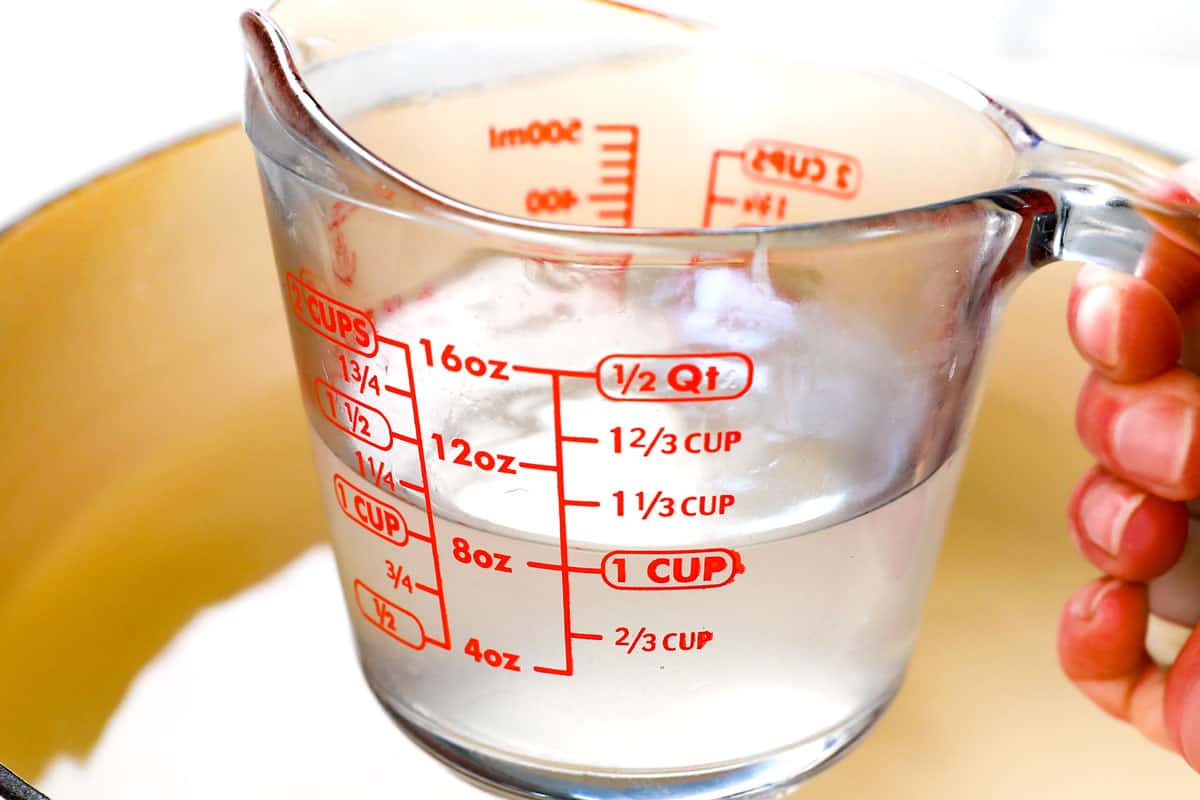
- Reserve Water: Scoop out 1 cup of pierogi water to use later in the sauce.
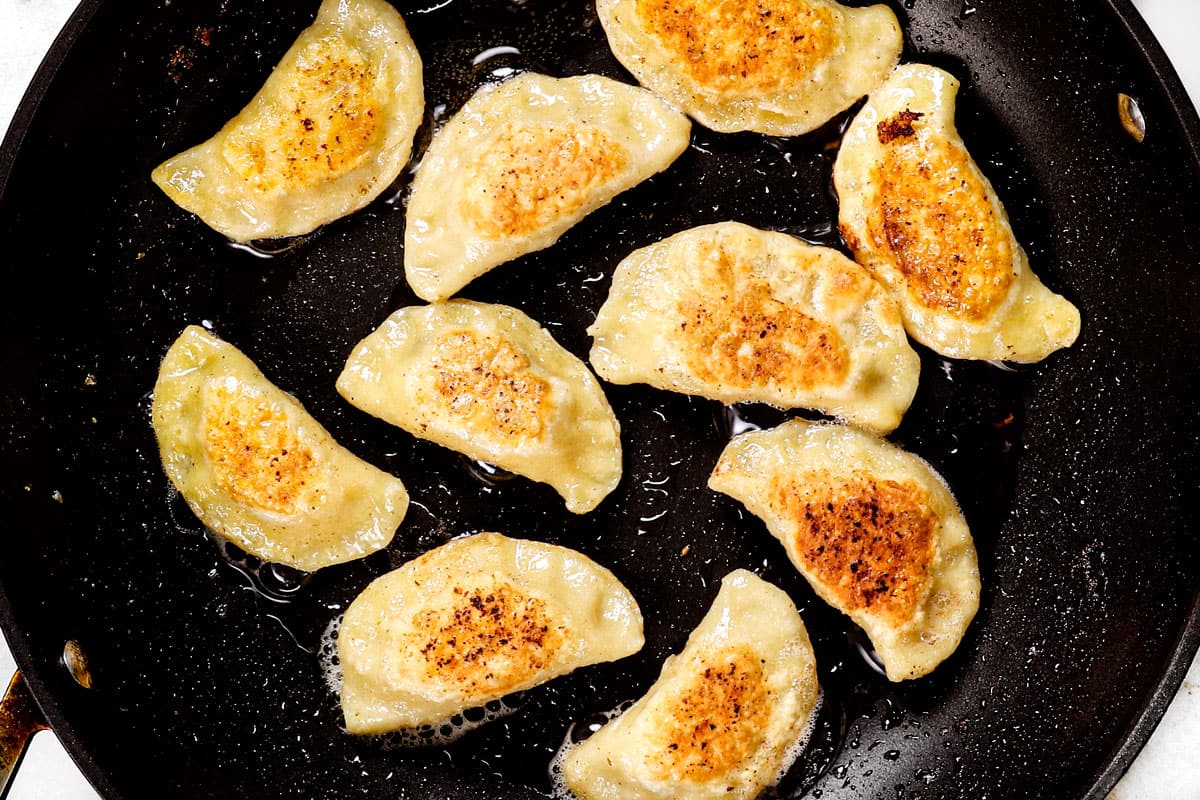
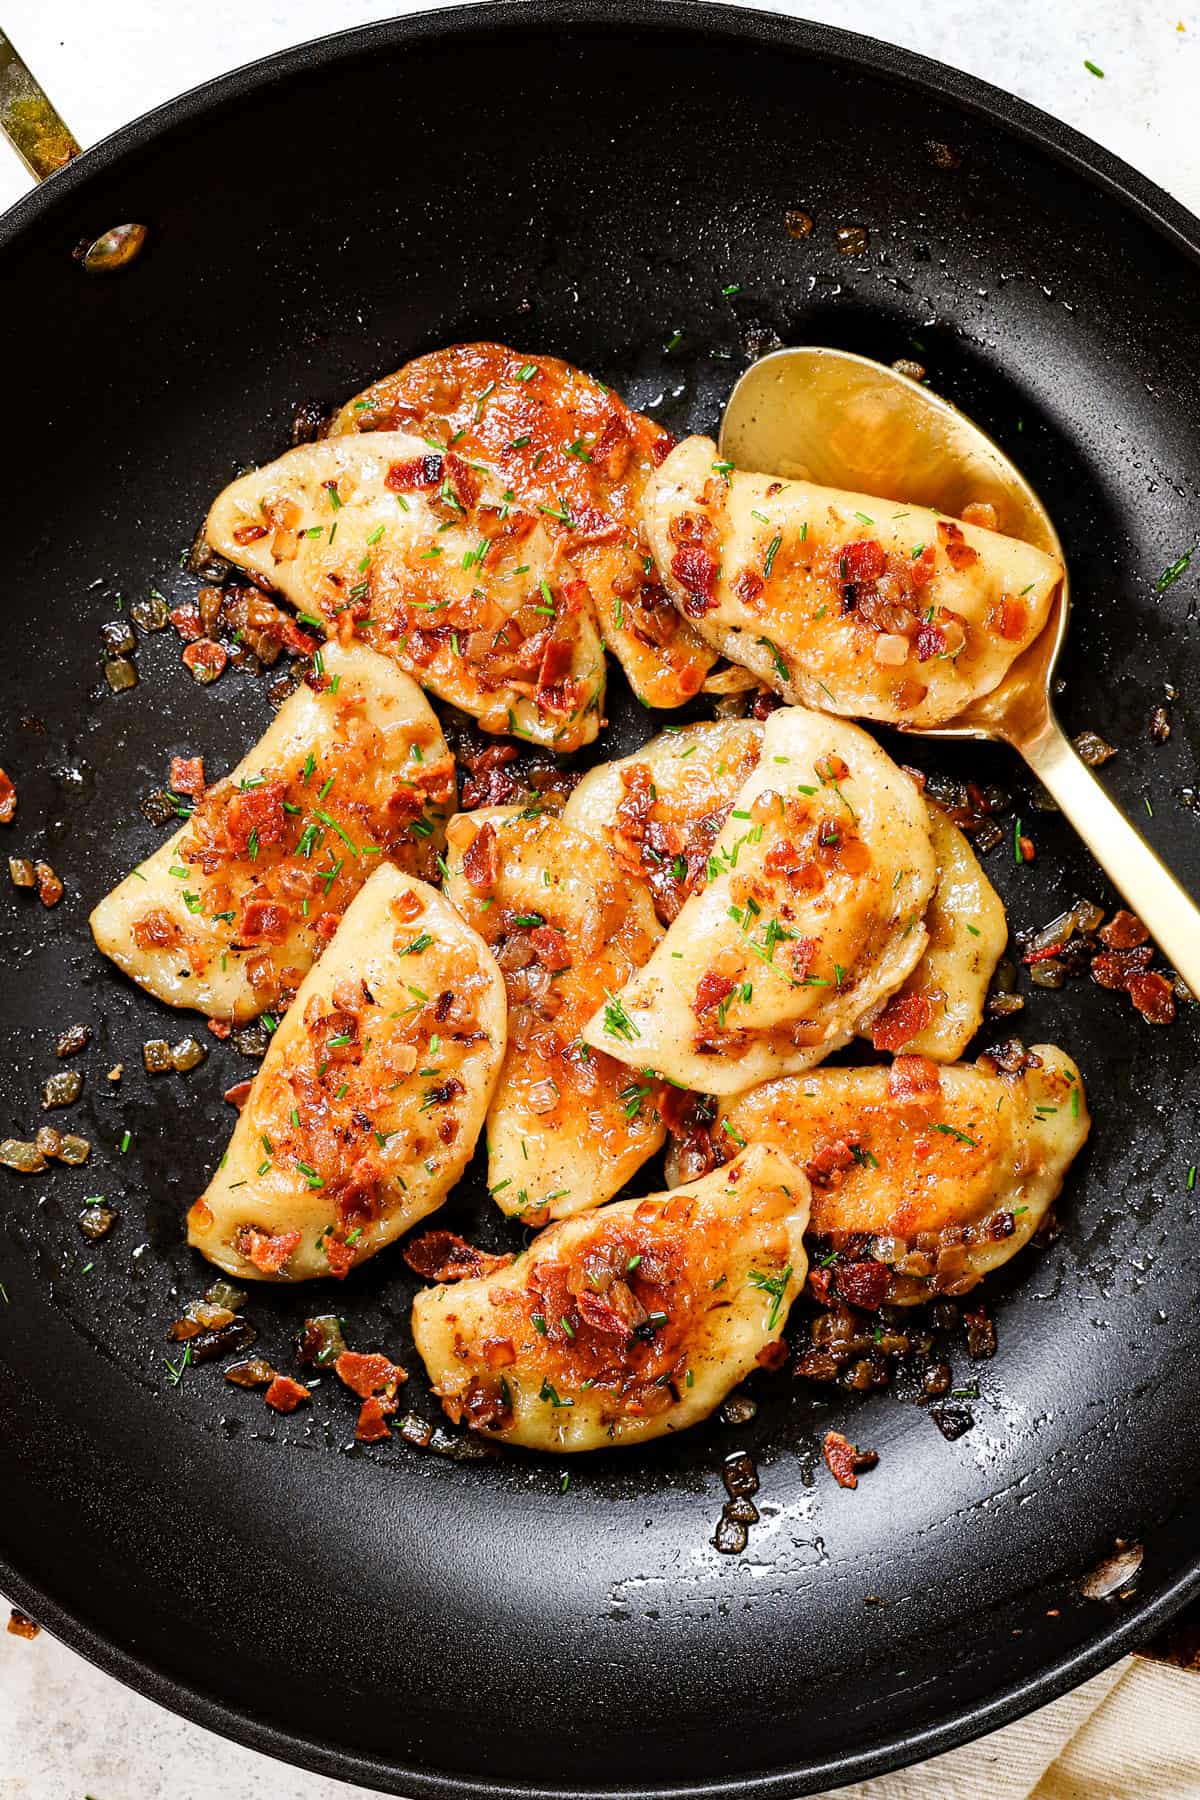
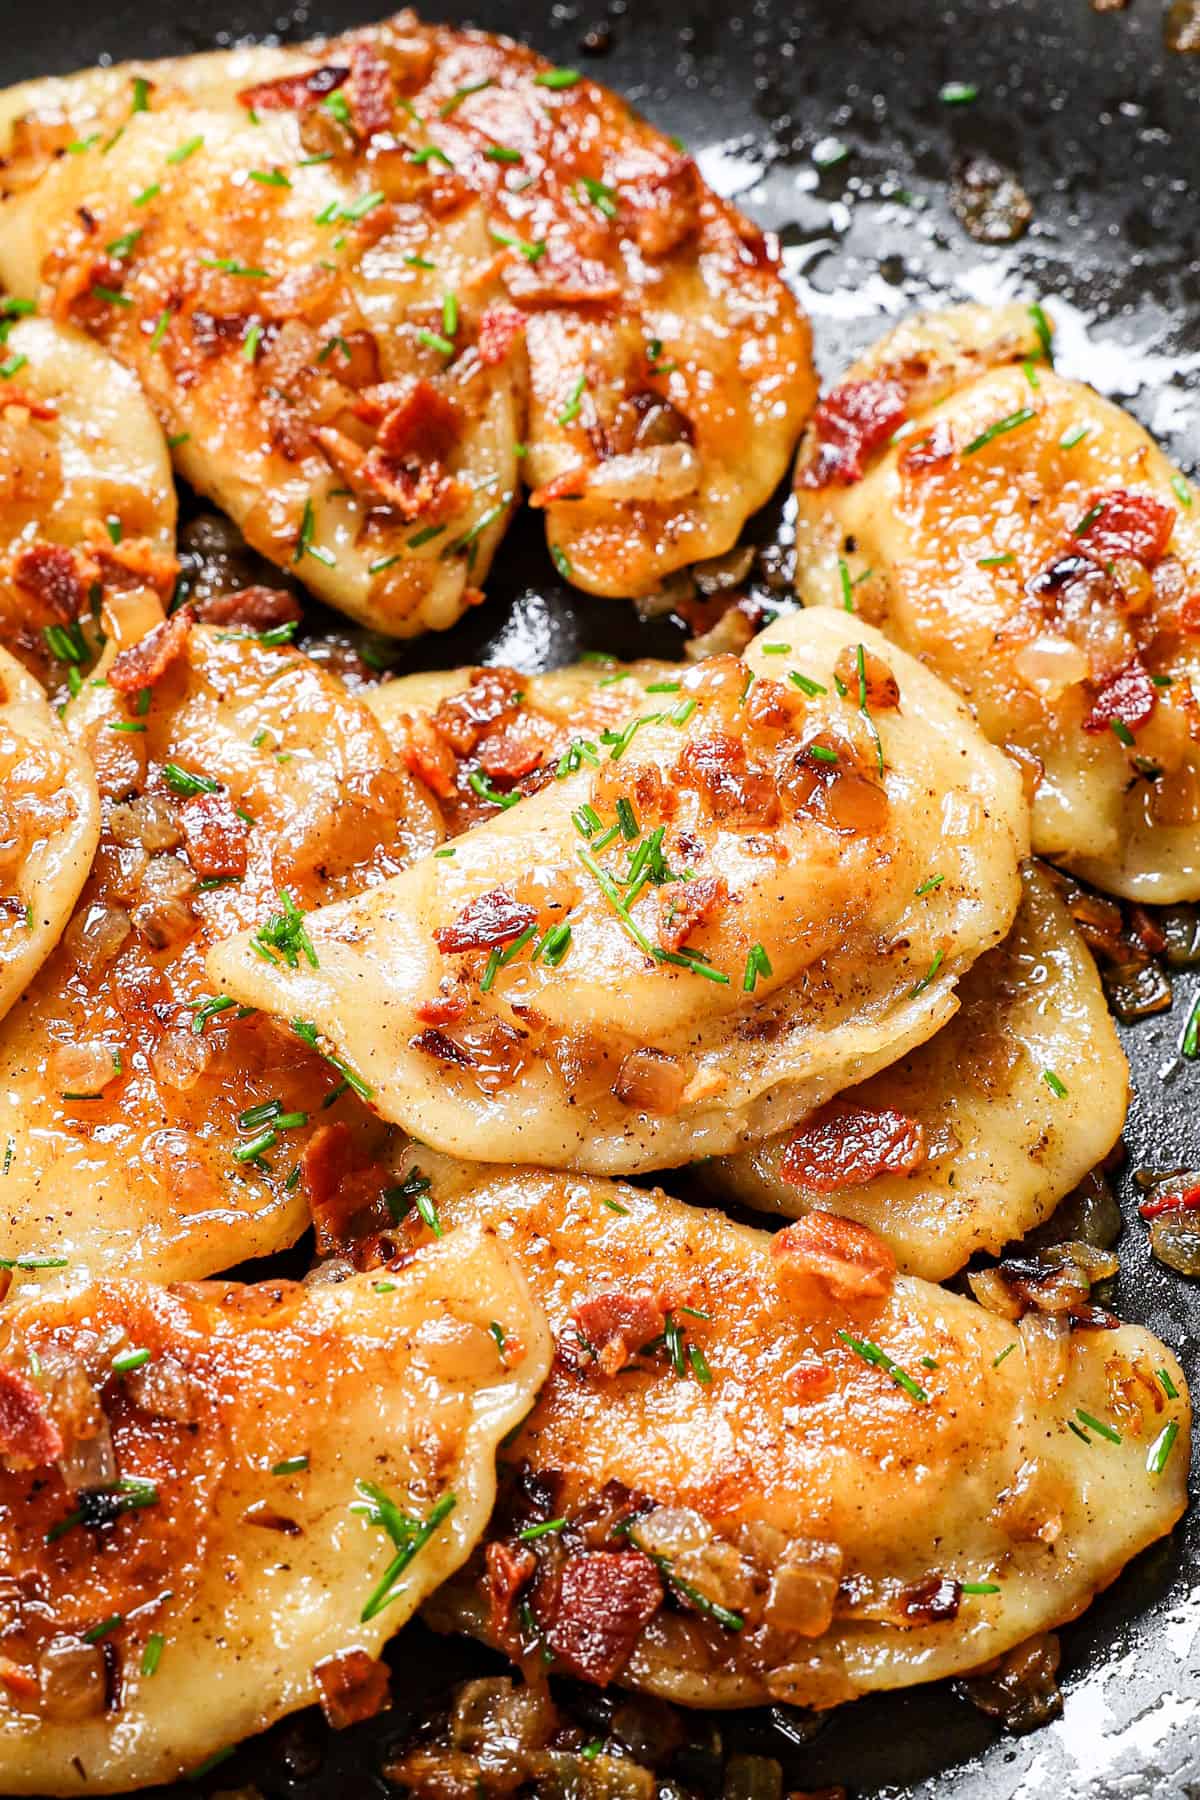
- Brown Pierogis: Remove pierogi with a strainer and add to the hot buttered skillet. Cook until browned on each side, about 5 minutes.
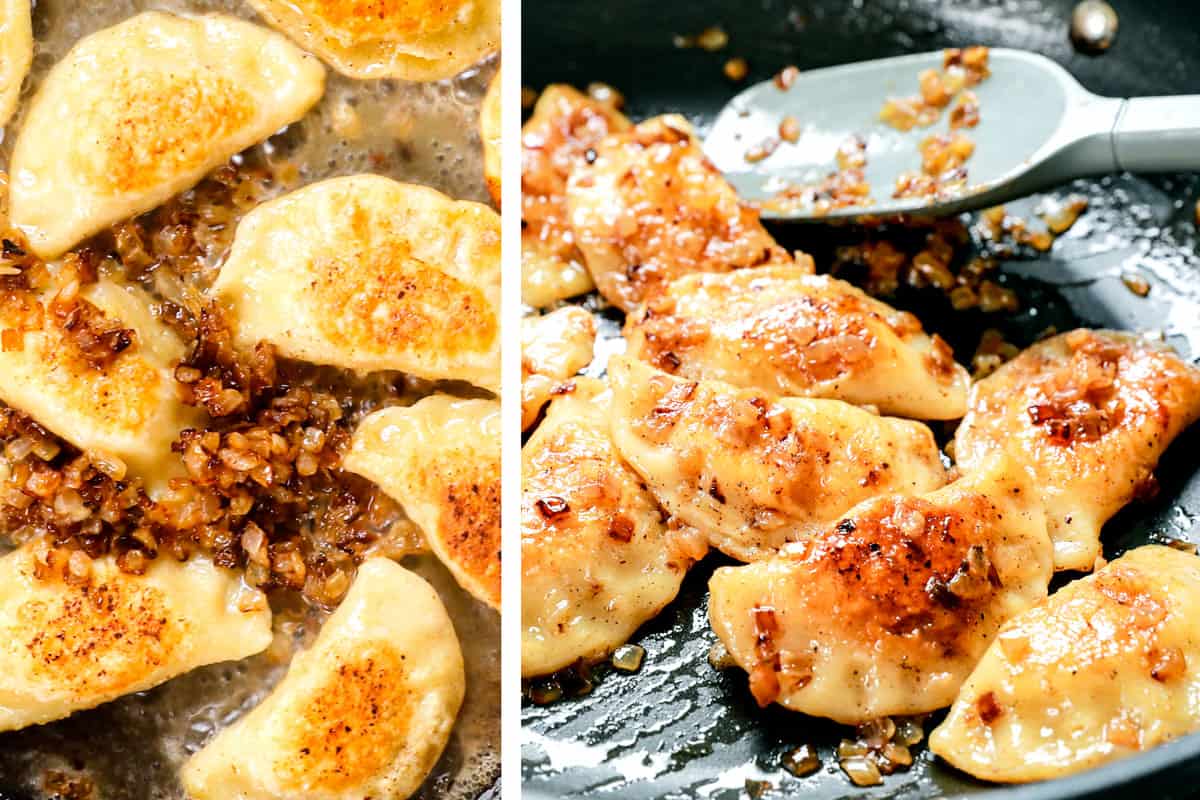
- Make Sauce: Add ⅓ of the caramelized onions mixture and 2 tablespoons reserved cooking water. Toss for about 1 minute, still on the stove, or until the pierogis are coated and the sauce has thickened.
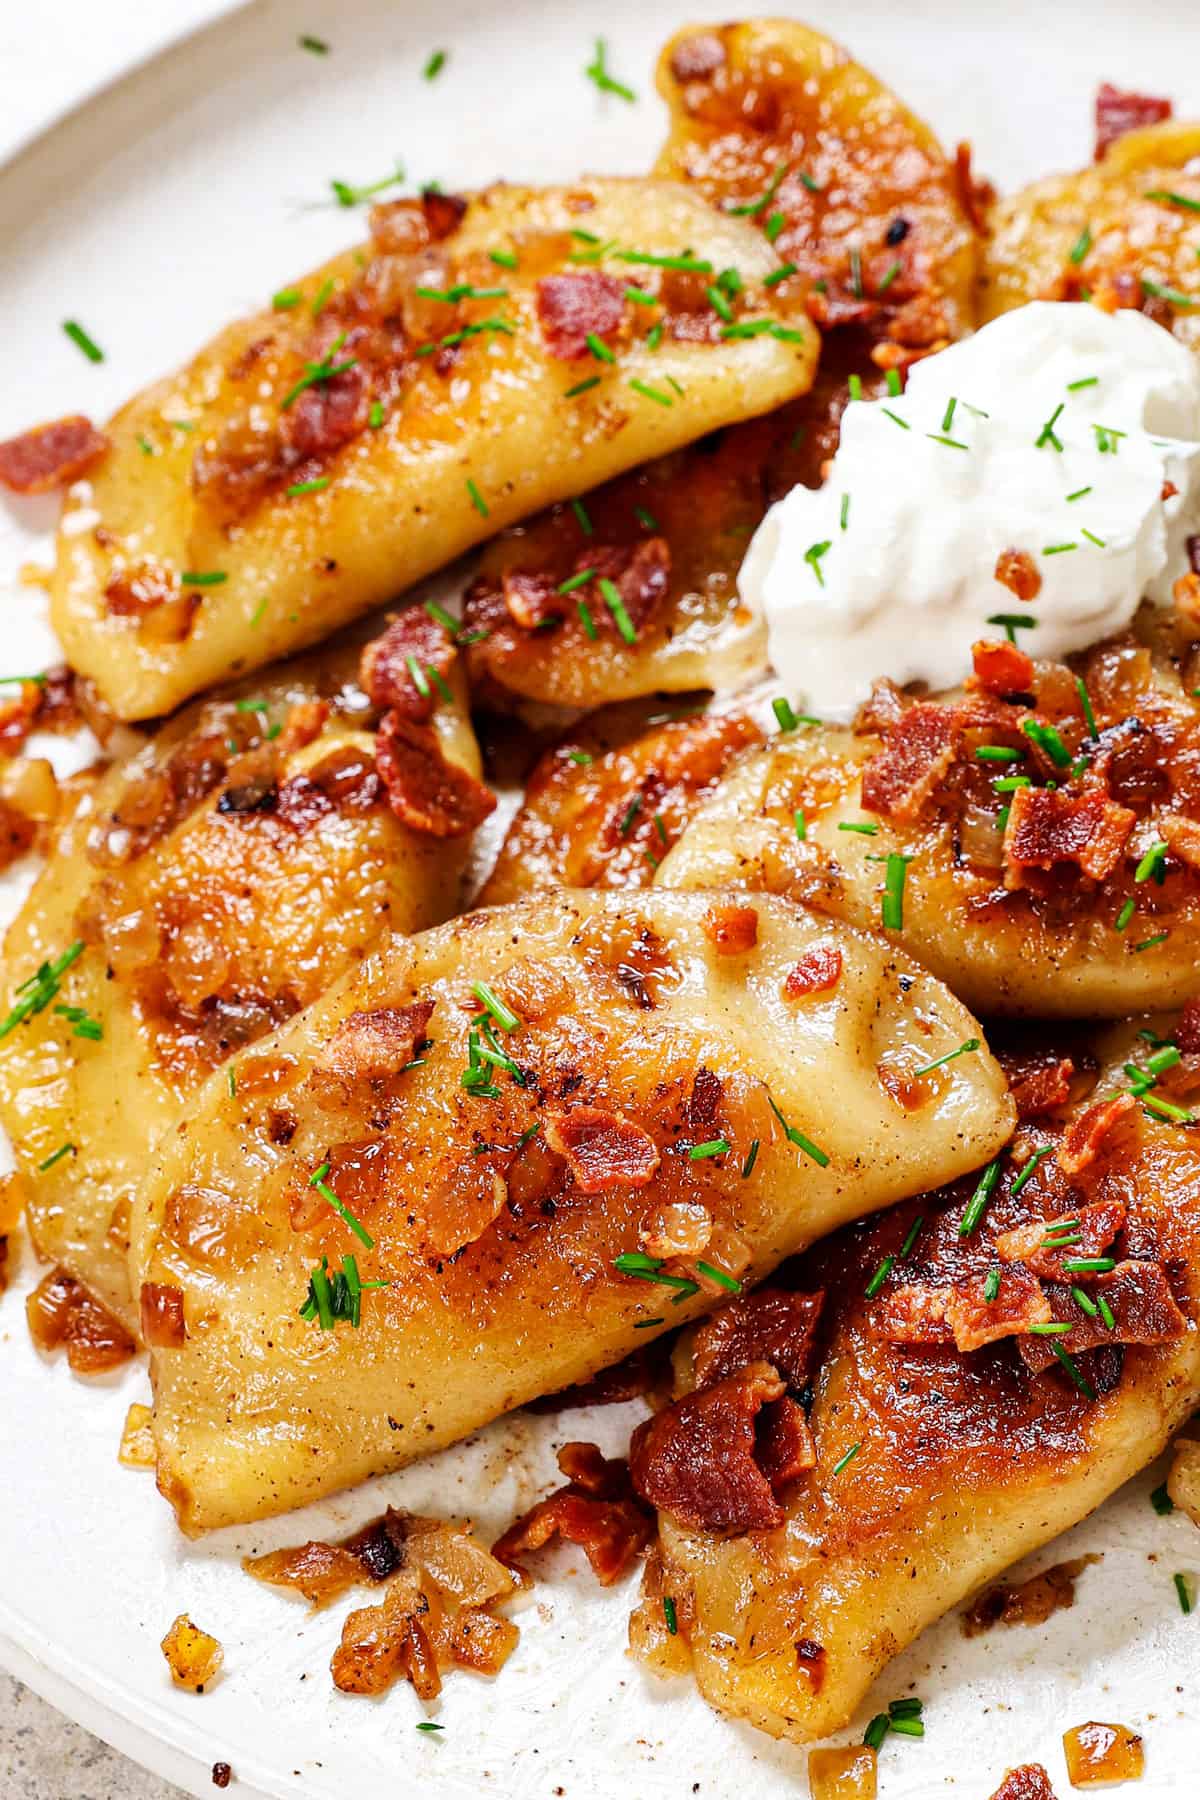
- Serve: Transfer the pierogis and every drop of onion butter sauce to a serving platter. Sprinkle with optional crumbled bacon, parsley and dollop with sour cream.
Video
Notes
- Bacon: I love sprinkling salty bacon over the finished pierogi, so it’s a no brainer to reserve some for the filling. I use my easy, hands-off oven cooked bacon that emerges super crispy with zero mess!
- Farmers cheese: This is the traditional cheeses used in pierogi filling and melts beautifully with a mild, slightly tangy flavor. It resembles cottage cheese but with a more crumbly texture, ideal to not make the filling soggy. Farmer’s cheese is sold in tubs with the specialty cheeses. It should be readily available at stores like Whole Foods and Sprouts.
- To Serve Large Batches: Boil and brown the dumplings in batches per instructions up to adding the onions (don’t add onions). Once they’re all cooked, add the pierogi to a large Dutch oven with 6 TBS butter, onions and ⅓ cup reserved water and toss until warmed and the sauce is thickened.
- Experiment with Fillings: Don’t be afraid to get creative with pierogi fillings! Experiment with different ingredients to discover new flavor combinations that you love – see Variations section in the post!
MAKE AHEAD OPTIONS
- Uncooked Pierogi: Arrange pierogi on a parchment paper lined baking sheet in a single layer. Cover with a damp towel, then wrap tightly with plastic wrap. Refrigerated for up to 4 hours, then proceed to boil or freeze.
- To Freeze: Place baking sheet (described above) in the freezer for 1-2 hours. Once frozen, transfer the pierogi to a resealable plastic bag or airtight container. Store for up to 1 month. When ready to enjoy, cook the frozen pierogi directly from frozen adding a few extra minutes to the boiling time.
- Boiled Pierogi (not pan fried yet): Allow the homemade pierogi to cool completely after boiling, then transfer to an airtight container or resealable plastic bag, arranging in a single layer to prevent sticking with parchment paper in between any layers. Store in the refrigerator for up to 3-4 days. When ready to eat, pan-fry until heated through and golden brown.
- Ingredients: Filling and caramelized onions can be made up to 3 days in advance and refrigerated. Bacon can be cooked up to 7 days in advance and refrigerated.
Want To Make This Recipe?

Did You Make This Recipe?
Tag @CarlsbadCravings and Use #CarlsbadCravngs
Leave a Review, I Always Love Hearing From You!


Brenda says
This was my first time making homemade pierogies and they were yummy but not sure what I did wrong but it only made 16 of them no where near 30 , I weighed the flour , made sure to refrigerate the dough. I did use a small glass that was 3 inches diameter because I didn’t have a biscuit cutter so maybe that’s why? The dough seemed thin enough. Still delicious though
Jen says
Hi Brenda! I’m glad to hear that they turned out yummy for you! Sometimes it takes a couple of trial runs to get the right size and thickness so you can get the right amount! Thank you so much for your sweet comment!