This cereal pancake post is sponsored by Real California Milk. All opinions are my own.
Cereal pancakes are a fun, delicious, hearty way to start the day and so easy to make at home!
These cereal pancakes will quickly become your go-to recipe! They’re simple, easy, quick, fluffy and packed with cinnamon and sugar cereal right in the batter. Best of all, they are pantry friendly, made with Real California Milk and your favorite cereal! These cereal pancakes are scrumptious for busy weekdays, lazy Sunday mornings, special occasions, or breakfast-for-dinner – because you’re going to want to devour them any chance you get! This cereal pancake post is full of tips and tricks to help you make the best pancakes ever!
If you love pancakes like our house, make sure to check out my other pancake recipes: Lemon Ricotta Pancakes, Sweet Potato Pancakes, S’mores Pancakes, Strawberry Cheesecake Pancakes and now these Cereal Pancakes!


PANCAKES RECIPE
With the summer winding down and school back in session, we all need a no-fail, nutritious weekday breakfast that’s easy to whip up and that everyone will love, enter cereal pancakes!
These cereal pancakes combine beloved milk and cereal into an epic back to school breakfast. They’re a fun way for everyone to gather around the table before the distractions of the day, plus you won’t have to hassle your kids to eat breakfast when these hot pancakes are on the menu!
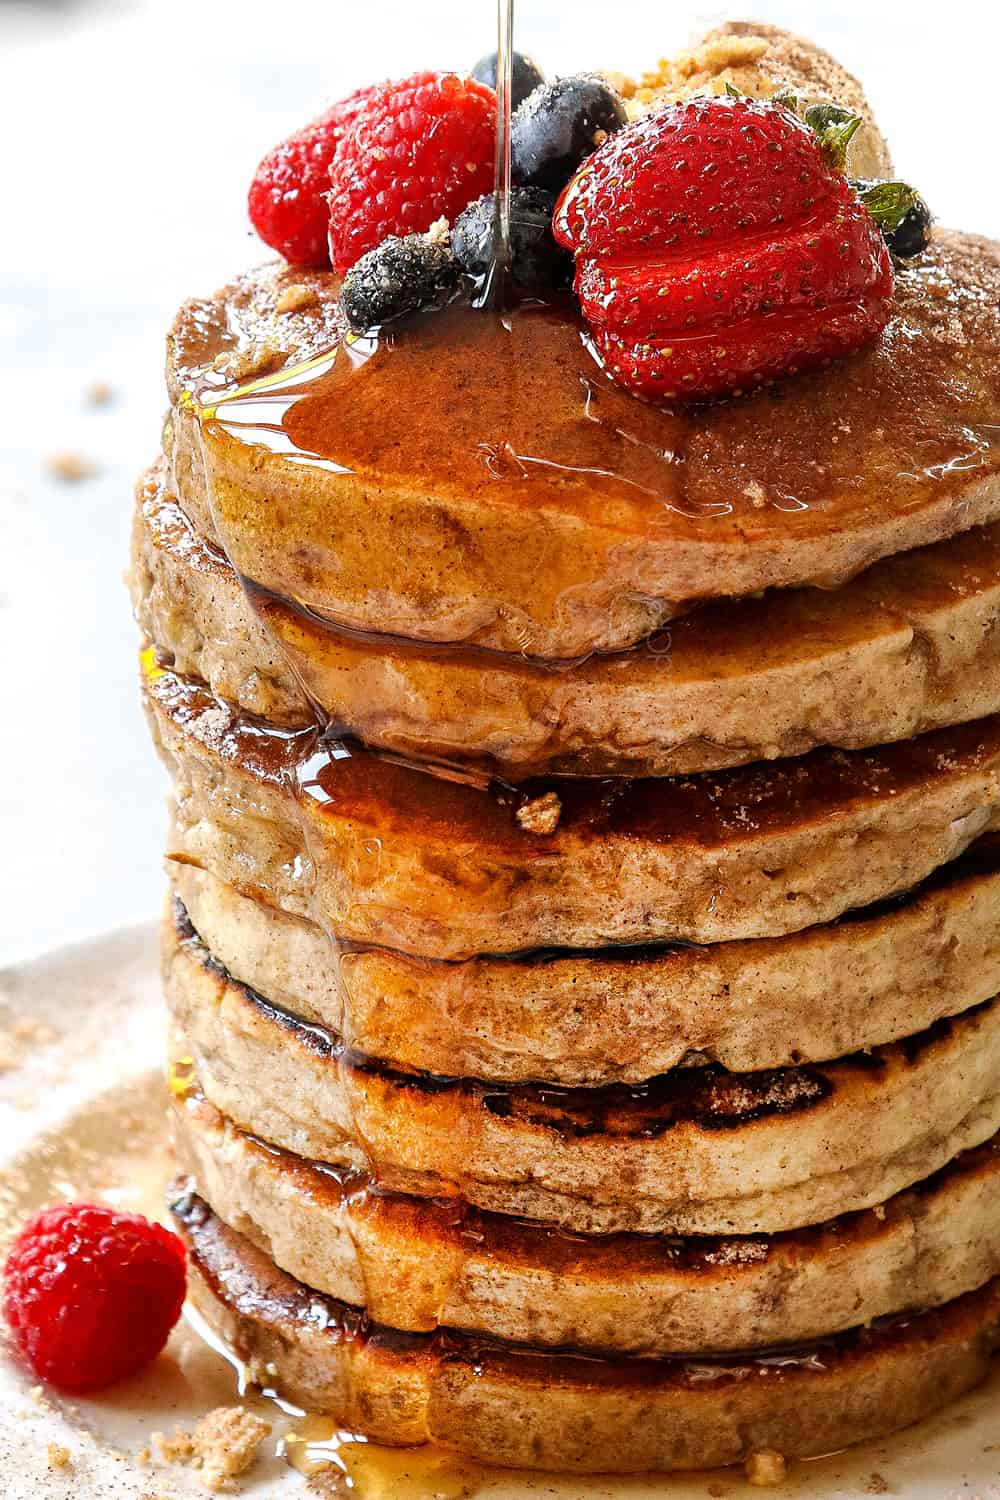
To make these cereal pancakes, I’ve used my favorite fluffy pancake recipe, infused them with milk and crushed cinnamon and sugar cereal, and finished them off with fresh berries for a spectacular steaming hot stack of perfectly soft, fluffy, melt-in-your mouth pancakes that taste just like your favorite cereal – but better – because they’re pancakes!
You can also feel good about sending your family off with full bellies of cereal pancakes because milk boasts 13 essential nutrients and cereal is full of fiber, carbohydrates and protein! Share how you make #MorningsMeanMore for back to school with your favorite milk and cereal recipes/combinations from French toast to smoothies to pancakes. Visit the Real California Milk website for more recipe inspiration: https://www.realcaliforniamilk.com/recipes/

INGREDIENTS FOR cereal PANCAKES
These cereal pancakes are made with the same ingredients as traditional pancakes, plus cereal and ground cinnamon. Let’s take a closer look at what you’ll need (measurements in the printable recipe card at the bottom of the post):
- Milk: 2% or whole milk is ideal. When purchasing milk, look for the Real California Milk seal so you know you’re getting sustainably sourced milk from family farms.
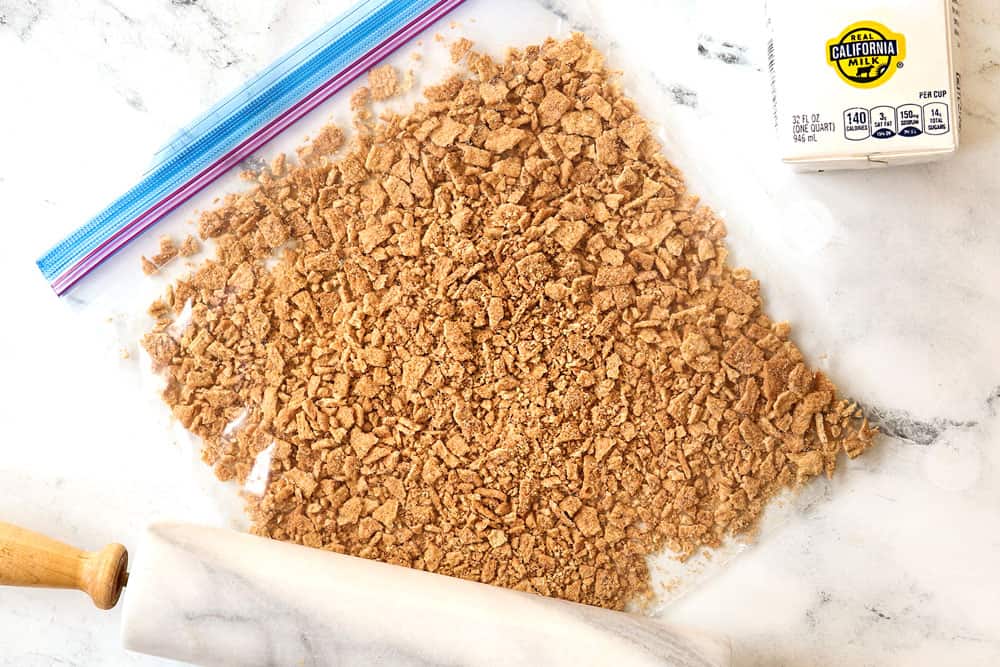
- Cereal: I use cinnamon and sugar cereal for a delightful pop of flavor. Don’t crush the cereal too finely or it will get lost. Just roughly crush it as illustrated below.
- Flour: I use all-purpose flour but you can also use whole wheat flour or a combination of both. I’m sure gluten free 1 to 1 baking flour would also work.
- Baking powder: makes the pancakes light and fluffy. Make sure it’s fresh so it works!
- Salt: enhances all of the flavor. Use good old table salt or twice as much kosher salt. If you’re using salted butter as opposed to unsalted butter, reduce the salt.
- Sugar: granulated sugar please. You may also reduce the sugar if you wish, but the amount of sugar combined with the cinnamon really ramps up the cereal flavor.
- Egg: provides structure and the fat in the yolk adds richness and flavor.
- Vanilla extract: adds a depth of flavor. Use quality extract for the best results.
- Cinnamon: enhances the cinnamon cereal.
- Butter: adds a hint of delightful buttery flavor. Use unsalted butter or decrease the amount of salt in the dry ingredients. You can also use melted coconut oil.

can i use a different cereal?
Yes! This recipe will work with just about any cereal. Simply omit the cinnamon and add your favorite roughly crushed cereal to the dry ingredients.

HOW TO MAKE cereal PANCAKES
Let’s take a closer look at how to make this recipe with step-by-step photos (full recipe in the printable recipe card at the bottom of the post):
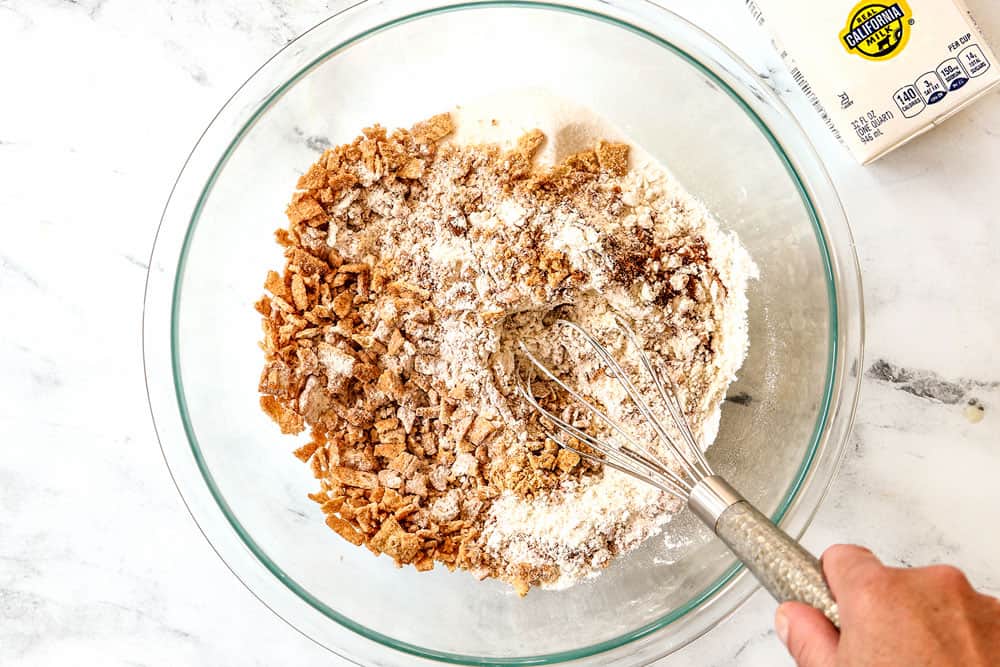
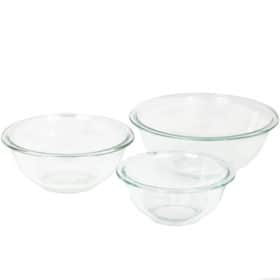
- Mix dry ingredients. In a large bowl, whisk together the flour, baking powder, sugar, cinnamon and salt until thoroughly combined. Make a well in the center by pushing the center flour mixture to the edges of the bowl.
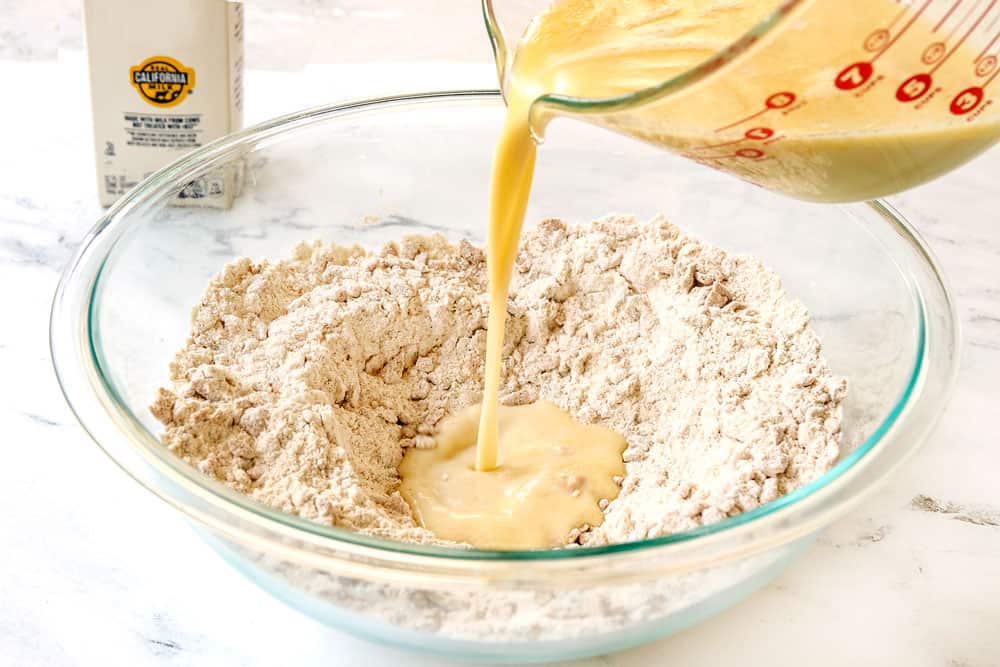
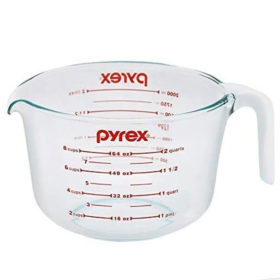
- Warm milk. Add the Real California Milk to a large microwave safe mixing bowl or I like to use a large glass liquid measuring cup because it’s going to be poured into the dry ingredients. Warm the milk for 60 seconds or so. Lukewarm milk helps prevent lumps when the milk and butter are combined.
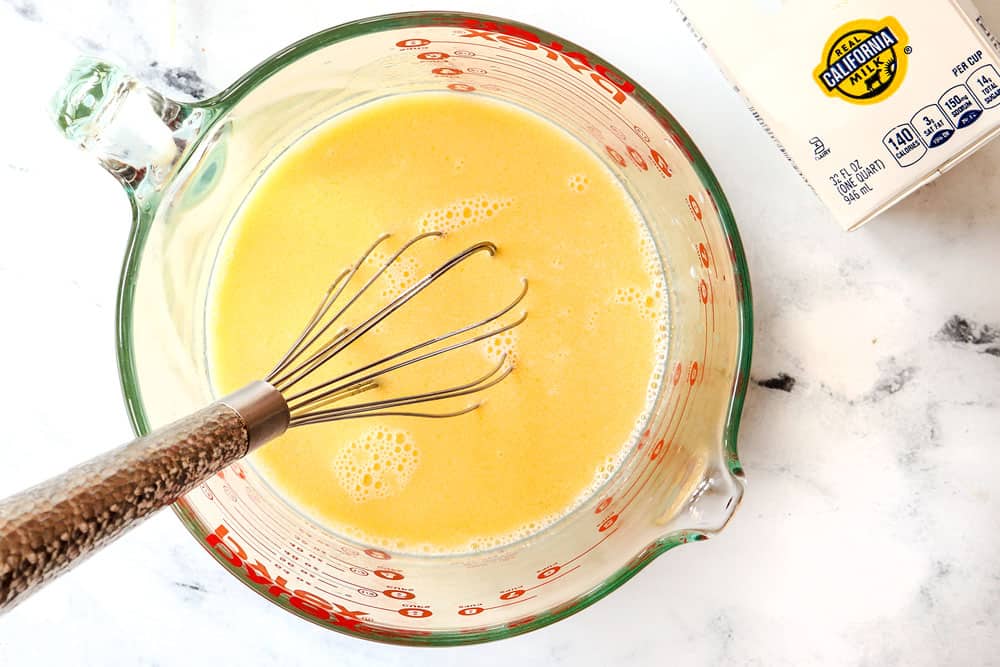
- Mix wet ingredients. To the warm milk, whisk in melted butter, egg and vanilla.
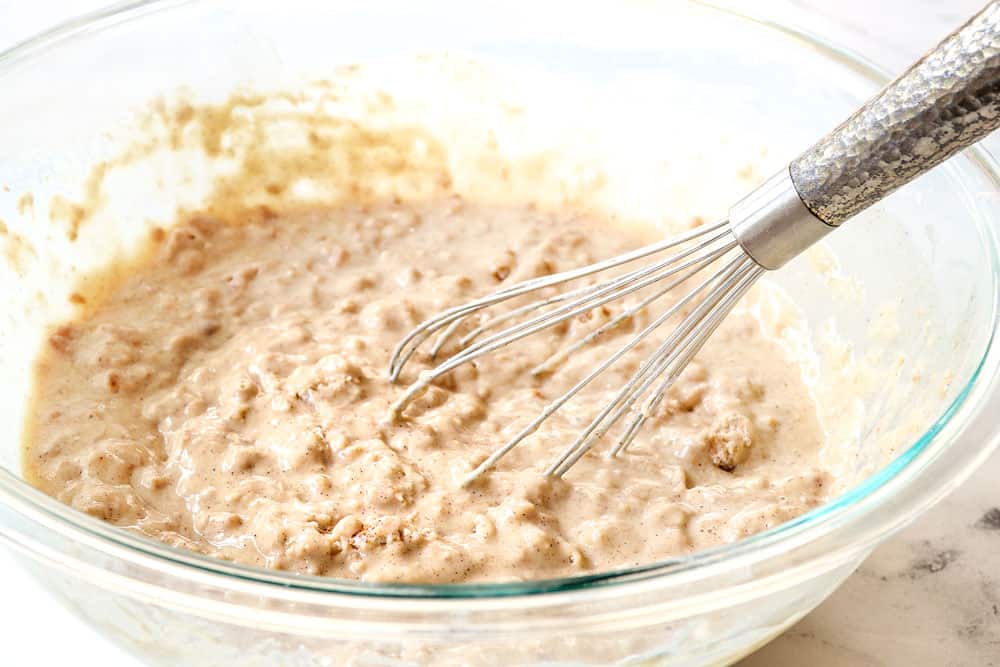
- Combine wet and dry ingredients. Pour the wet ingredients into the dry ingredients and gently whisk together – don’t over mix! It should be lumpy.
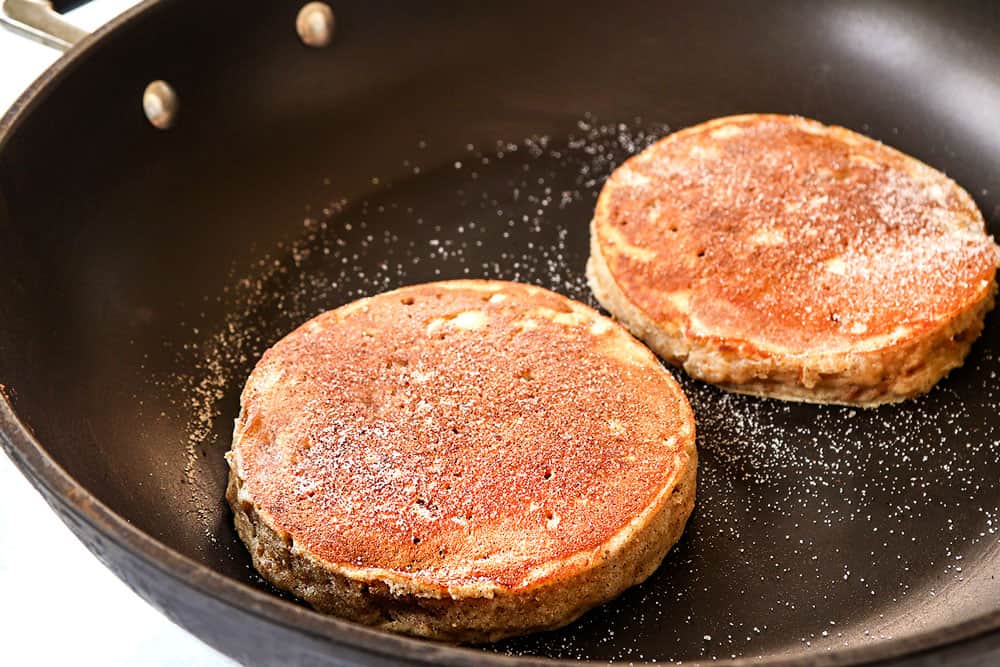
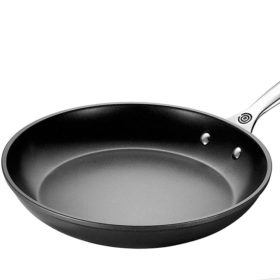
- Cook pancakes. Heat a nonstick skillet or griddle to medium heat. Once hot, add batter, ¼ cup at a time and gently spread the batter into a 4-inch circle using your spatula or back of the measuring cup. When the edges are set and a few bubbles pop on surfaces of the pancake, flip over, about 2 minutes. Cook the other side for 1 to 2 additional minutes, until lightly browned and cooked in the middle.

TIPS FOR making cereal PANCAKES
These cereal pancakes are easy to make but there are a few tips and tricks for the fluffiest pancakes every time:
CHECK THE FRESHNESS OF YOUR BAKING POWDER
You can do all the right things – don’t overmix your pancake batter, rest the batter, etc. but if your baking powder is old then you’ll end up with flat pancakes. If you aren’t regularly replacing your baking powder, check the expiration date or try this test to make sure your leavening is fresh:
- Add ½ cup hot tap water to a measuring glass.
- Add ¼ teaspoon baking powder.
- Watch for an immediate bubbling or fizzing reaction. If this happens, the baking powder is still good; if there isn’t a reaction, then it’s time for new baking powder.
- Note: this test is for baking powder as used in this recipe. To test baking soda, you will need to add ¼ teaspoon white vinegar to the water.
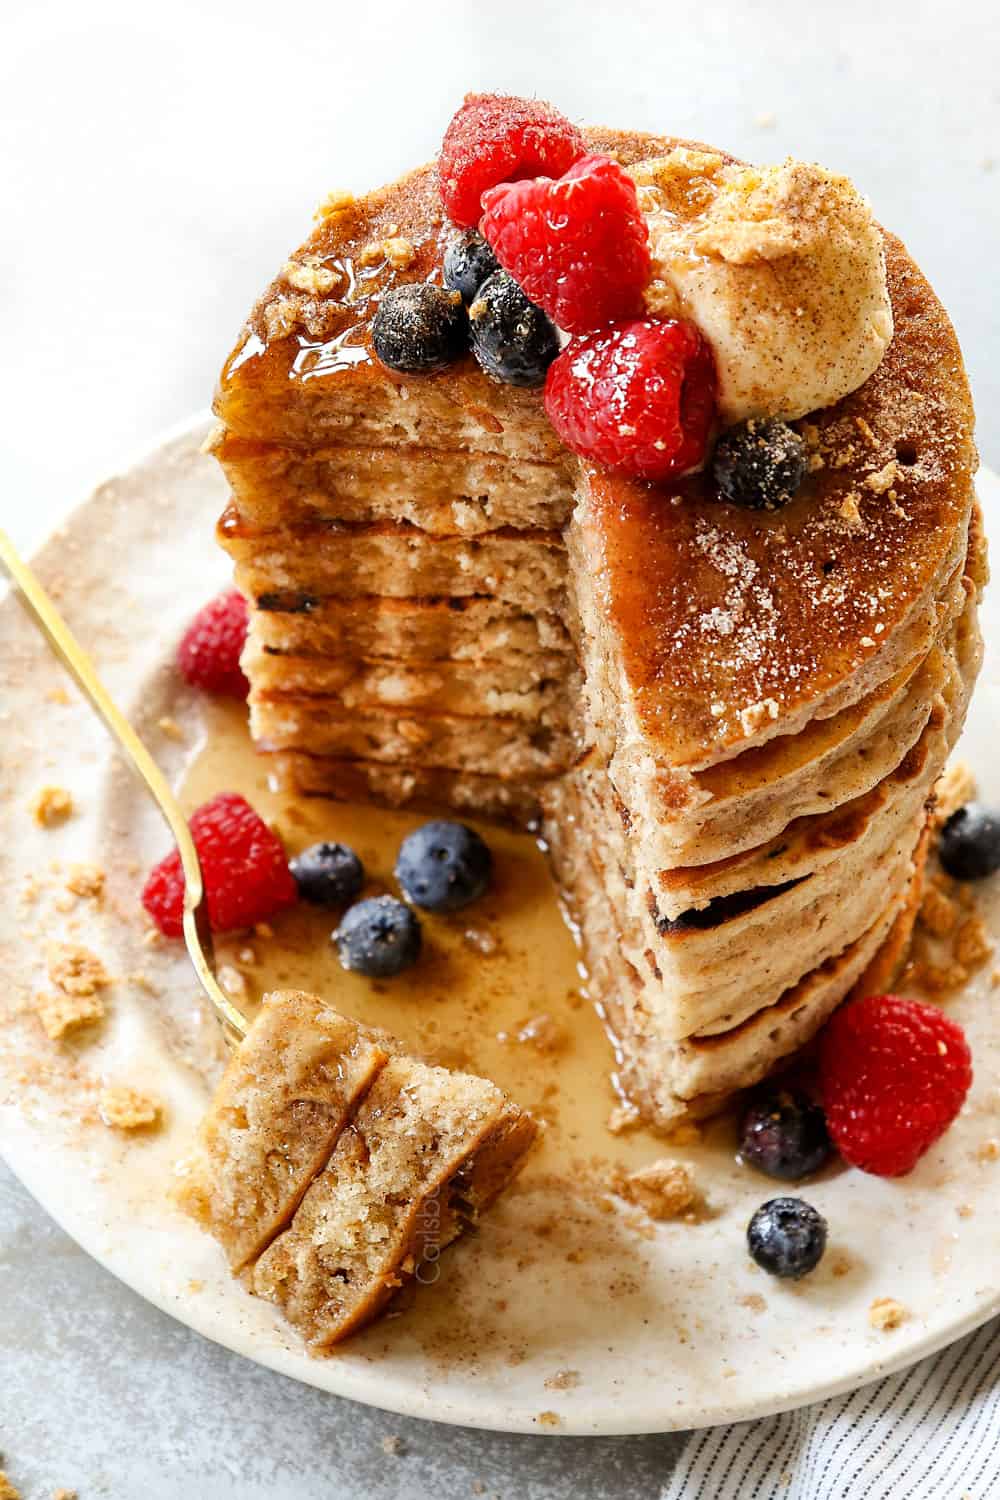
DON’T OVER-MIX! LET THE BATTER BE LUMPY
If there’s one tip to achieve fluffy, soft pancakes, it’s to not over-stir the batter. Excess stirring develops the gluten in the batter and makes the pancakes tough and flat, instead of light and fluffy. Stop stirring the batter as soon as the streaks of flour are gone but the batter is still lumpy. Lumpy batter means you haven’t over-stirred the batter. Your batter will also be lumpy from the crushed cereal.
REST THE BATTER
Let the batter rest for 5-10 minutes before making the cereal pancakes. This is a pancake-game changer! It allows the gluten in the batter to relax which results in fluffier pancakes. Take care, however, that you don’t let it rest longer than 10 minutes because the baking powder will lose efficacy.
MAKE SMALL, UNIFORM PANCAKES
Use a lightly greased measuring cup or cookie scoop for the pancake batter. This creates uniform, evenly-portioned pancakes. Don’t make the pancakes too large or they won’t cook evenly and can be difficult to flip. If a few edges are unruly, you can gently press them back into shape with a spatula, but I wouldn’t worry about it.
FLIP WHEN THE BUBBLES JUST BEGIN TO POP
Watch for bubbles to form on the surface of the pancake batter and flip just when they begin to pop and form holes that stay open on the surface of the pancake- not bubbles that fill with more pancake batter. This should coordinate with the edges of your pancakes. When the edges look set and start to lose their shine, then it’s time to flip.
adjust heat if needed
Your pancakes should be golden brown on the bottom after you flip them. If they are darker than you like, then your pan is too hot. Reduce the heat, remove the pan, let it cool some, then try again.
FLIP WITH YOUR WRIST
How many of us have smeared pancake batter because of a sloppy flip? This is likely the result of a “whole arm flip” instead of a brisk, narrow “wrist flip.” To flip your pancakes, slide a thin spatula under the pancake, lift about three inches (no more!), and then briskly turn your wrist. Your pancake will land right where you picked it up, no smear in sight.
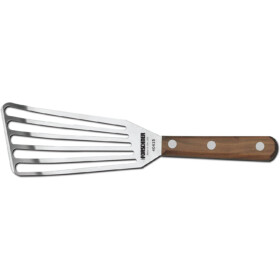
USE THE CORRECT SPATULA
When flipping pancakes, you need a thin spatula that will adeptly slide under the delicate pancakes without getting caught on the edges. It also needs to be long enough to cradle the whole pancake. For this purpose, I love my fish spatula. It is made for flipping delicate fish and its long, thin, delicate shape is also perfect for flipping pancakes!
WIPE OUT THE PAN BETWEEN BATCHES
Butter adds incredible flavor to the pancakes but the only problem is it eventually burns in the skillet. To avoid burnt tasting pancakes, wipe the skillet clean and brush with fresh butter between batches. You can also omit the butter if you have a high-quality nonstick skillet.

WHAT SHOULD I SERVE with cereal PANCAKES?
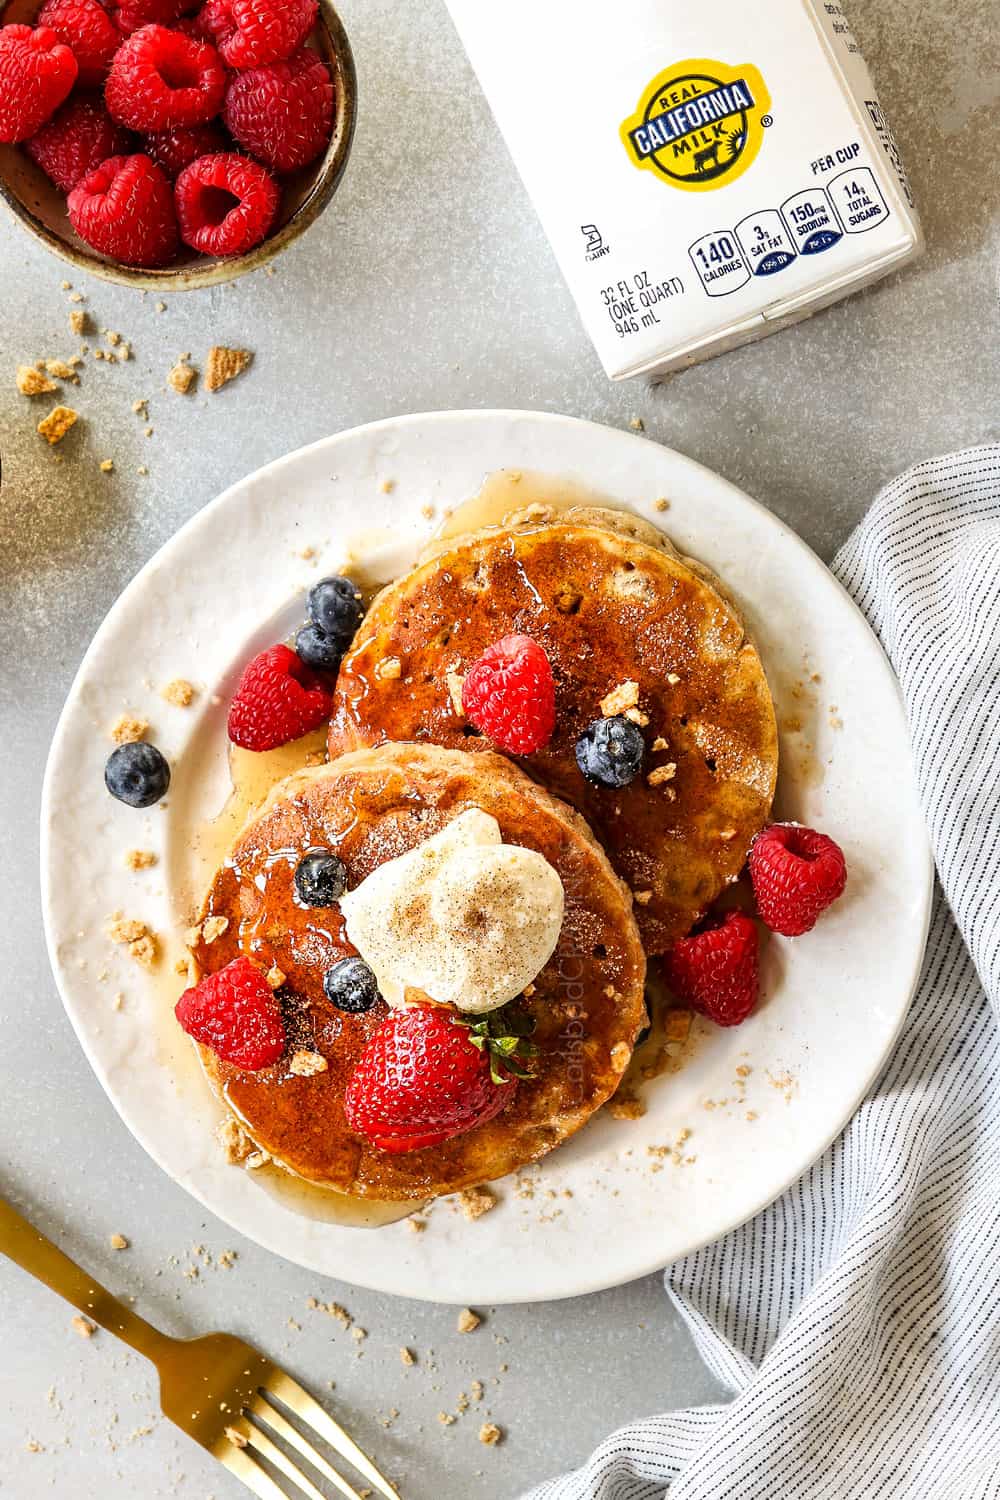
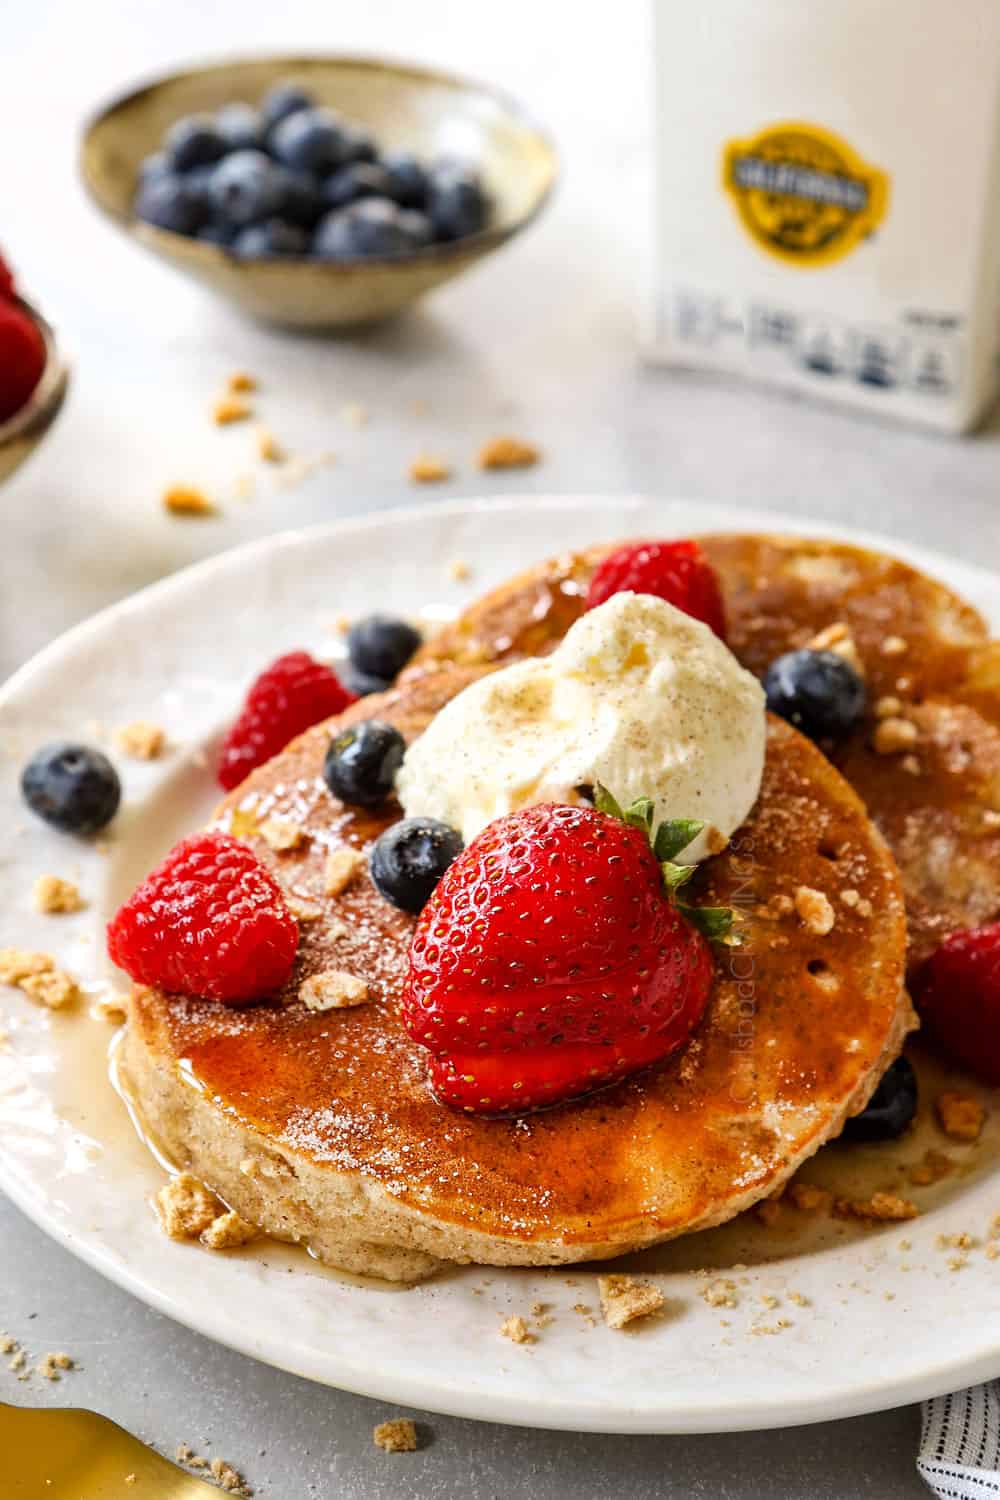
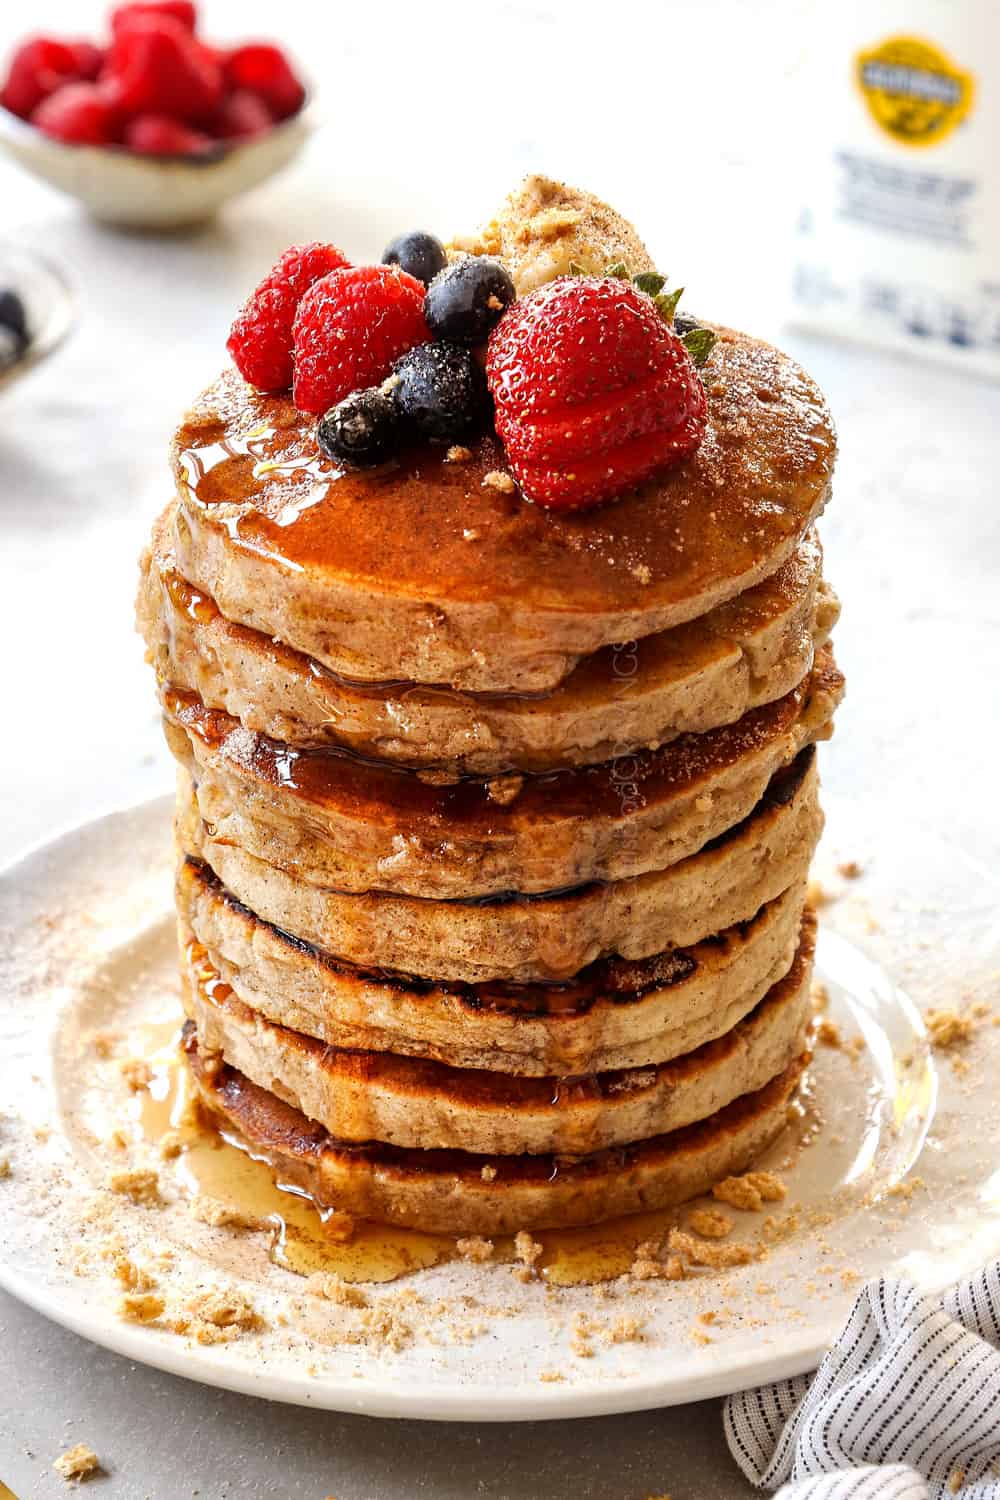
I like to serve the fluffy stacks with a dusting of cinnamon and sugar, fresh berries, maple syrup and a dollop of whipped cream but there are countless options for topping your cereal pancakes. Here are just a few:
- Fresh fruit: top the pancakes with fresh fruit such as blueberries, strawberries, raspberries, bananas, mangos and/or pineapple.
- Maple syrup: pure maple syrup is always a win and particularly tasty with the cinnamon profile of these pancakes.
- Blueberry Sauce: is sweet and tangy blueberry heaven in every bite. It’s my favorite topping for pancakes, French toast and cheesecake. Best of all, it comes together in less than 10 minutes on the stove with just a few ingredients.
- Strawberry syrup: is also fantastic. You can also make this recipe with fresh raspberries as well.
- Store bought berry syrups: purchase store-bought berry syrups for an easy, tasty shortcut.
- Jams: strawberry, blueberry, blackberry, or raspberry jams are delicious with these cereal pancakes.
- Powdered sugar: fresh fruit pairs particularly well with a dusting of powdered sugar.
- Lemon curd: sweet tangy lemon curd and berries for sweeter tanginess. You can purchase store-bought lemon curd or make your own like the recipe in my Lemon Blueberry Cake.
- Whipped cream: lightly sweetened whipped cream with berries for a lighter spin.
- Ricotta: ricotta, vanilla Greek yogurt or even cottage cheese with a drizzle of maple syrup or a dusting of powdered sugar along with fresh berries.

pancake RECIPE VARIATIONS
This cereal pancake recipe can be used as a springboard for many variations. Here are a few to try:
- Use a different cereal: swap in your favorite cereal and omit the cinnamon.
- Add berries: fold in 1 to 1 ½ cups blueberries or raspberries into the pancake batter or place berries directly onto the pancakes once ladled on the griddle.
- Add chocolate: stir ¼ cup unsweetened cocoa powder into the dry ingredients and increase the sugar to ⅓ cup.
- Add chocolate chips: dot the tops of the pancake batter with chocolate chips immediately after you pour the batter into the skillet.
- Add nuts: fold in your favorite nuts such as almonds, pecans or pistachios.
- Add jam: swirl 2-3 tablespoons berry jam directly into the batter for pockets of berry flavor.

HOW DO I KEEP PANCAKES WARM?
Pancakes are best served warm but they finish cooking all at different times. In order to serve them together, preheat your oven to the lowest setting and place a baking sheet inside. As you cook your pancakes, place them on the baking sheet without touching (stacked pancakes become soggy) until your batter is gone. Now it doesn’t matter who gets the “first” pancake because they are equally warm and cozy.
CAN I MAKE PANCAKE BATTER AHEAD OF TIME?
Unlike crepe batter that doesn’t need to rise, pancake batter should not be made ahead of time because the leavening agent, baking powder, starts to do its job the second it gets mixed in with the wet ingredients. The longer the batter sits, the less potent it becomes which means less fluffy pancakes.
That being said, you can get a jump start on the batter by whisking your dry ingredients and wet ingredients separately and storing them in separate airtight containers (refrigerate the wet). Combine in the morning when you’re ready to make the pancakes.

HOW DO I STORE PANCAKES?
1. Let pancakes cool completely.
2. Line them in an airtight container or plate. If stacking pancakes, place parchment paper in between layers.
3. Tightly cover with a lid or foil and refrigerate for up to three days.
HOW TO REHEAT PANCAKES IN THE MICROWAVE
1. Wrap pancake(s) in a damp paper towel.
2. Microwave one pancake on high for 15 to 20 seconds, 2-4 pancakes for 45 seconds and 5 pancakes for 60 seconds.
3. Eat pancakes immediately so they don’t become tough or and chewy.
HOW TO REHEAT PANCAKES IN THE OVEN
Reheating pancakes in the oven is effective for large batches and provides the best texture.
1. Preheat oven to 350 degrees F.
2. Spread the pancakes on an ungreased baking sheet in an even layer so they aren’t touching.
3. Cover the pancakes with a damp paper towel, followed by a tight layer of foil.
4. Bake for 5-10 minutes. Pancakes are done when they are thoroughly warmed through.
CAN YOU FREEZE cereal PANCAKES?
Yes! These cereal pancakes freeze very well. You can make a big batch, eat what you want, then freeze the leftovers for on-the-go breakfasts or fun dinners or an instant snack so no one ever feels hangry.
HOW TO FREEZE PANCAKES:
1. Line cooked pancakes on a baking sheet so they aren’t touching.
2. Once the pancakes are completely cool, place the baking sheet in the freezer for 30-60 minutes or until pancakes are solid.
3. Place pancakes in a freezer bag. Alternatively, you can skip steps 1 and 2 and place parchment paper in between each pancake before placing in a freezer bag or store each pancake in its own resealable bag.
4. Squeeze out as much excess air as possible to prevent freezer burn.
5. Freeze for up to 2 months.
HOW TO REHEAT FROZEN PANCAKES
You don’t need to thaw your cereal pancakes before reheating. They will taste just as good, either microwaved or baked from frozen.
Microwave: Place up to 5 pancakes on a microwave-safe plate. Microwave for 20 seconds per pancake. Repeat as needed until warmed through.
Oven: Preheat oven to 350 degrees F. Line pancakes in a single layer on a baking sheet. Cover tightly with foil. Bake for 10 minutes or until warmed through.
LOOKING FOR MORE BREAKFAST RECIPES?
- Breakfast Enchiladas
- Chocolate Waffles
- Tater Tot Breakfast Casserole
- Creme Brûlée French Toast
- Carrot Cake Crepes
- Breakfast Burritos
- Banana Cream Cheese Coffee Cake


Cereal Pancakes
Save This Recipe To Your Recipe Box
You can now create an account on our site and save your favorite recipes all in one place!
Ingredients
- 2 cups lightly crushed cinnamon crunch cereal (measure whole, before crushing)
- 1 3/4 cups all-purpose flour
- 1/4 cup granulated sugar
- 1 TBS + 1 tsp baking powder
- 1 teaspoon ground cinnamon
- 1/2 teaspoon salt
- 1 1/2 cups Real California Milk
- 1/4 cup Real California unsalted butter
- 1 large egg
- 2 teaspoons vanilla extract
Cinnamon Sugar Topping
- 2 tablespoons granulated sugar
- ½ teaspoon cinnamon
Instructions
THE BATTER
- Melt the butter in a microwave safe dish; set aside to slightly cool.
- Whisk the crushed cereal, flour, sugar, baking powder, cinnamon and salt together in a large mixing bowl.
- Warm the milk in a medium microwave-safe mixing bowl in the microwave until lukewarm, not hot (about 60 seconds). (Use a smaller bowl or warm on the stove and transfer to a large mixing bowl if needed). Lukewarm milk prevents lumps when the milk and butter are combined.
- Whisk the milk, melted butter, egg and vanilla together.
- Make a well in the center of the flour mixture. Pour the milk mixture into the well and gently whisk just until no clumps of flour remain, the batter will be thick and lumpy (DON'T over-mix or you won't have soft, fluffy pancakes). Allow the batter to rest for 5-10 minutes.
TO COOK PANCAKES
- Heat a large nonstick skillet (or griddle) over medium heat (medium-low if your stove runs hot).
- Add the batter ¼ cup at a time, (it will be thick) and gently spread the batter into a 4-inch circle using your spatula or the back of the measuring cup.
- When edges are set and a few bubbles pop on surfaces of the pancake, flip over, about 2 minutes. Cook the other side for 1 to 2 additional minutes, until lightly browned and cooked in the middle.
TO SERVE
- Optional: Brush the tops of the warm pancakes with softened butter and sprinkle with cinnamon and sugar topping.
- Serve warm with your choice of berries, cream, syrup and/or crushed cereal.
Notes
- Use a different cereal: swap in your favorite cereal and omit the cinnamon.
- Adjust heat if needed: your pancakes should be golden brown on the bottom after you flip them. If they are darker than you like, then your pan is too hot. Reduce the heat, remove the pan, let it cool some, then try again.
- Flip with the correct spatula: when flipping pancakes, you need a thin spatula that will adeptly slide under the delicate pancakes without getting caught on the edges. It also needs to be long enough to cradle the whole pancake. For this purpose, I love my fish spatula. It is made for flipping delicate fish and its long, thin, delicate shape is also perfect for flipping pancakes!
- Don’t burn the butter: to avoid burnt tasting pancakes, wipe the skillet clean and brush with fresh butter between batches. You can also omit the butter if you have a high-quality nonstick skillet.
- Make ahead: whisk the dry ingredients together and wet ingredients together separately and store them in separate airtight containers (refrigerate the wet) the day before. Combine them in the morning when you’re ready to make the pancakes.
How to Store and Reheat
- Storage: let the pancakes cool completely before lining them in a single layer or stack them with parchment in between each layer. Tightly cover and refrigerate for up to three days.
- To reheat: microwave one pancake on high for 15 to 20 seconds, 2-4 pancakes for 45 seconds and 5 pancakes for 60 seconds. To reheat in the oven, spread the pancakes on an ungreased baking sheet in an even layer so they aren’t touching. Cover tightly with foil and bake for 5-10 at 350 degrees until warmed through.
- To freeze: Line cooked and cooled pancakes on a baking sheet so they aren’t touching. Place the baking sheet in the freezer for 30-60 minutes or until pancakes are solid. Place pancakes in a freezer bag. Alternatively, you can place parchment paper in between each pancake before placing in a freezer bag or store each pancake in its own resealable bag. Squeeze out as much excess air as possible to prevent freezer burn. Freeze for up to 2 months.
Want To Make This Recipe?

Did You Make This Recipe?
Tag @CarlsbadCravings and Use #CarlsbadCravngs
Leave a Review, I Always Love Hearing From You!


Stephanie says
Oh my goodness, what a fun recipe, my kids will love these!
Jen says
Thank you Stephanie, I’m excited for you to try them!
[email protected] says
These turned out fun, the kids loved them. They came out so fluffy!
Jen says
I’m so pleased they were a hit with the kiddos! I love how fluffy they are too!