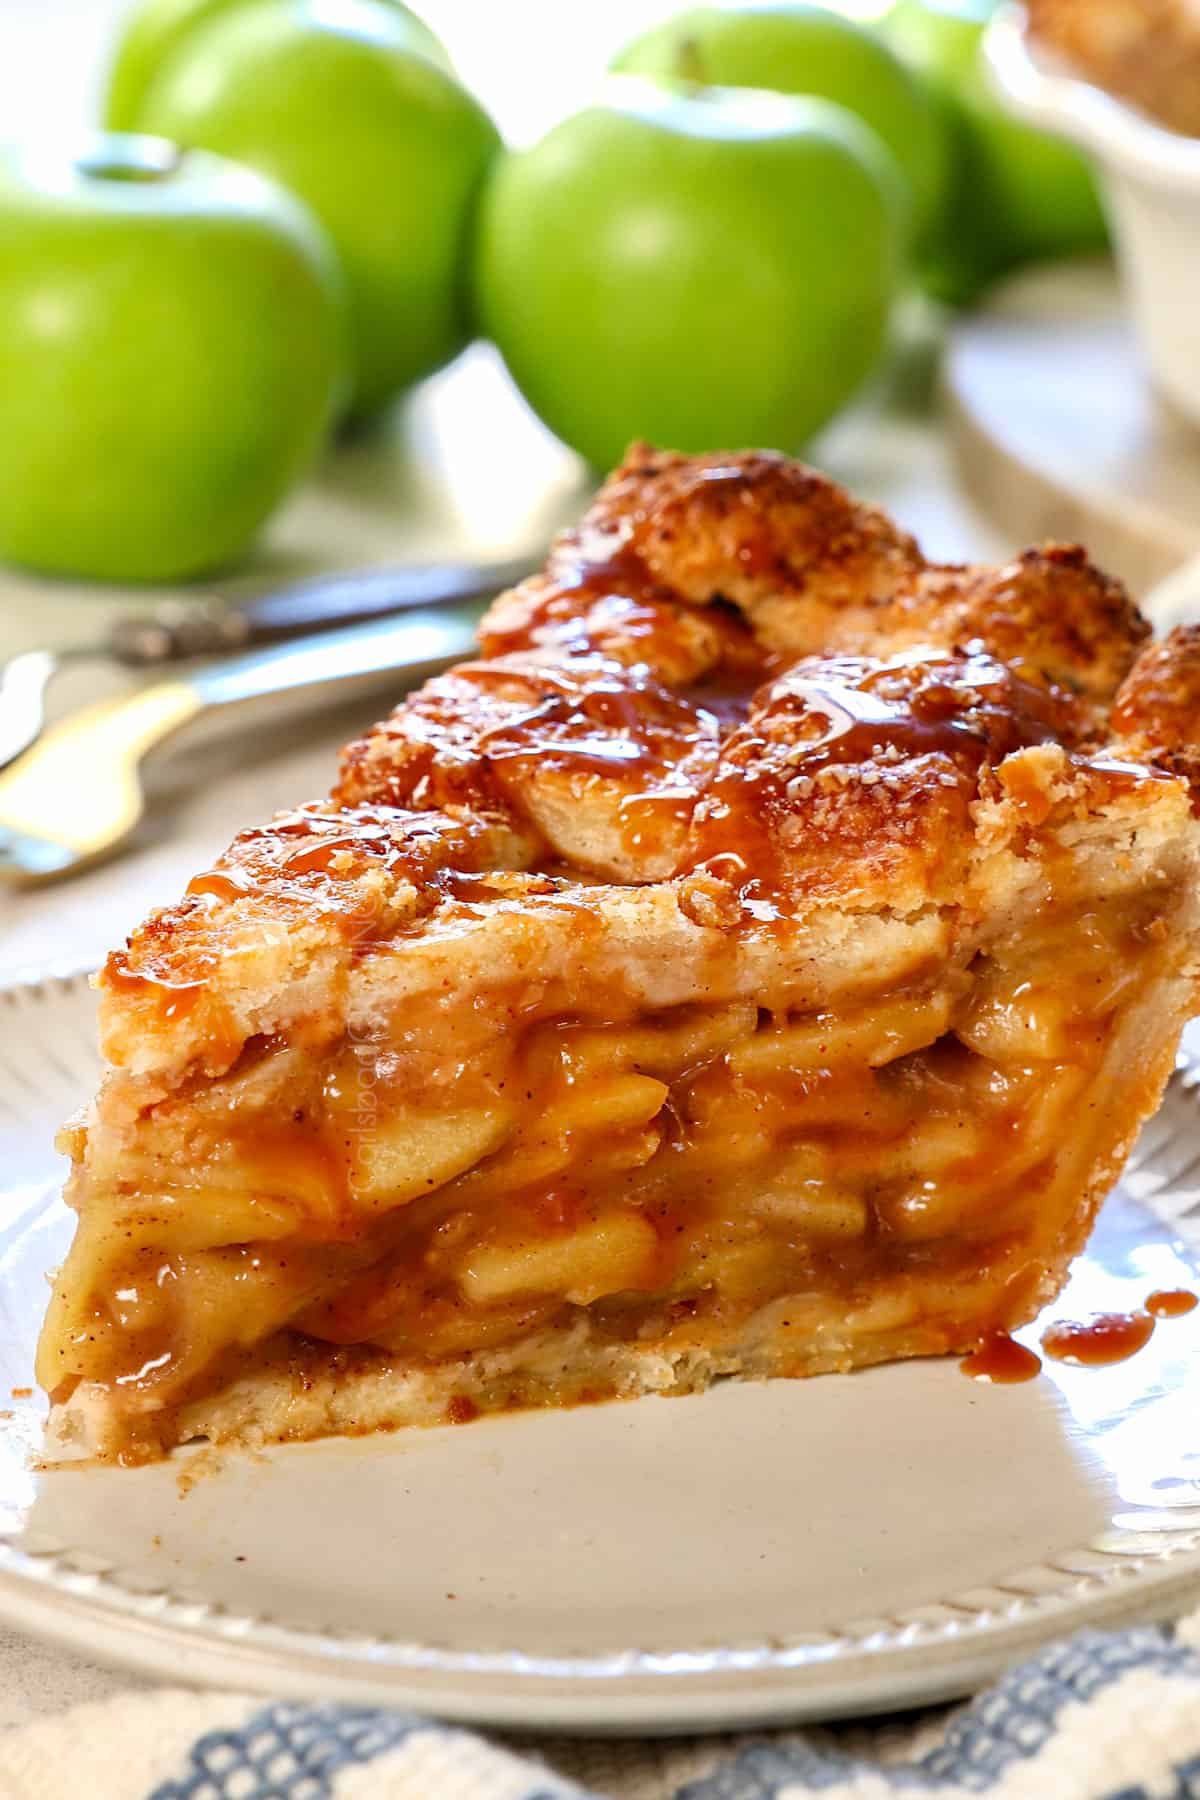
This is the BEST 100% foolproof Apple Pie recipe, so bring it to Thanksgiving with confidence! In this recipe, I’ll teach you how to make the best apple pie from scratch with step-by-step photos and helpful tips and tricks. By following my technique, you and your guests will sink your teeth into a mountain of perfectly tender, flavorful apples enveloped in a caramel-like sauce that is never runny, the right balance of sweet and tart, and a golden, never-soggy crust.
Watch How to Make Apple Pie
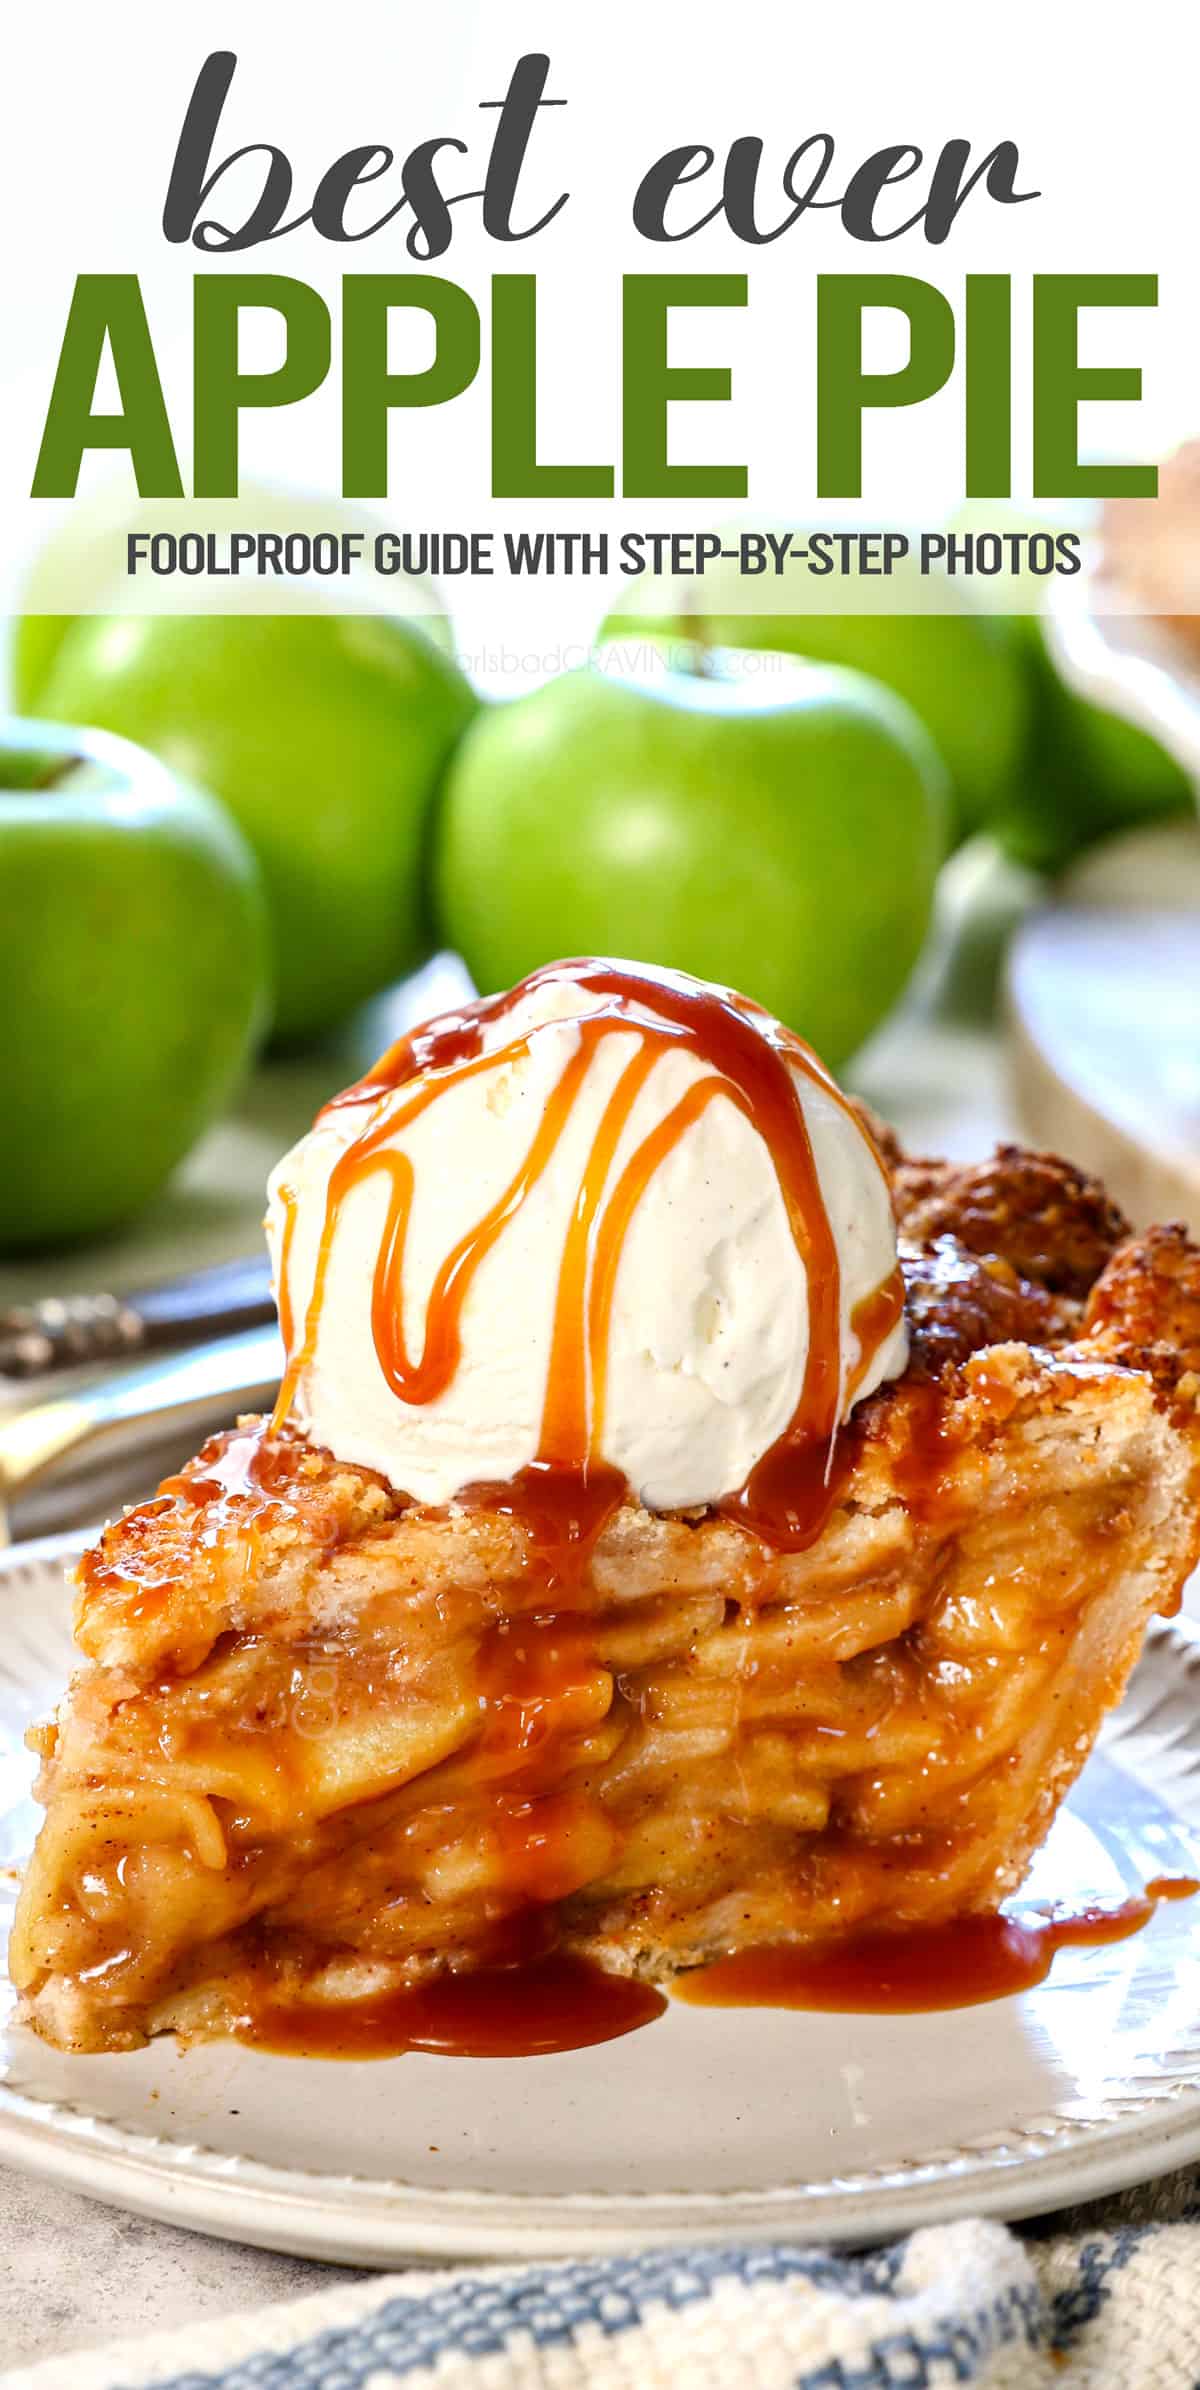

Everyone LoveS an Apple Pie Recipe From Scratch
….When it’s done right! I gathered everything I learned from my Dutch apple pie to make the best traditional apple pie recipe. In my pie research, I experienced everything that can go wrong, even when following supposedly “successful” online recipes: runny filling, mushy apples, undercooked apples, too tart of a filling, too sweet of a filling, burnt topping, soggy crust, etc. Any of these problems results in a disappointing apple pie, frustrating when you’re ready to bring dessert to a special occasion like Thanksgiving.
With this homemade Apple Pie recipe, you can feel confident your pie will be a show-stopping success because:
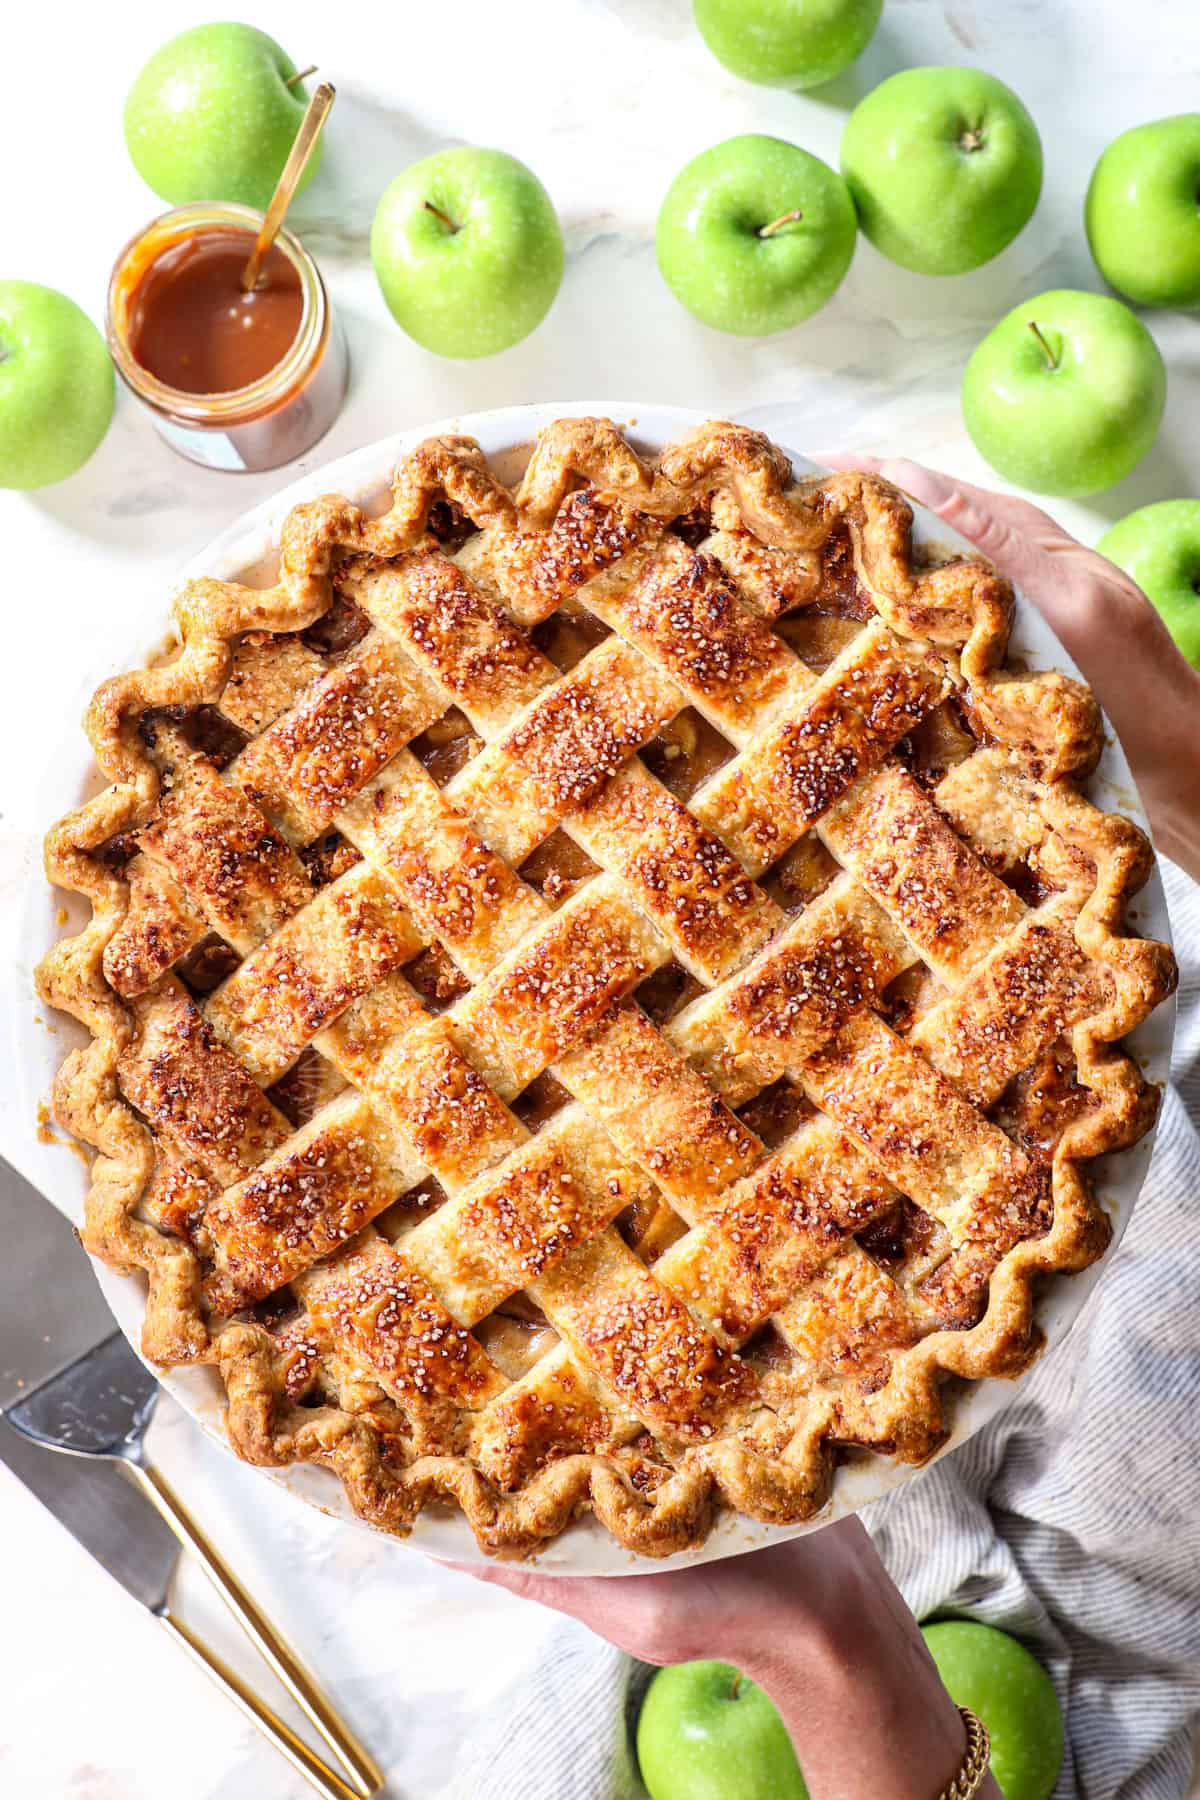

Best Apple Pie Recipe From Scratch
I’ve tackled each of the possible pitfalls of homemade apple pie head on and created these techniques for success:

The Key to Perfectly Cooked Apples: Cook your apple pie filling
After several runny apple pie fillings, I turned to The Book on Pie by Erin Jeanne McDowell and Cook’s Illustrated for answers. These experts both suggest cooking the apple pie filling first. I can attest that this method is a total game changer and will deliver the perfect filling every time. I know it sounds like a hassle, but the process takes just an extra 20 minutes on the stove plus cooling. Plus, you didn’t decide to make apple pie because you needed a quick dessert, did you? 😉
Why cook the filling? Raw apples are unpredictable. You usually end up with some crunchy apples and/or some soggy apples because apples are living things, and you can never predict just how juicy they are. This means the same amount of thickener (cornstarch/flour) that worked to thicken the filling one time might not work the next time, and you’ll end up with a lot of extra liquid pooling in the pie plate the second you remove the first slice. That’s embarrassing. All that extra moisture also makes for diluted flavor.
How does it work? Cooking the apple pie filling on the stove solves all of these problems. You cook the apples to your exact ideal tenderness on the stove because they will not continue to cook in the oven.
Cooks Illustrated explains that as you cook the apples slowly, the pectin in them is converted to a heat-stable form, which prevents them from continuing to cook in the oven—so no, they will not become mushy when baked!
Whatever tenderness the apple pie filling reaches on the stove is how it will remain in the fully cooked pie. This means YOU 100% control the texture of the apples! Like more tender apples? Cook longer. Like firmer apples? Cook shorter. Magic!
As you cook the apples, the juices are released and cooked down. Win, win, win!
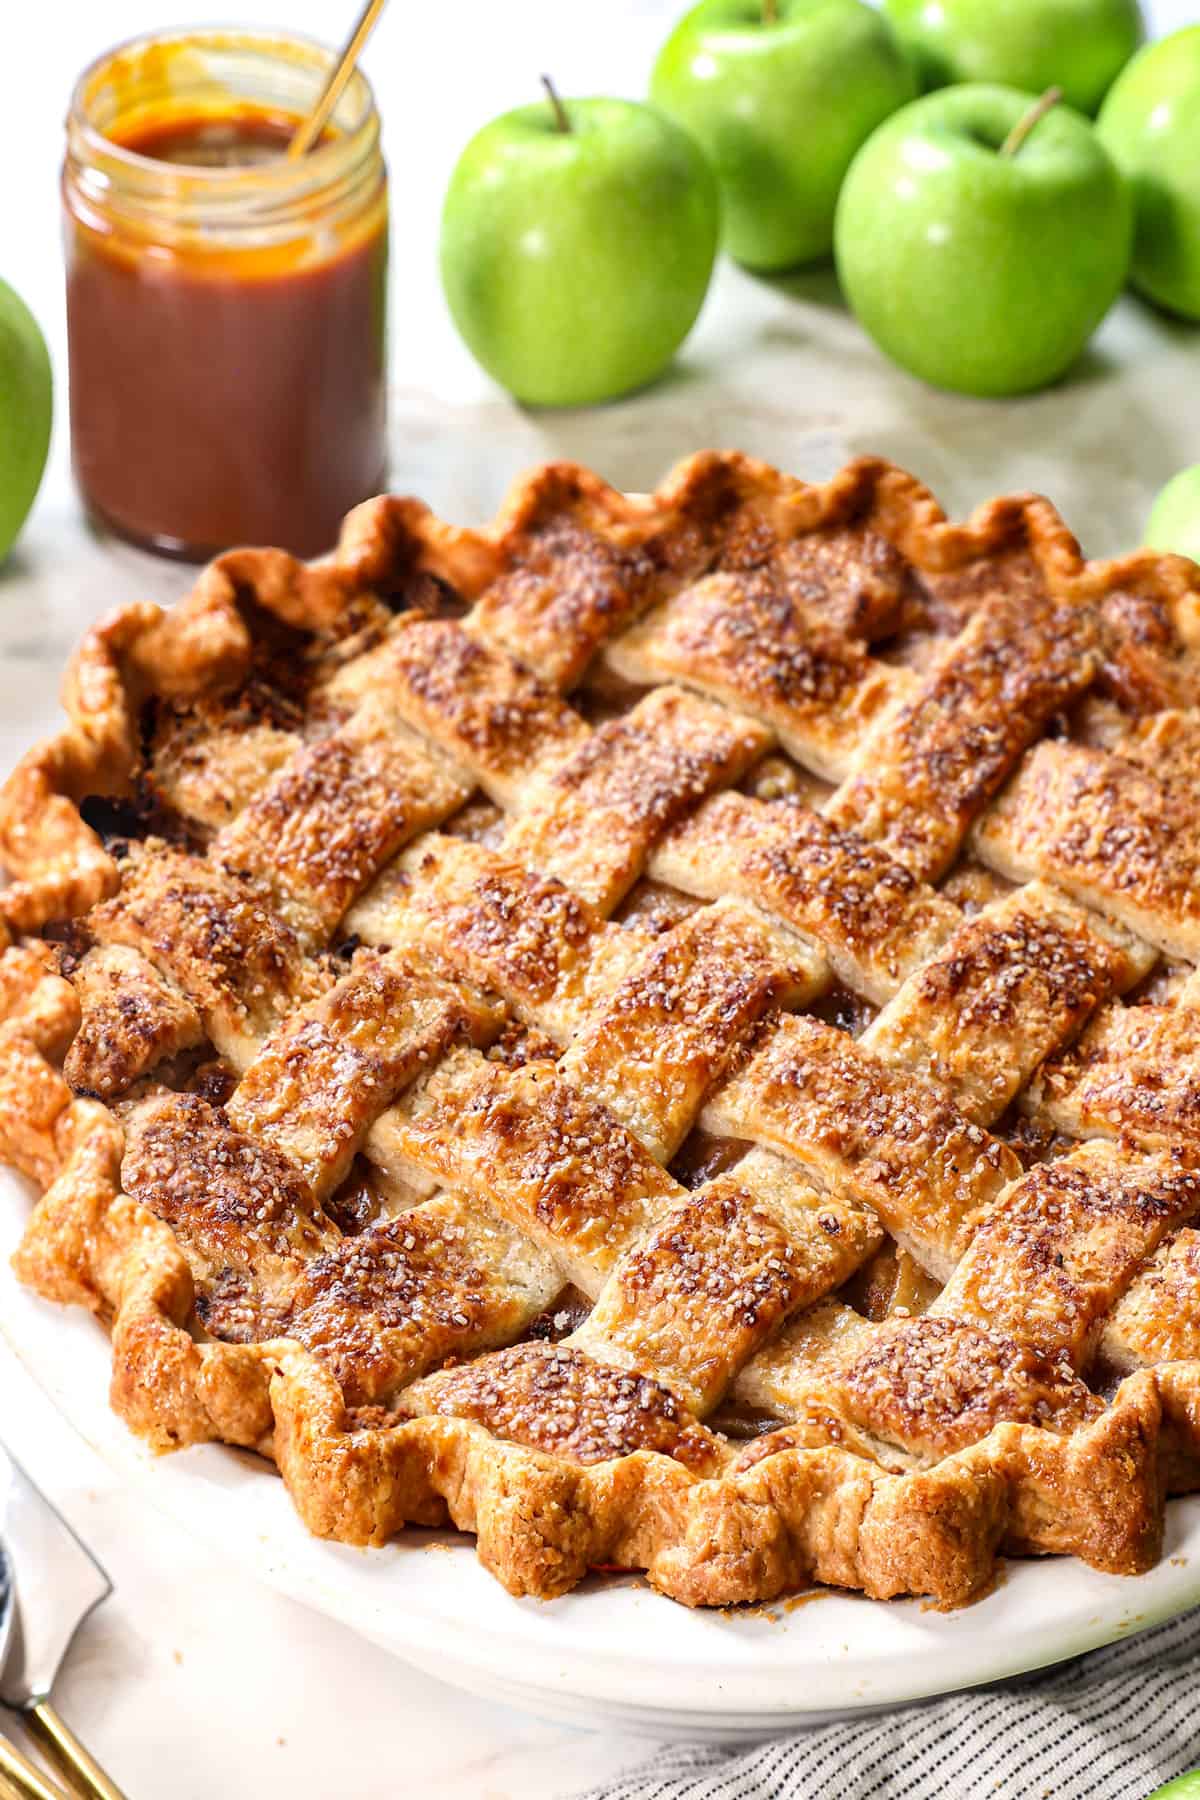

Best Texture: Use a LOT of apples
By cooking the apple pie filling on the stove, the apples cook down/shrink before baking instead of while baking. This allows you to use over 1 ½ times more apples than traditional recipes. Most apple pie recipes call for 3 pounds of apples, but this recipe calls for 5 pounds. This allows you to create a mountain of apples that doesn’t shrink when the pie bakes and falls in the middle. More apples also means more flavor and more texture; more layers of tender, juicy brown sugar apples in every bite.

Best Balance: Use the right mix of apples
Using a mix of tart and sweet apples creates a perfectly balanced apple pie that is not too sweet or too tart. I used Granny Smith (very tart) and Honey Crisp (sweet-tart) apples. Slicing all these apples thinly creates even more layers of texture and more surface area for the caramel-y mixture to cling to.

BEst Flavor: Use Spices, Sugars, and More!
The filling should be so tantalizing you want to shovel it into your mouth without the crust. Two types of sugar are used to accomplish this: brown sugar for its molasses notes and granulated sugar for its pure sweetness. The filling is seasoned with plenty of ground cinnamon, ginger, nutmeg, allspice, and a hint of salt. Lastly, a couple of tablespoons of lemon juice breaks through the sweetness and amplifies the flavor of the apples. The mixture will envelop the increasingly juicy, tender apples to create a sweet, creamy caramel-y sauce.

Best Golden, Flaky Crust: Use My REcipe!
My homemade flaky pie crust is made with butter and shortening to create the best flavor and texture: mega buttery, mega tender, mega flaky deliciousness. I use it in all of my pie recipes. The crust can be made ahead and stashed in the refrigerator or freezer. Additionally, to create a foolproof crust that is never soggy, brush it with an egg wash, start baking the pie at high heat, and bake it on the lowest rack in the oven.
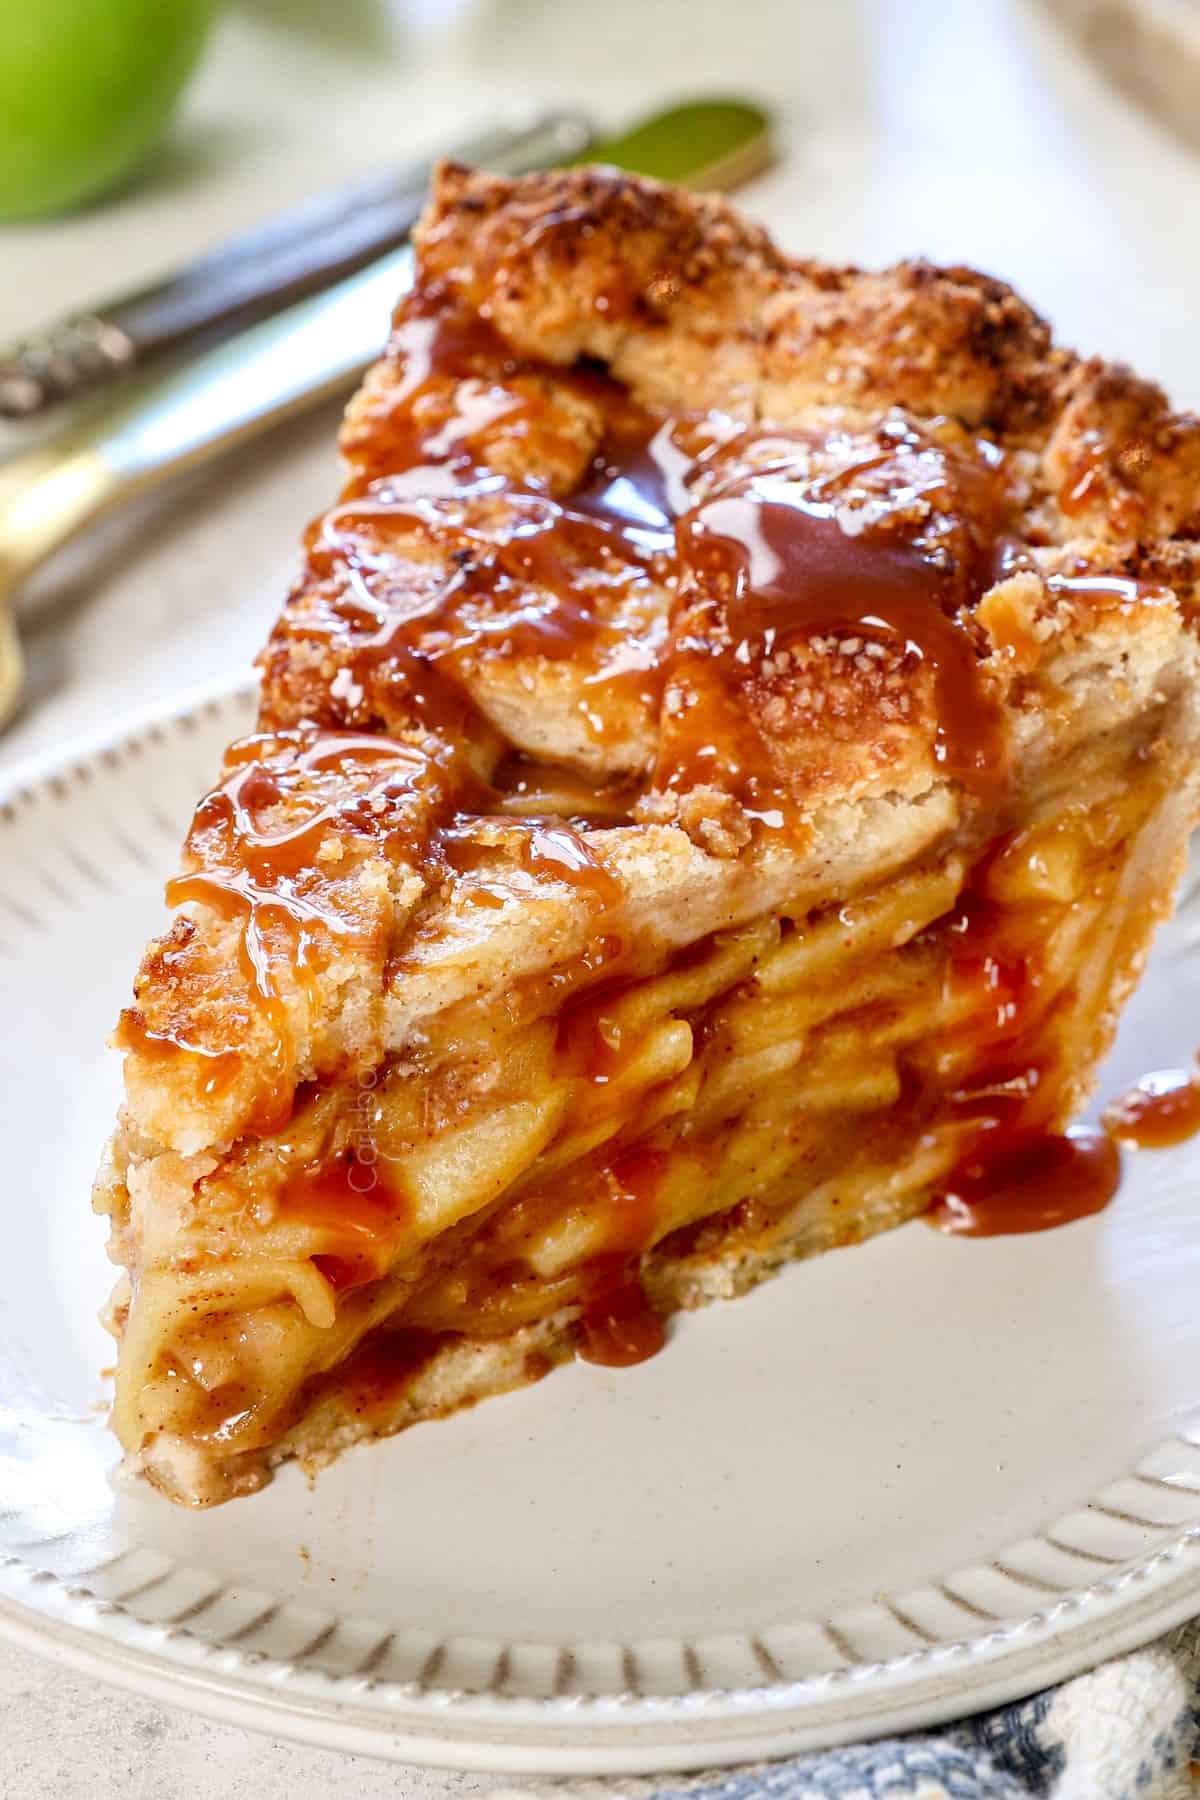

Apple Pie Ingredients
Apple pie is made with minimal ingredients so it’s important that you choose the correct apples. Let’s take a closer look at what you’ll need (measurements in the printable recipe card at the bottom of the post):
the best apples for apple pie
For the perfect apple pie, choose a mix of firm, tart, and sweet apples to create a well-balanced filling. Popular choices include Granny Smith for its tartness and firm texture and Honeycrisp for its natural sweetness and juiciness. Mixing these varieties gives the pie a more complex flavor and texture.
You may substitute the Granny Smith apples or Honeycrisps with apples of similar sweetness/tartness. Still, always try and use at least two varieties of apples for the best flavor.

What are the worst apples for apple pie?
While many apples will work in apple pie, some will NOT. Avoid these: McIntosh, Gala, Fuji or Red Delicious. These apples are a little too soft or just too bland after the long baking time. Golden delicious also can break down too much with the long baking time.
Apple Pie Filling
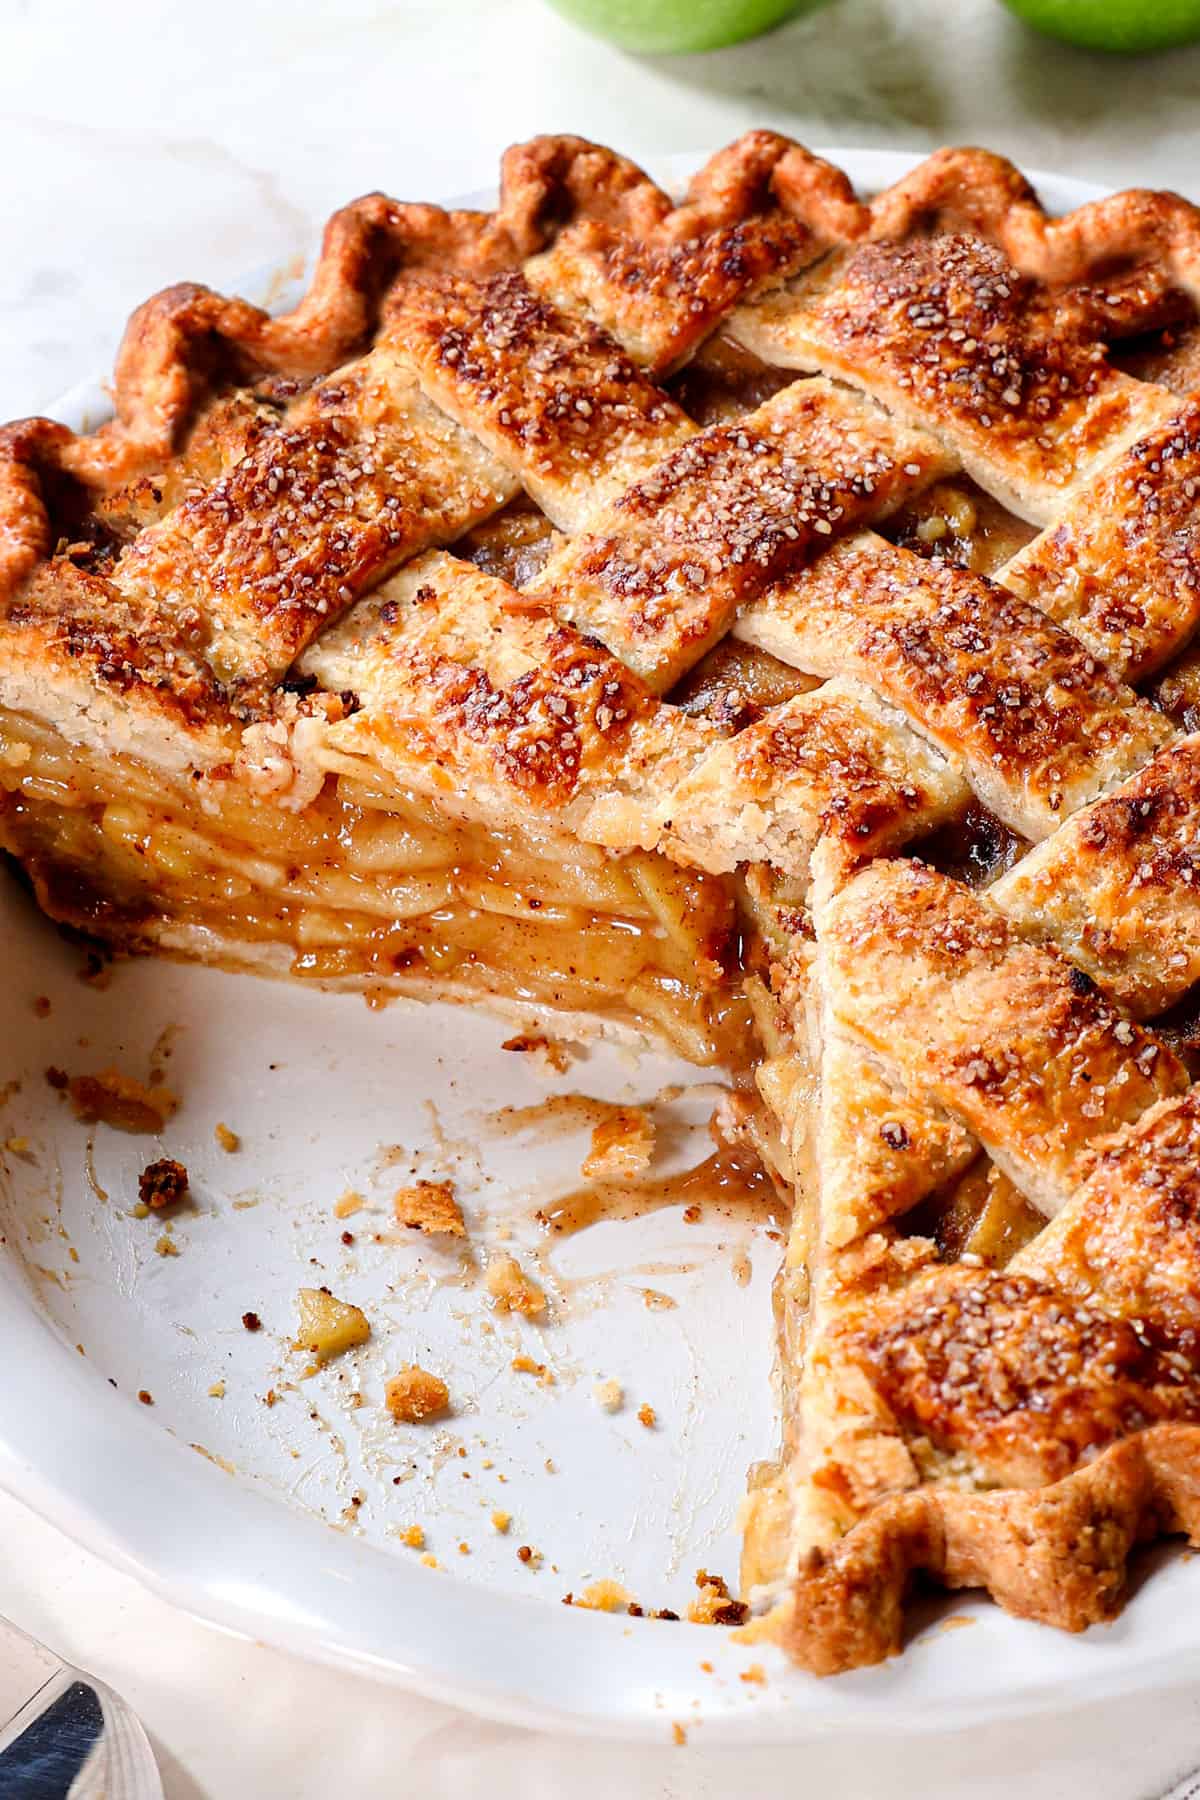

How to Make a Homemade Apple Pie
Let’s take a closer look with step-by-step photos of how to make apple pie from scratch (full recipe in the printable recipe card at the bottom of the post):
how to make Pie Dough
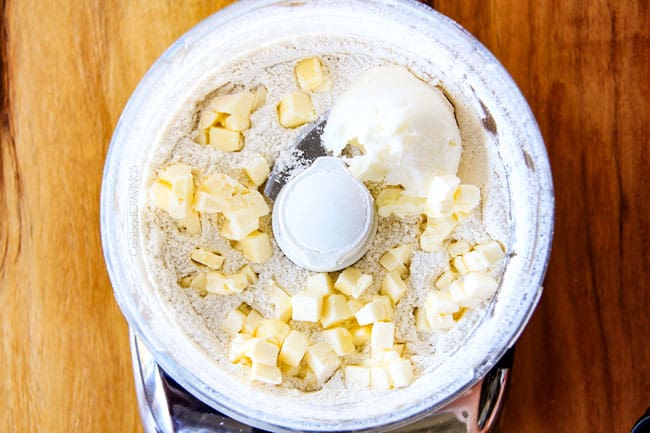
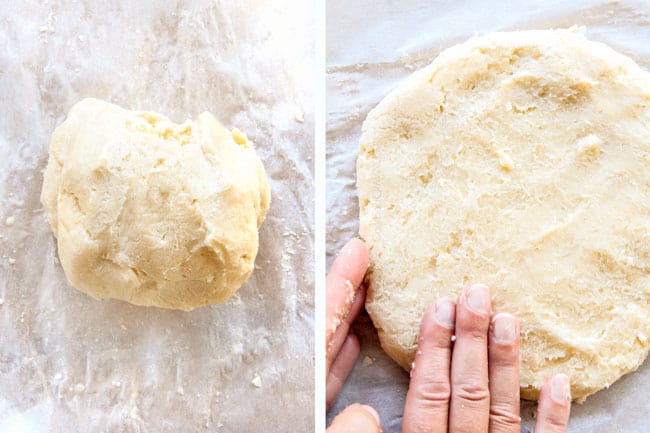
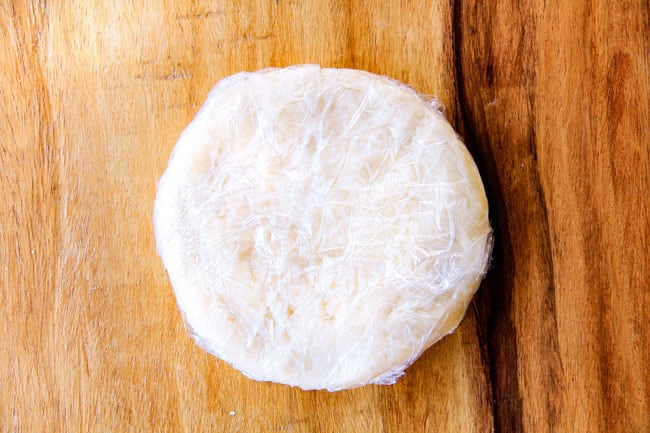
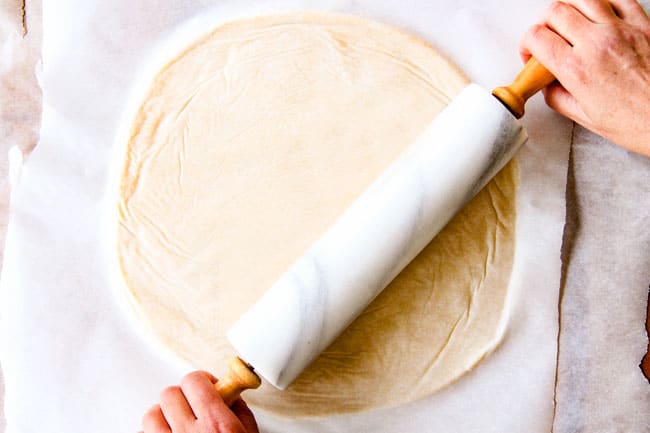
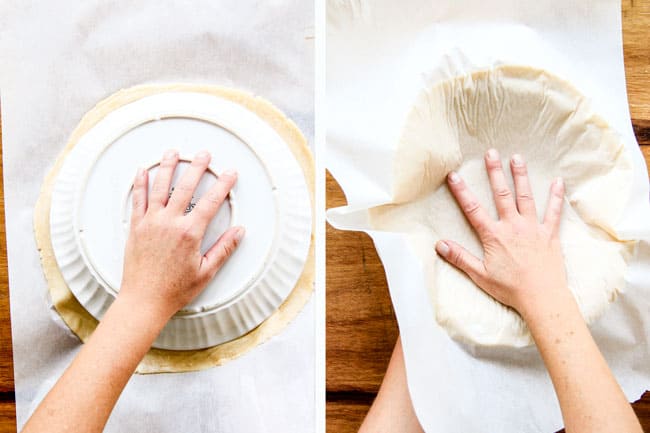
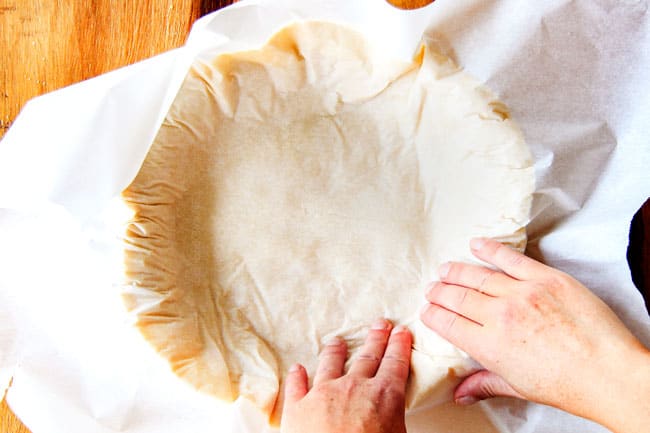
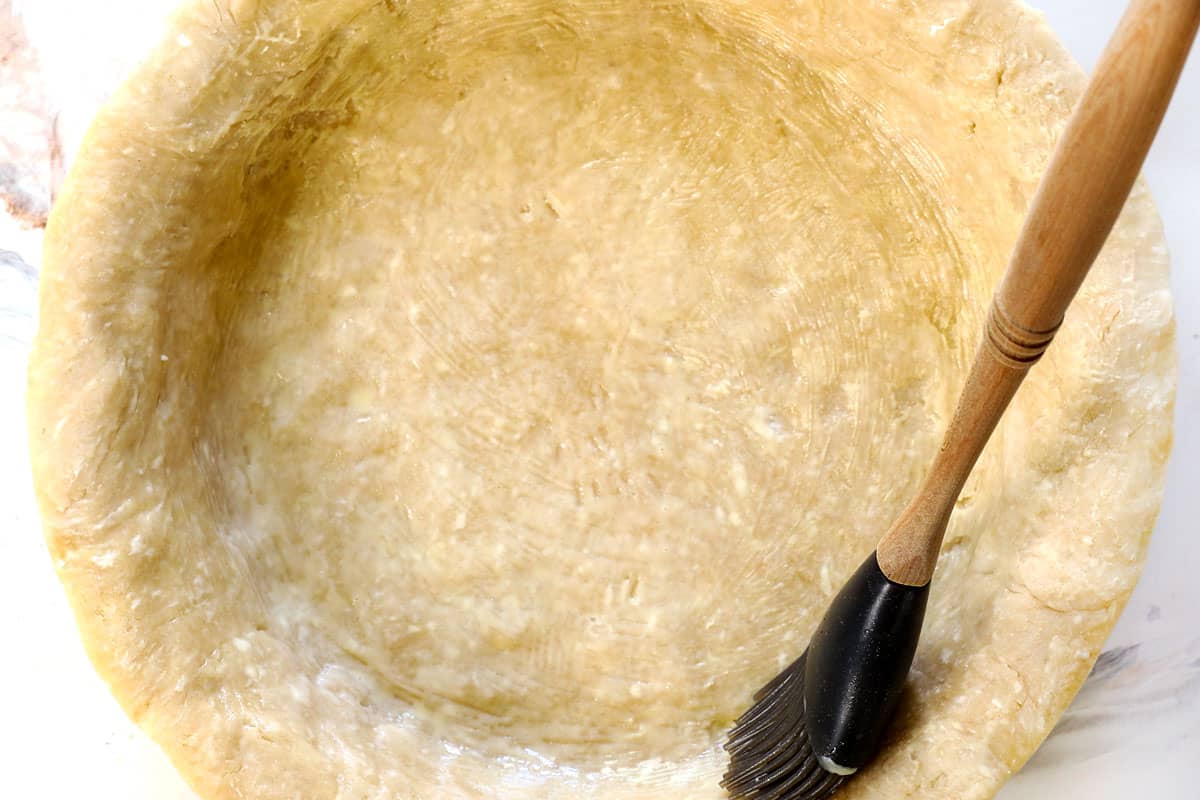
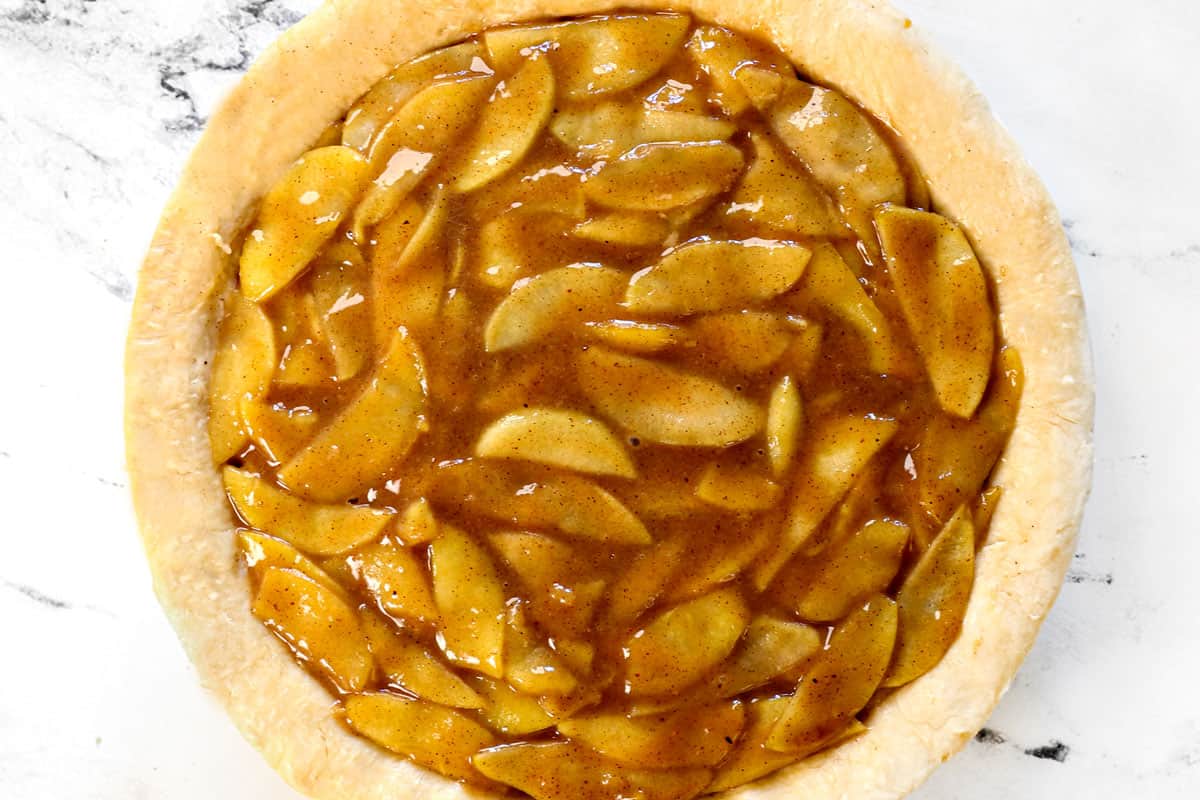
how to make apple pie filling
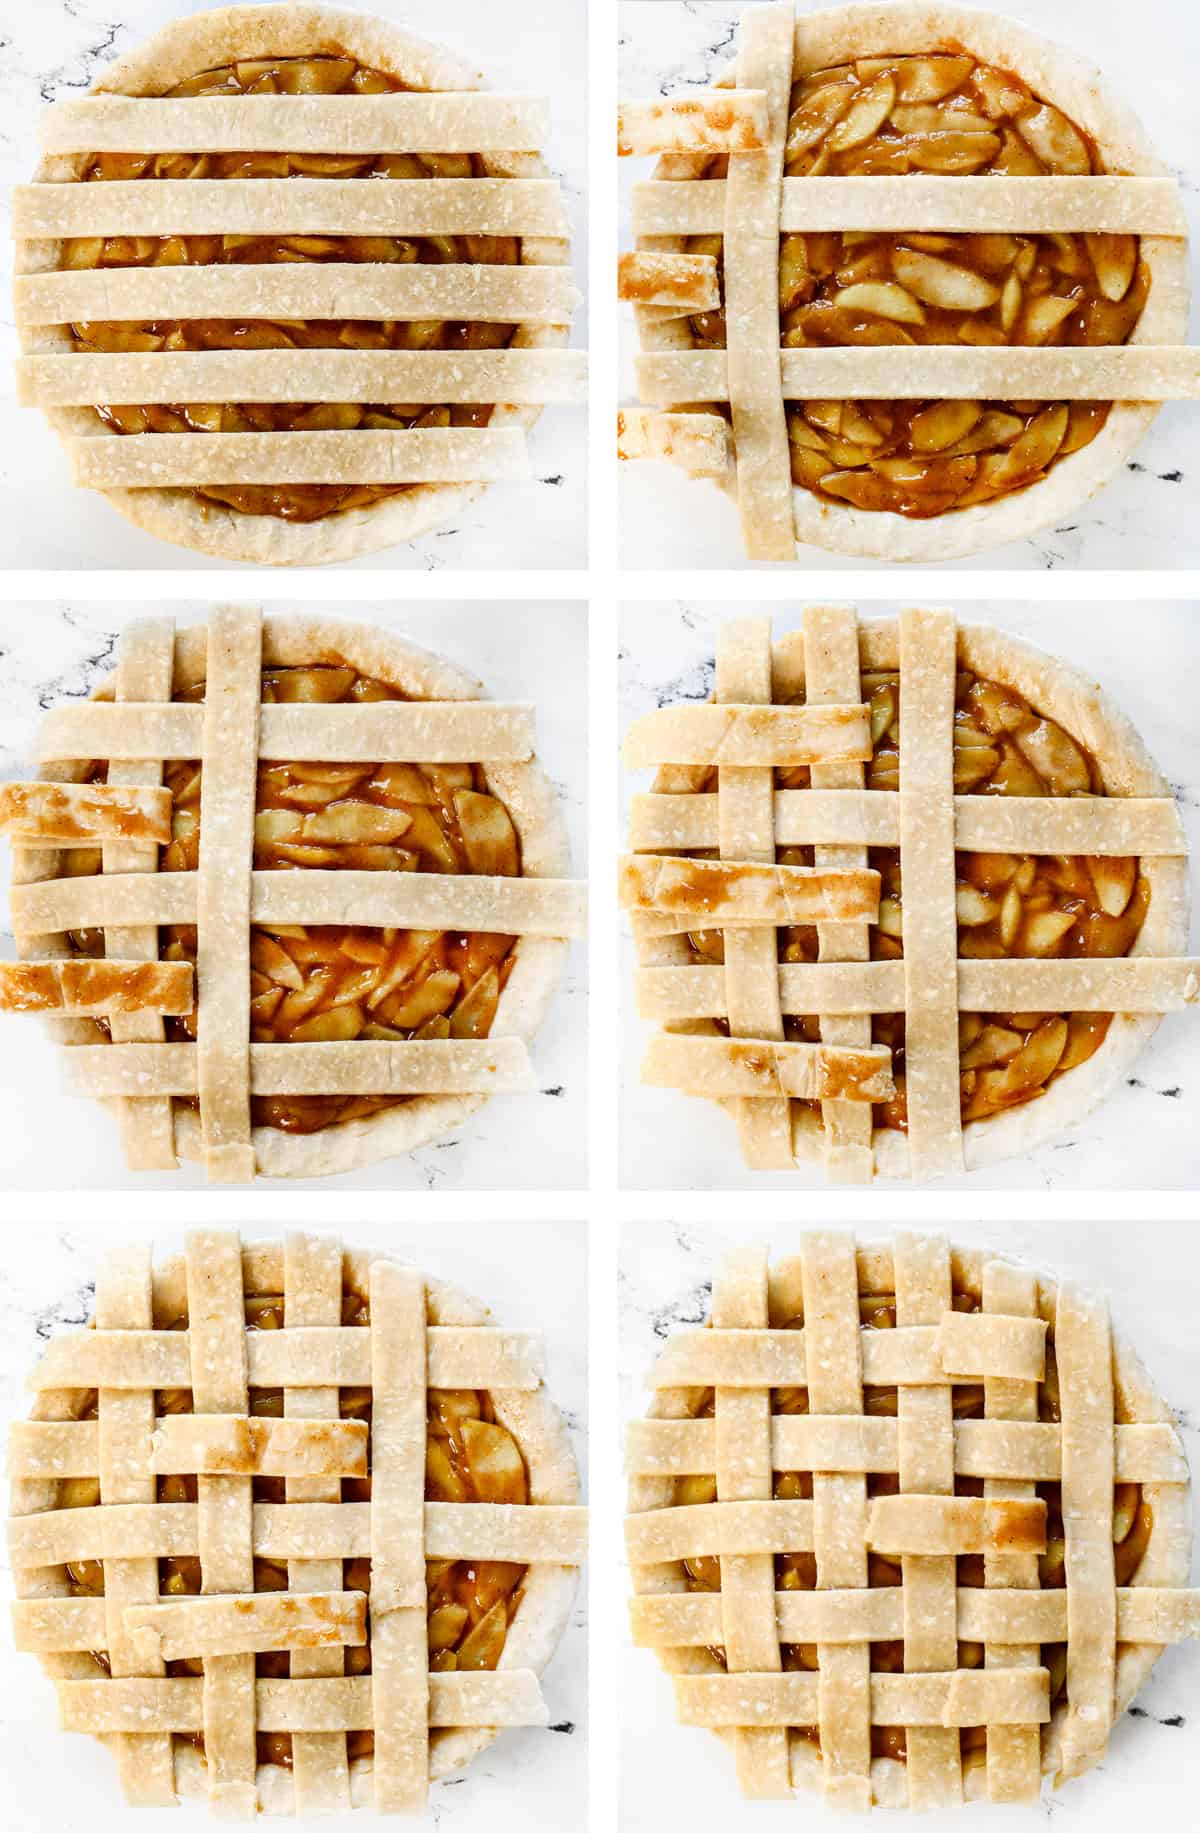
how to make the Lattice Top
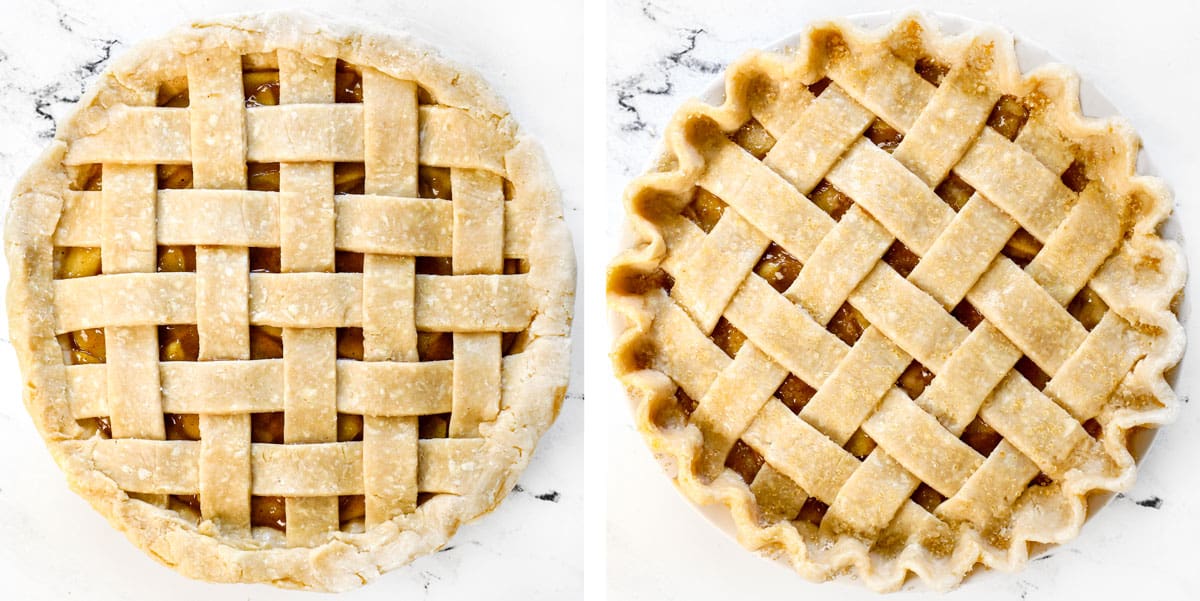

How Long to Bake Apple Pie
Bake at 425 degrees F for 25 minutes. Reduce the heat to 375 degrees F and continue to bake for an additional 35-45 minutes or until the filling is bubbling around the edges (if you don’t wait for it to bubble, your filling will be runny). Cover the edges with a pie shield or the top with foil if it’s browning too quickly.

How do you prevent a soggy bottom crust in apple pie?
1. Cook the Apples First. You will love that the wonderfully flaky, buttery pie crust doesn’t require you to pre-bake it like some recipes. This is typically done so the bottom doesn’t get soggy. However, in this recipe, the juices are reduced and thickened on the stove, preventing the pie’s bottom from becoming soggy. Additionally, the baking time is long enough to bake the crust sufficiently.
2. Use an Egg Wash. Brushing the dough with a simple egg wash before filling insulates the crust against moisture and helps promote a perfectly golden, flaky crust.
3. Begin Baking the Pie at High Heat. Beginning baking at 425 and then decreasing the temperature serves three purposes. 1) the hike in temperature results in a golden lattice topping against the moist filling, 2) it helps brown the crust on the bottom, and 3) it helps thicken the filling so it can begin bubbling/thickening before the crust burns.
4. Bake the Pie on the Lowest Rack. Homemade Apple Pie should be baked on the bottom rack closer to the heat source. This ensures the bottom crust gets golden brown even without pre-baking. You’ll want to preheat the oven with a baking sheet on the lowest rack so it’s hot to receive the pie, much like a pizza stone with homemade pizza crust. The worst mistake you can make with pie crust is baking it in the middle, which makes for an under-baked, soggy, doughy mess.
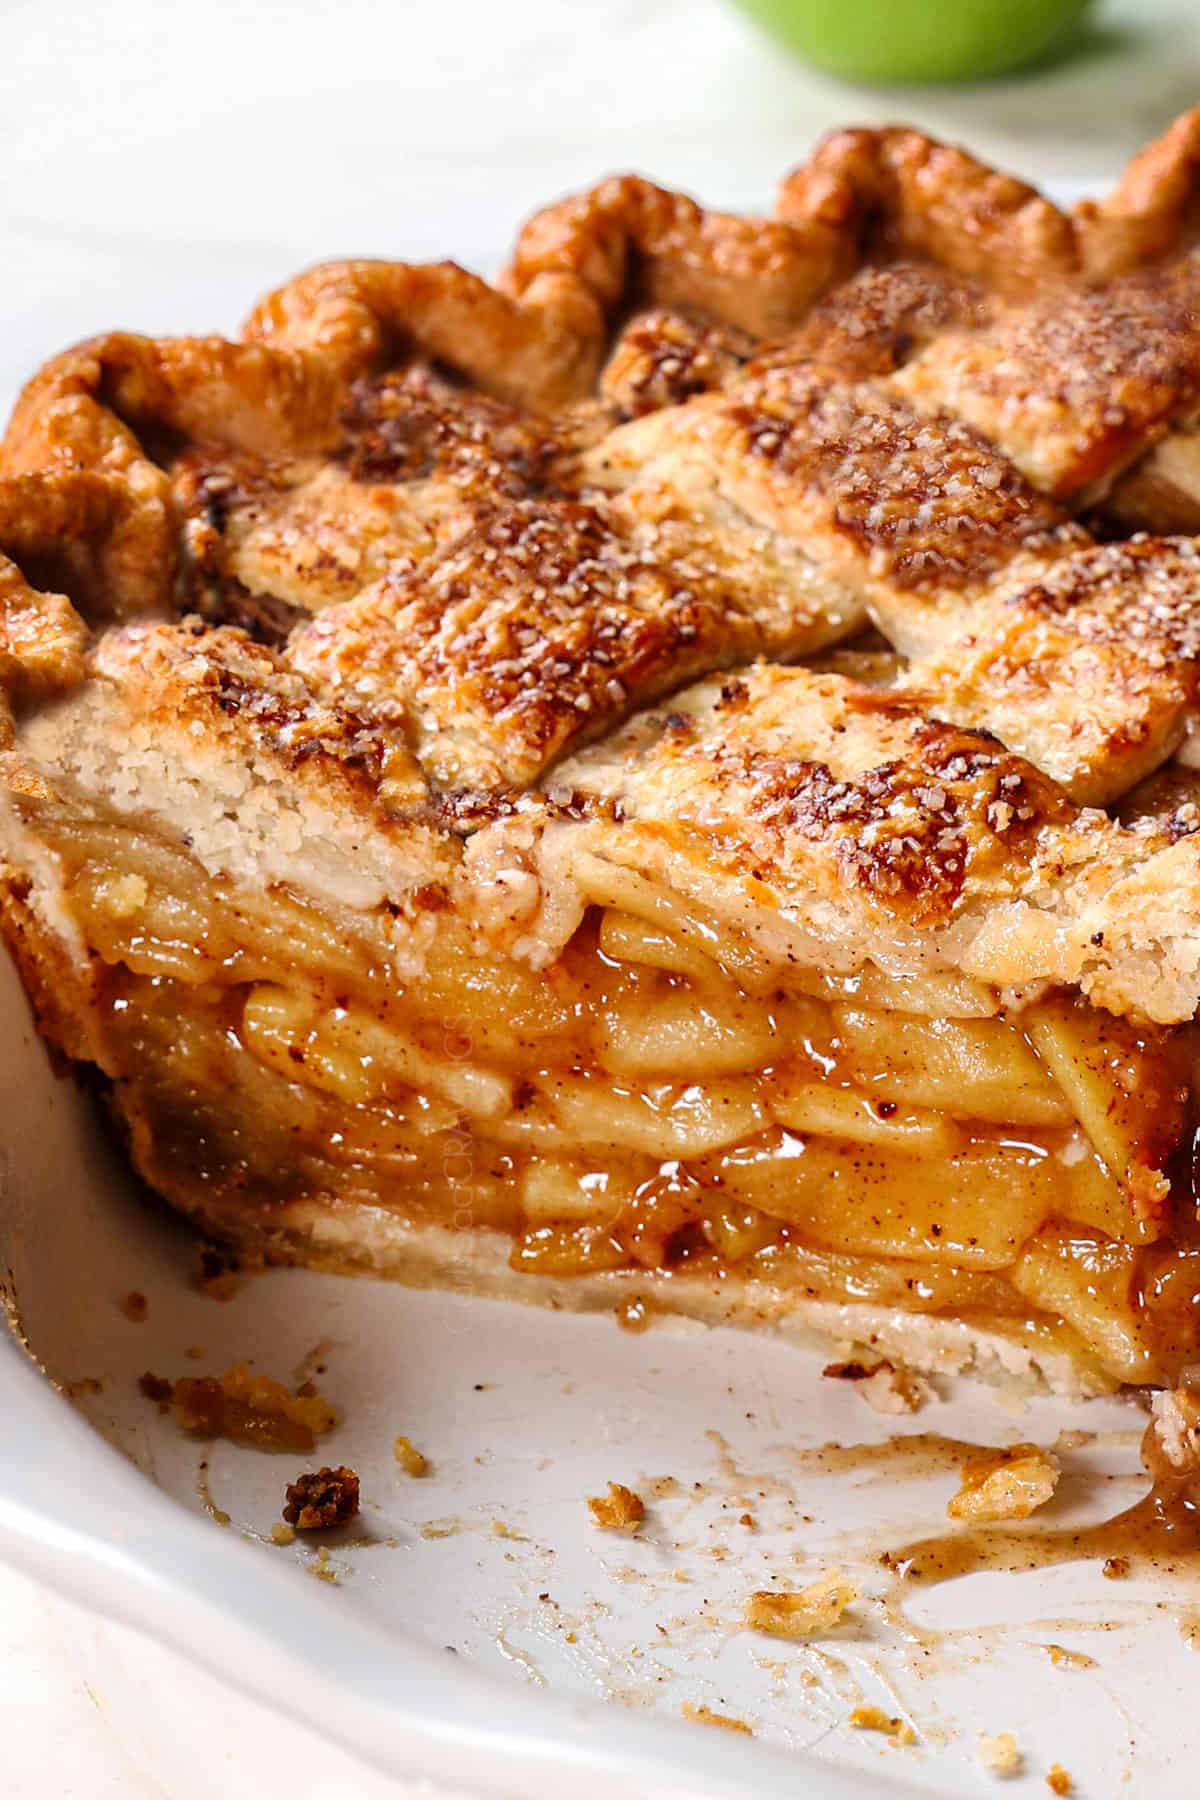

Tips For Making a Lattice Apple Pie

Homemade Apple Pie Variations

Serving Lattice Apple Pie
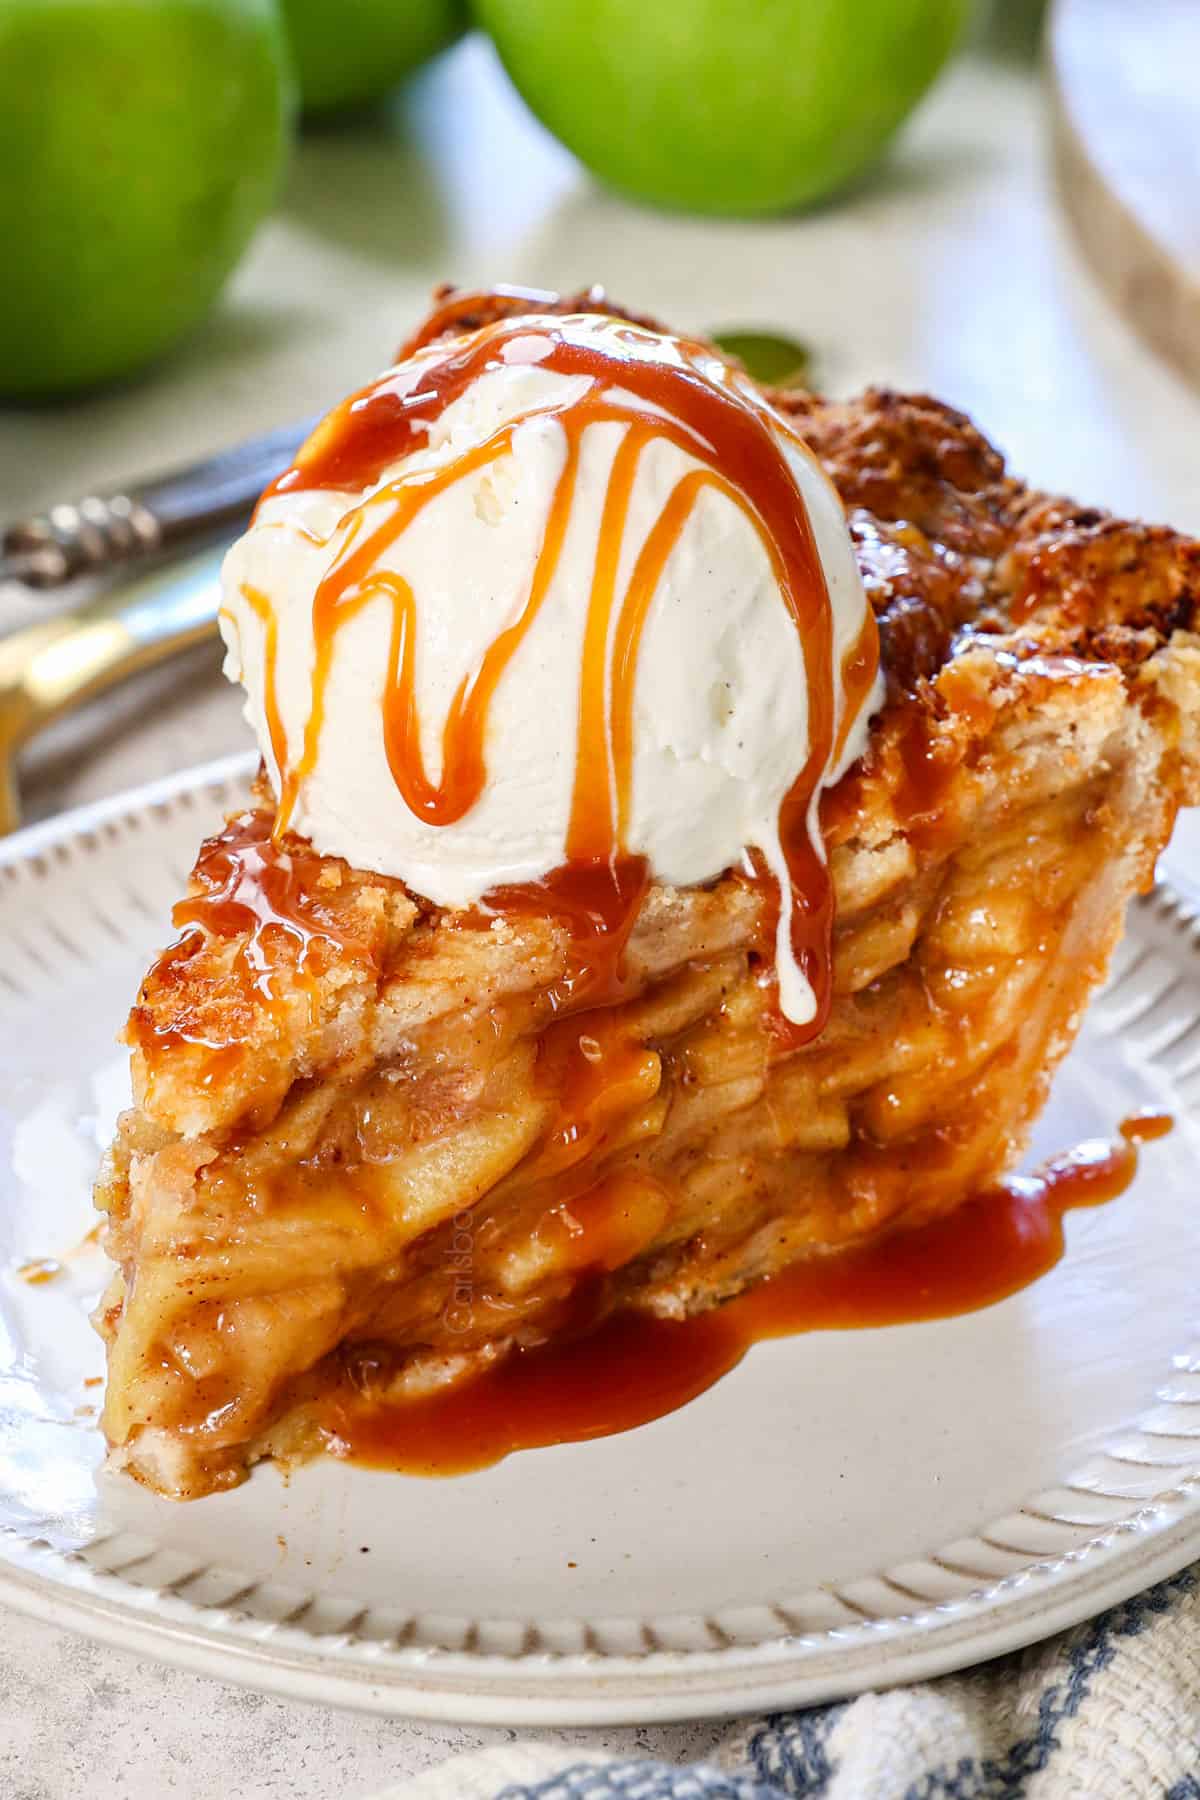
Apple pie is best served warm or at room temperature and becomes exponentially more delicious with a big, cold scoop of vanilla ice cream. The cold, silky, smooth ice cream mingled with the warm, sweet, crunchy cinnamon topping is heavenly! To warm the apple pie:

Can I make apple pie ahead of time?
You can either make the pie completely ahead of time or pre-make portions. Here’s how:
-100% Make Ahead: Bake the pie a day in advance and store it at room temperature. If you need to store it longer, refrigerate it for up to 2 days. See the steps above for reheating a whole pie.
-Freeze Unbaked Pie: You can freeze an unbaked pie for up to 3 months. Bake from frozen, adding 15-20 minutes to the baking time.
-Pie Crust: The dough can be made 5 days ahead of time and refrigerated until ready to use. You can also go one step further and mold it in the pie pan, brush with egg wash, cover, and refrigerate for up to 2 days. You can freeze the pie dough or the formed pie crust, covered tightly for up to 3 months. Thaw in the refrigerator overnight.
-Apple Pie Filling: Can be made/cooked two days ahead, covered tightly, and refrigerated for one day.

Storing Lerftover Homemade Apple Pie
Baked apple pie can be stored at room temperature, covered, for up to two days. After that, it can be refrigerated to keep it fresh for another three days. To prevent the crust from becoming too soft, reheat slices in the oven instead of the microwave.
Can you Freeze Apple Pie?
Yes, you can freeze apple pie!
Unbaked Apple Pie: For best results, freeze the pie unbaked to preserve its texture. Place the pie in the freezer for 1-2 hours to flash freeze, then wrap it a couple of times in plastic wrap followed by foil. Freeze for up to 3 months. When ready to bake, pop it directly into the oven from frozen, adding an extra 15-20 minutes to the baking time.
Baked Apple Pie: Baked and cooled apple pie freezes well for up to 3 months. Place the pie in the freezer for 1-2 hours to flash freeze, then wrap it a couple of times in plastic wrap followed by foil. Freeze for up to 3 months, then thaw overnight in the refrigerator. Refresh the pie by placing it in the oven while it preheats to 375°F. When the preheat bell dings, leave the pie in for another 10-15 minutes or until warmed through.
Apple Pie Recipe FAQs
Apple pie doesn’t need to be refrigerated if you plan to eat it within two days; it can be stored covered at room temperature. However, for longer storage, it’s best to refrigerate it to keep it fresh for up to 5 days.
Apple pie can last up to 4-5 days in the fridge when stored properly. To keep it fresh, cover it with plastic wrap or foil, or store it in an airtight container.
Dutch Apple Pie, also known as Apple Crumble Pie or Apple Streusel Pie, boasts a flaky, butter or shortening crust on the bottom, a cinnamon apple filling and a sweet crumble or streusel topping made with butter/shortening, flour and sugar that bake into a sweet, crunchy blanket. The textures of flaky, upon tender upon crunchy are heavenly. Dutch Apple Pie differs from Traditional Apple Pie which is covered in a lattice top or second pasty topping.
Yes, please do! If you don’t peel your apples first, you’re left with an unpleasant tough texture as the skin doesn’t break down enough when baked.
Pre-cooking apples is optional but can lead to better texture and flavor. Sautéing apples with spices and a little sugar before baking helps control the moisture level and prevents the filling from shrinking, so you won’t end up with a gap between the filling and the crust.
Thicken apple pie filling with flour, cornstarch, or tapioca starch. Flour is a popular thickener for apple pie because it creates a stable, hearty filling that withstands long baking times without breaking down. Its mild flavor and natural texture blend seamlessly with the apples, giving the pie a classic, rustic consistency.
Cinnamon is a must, but nutmeg, allspice, and a pinch of ground ginger bring out the depth of flavor in the apples. You can also add a splash of vanilla extract or a bit of lemon zest for extra brightness.
Making a lattice crust involves cutting the top crust into even strips and weaving them over and under each other to create a pattern. It’s a beautiful way to let some of the filling peek through and allows steam to escape while baking, helping the pie cook evenly.
Runny apple pie can result from not thickening the filling enough or using apples with high water content. Pre-cooking the apples or letting the filling sit with sugar before baking helps reduce excess moisture. Using a thickener like cornstarch or flour also creates a cohesive filling.
WANT TO TRY THIS Apple Pie RECIPE?
PIN IT to your recipe BOARD TO SAVE FOR LATER!
FIND ME ON PINTEREST FOR MORE GREAT RECIPES! I AM ALWAYS PINNING :)!
©Carlsbad Cravings by CarlsbadCravings.com
Lattice Apple Pie
Save This Recipe To Your Recipe Box
You can now create an account on our site and save your favorite recipes all in one place!
Ingredients
Pie Crust
- 2 recipes Homemade Pie Crust (1 for bottom crust and 1 for lattice top)
- Egg wash: 1 egg beaten with 1 TB heavy cream (may sub milk)
- Optional: Coarse raw sugar for sprinkling on lattice topping
Apple Filling
- 3 1/2 pounds Honeycrisp apples
- 1 1/2 pounds Granny Smith apples
- 2/3 cup packed light brown sugar
- 1/2 cup granulated sugar
- 1/3 cup + 1 TB all-purpose flour
- 2 tablespoons lemon juice, divided
- 1 1/2 teaspoons ground cinnamon
- 1/2 tsp EACH ground ginger, ground nutmeg, allspice
- 1/8 teaspoon salt
- 1 teaspoon vanilla extract
Instructions
- Note: The Apple Pie Filling can be made at any time and refrigerated until ready to add to the pie pan. See Note/Warning if using a glass pie pan before you begin.
- Make the Pie Dough: Prepare one pie crust recipe through step 6 under Make Dough (click HERE for the recipe.) Prepare the second pie crust through step 2 under Roll Dough using a standard 9-10-inch pie pan (1 1/2-inches deep).
- Make the Bottom Pie Crust: Lightly brush the bottom and sides of the crust in the pan (not edges that will be fluted) with the egg wash. Reserve the egg wash in the refrigerator for later. Tip: I find it easiest to add the egg wash after the pie dough has firmed up a bit, so I place the pie in the freezer for 20 minutes. After adding the egg wash, immediately cover the pie and refrigerate it while you prep the rest of the recipe (at least 45 minutes up to 5 days before baking).
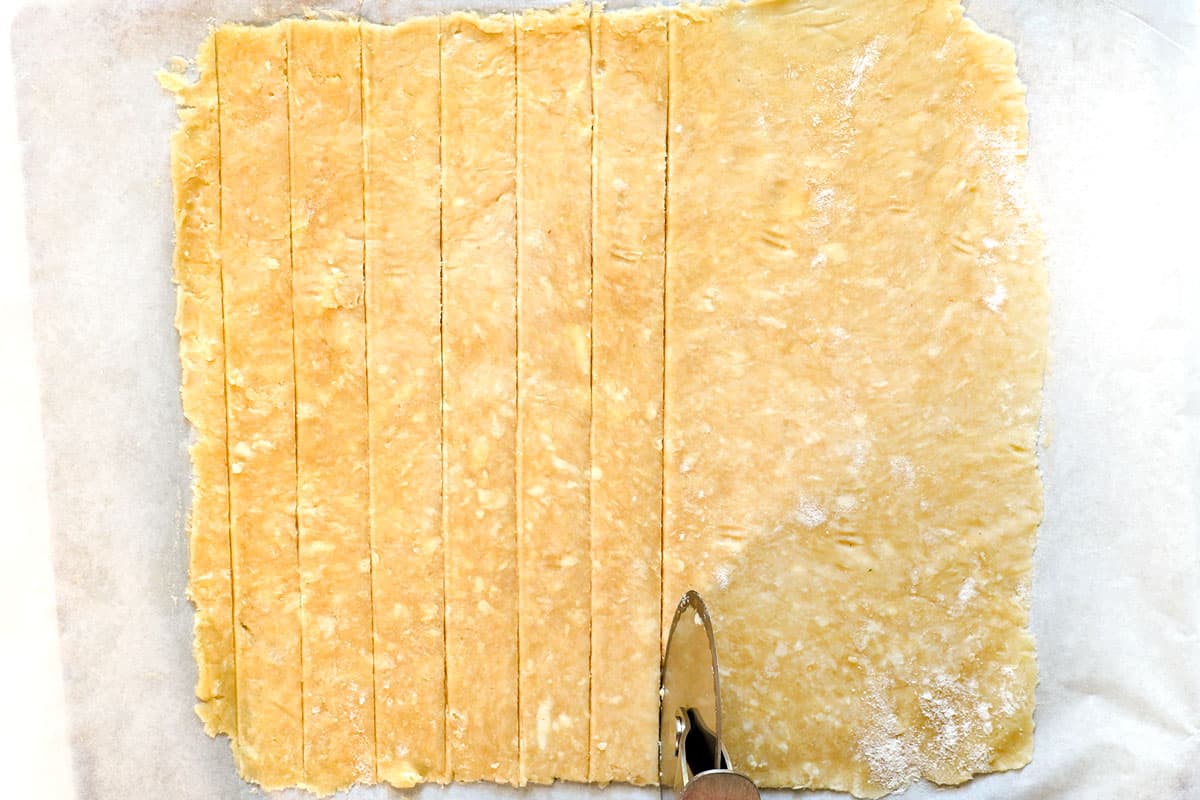
- Roll Out the Dough for the Lattice Top: Place a large piece of parchment paper on a baking sheet and generously dust with flour. Roll the dough disc into a rough 11×11-inch rectangle on the parchment paper. At this point, I cover and freeze the dough (on the baking sheet) for 20-30 minutes for easier/cleaner slices.
- Make the Lattice Strips: After chilling, use a ruler and a pizza cutter, pastry wheel, or sharp knife to cut the dough into 1-inch-wide strips. Cover with plastic wrap and freeze for 30 minutes or refrigerate for up to 24 hours for MUCH easier-to-handle lattices. When you're ready to use the lattices, make the apple pie filling first:
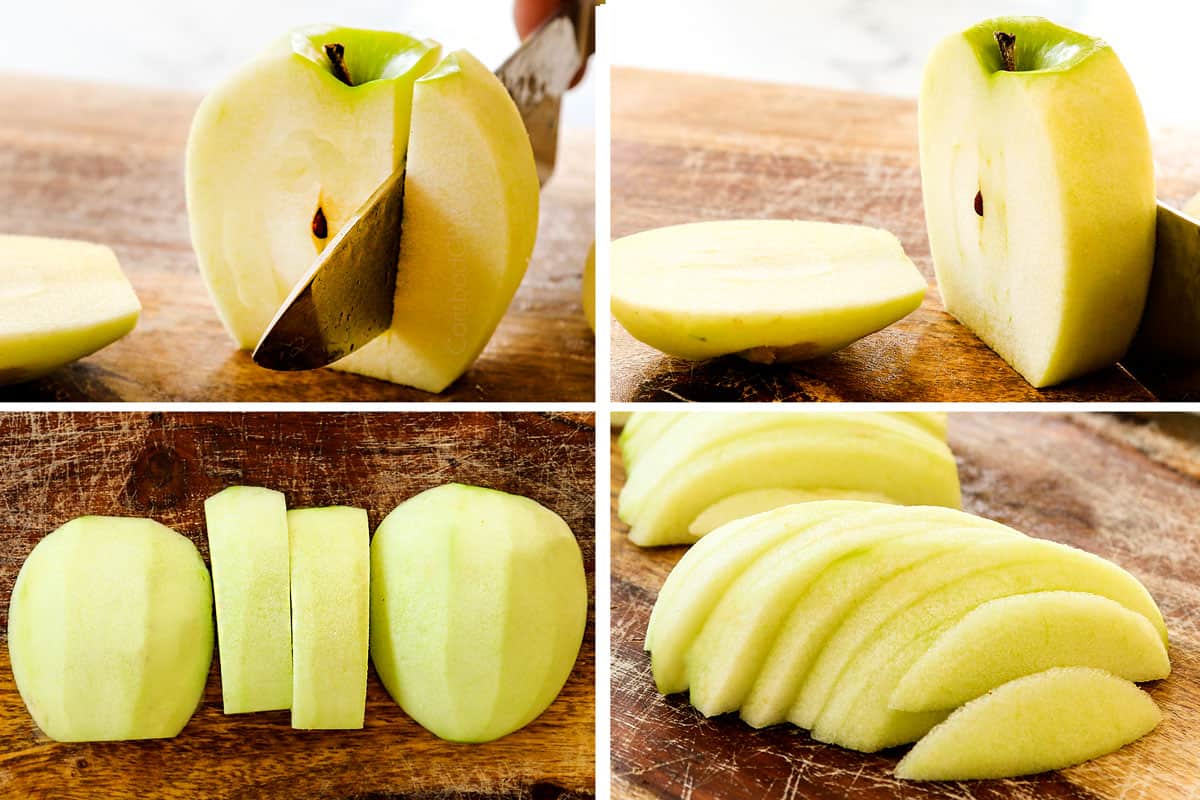
- Slice the apples: Peel the apples and make 4 slices around the core to remove it. Lay the 4 remaining apple segments, cut side down, on a cutting board, and slice into 1/8-inch slices. Transfer the apples to a large Dutch oven as you go to keep the workspace clean.
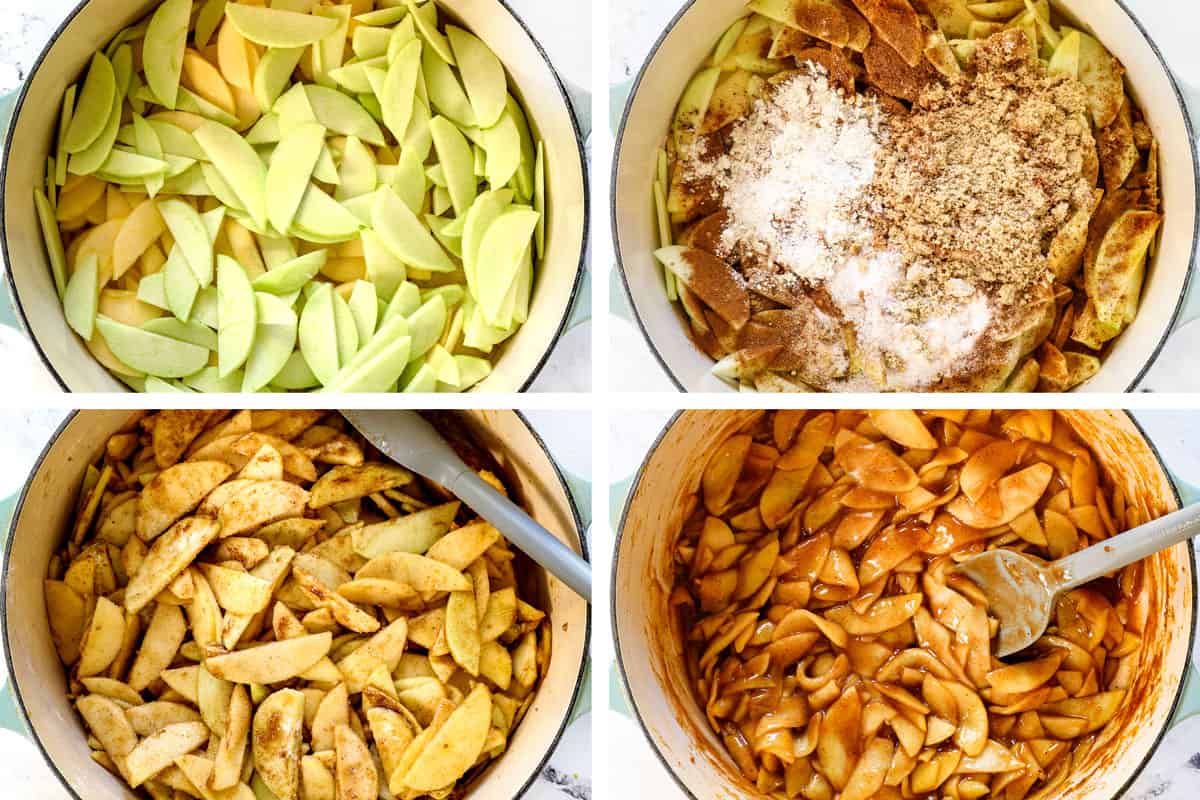
- Apple pie filling: Add the sugars, flour, 1 tablespoon of lemon juice, and spices to the sliced apples and set over medium heat. Gently stir until evenly coated. Cover and cook for 15-20 minutes, stirring every couple minutes and replacing the lid. The apples are done when they reach YOUR desired apple pie tenderness – they will not become more tender in the oven. They should be fork-tender but still hold their shape. (They will not become mushy when baked; see the science behind it in the post.) Once tender, stir in the remaining 1 tablespoon of lemon juice and the vanilla.
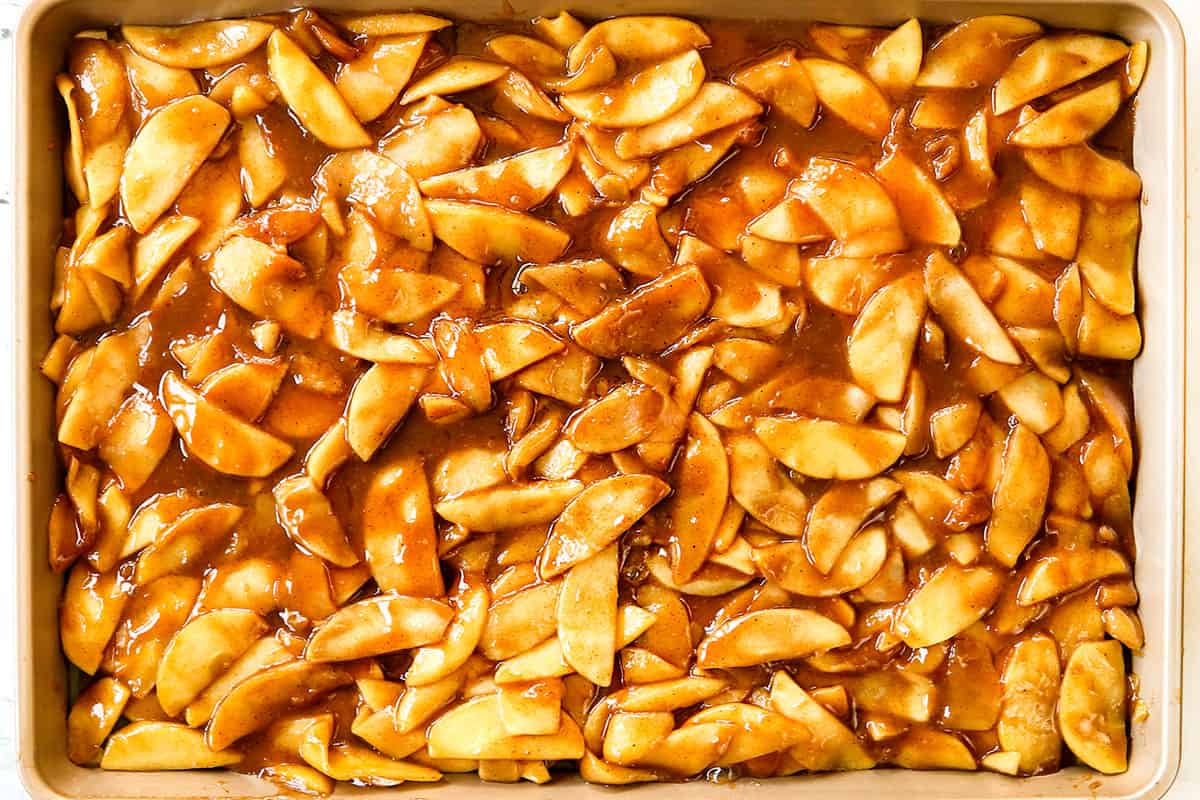
- Cool the Apples: Line a rimmed baking sheet with parchment paper or a silicone baking mat for easy cleanup. Transfer the apples and their caramel juices to the baking sheet. Pop the pan in the fridge or freezer to cool to room temperature for about 25 minutes.
- Assemble: Once the apples have cooled, transfer them and the sauce to the chilled pie shell, rearranging and layering them horizontally to compact.
- Weave the Lattice Top (See Post for Photos): If the strips become too stiff to work with, let them rest on the counter for 10 minutes. Start by laying five horizontal strips evenly spaced over the pie (center the middle strip). Fold the first, third, and fifth horizontal strips back and place a vertical strip on the left side. Unfold the first, third, and fifth strips over the perpendicular strip and fold the second and fourth strips back. Add a second vertical strip, then unfold the second and fourth strip. Repeat the process for a total of ten strips, five running in each direction.
- Make the Edges: Press the edges of the strips into the edges of the crust to seal. Flute, crimp, or create whatever edge design you prefer. Lightly brush the edges and the lattice top with the egg wash. Sprinkle the lattice top (avoid the edges) with coarse sugar if using.
- Refrigerate: Chill the unbaked pie for 30 minutes. Don’t skip this step—it will help the crust not shrink unless you have a glass pie pan. Then, bake without chilling, or the pan can shatter (see Notes).
- Preheat the Oven: Immediately after transferring the pie to the fridge, place a baking sheet on the bottom rack of your oven and preheat the oven to 425 degrees F so the baking sheet can get very hot.
- Bake: Transfer the chilled pie to the rimmed baking sheet. Bake at 425 degrees F for 25 minutes (keep an eye on the crust so it doesn't become too brown). Reduce the heat to 375 degrees F and continue to bake for 35-45 minutes or until the filling is bubbling around the edges (if you don’t wait for it to bubble, your filling will be runny). Cover the edges with a pie shield or the top with foil if they are browning too quickly.
- Cool: Transfer the pie to a cooling rack and let it rest for 4 hours to cool to room temperature so the filling can set. You can pop the pie in the fridge or freezer to speed up the cooling process. The pie can rest at room temperature for up to 2 days or be refrigerated for up to 5.
- Reheat: After the pie has cooled, you can reheat/refresh it in the oven. Tent the pie with foil and place it in a cold oven. Turn the oven to 375 degrees F, and when the preheat bell dings, leave the pie in for another 10-15 minutes or until warmed.
Video
Notes
- Allow plenty of time to make the pie. Apple pie is best if the different elements— the crust, apple filling, lattices, assembled pie, and baked pie—have time to chill. I suggest making the apple pie a day ahead and warming it when ready to serve.
- GLASS PIE AN WARNING: I suggest a ceramic pie dish or HIGH-QUALITY glass made from borosilicate glass, not soda-lime glass, which seems more prone to thermal shock and shattering (newer Pyrex is not to be trusted).
- Pre-cooking the apples delivers a foolproof filling that is never runny, mushy, or crunchy. Cooks Illustrated explains that as you cook the apples slowly, the pectin in the apples is converted to a heat-stable form, which prevents the apples from continuing to cook in the oven—so no, the apples will NOT become mushy when baked!
- Storage: Baked apple pie can be stored at room temperature, covered, for up to two days. After that, it can be refrigerated to keep it fresh for another three days. To prevent the crust from becoming too soft, reheat slices in the oven instead of the microwave.
To Reheat
- To warm a whole apple pie: Place it on a baking sheet, tent it with foil, and place it in a cold oven. Turn the oven to 375°F, and when the preheat bell dings, leave the pie in for another 10-15 minutes or until warmed through.
- To warm individual slices: Preheat your oven to 350°F and place the slices on a baking sheet. Cover them loosely with foil and heat for about 10-12 minutes. Alternatively, you can microwave slices for 30-45 seconds, which will soften the crust.
Make AHead
You can either make the pie entirely ahead of time or pre-make portions. Here’s how:- 100% Make Ahead: Bake the pie a day in advance and store it at room temperature. If you need to store it longer, refrigerate it for up to 2 days. See the steps above for reheating a whole pie.
- Freeze Unbaked Pie: You can freeze an unbaked pie for up to 3 months. Bake from frozen, adding 15-20 minutes to the baking time.
- Pie Crust: The dough can be made 5 days ahead of time and refrigerated until ready to use. You can also go one step further and mold it in the pie pan, brush with egg wash, cover, and refrigerate for up to 2 days. You can freeze the pie dough or the formed pie crust, covered tightly for up to 3 months. Thaw in the refrigerator overnight.
- Apple Pie Filling: Can be made/cooked two days ahead, covered tightly, and refrigerated for one day.

Did You Make This Recipe?
Tag @CarlsbadCravings and Use #CarlsbadCravngs
Leave a Review, I Always Love Hearing From You!





Dennis Doyon says
Hi:
I’ve recently been sent your URL and I’ve found the few recipes I’ve investigated to be well-presented and easy to follow…and I appreciate your matter-of-fact explanations for your directions (ie: why to pre-cook apple pie filling.)
However, I take issue with your “kind of” hard core advice re: which apples make good pies. In my experience here on an 8-acre oceanside property in northern Nova Scotia, any apples from my small orchard make for good pies be they Macs Cortlands Russets or Northern Spies. Additionally, I’m lucky to have many “Heritage” apples growing wild all over the property, having been not only planted but also grafted by previous owners. I’ve not researched the DNA of those trees, and have little interest in doing so, but I’ll guarantee you that ALL the apples on my land contribute to really good pies, regardless of who planted them!
I’ll give your pre-cooking idea a try, but I’ll urge you to lighten up on the guardrails. For my part, as a fan of your writing, I imagine I’d have to travel 5 hours round trip to get to a reliable supplier of “acceptable” apples and I expect many readers are in similar, though less extreme circumstances. So please loosen the ingredient limits. This is not the NY Times food section, and we’re not in NY…. Thankfully for all that.
Keep up the really fine work!
Dennis Doyon
Smelt Brook, Nova Scotia
Jen says
Your apples sound delicious! I hope you love this new way of making apple pie!
Nealla StClair says
After reading your comment, I went back and reread the article. I find it odd that you interpreted her statement “I suggest” and her warnings regarding types of apples that don’t do as well as as ” kind of” hard core. Not all of us are fortunate to have access to an orchard. I am sure the author was referring to the mass a produced apples which are sold in our local supermarket. I live in a remote area of east Texas and consider myself fortunate to have access to Granny Smith. Going forward, I would suggest that you “kind of” consider other’s circumstances and show a little grace.