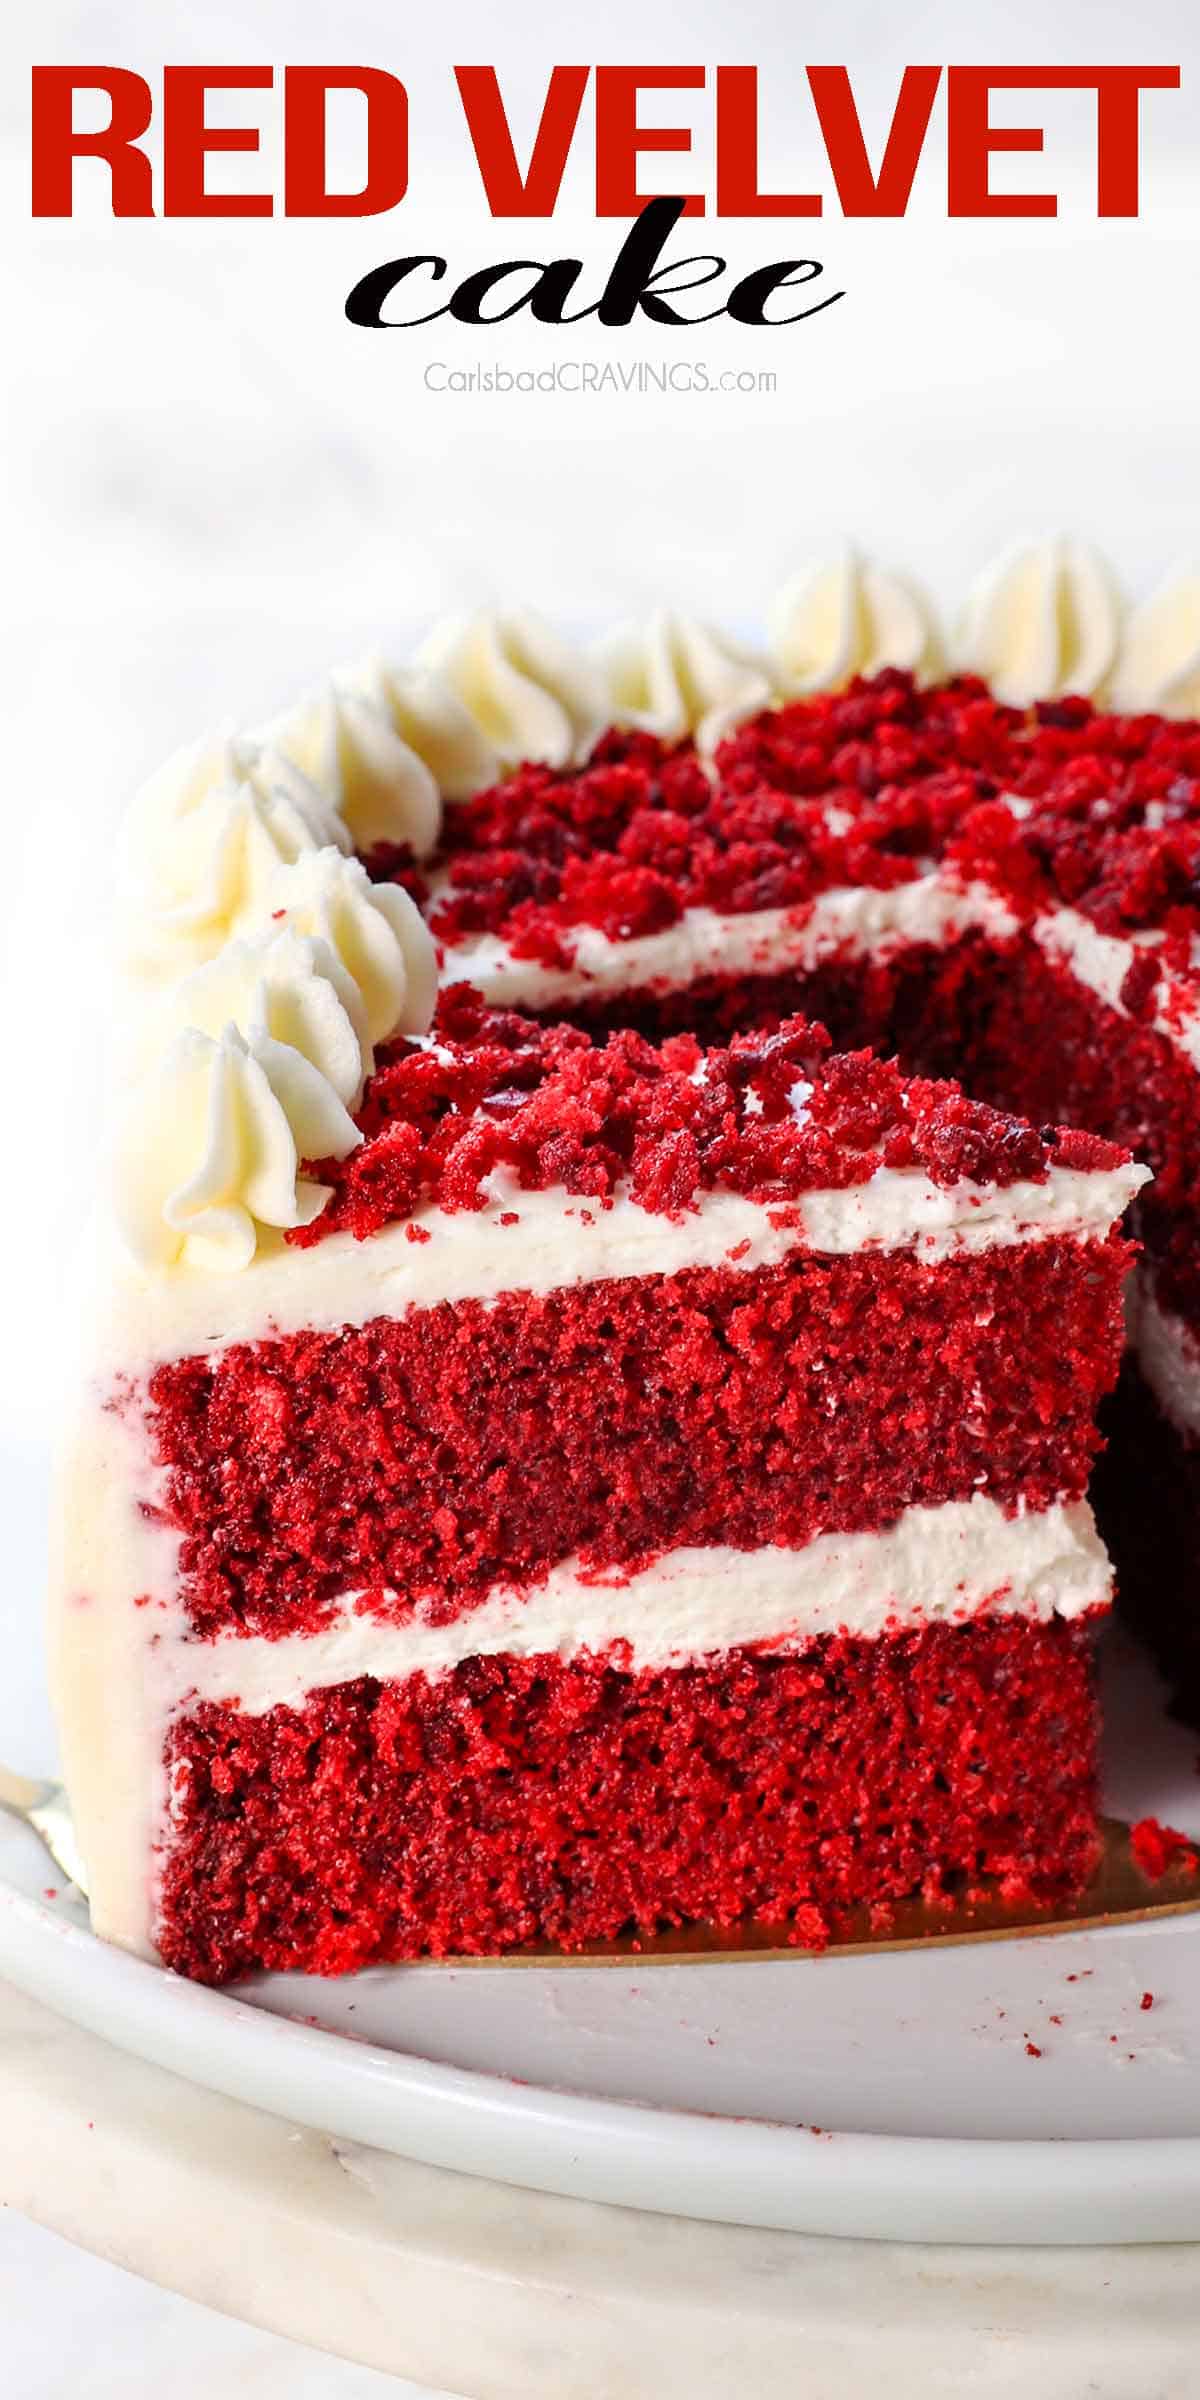
This ultra-moist, melt-in-your-mouth red velvet cake recipe delivers a tender, velvety crumb every time—NO DRY CAKE here! Vibrant, flavorful, and show-stopping, the cake boasts superior buttery, vanilla, and cocoa nuances you’ll crave. Follow along for expert tips, step-by-step photos, and fun variations to achieve bakery-quality results every time.
Watch How To Make Red Velvet Cake

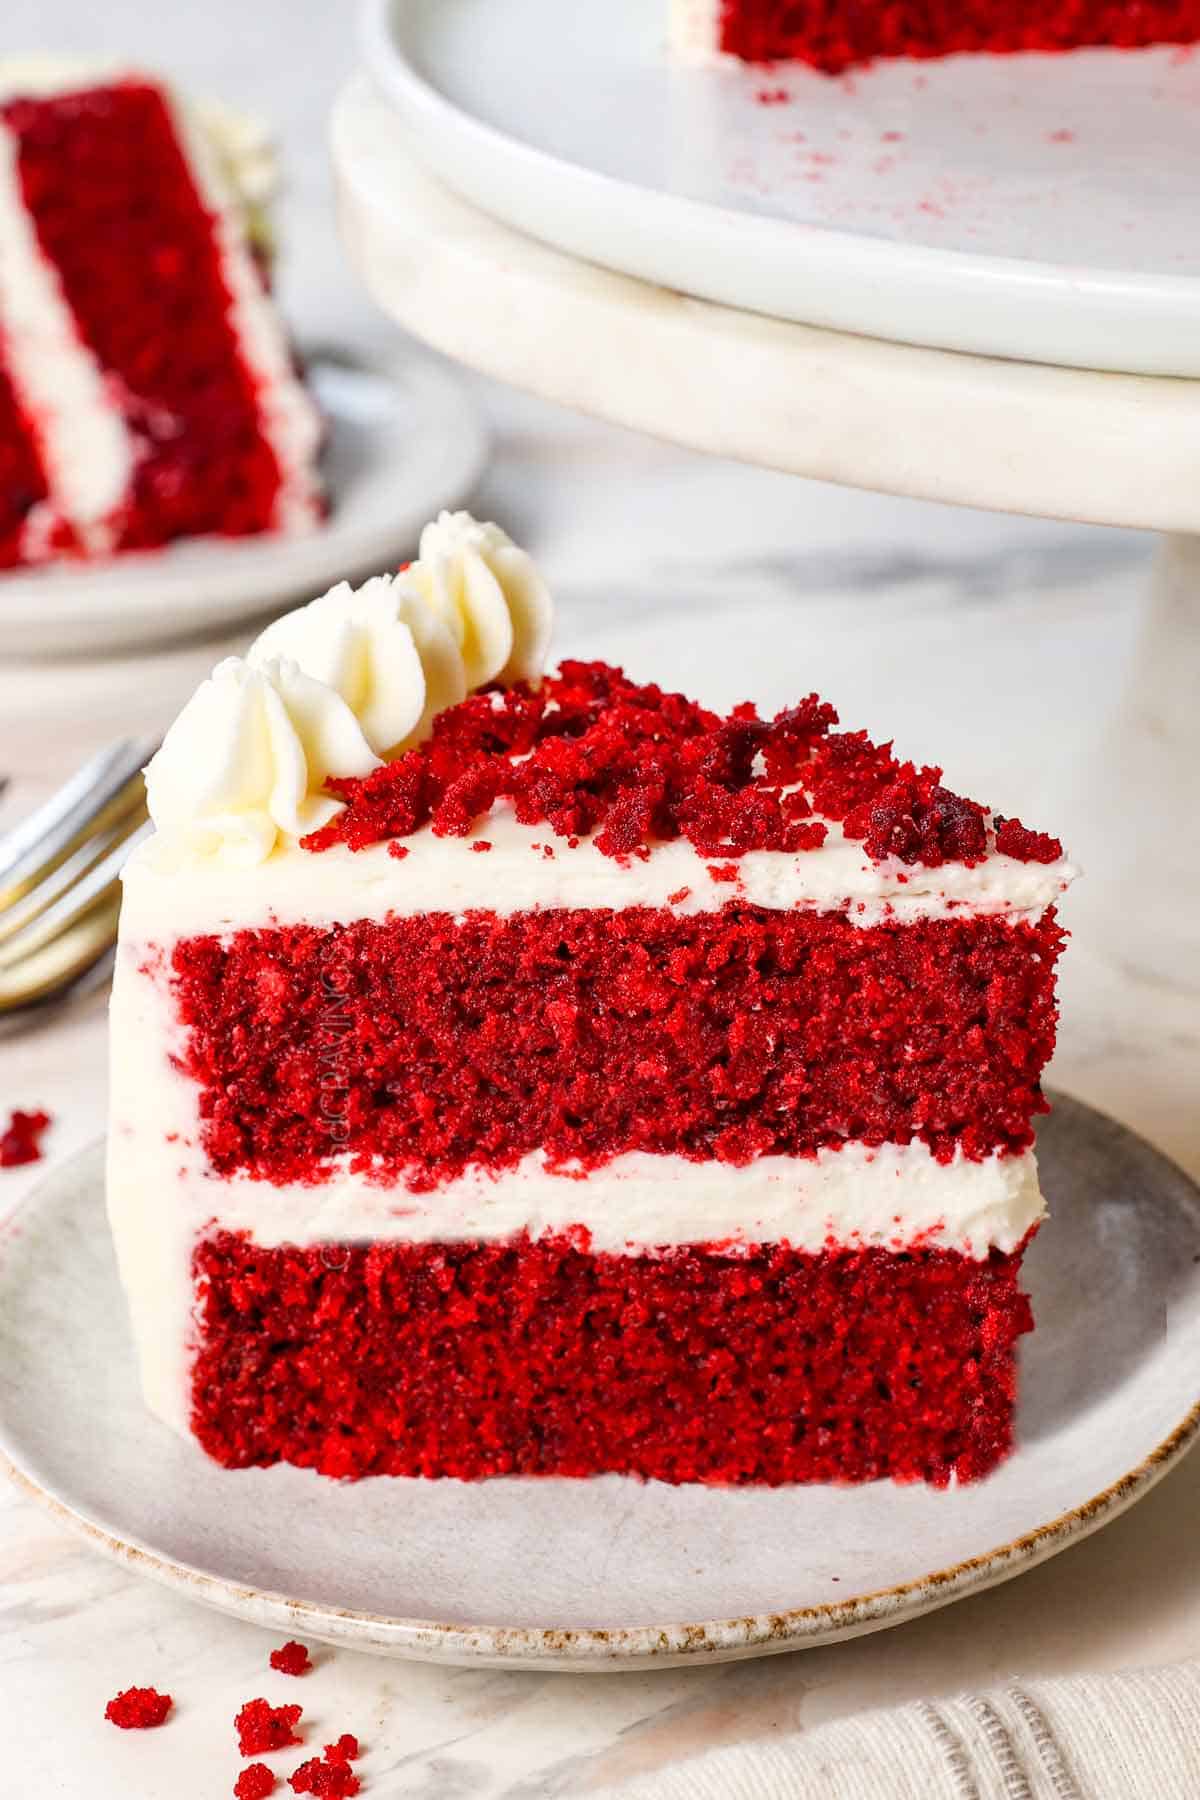
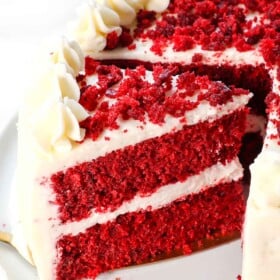
What is Red Velvet Cake?
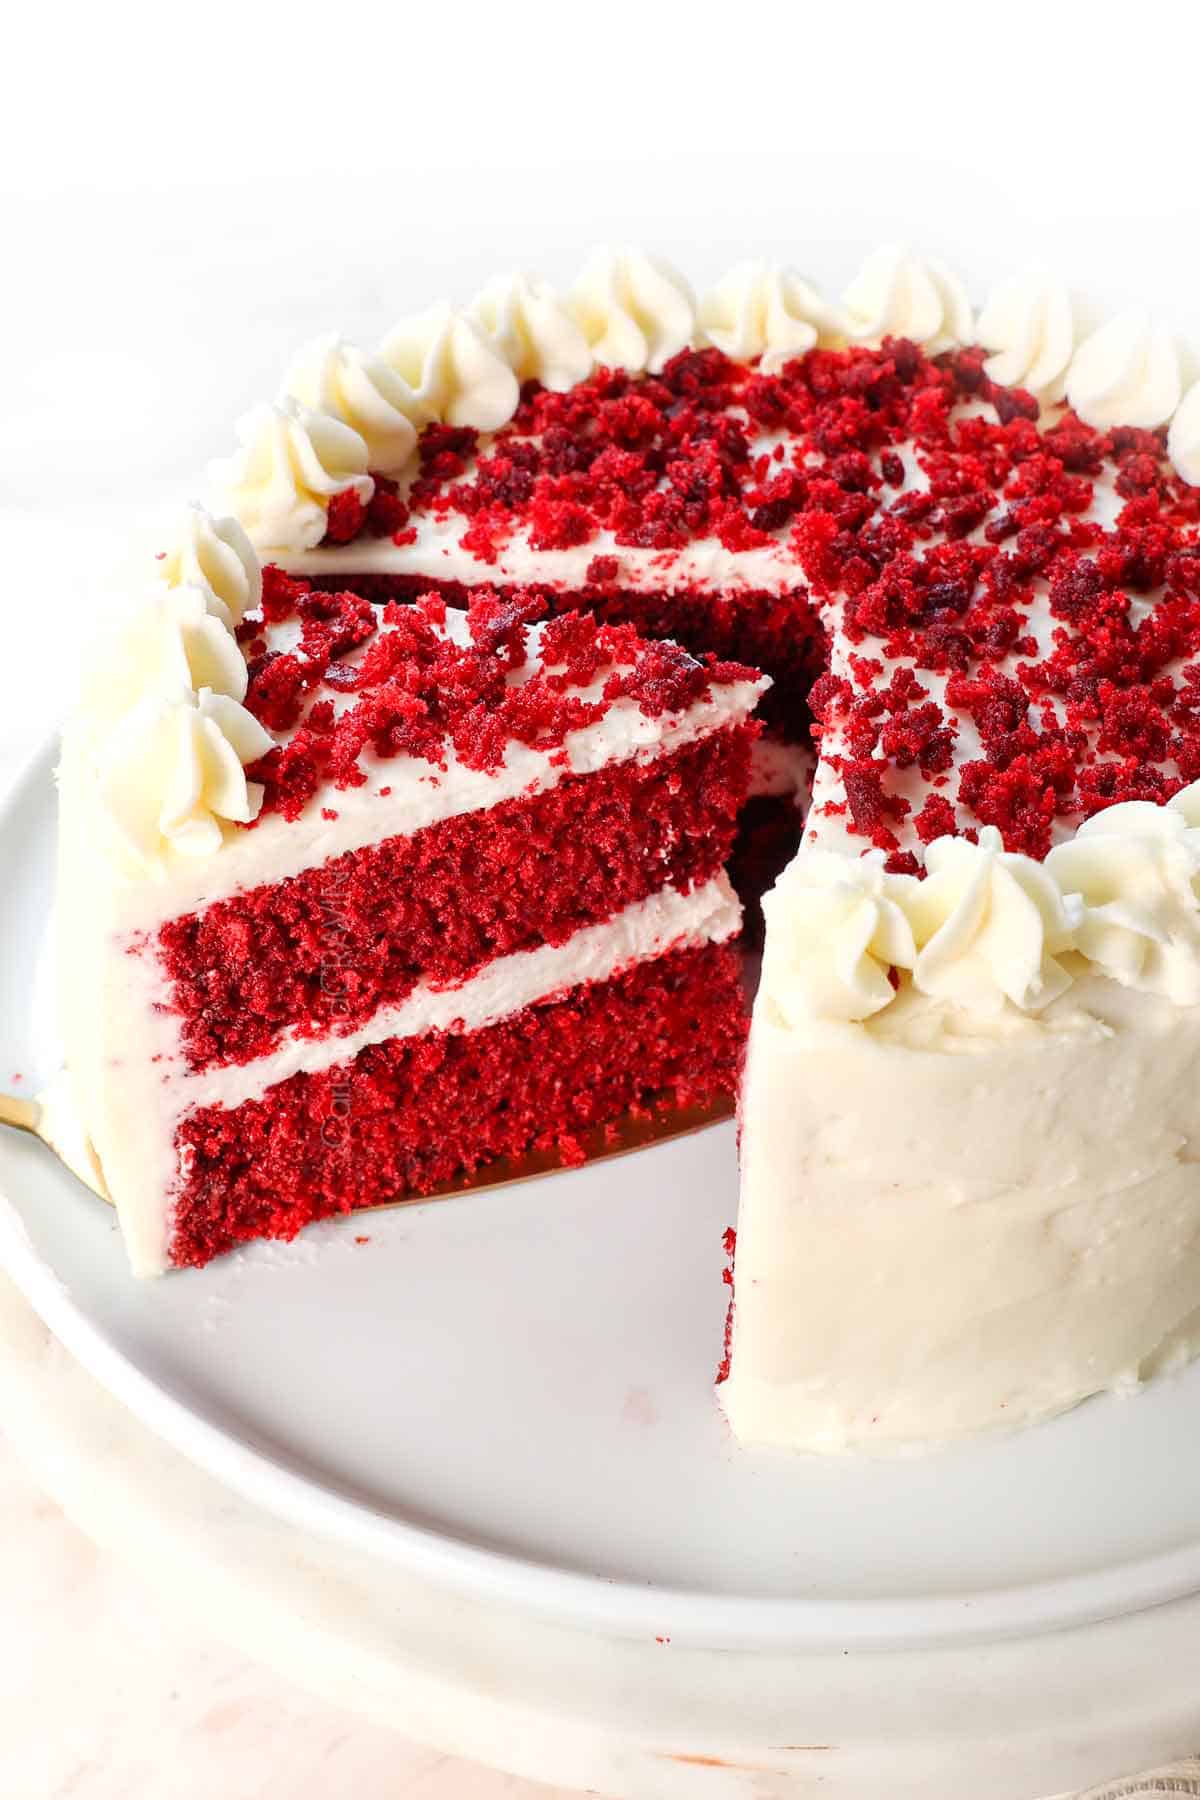
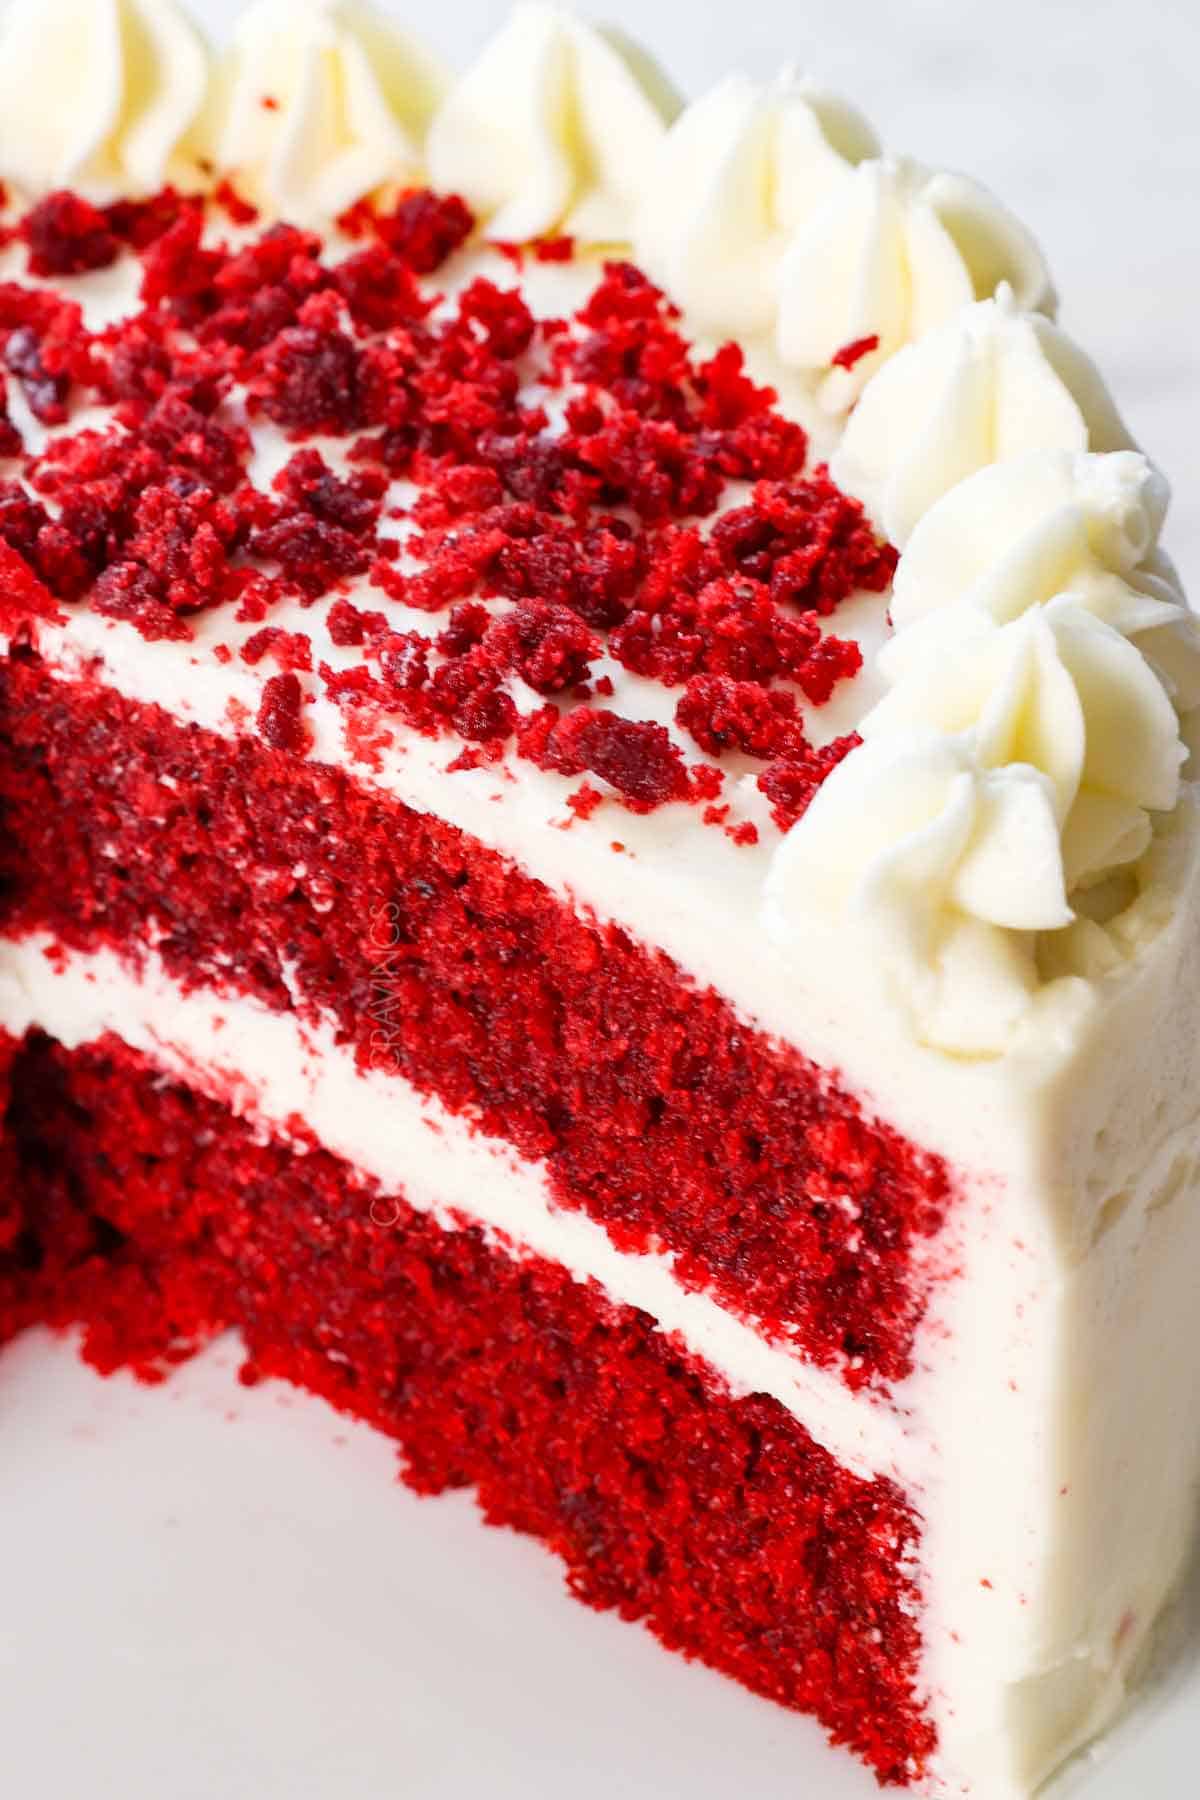
Red velvet cake is a show-stopping classic with a soft, velvety crumb, a hint of cocoa, and a subtle tang from buttermilk and vinegar, making every bite irresistible. It’s rich without being heavy, perfectly balanced between vanilla and chocolate, and famous for its stunning red color. Finished with luscious cream cheese frosting, it’s a dessert that feels both nostalgic and downright celebratory.

Why you’ll love this Red Velvet Cake Recipe
I took this cake to a pickleball night with 10 friends, and it was DEVOURED! Everyone raved, and a few even said it was “the best cake I’ve ever had in my entire life!”

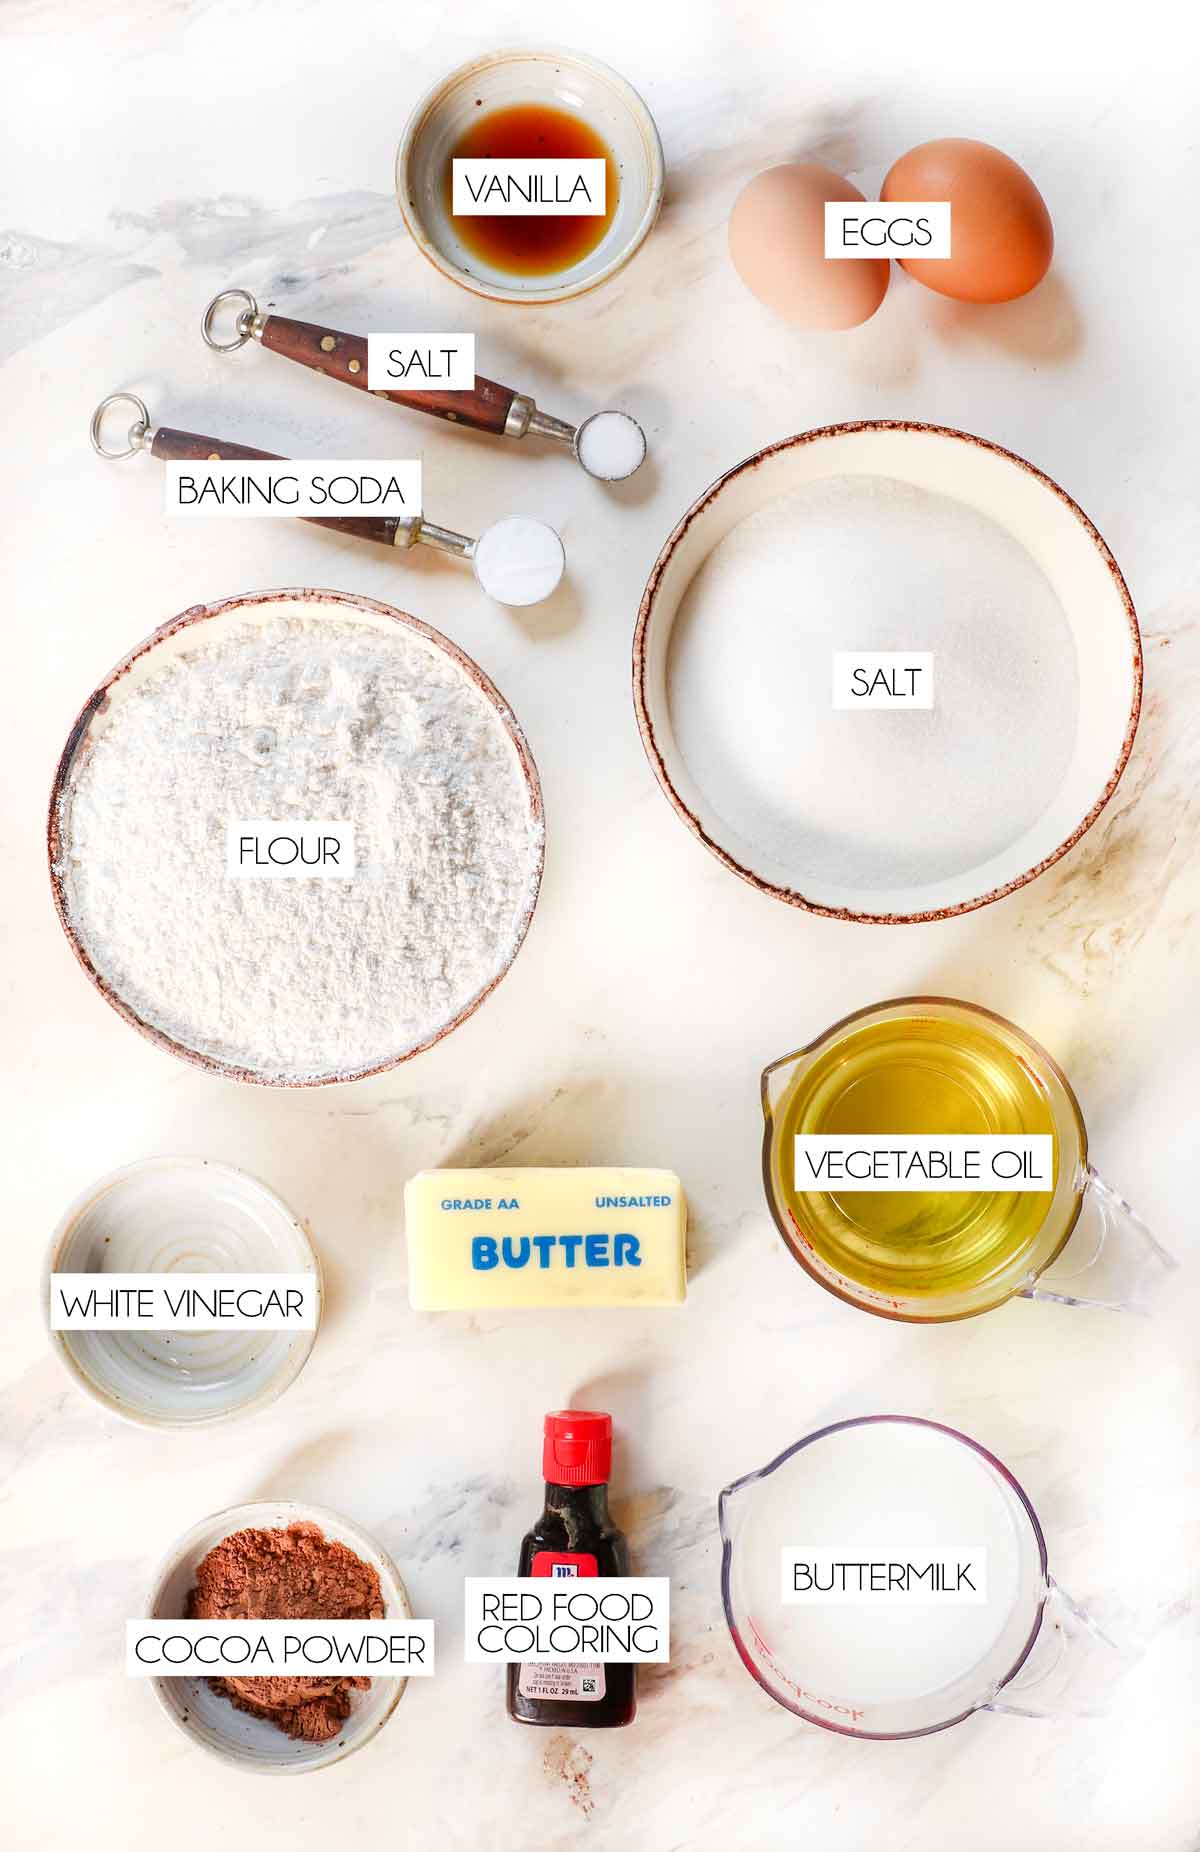
Red Velvet Cake Ingredients
Let’s take a closer look at what you need to make this recipe (measurements in the printable recipe card at the bottom of the post):
FOR THE Red Velvet Cake:
cream cheese topping for red velvet cake

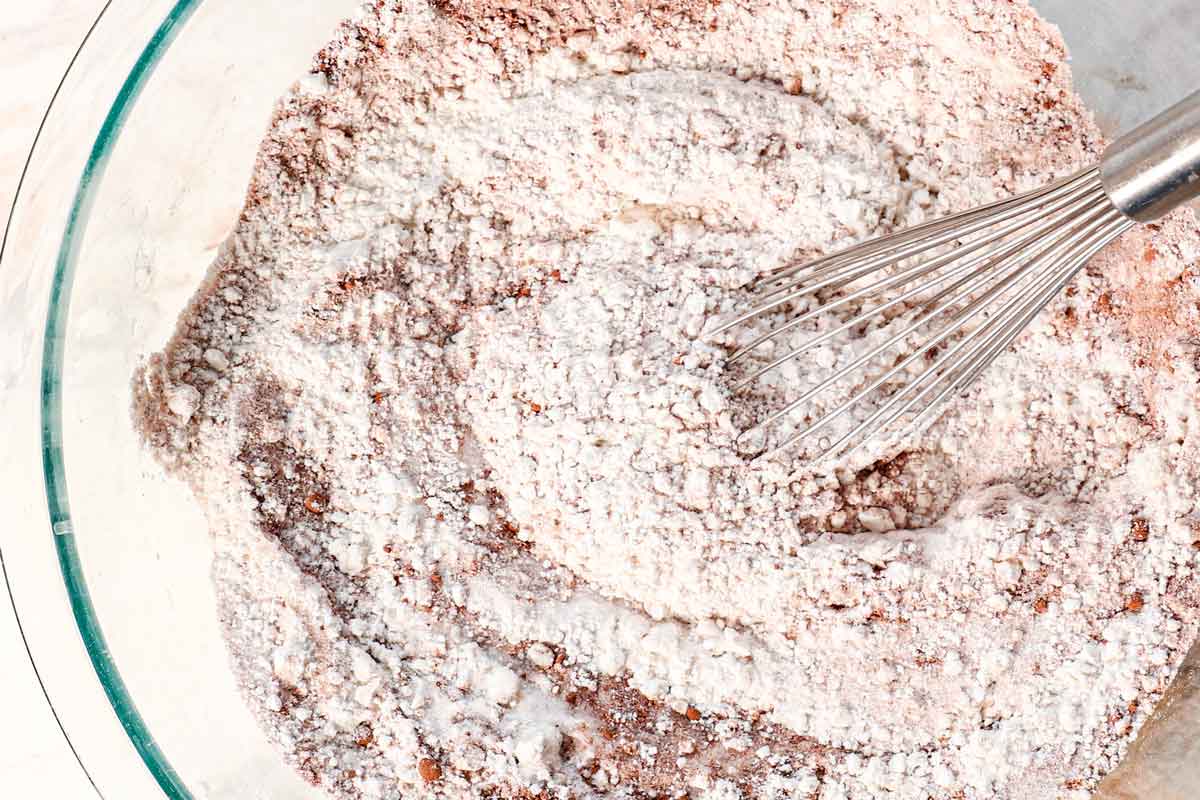
How to Make Red Velvet Cake
Let’s take a closer look at how to make this recipe with step-by-step photos (full recipe in the printable recipe card at the bottom of the post):

Homemade Red Velvet Cake TIPS

Easy Red Velvet Cake Recipe variations

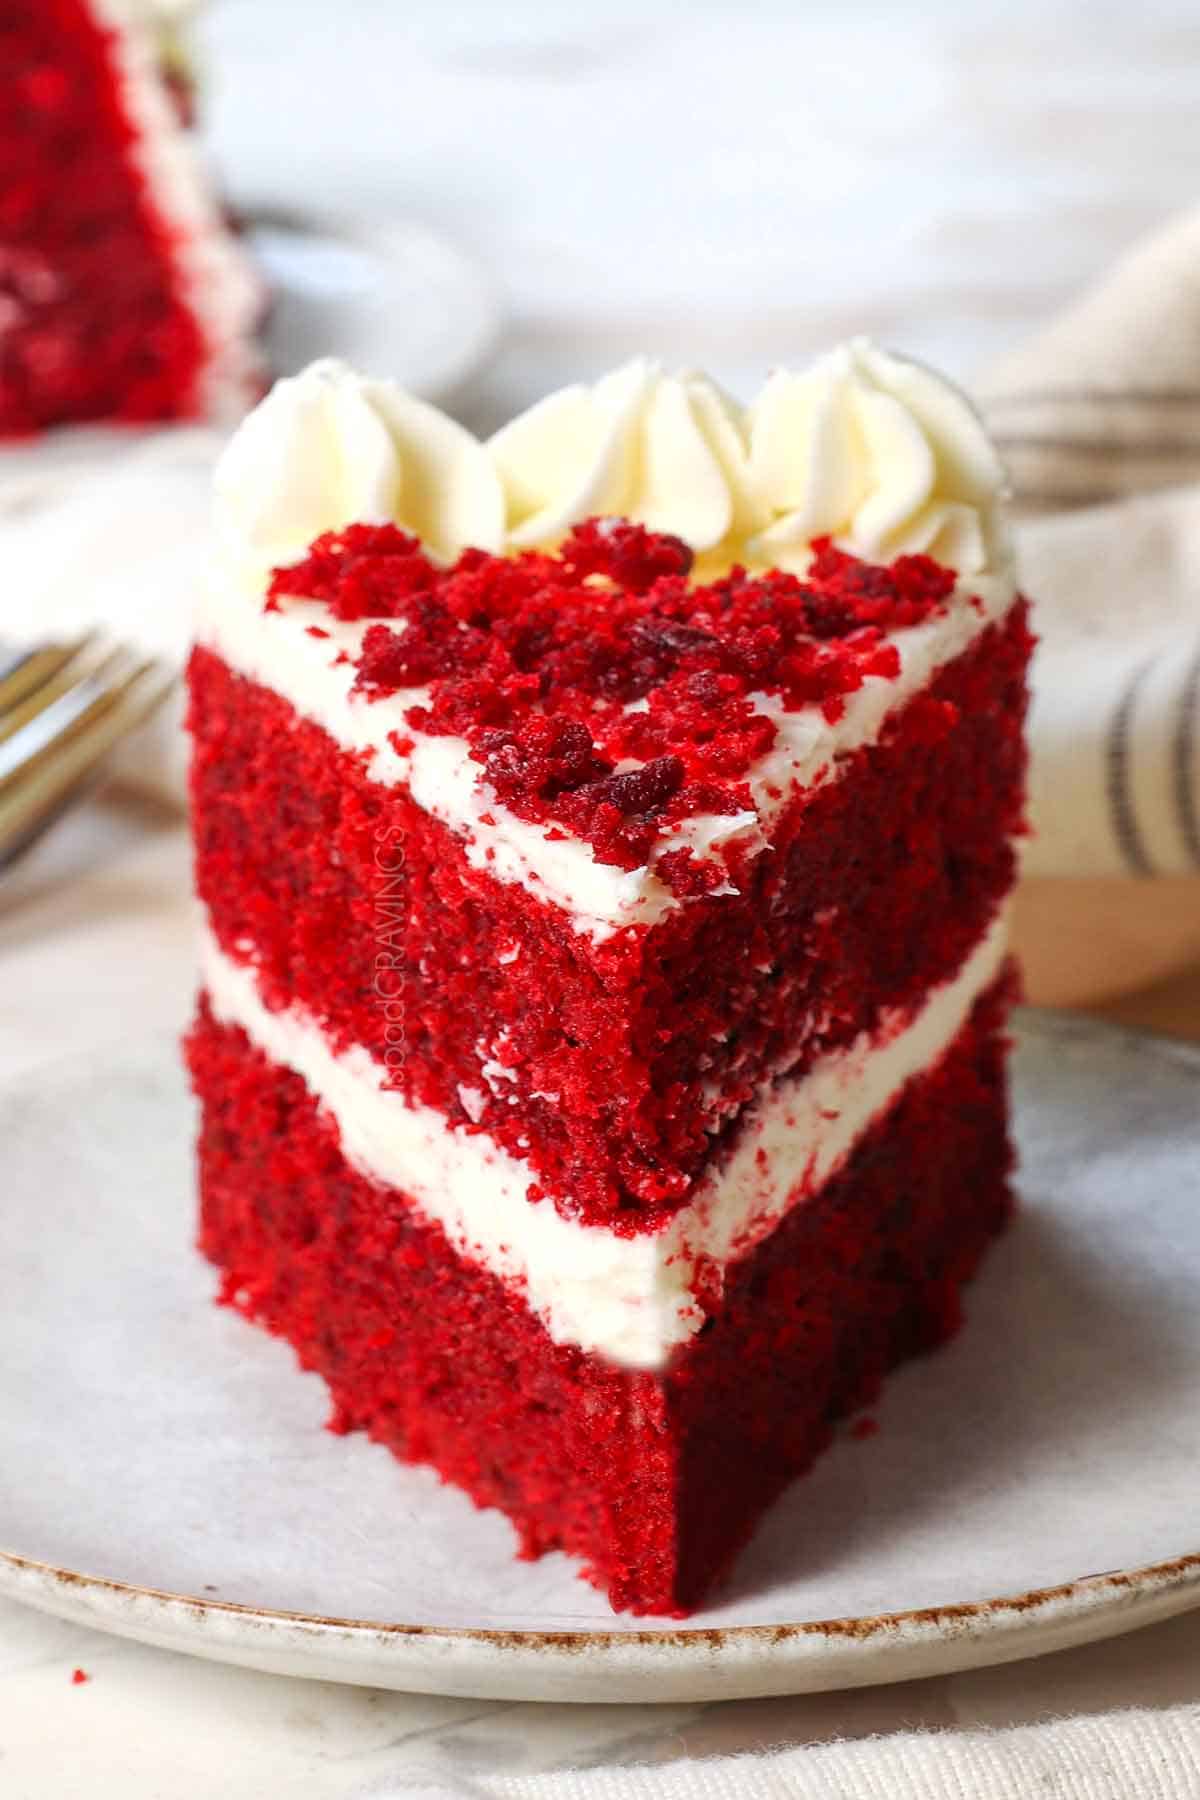
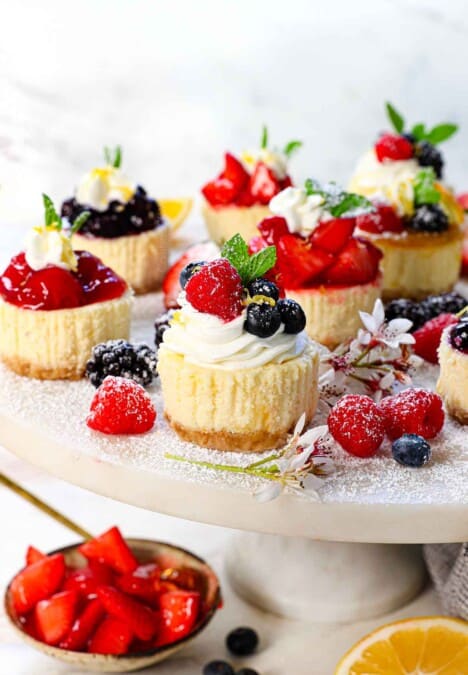
How to serve Moist Red Velvet Cake
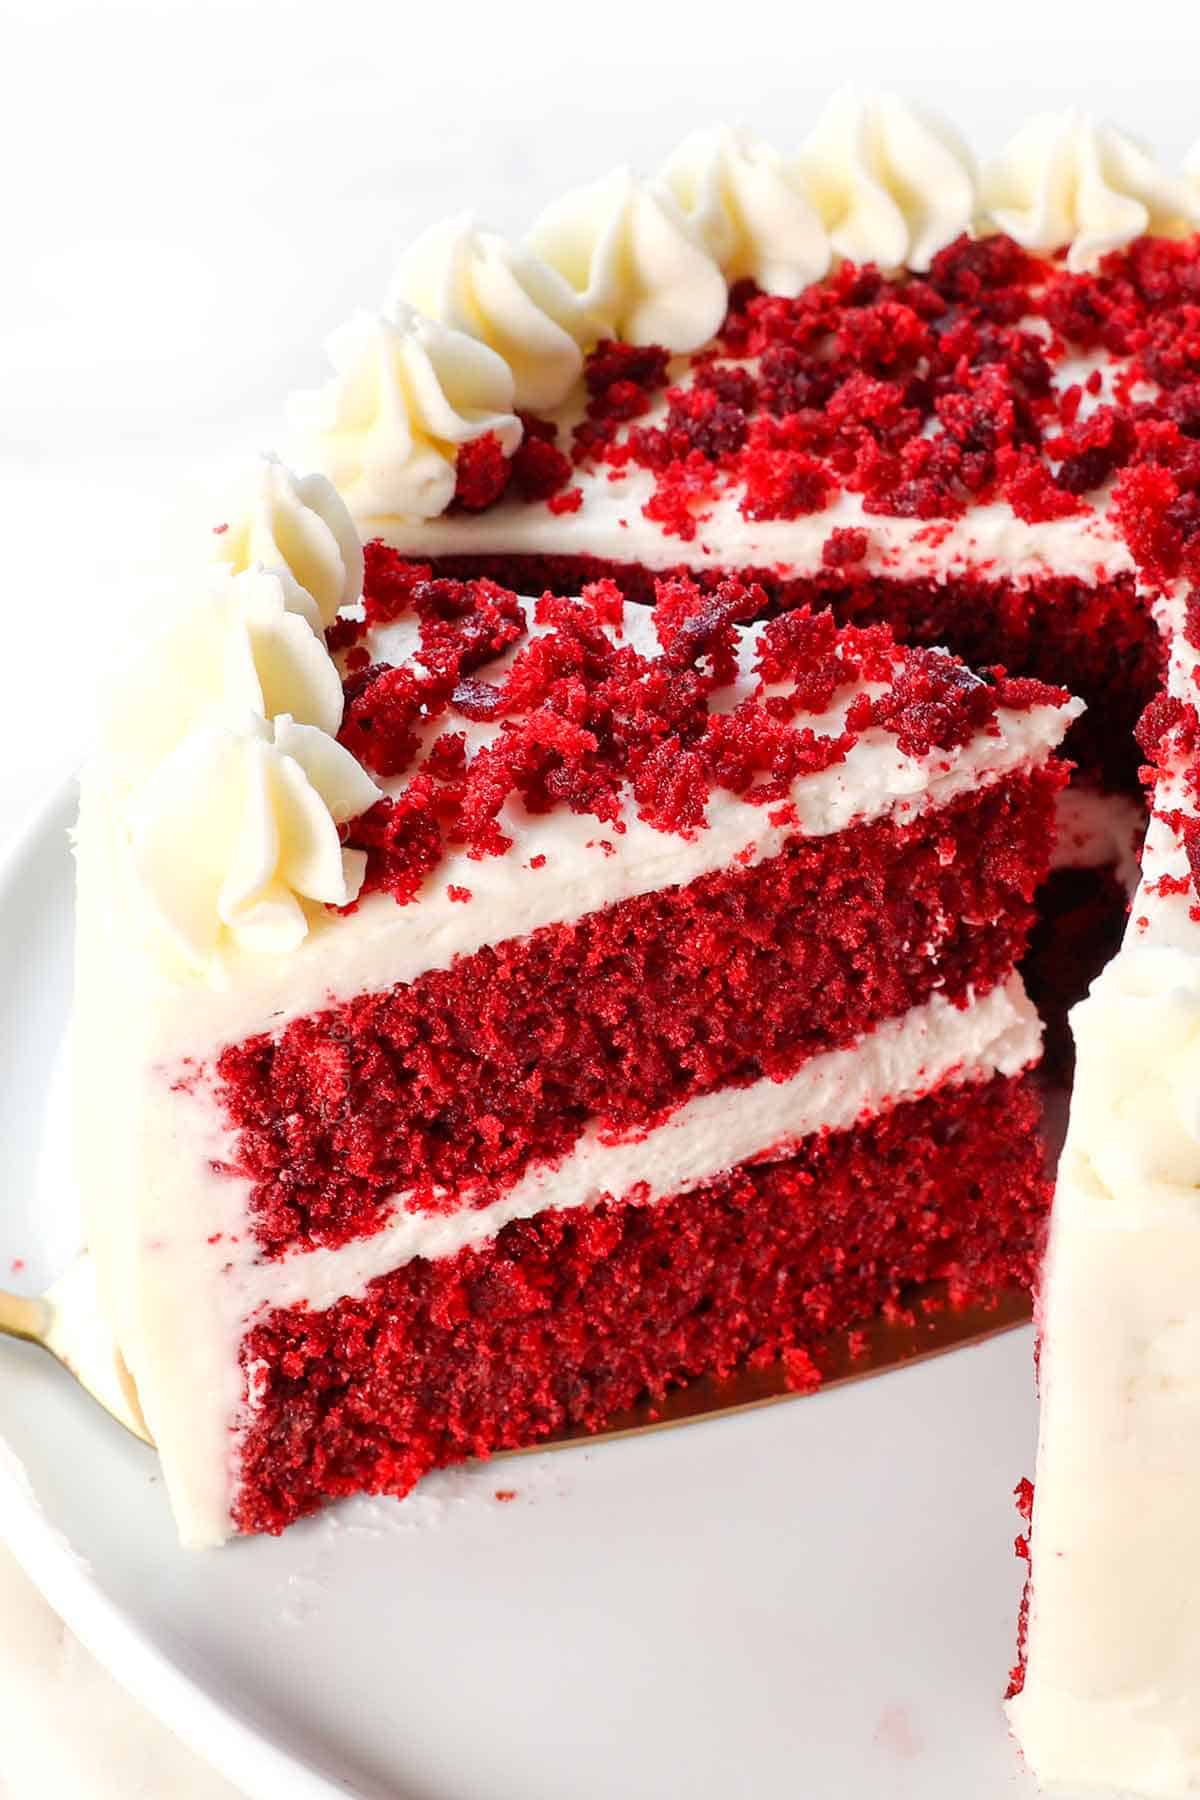
Serve the red velvet cake at room temperature for optimal flavor and texture. Slice it with a sharp knife for clean edges, plate each piece, and, if desired, garnish with fresh berries. It’s perfect for celebrations, dessert tables, or a special treat any day!

HOW TO STORE Red Velvet Cake Recipe from Scratch
For short-term storage (1–2 days), it can sit at cool room temperature if well covered. Always keep it airtight to prevent drying out.
For longer storage, cover and refrigerate for up to 5 days. Let it reach room temperature before serving, or microwave individual portions for a few seconds.
Can red velvet cake be frozen?
Yes, red velvet cake freezes very well.
•Layers: Wrap unfrosted layers tightly and freeze for up to 3 months.
•Whole Cake: Chill the fully assembled cake first to firm the frosting, then wrap it tightly in plastic wrap, then foil, and freeze for up to 3 months. Thaw overnight in the refrigerator before serving.
Red Velvet Cake FAQs
Red velvet cake is not a true chocolate cake. It contains a small amount of cocoa powder, which gives it a mild chocolate note, but the flavor is much lighter and more balanced than that of chocolate cake, with a subtle tang and a soft, velvety texture.
Red velvet cake has a mild cocoa flavor, gentle vanilla sweetness, and a subtle tang from buttermilk and vinegar, all wrapped in a soft, velvety crumb.
Red velvet cake dates back to the early 1900s, when bakers used cocoa and acidic ingredients like buttermilk and vinegar to create a softer, reddish-tinted cake crumb. It gained popularity in the mid-20th century, especially in the American South, and became iconic for its striking red color and its pairing with cream cheese frosting.
Vinegar reacts with the baking soda to help the cake rise and creates an ultra-soft, velvety texture. It also enhances the cake’s subtle cocoa flavor without making it taste acidic.
Red velvet cake can turn out dry if it’s overbaked, overmixed, or measured incorrectly. Using oil, buttermilk, and accurate flour measurements helps keep the cake moist and tender.
No. Devil’s Food cake is much richer and more chocolate-forward, while red velvet cake is lighter, tangier, and only subtly chocolatey.

WANT TO TRY THIS Red Velvet Cake RECIPE?
PIN IT to your recipe BOARD TO SAVE FOR LATER!
FIND ME ON PINTEREST FOR MORE GREAT RECIPES! I AM ALWAYS PINNING :)!
©Carlsbad Cravings by CarlsbadCravings.com
Red Velvet Cake with Cream Cheese Frosting
Save This Recipe To Your Recipe Box
You can now create an account on our site and save your favorite recipes all in one place!
Ingredients
RED VELVET CAKE
- 2 1/2 cups/300g all purpose flour fluffed, spooned & leveled
- 2 tablespoons unsweetened cocoa powder
- 1 teaspoon baking soda
- 1/2 teaspoon salt
- 8 tablespoons unsalted butter, softened
- 1 1/2 cups granulated sugar
- 1 cup vegetable oil
- 2 large eggs at room temperature
- 2 1/2 teaspoons vanilla extract
- 1 teaspoon white vinegar
- 2 tablespoons red food coloring
- 1 cup buttermilk at room temperature
FROSTING
- 12 Tbsp unsalted butter, softened to room temperature
- 5 1/2 cups powdered sugar
- 16 ounces full-fat brick cream cheese, softened to room temperature
- 1 1/2 teaspoons vanilla extract
- 1/8 teaspoon salt
Instructions
FOR THE CAKE
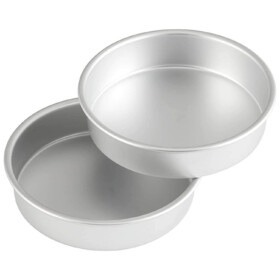
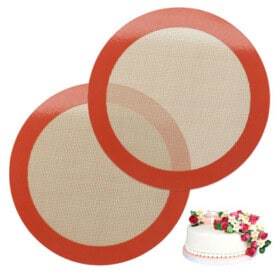
- Prep: Preheat the oven to 350°F. Line two 8-inch round cake pans with parchment paper or silicone baking mats (I LOVE my round ones!). Spray with nonstick cooking spray WITH FLOUR or grease and flour the pans.
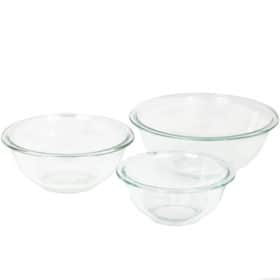
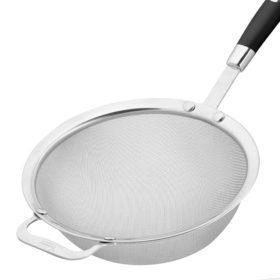
- Sift Dry Ingredients: Sift together the flour, cocoa powder, baking soda, and salt in a mixing bowl. Set aside. (You MUST sift them)
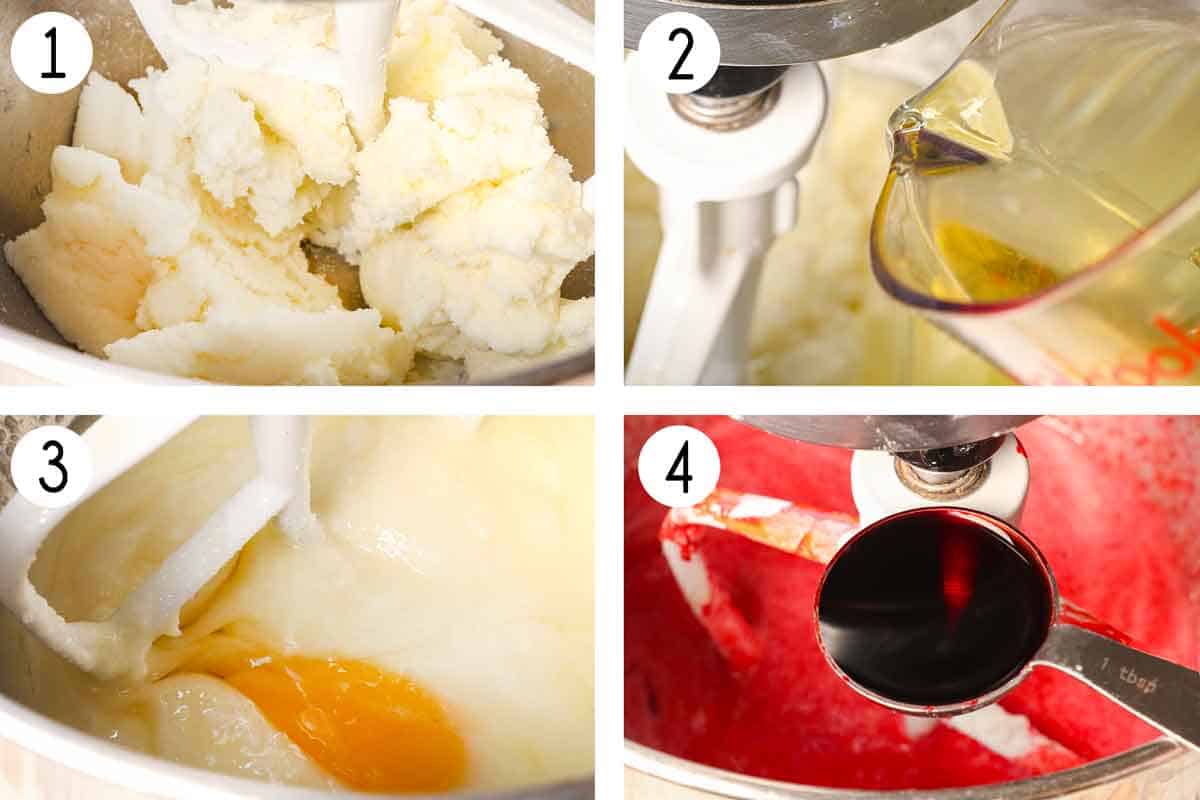
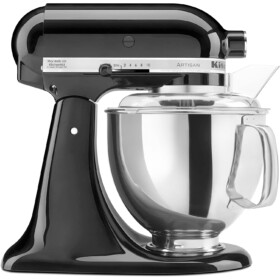
- Cream Butter and Sugar: Using a stand mixer fitted with the paddle attachment, beat the butter and sugar on medium-high speed until pale and fluffy, 3-4 minutes.
- Combine Ingredients: Beat in the oil until well combined. Beat in eggs, one at a time, just until combined. With the mixer on low, beat in the vinegar, vanilla, and red food coloring.
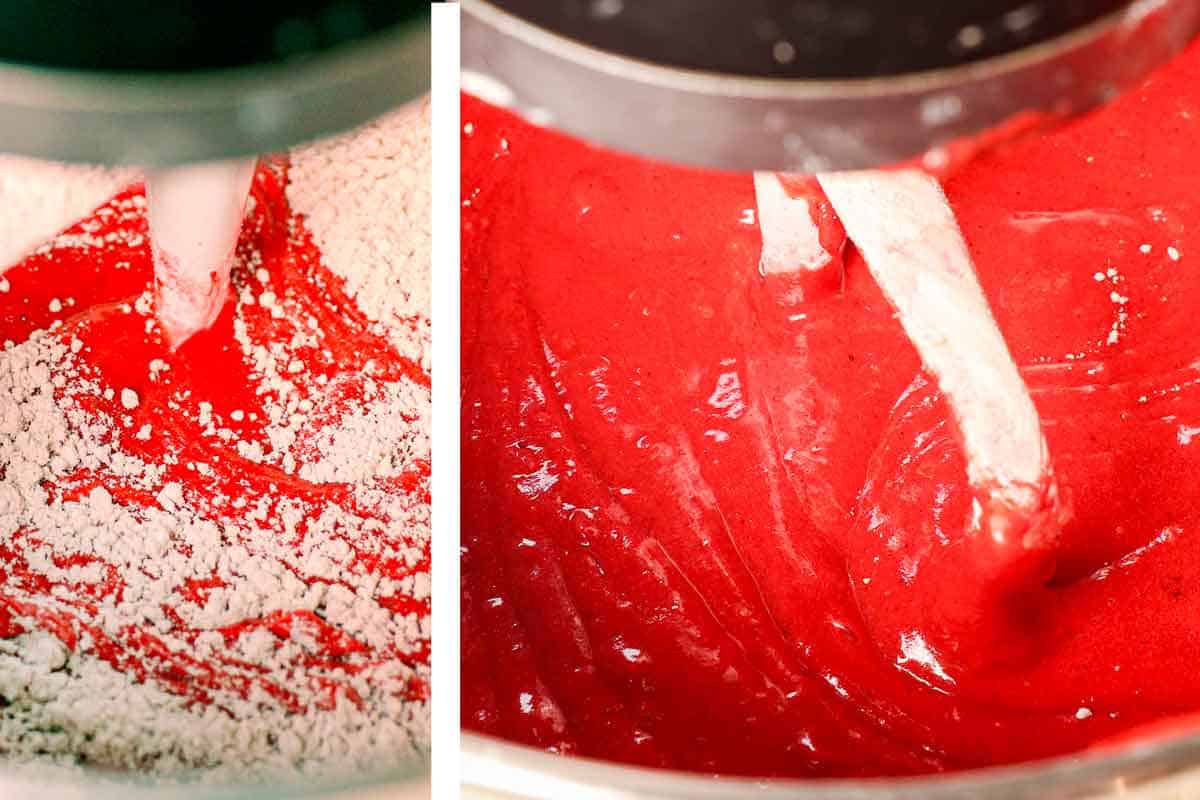
- Alternate Dry Ingredients: Add the flour mixture in thirds, alternating with buttermilk, scraping down the bowl as needed. Increase the speed to medium, and beat just until incorporated, about 30 seconds (don’t overmix). Give the batter a final stir by hand.
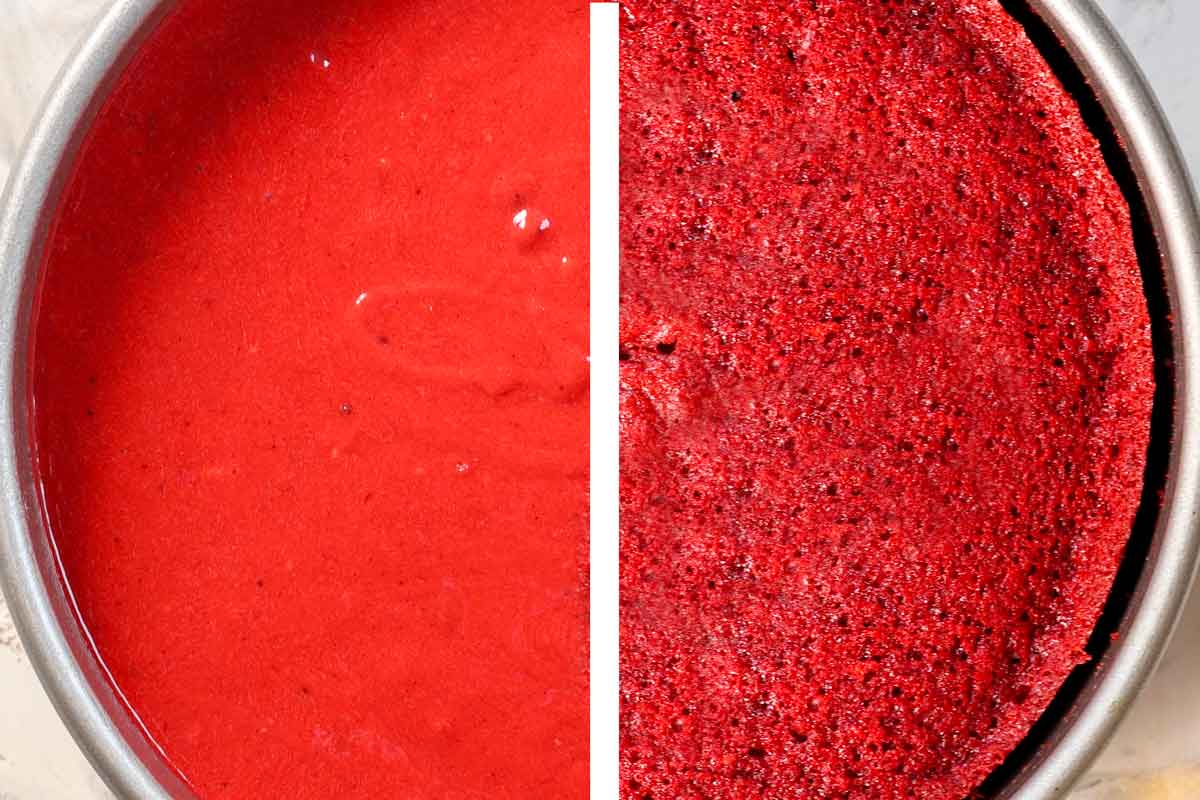
- Bake: Divide the batter evenly between the prepared pans (I weigh mine with a food scale). Drop the pans on the counter a few times to eliminate air bubbles. Bake at 350°F until a toothpick inserted in the center comes out clean, about 18-25 minutes. I tested in a few different ovens with varying times, so the bottom line is: do NOT overbake. Test early and often, and bake just until done.
- Cake: Let the cakes cool in pans on a wire rack for 10 minutes, then invert them onto a baking rack. Let them cool completely before frosting, about 2 hours.
CREAM CHEESE FROSTING
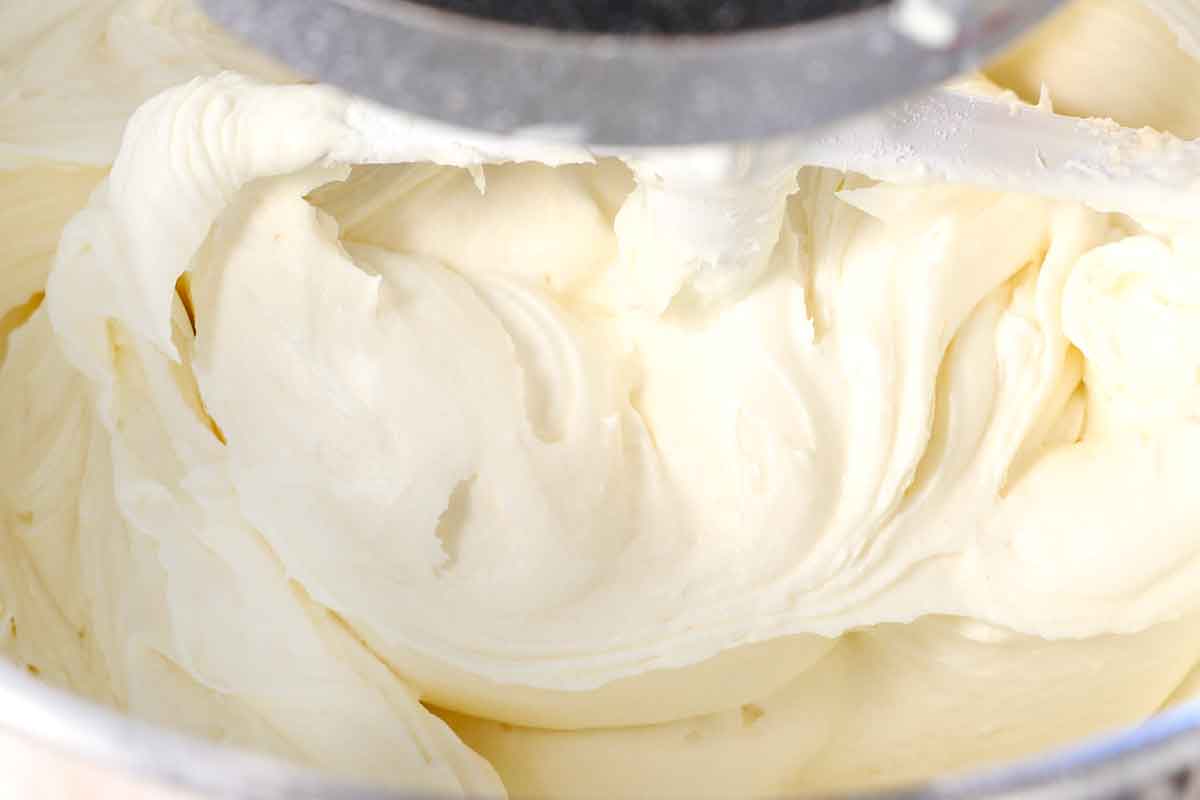
- Note: This is a unique method from Cook's Illustrated that makes the frosting thicker and more stable. It will look super thick at first, but it will thin to the ideal consistency when you add the cream cheese.
- Combine: Using a stand mixer fitted with a paddle, beat the butter and sugar on low speed for a minute, then gradually increase the speed to medium-high and beat for 2 minutes (it will be grainy). Add the cream cheese 1 piece at a time, beating a few times after each addition. Beat in the vanilla and salt. If your frosting seems too runny, beat in a little more sugar.
TO FROST THE CAKE
- Level Cakes: Using a serrated knife, level the top of each cake. Use your fingers to crumble the removed cake tops into small crumbs, then set them aside to garnish the cake.
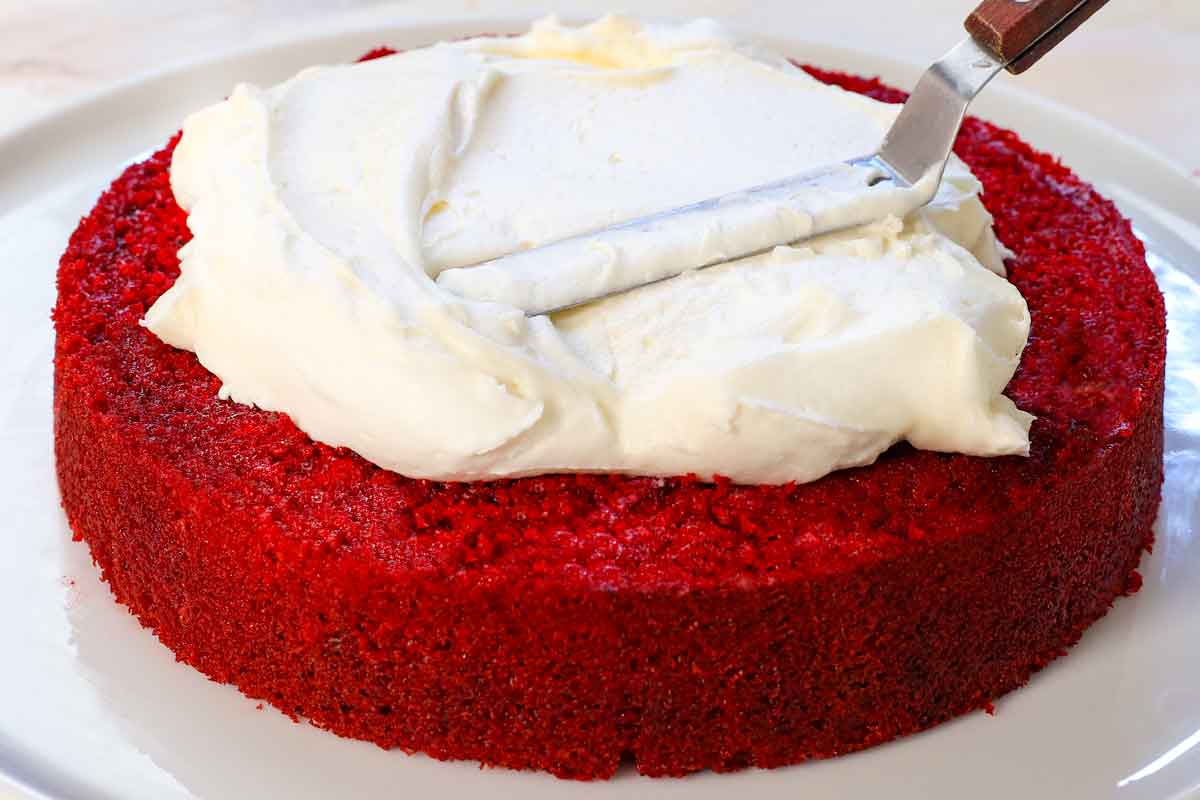
- Layer Cakes: Place one cake layer on a serving plate and frost with 1 ½ cups of frosting. Top with the 2nd cake layer.
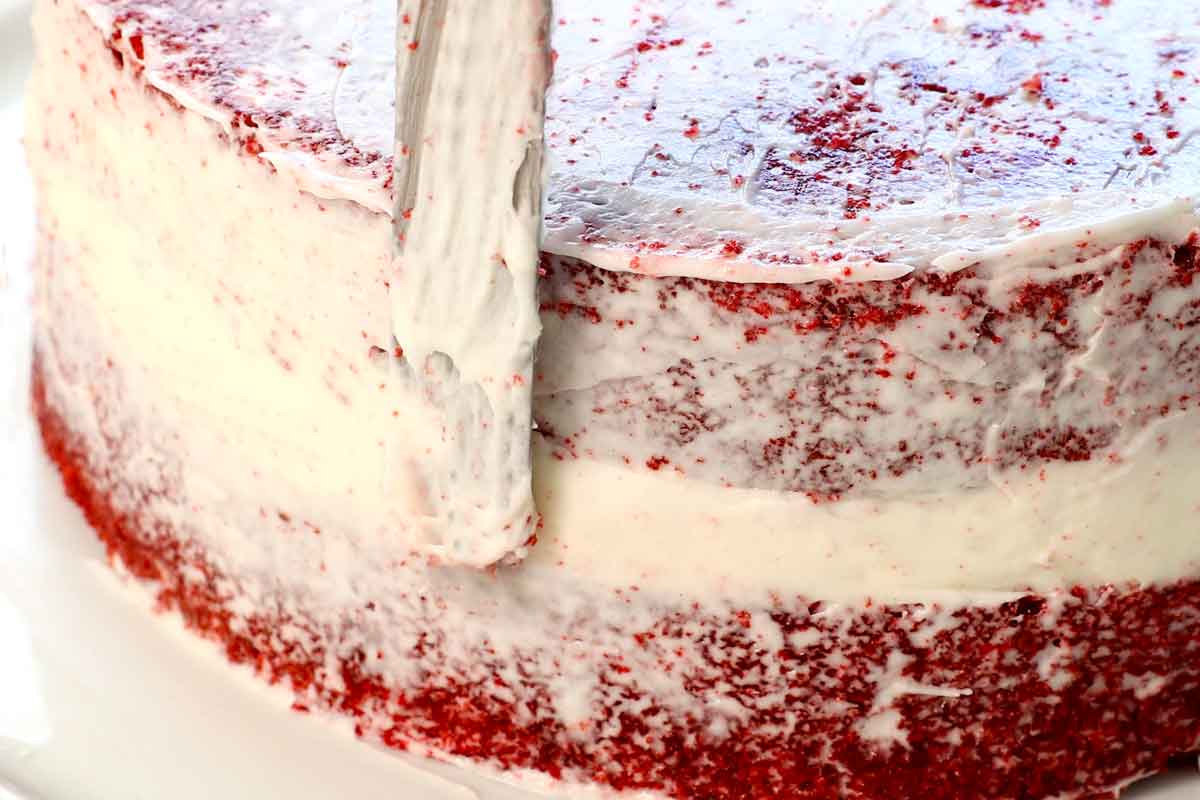
- Crumb Coat: Separate ½ cup frosting (or more as needed), and create a thin crumb layer by frosting the top and the sides of the cake. Cover and refrigerate the cake for 30 minutes (this sets the crumb coat and creates beautiful layers).
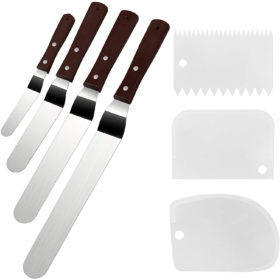
- Frost: After 30 minutes, spread the remaining frosting evenly over the top and sides of the cake. If desired, you can pipe a border along the edge. Garnish with the cake crumbs. Best served at room temperature.
Video
Want To Make This Recipe?

Did You Make This Recipe?
Tag @CarlsbadCravings and Use #CarlsbadCravngs
Leave a Review, I Always Love Hearing From You!


Susan Walker says
Baking a red velvet cake is our family’s Valentine’s tradition. I saw your recipe and gave it a try. It was delicious, moist, and the frosting was on a whole new level. The cake came out so delicious, we all loved it!
Jen says
Hi Susan! It’s so wonderful to hear that this cake turned out delicious for your Valentine’s Day! Thanks so much for your sweet comment!