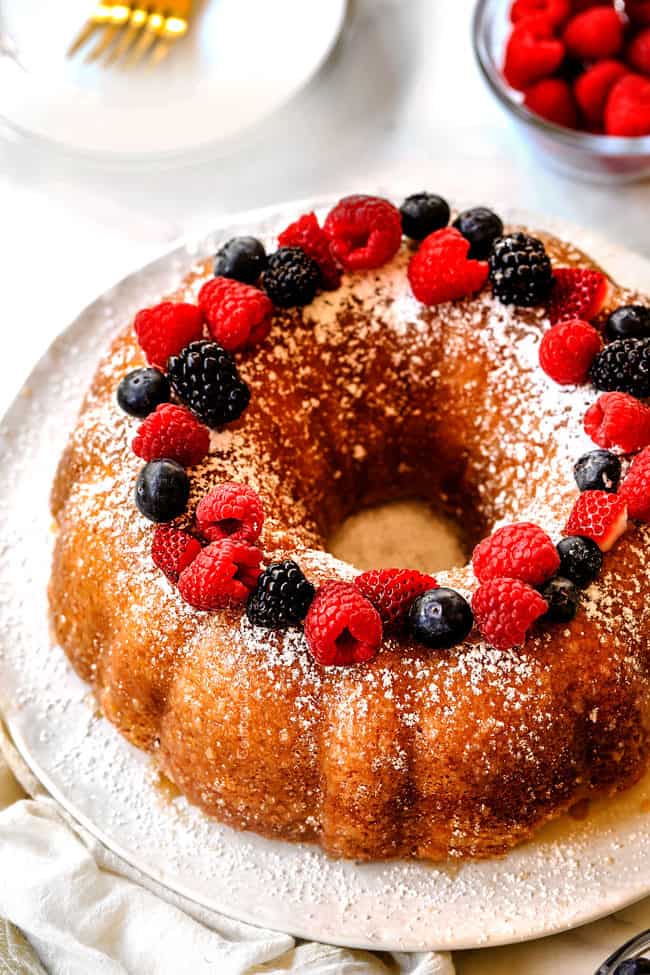
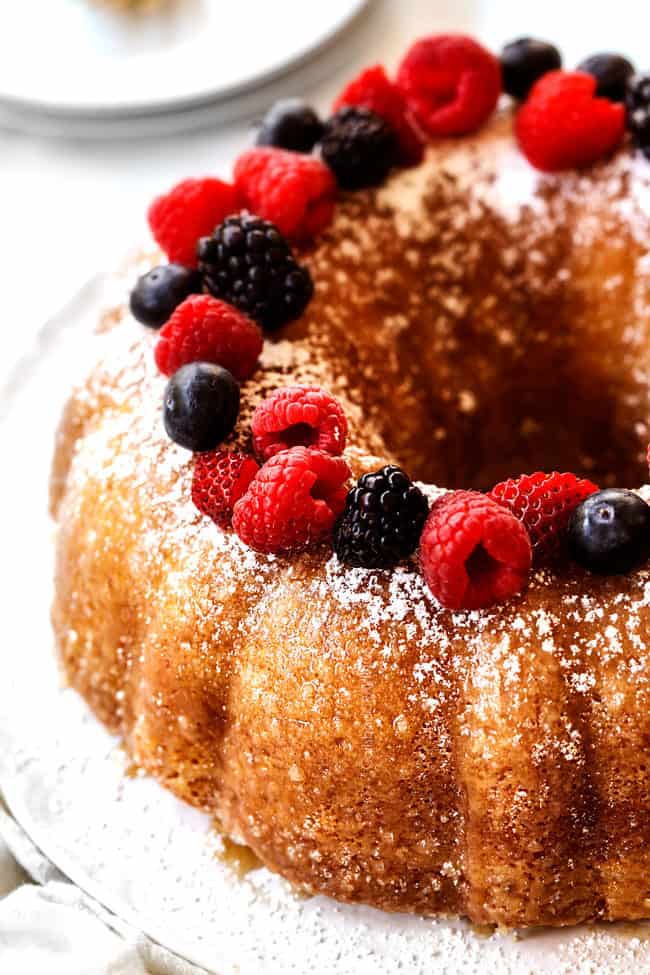
Kentucky Butter Cake is a rich, buttery, crazy moist vanilla poke cake infused with luscious butter sauce that soaks through the cake AND is smothered on the cake leaving an irresistible sugar crust on the outside. This sweet, tender cake is stand-alone delicious or fabulous with berries and whipped cream. This Kentucky Butter Cake is easy to make and tastes even better the next day – perfect for stress free entertaining or holidays (like Easter!). It also tastes even better with gluten free flour! Tips and tricks, Step-by-Step Photos, How to Make Ahead, How To Freeze all included!
Watch How to Make Kentucky Butter Cake
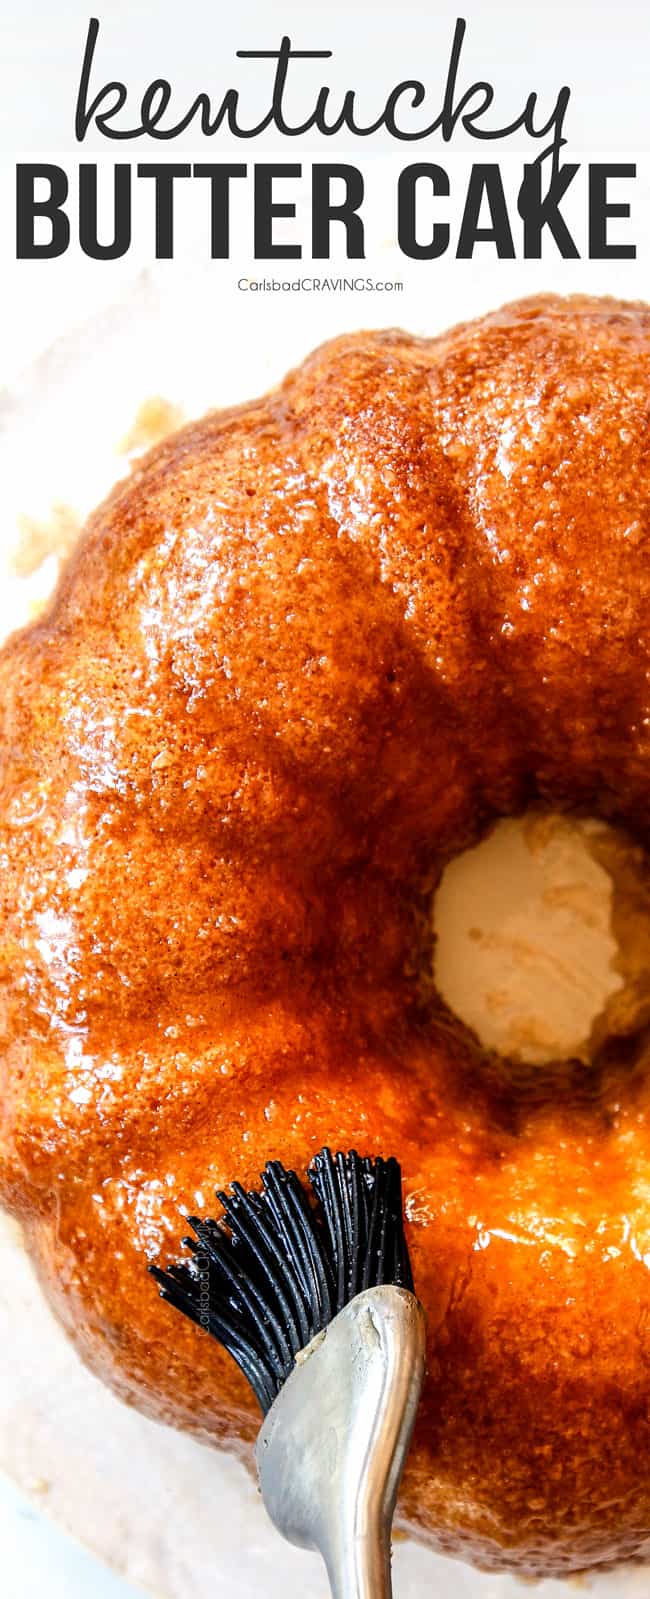

What is Kentucky Butter Cake?
Have you ever had the pleasure of devouring Kentucky Butter Cake? I tragically ate my way through most of my life without tasting this bliss. It wasn’t until my birthday a few years ago that I sunk my teeth into one of life’s culinary delights.
If you aren’t familiar with Kentucky Butter Cake, is it is essentially a vanilla poke pound cake combined with a butter crunch cake. It was originally made by Nell Lewis in 1963 who entered it into a Pillsbury Bake-off contest in Missouri and won. The recipe has since taken the internet world by storm.
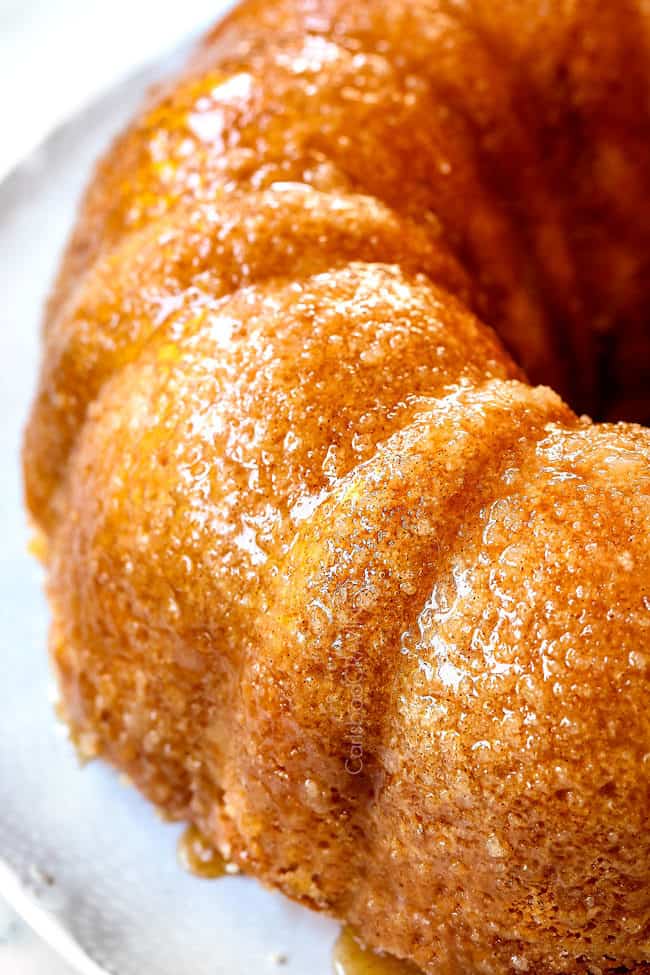
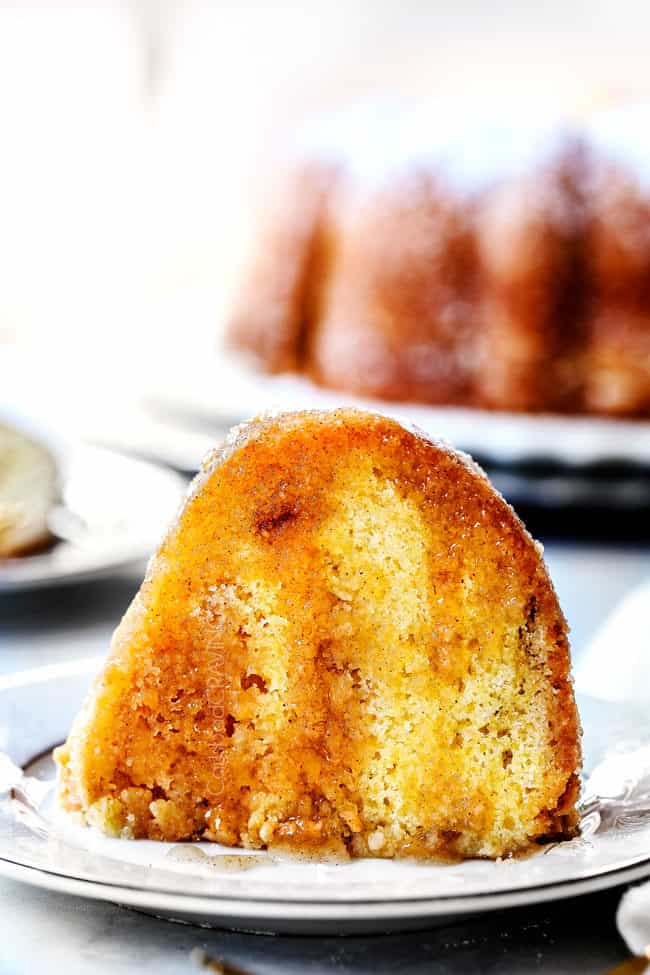
What sets Kentucky Butter Cake apart is the sweet butter vanilla sauce. You poke holes in the bottom of the cake while its still warm then the holes get filled with luscious sweet sauce. The sauce seeps into the rest of the cake creating the most wonderfully moist cake you ever did taste – seriously melt-in-your-mouth-mesmerizing. The glaze also creates a crunchy, crackling bottom that is my FAVORITE part of the cake.
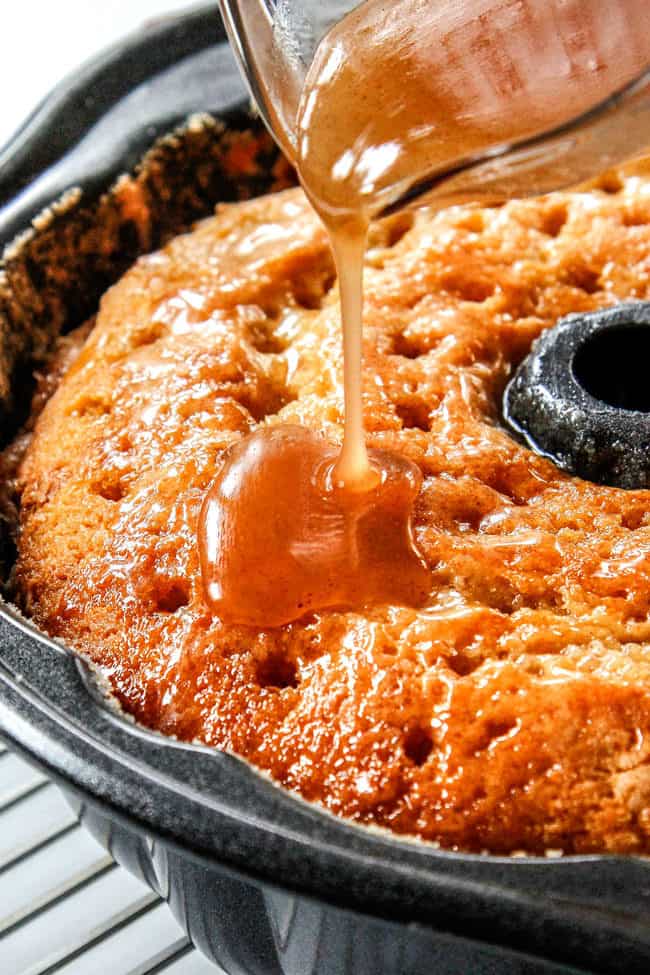
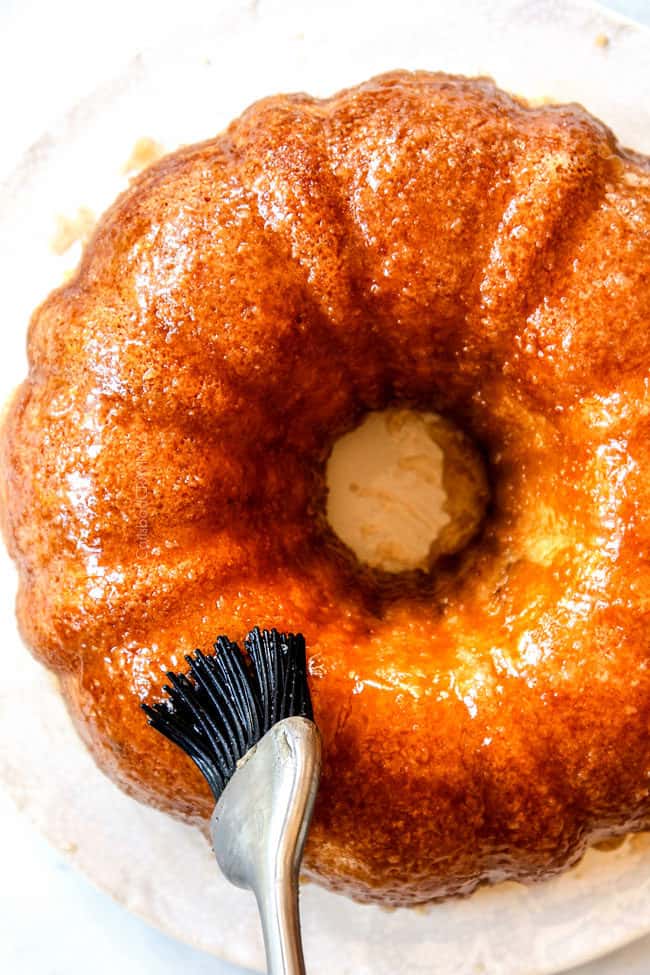
The entire exterior of the Kentucky Butter Cake also gets brushed with sugary butter sauce that sets up to create a crispy, sweet crust, much like a donut.
Kentucky Butter Cake is like a velvet pound cake in texture – rich, tender, dense and decadent as opposed to light and airy – which makes it the perfect sponge for the sweet buttery sauce.
So basically, you have a soft, buttery, sugary interior, a buttery, sugar crunchy exterior that tastes of rich vanilla and butter all over without tasting too sweet. Are you drooling yet?

Why you will love this Butter Cake Recipe
I brought this Kentucky Butter Cake to my father-in-law’s 75th birthday this past weekend and everyone was swooning all over it! Which ALWAYS happens. You can’t bring this Kentucky Buttery Cake anywhere without it being an overwhelming crowd pleaser!
There are thousands of Kentucky Butter Cake recipes out there and they are basically all the same recipe with varied techniques – but my recipe is different. It uses a different cake recipe, techniques, and ratios. Here is what makes this Kentucky Butter Cake AMAZING:

BUTTER CAKE INGREDIENTS
To make this butter cake recipe, you’ll need the following ingredients, many of which are repeats in the cake and the butter sauce:

Kentucky Butter Cake Recipe variations
This Kentucky Butter Cake is delicious in its simplicity, but it also creates a blank canvas for virtually any extract. You can use almond, orange, lemon, peppermint, or rum (the original flavor).

How to Make Kentucky Butter Cake
This Kentucky Buttery Cake takes less than 15 minutes to mix – so please don’t be intimidated by the thorough tips and tricks!
Grease Bundt Cake Pan:
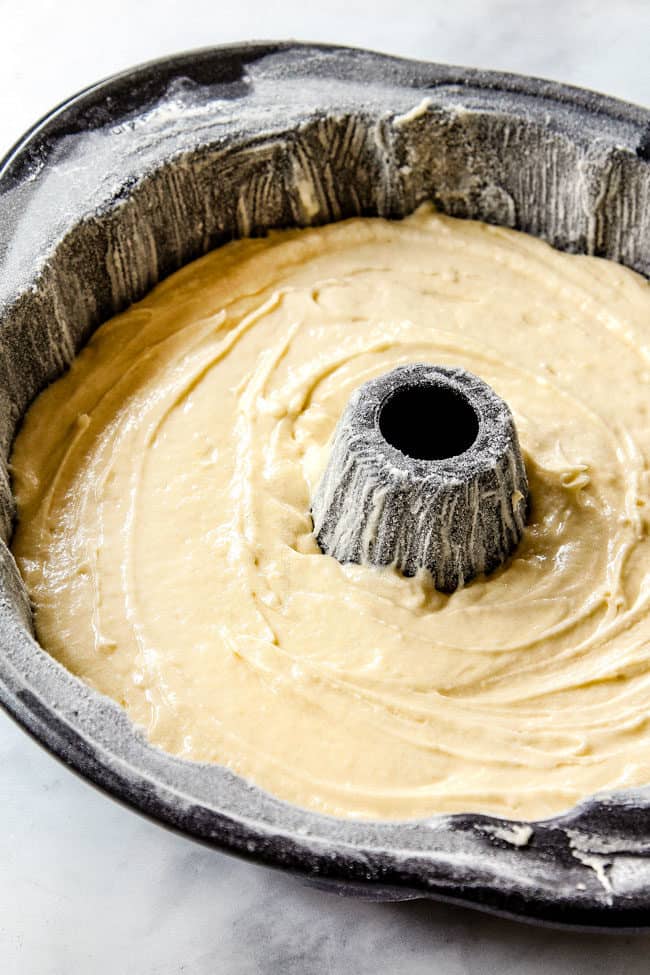
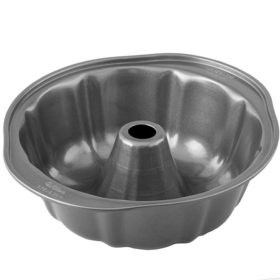
You will need a 10-inch, 12 cup nonstick Bundt cake pan for this Kentucky Butter Cake recipe. I usually love using nonstick cooking sprays with flour to grease my pans – but please do NOT use a spray for this cake because it is sticky!
Instead, you can use good old’ shortening or butter with flour OR add in a little sugar. I like to butter, sugar and flour my pan for this Kentucky Bundt Cake because it helps create a sugar crust.
Also be aware that older Bundt pans have a tendency to stick, especially if the coating has rubbed off in any area.
To grease and flour your pan:
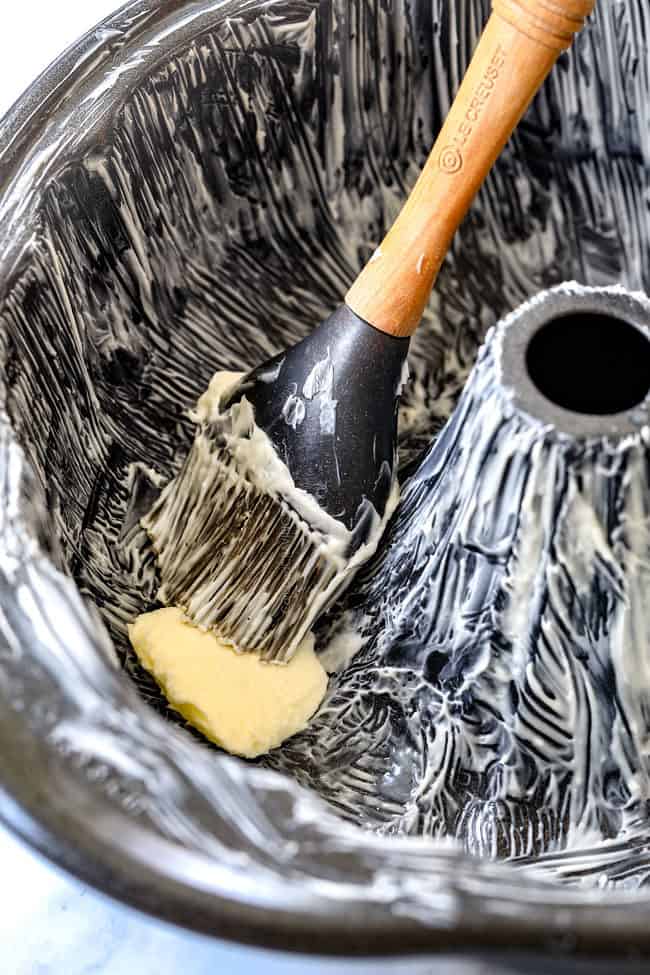
- Brush an even layer of softened butter all over the inside of the pan (about 1 ½ tablespoons). Make sure you get every nook and cranny!
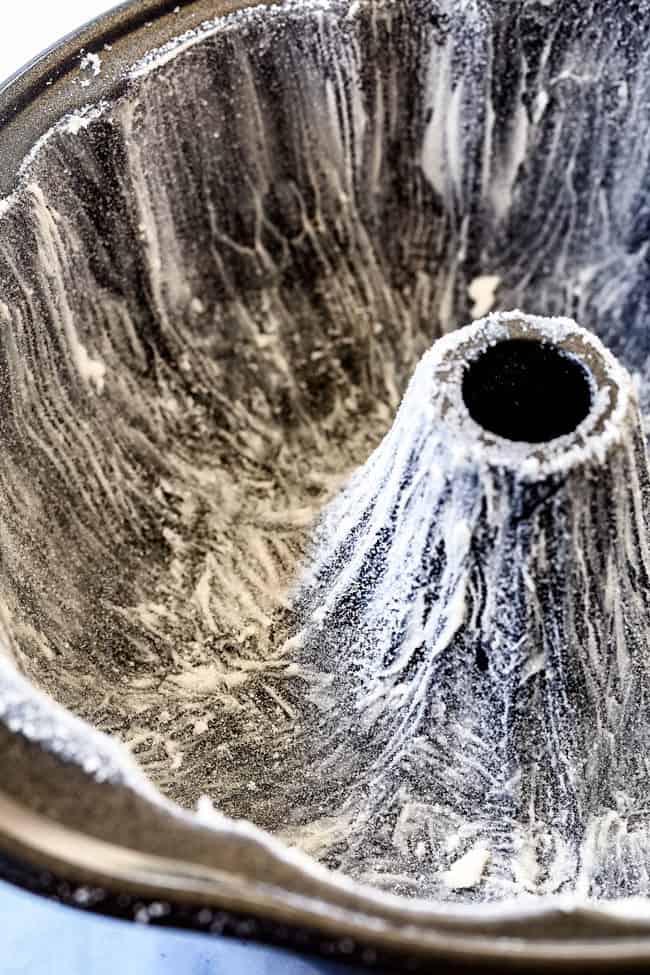
- Next, sprinkle in 2 tablespoons of granulated sugar – starting with the top edges of the pan so it trickles down the pan – make sure you do the same to the tube too, and tap and turn the pan to evenly coat.
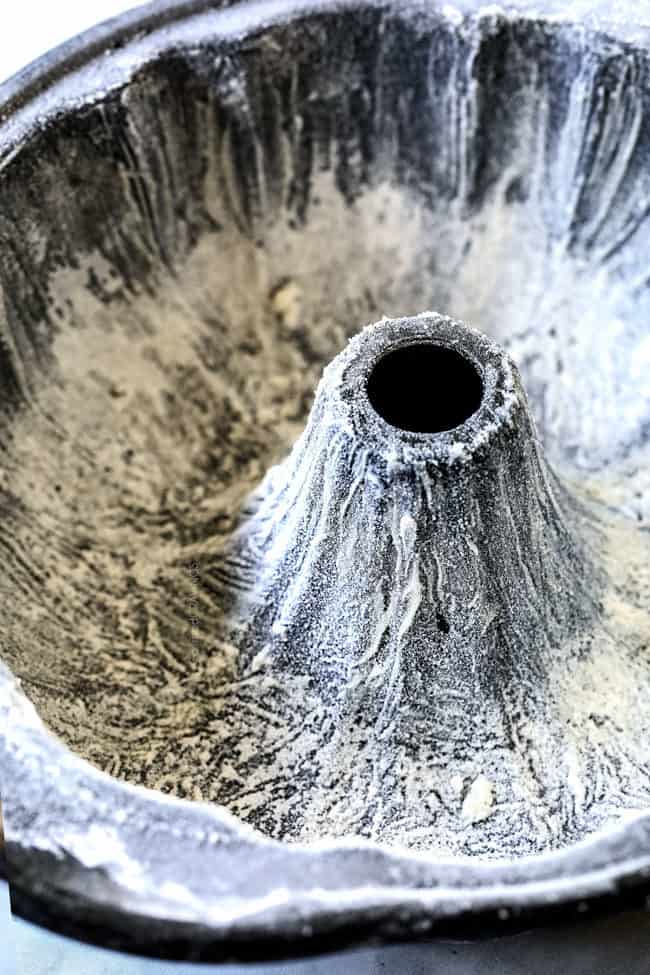
- Repeat with one tablespoon of flour. Tap a few times to remove any excess. You probably don’t need the flour if using sugar, but I always use it for insurance. You can also follow the same technique and omit the sugar and just use 2 tablespoons flour.

Use Room Temperature Ingredients
You will need room temperature butter, buttermilk and eggs for this Kentucky Butter Cake. Room temperature ingredients mix much easier (so it’s harder to overmix) and whisk to a higher volume which results in a softer Bundt cake with maximum volume. Cold eggs result in a denser cake.
To quickly bring eggs to room temperature, add warm (not hot) tap water to a bowl then add eggs (still in their shells) for at least 20 minutes. You can microwave your buttermilk until room temperature (NOT hot).
DIY Buttermilk
I never keep buttermilk on hand – but I ALWAYS want to make Kentucky Butter Cake! Buttermilk is crucial for a tender crumb because the lactic acid reacts with the baking soda to leaven the cake.
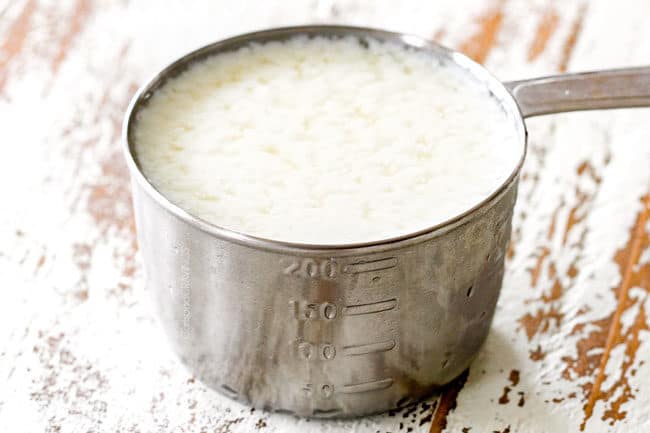
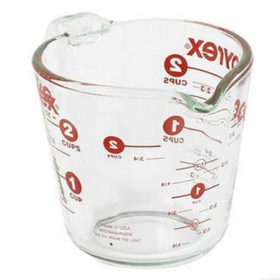
Fortunately, you can make DIY buttermilk by adding 1 tablespoon lemon juice or white vinegar to a measuring glass then adding enough milk to equal one cup. Give it a stir and let sit 10 minutes. The milk will curdle so you know it’s ready.
Cream Until Fluffy
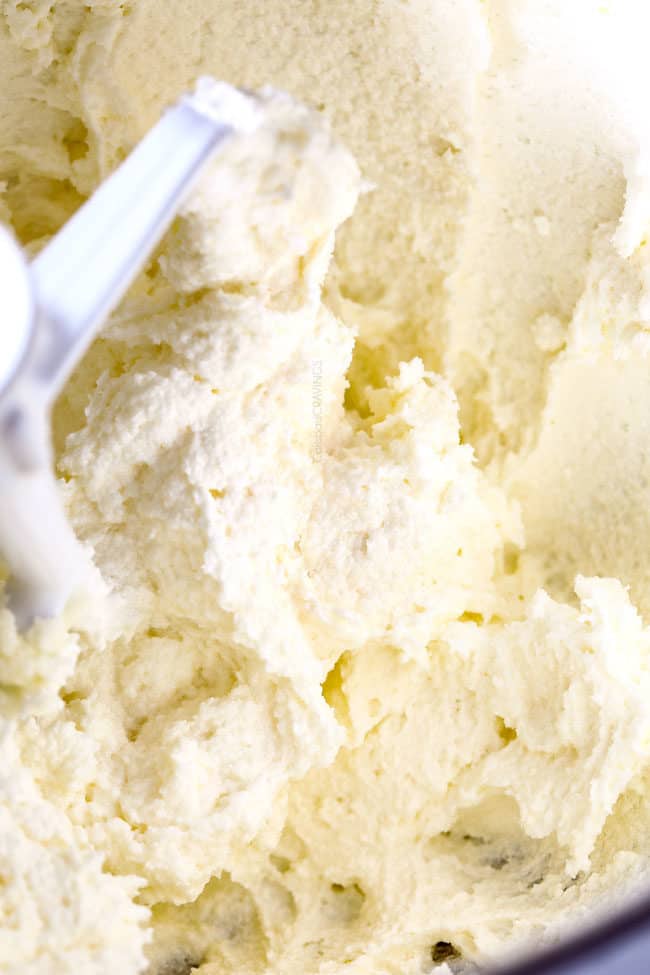
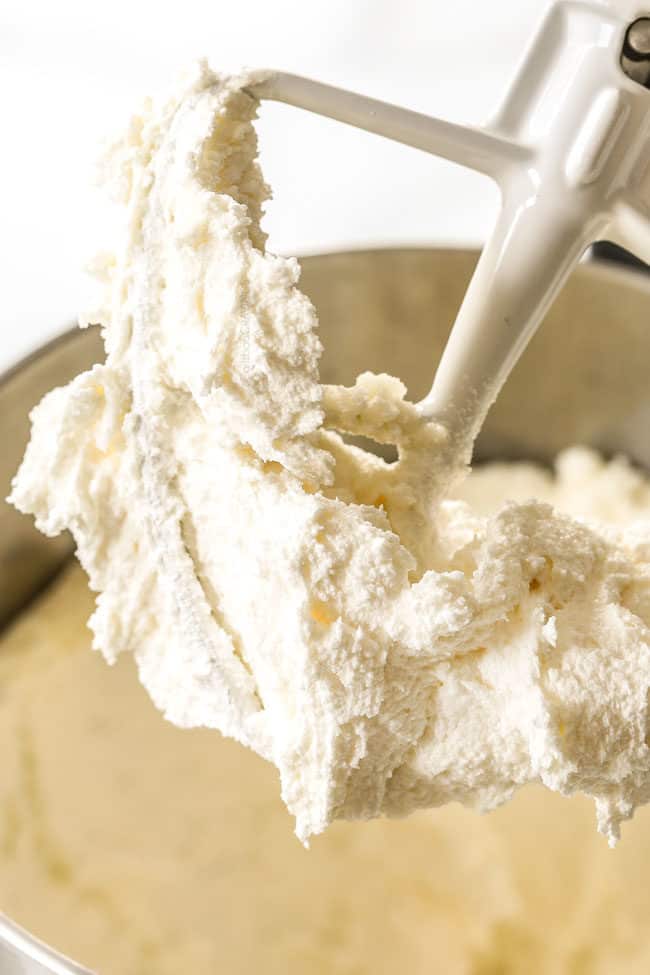
One of the keys to a soft cake is to cream your sugar and butter until light and fluffy. You should beat your butter and sugar at medium – high speed for at least 3-5 minutes. I suggest setting a timer because 3 minutes will seem extra-long but you don’t want to cut it short.
This step is so important because it is the only time you want to whip air into the cake batter to create bubbles. The bubbles will expand as the cake bakes, resulting in a lighter cake. If you don’t cream them enough, your cake will be denser, not as tender, or rise as high.
Don’t Over-Mix
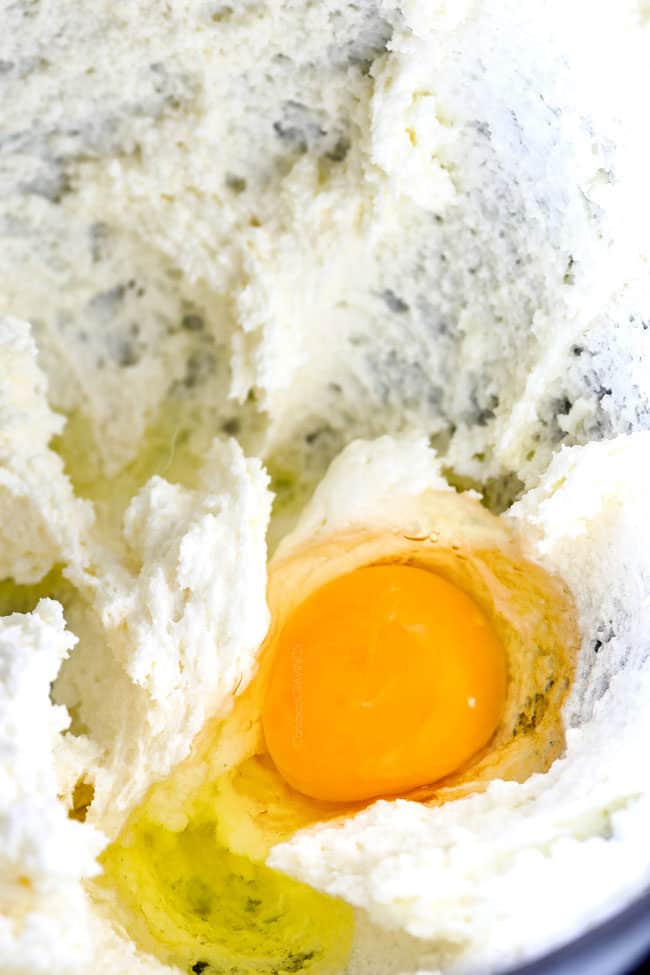
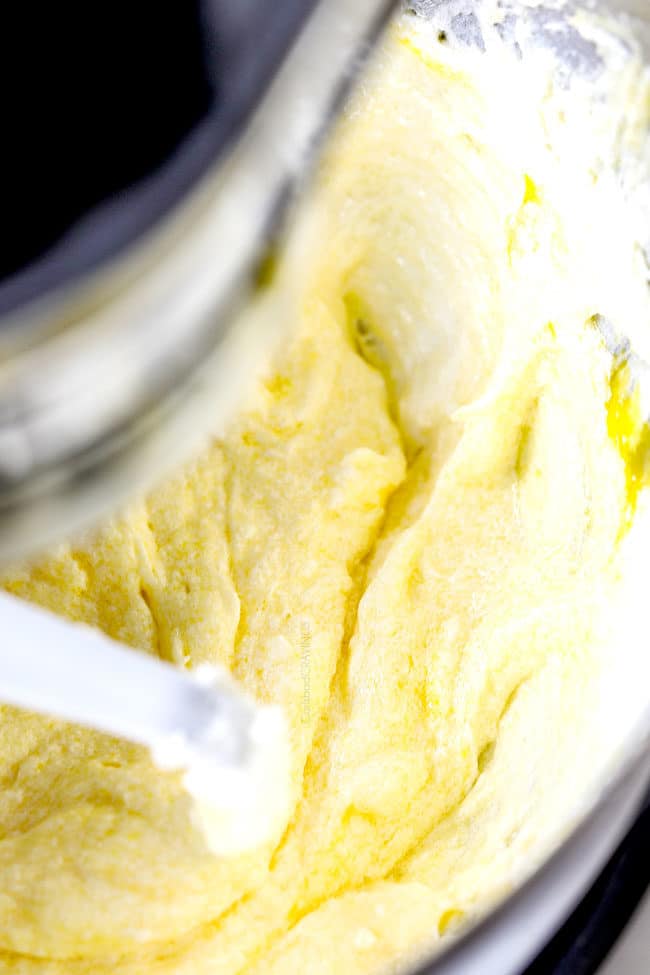
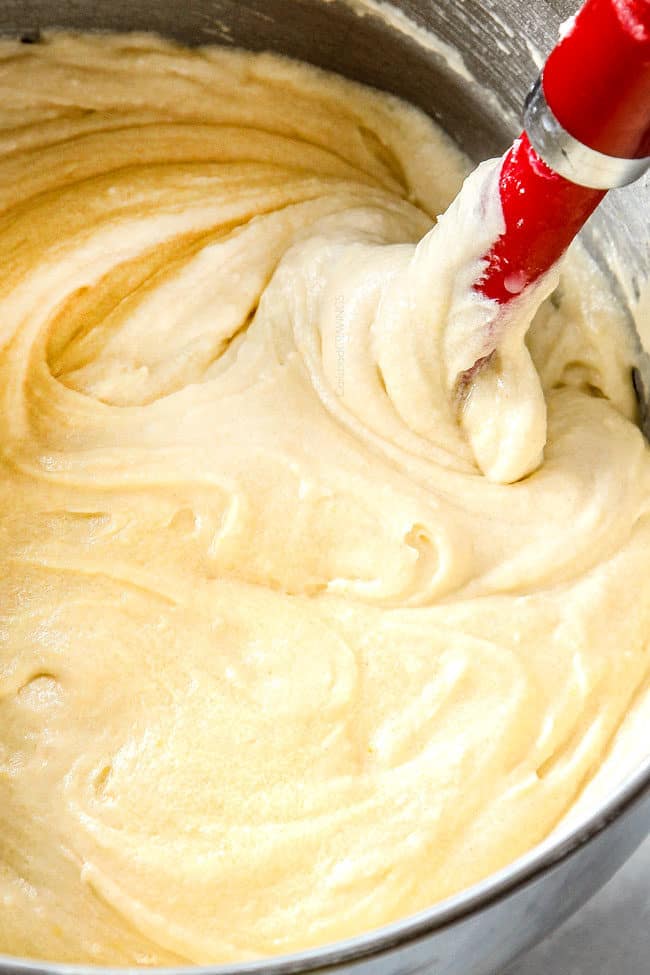
Once you’re done creaming the butter and sugar, you want to beat the batter as little as possible. Add the eggs, one at a time, beating just until the yellow disappears after each egg. You never want to overbeat eggs as this will cause the batter to be runny and may cause the batter to overflow when baking.
Don’t peek!
I know it is going to be hard not to peak at your Kentucky Butter, but please don’t open the door! Opening the doors can cause your cake to cook unevenly and to fall. Only check on your cake at 50 minutes.
Don’t overbake!
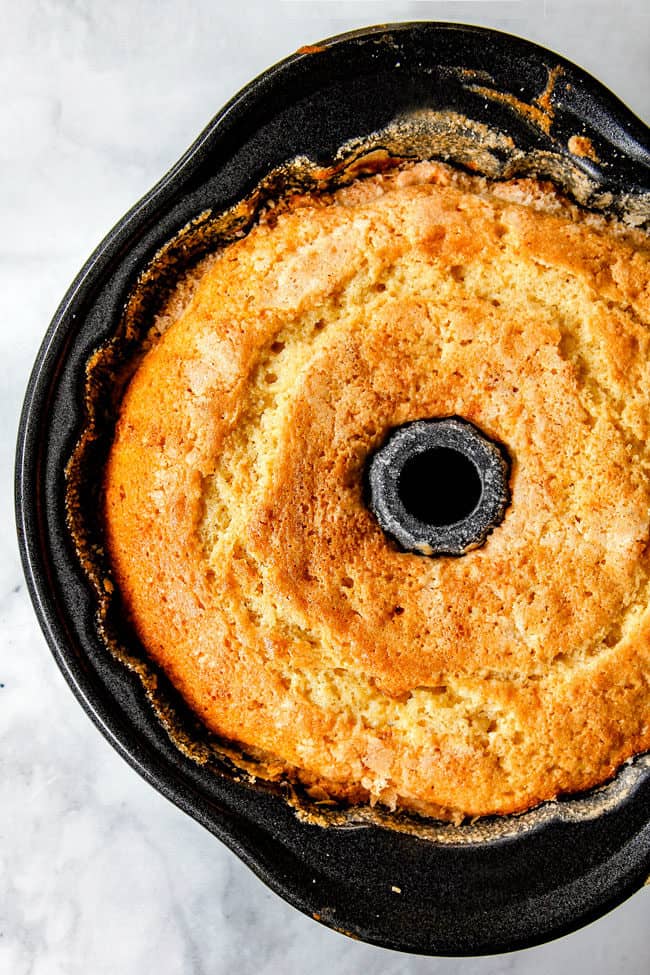
One of the main reasons people complain of dry cakes is because they over bake their cake You want to remove your cake when there are just a few crumbs clinging to a toothpick. Check your Kentucky Butter Cake at 50 minutes then continue to cook as needed, setting a timer so you don’t overbake it.
Poke Holes
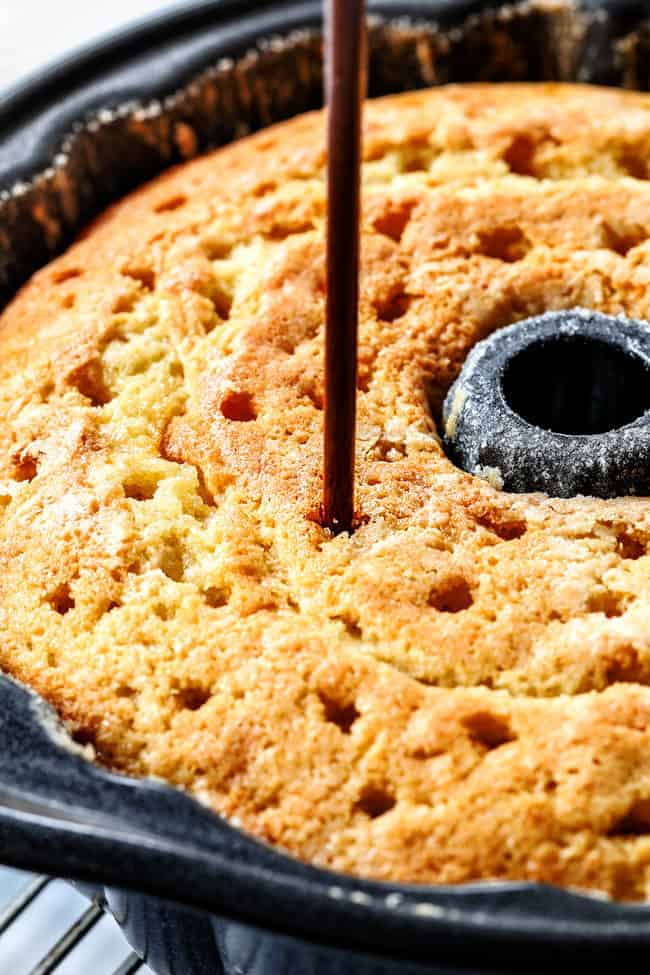
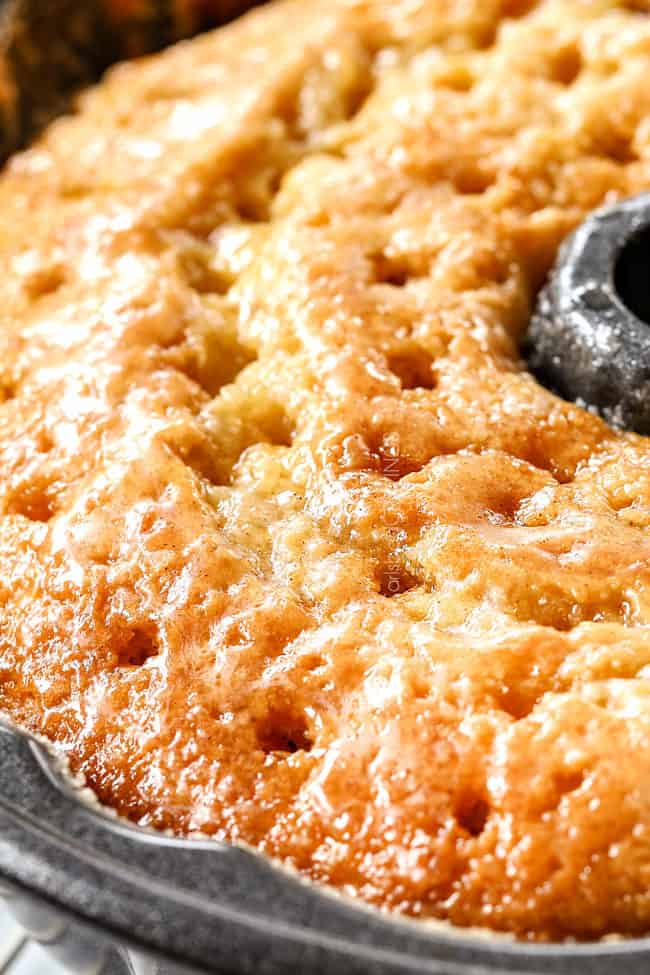
Here comes the fun part! Let the Kentucky Butter Cake rest for 5 minutes then poke holes all over the bottom of the cake, about 45 holes. I have found the thin end of a chopstick to be just the right size. Skewers are too thin and the back of a spoon is too big.
If you don’t have chopsticks, try and find something similar in size such as the back of a utensil. If all else fails, you can use a skewer but wiggle it around a little to create a bigger hole.
You will want to poke the holes about ¾ of the way down. This allows the butter sauce to penetrate the cake without oozing out the top and sticking to the pan.
Make Butter Glaze/Sauce
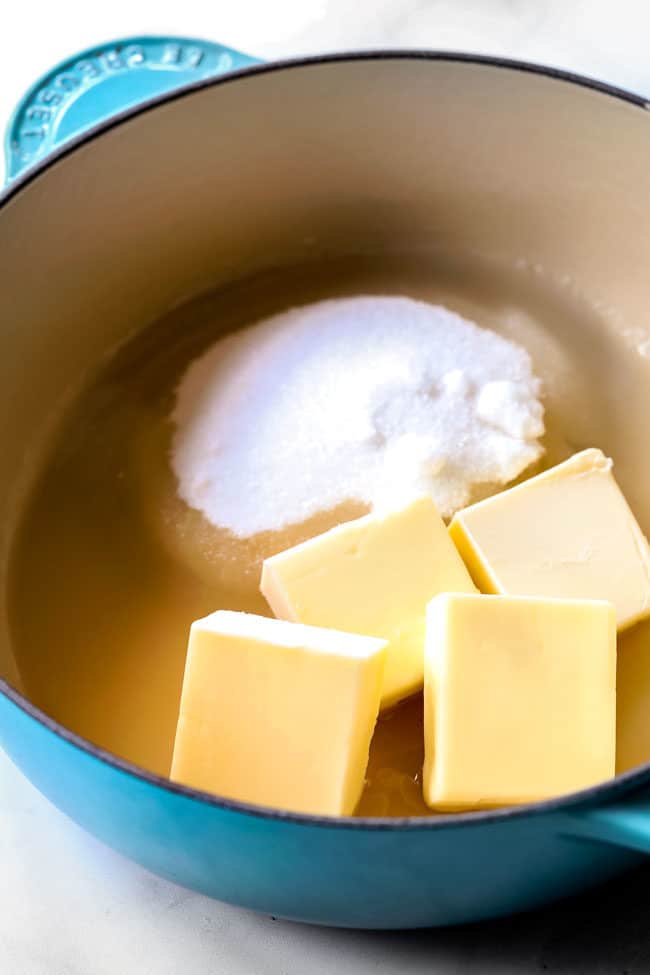
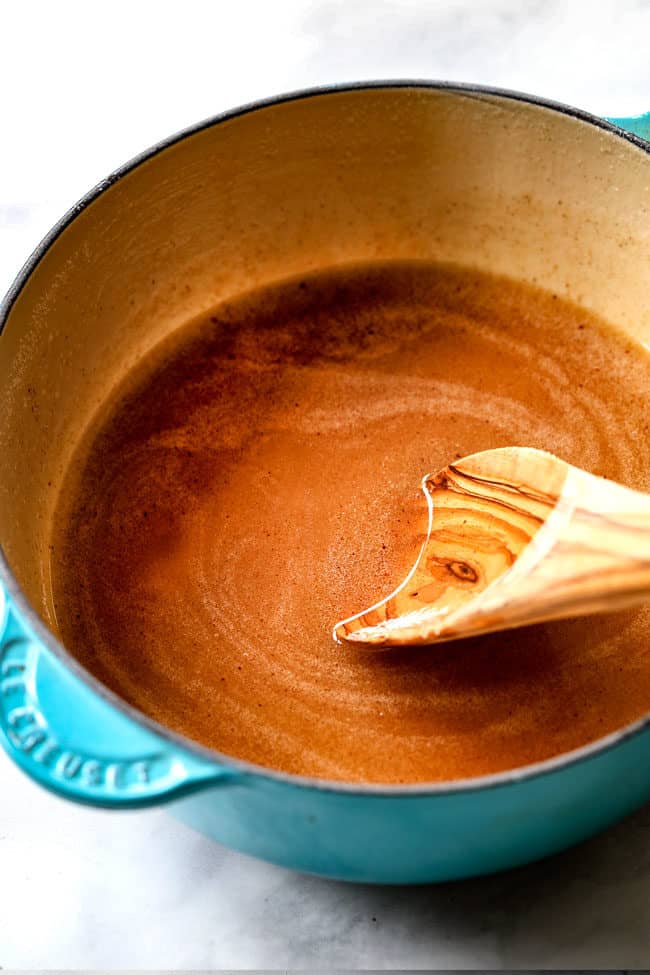
Immediately after poking holes in the cake, make the Butter Sauce. You don’t want to make the sauce too soon because it will crystallize and harden. Making it when the vanilla cake comes out of the oven is perfect because it also gives the cake a few minutes to cool. If you pour the glaze over the cake as soon as it comes out of the oven, the cake is so hot it will absorb all the glaze and the sugary, crunchy coating won’t form – nooooooooooo!
Pour Sauce into Holes
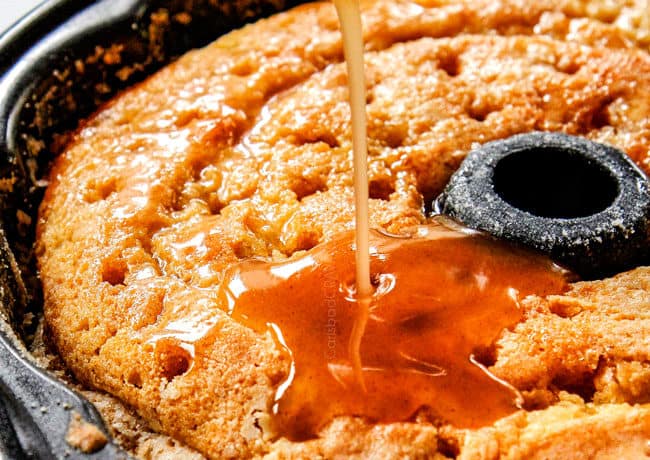
To use the sauce, reserve ¼ cup (to glaze the cooled cake later) and pour the rest of the sauce into the holes of the cake. You’ll want to add the sauce slowly so it actually seeps into the holes of the cake and doesn’t pool and drip down the edges of the cake.
How long to wait before taking cake out of pan
After you’ve poured the sauce over the Kentucky Butter Cake, let it sit for 30 minutes. You don’ want to let it cool any longer or the glaze can stick and harden like glue.
When you’re ready remove the cake, run a knife around the edges of the cake. Firmly tap the outside of the pan a few times until you feel the cake is loose, then invert the cake onto a plate or cake stand.
I have never had a problem with any of my Kentucky Butter Cakes sticking but if any of your cake is left behind in the pan, simply pick up the pieces and patch them back into the cake. The glaze will act like glue to keep them in place and you can use powdered sugar to hide any imperfections.
Glaze Cake
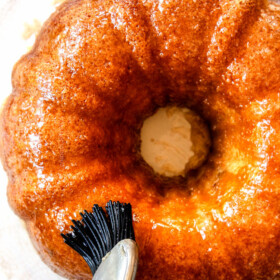
Rewarm the Glaze (again, not letting it boil) and brush it evenly over the cake, moving slowly so it has time to seep in. Let the cake sit for at least one hour before serving, but it is much moister and more flavorful if allowed to rest overnight.

Can I make Buttercake ahead of time?
Yes, I highly encourage it! This Kentucky Butter Cake tastes much better if made one day ahead of time – the flavors develop AND the cake becomes moister – so please try and plan accordingly – and you will taste the difference!
Make-Ahead Instructions:
- Once cake is cool and the glaze is set, wrap the cake tightly in plastic wrap or cover in an overturned bowl or cake carrier. You can also store your cake in the microwave.
- Store at room temperature until ready to serve.
- I like to microwave individual slices for 10 seconds or so.
- This cake keeps well for several days, but is best the second day.

Butter Cake Recipe tips
We’ve gone over most of the tips for success in the above section, but here are a few more areas to pay attention to:

How to serve Butter Bundt Cake
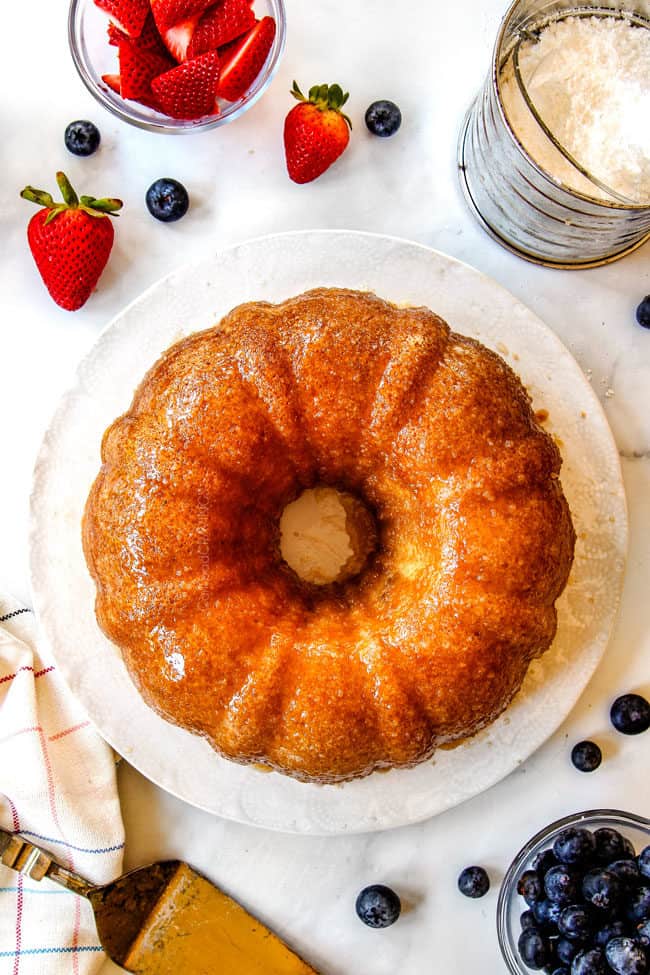
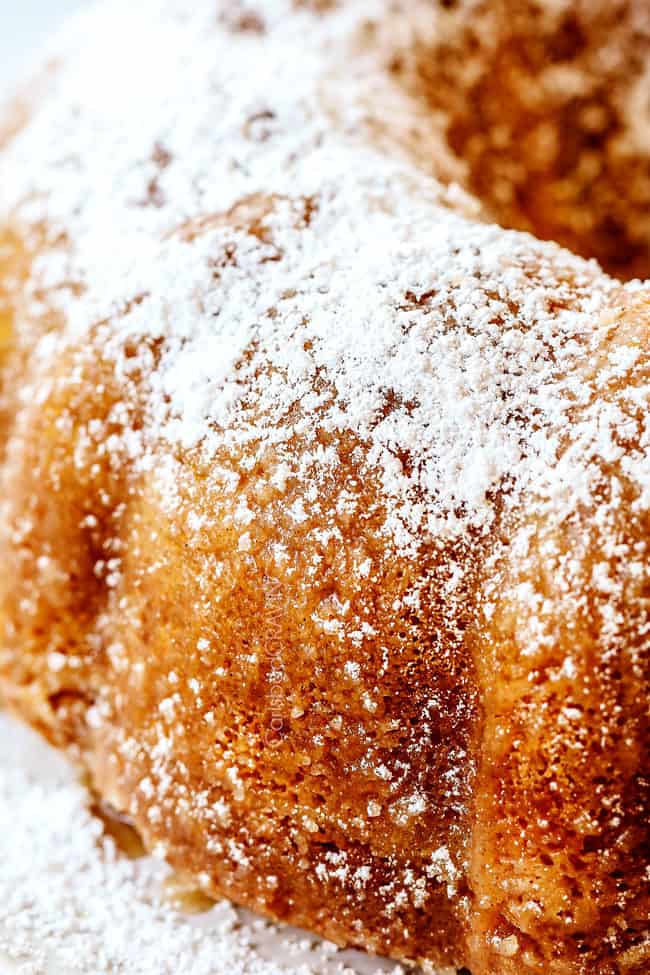
Kentucky Butter Cake is delicious in its buttery vanilla simplicity, but I also love it with:

How to store Butter Cake
Once the cake has cooled, wrap it in plastic wrap or use a cake cover. Store it at room temperature in a cool, dry place away from direct sunlight for up to 4 days. For longer storage, place the wrapped or covered cake in the refrigerator. This can extend its freshness for up to a week, however, refrigeration can dry out the cake.

Can I freeze Butter Bundt Cake?
1. Let the glaze on the exterior of the cake set completely.
2. Double wrap the cake tightly in plastic wrap.
3. Freeze cake for up to 3 months.
4. Allow the cake to thaw overnight in the refrigerator, then unwrap and come to room temperature on the counter before serving.
Butter Cake Recipe FAQs
The main difference between a butter cake and a pound cake is in their proportions. A traditional pound cake is made with equal parts of four primary ingredients: one pound each of butter, sugar, eggs, and flour, resulting in a dense and rich cake. On the other hand, a butter cake contains less butter and sugar relative to the other ingredients, yielding a lighter and softer texture, often with a more delicate flavor.
Several factors can contribute to a butter cake being dry instead of moist. Here are some common reasons:
Incorrectly measuring flour: Whenever you measure flour, don’t scoop it into the flour bag/container or else the flour will compress and packed flour yields denser, drier cakes. Rather, scoop flour into measuring cup and then level.
Overmixing: Overmixing the batter can develop too much gluten, leading to a tougher and drier texture. Mix just until the ingredients are combined.
Old Ingredients: Using old or expired ingredients, such as outdated baking powder, can result in a cake that doesn’t rise properly and is dry.
Overbaking: Removing the cake from the oven when it’s just done, with a few moist crumbs clinging to a toothpick, is essential. Leaving it in the oven for too long can dry it out.
It’s best to remove a bundt cake from the pan while it’s still hot, ideally, 10-15 minutes after it comes out of the oven. This allows the cake to set and firm up slightly so it holds its shape and doesn’t fall apart, but is still pliable so it’s less likely to break apart during the removal process. Removing the cake while still hot also helps prevent the cake from sticking to the pan. As the cake cools, it contracts and adhere more firmly to the pan’s surface, making it more challenging to release without breaking.

Looking for more Easter Cake Recipes?
Coconut Cake (Triple Coconut!)
Carrot Cake with Pineapple Cream Cheese Frosting
Cream Cheese Stuffed Carrot Cake
Lemon Poke Cake
Chocolate Raspberry Cake
Chocolate Eclair Cake
Lemon Blueberry Cake
Strawberry Cream Cheese Pound Cake
Chocolate Covered Strawberry Pound Cake
Blueberry Muffin Cake
Strawberry Shortcakes
WANT TO TRY THIS RECIPE?
PIN IT to your recipe BOARD TO SAVE FOR LATER!
FIND ME ON PINTEREST FOR MORE GREAT RECIPES! I AM ALWAYS PINNING :)!
©Carlsbad Cravings by CarlsbadCravings.com
Kentucky Butter Cake
Save This Recipe To Your Recipe Box
You can now create an account on our site and save your favorite recipes all in one place!
Ingredients
Cake
- 24 tablespoons (3 sticks) unsalted butter softened to room temperature
- 2 cups granulated sugar
- 5 large eggs at room temperature
- 3 cups all-purpose flour or gluten free 1 to 1 baking flour (I use Bob's Red Mill)
- 1 teaspoon salt
- 1 teaspoon baking powder
- 1/2 teaspoon baking soda
- 1 cup buttermilk or sour milk* see notes
- 1 tablespoon vanilla extract
Instructions
- Preheat oven to 325 degrees F. Generously and thoroughly grease and flour a 10-inch (12-cup) Bundt pan. See Notes.
- In a medium bowl, whisk together flour, baking powder, baking soda and salt. Set aside. Whisk vanilla with buttermilk and set aside.
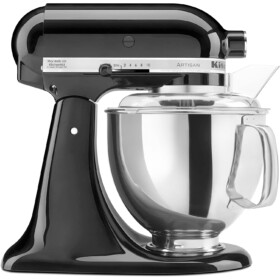
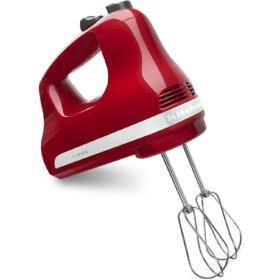
- Add butter and sugar to a stand mixer fitted with the paddle attachment and beat on medium-high speed for at least 3-4 minutes (no shorter!), until light and fluffy, scraping down sides occasionally. Reduce speed to medium and add eggs, one at a time, beating just until the yellow disappears after each egg.
- Reduce speed to low and gradually add flour mixture to butter mixture in thirds, alternately with buttermilk in between each third. Beat just until combined, giving the batter a final stir by hand to get any flour at the bottom.
- Transfer batter to prepared Bundt pan and tap pan on the counter a few times to get rid of any air bubbles. Bake at 325 degrees F until a wooden pick inserted near the center of cake comes out with a few crumbs, 50 – 60 minutes.
- Place cake on a wire rack and let rest 5 minutes then poke holes all over the cake, going about ¾ of the way down using the thin end of a chopstick. You may also use the back of a utensil or a skewer, but you’ll want wiggle it around so the holes become larger.
- Immediately after poking holes in the cake, make the Butter Glaze. Add sugar, butter, water and salt to a medium saucepan. Heat on low until melted, stirring occasionally, without letting the mixture boil. Once melted, stir in the vanilla and optional cinnamon.
- Remove ¼ cup Glaze to use later. Spoon the remaining Glaze all over the bottom (which is now the top) of the cake, moving slowly so it has time to seep into the holes and not run over the edges of the cake.
- Let the cake cool for 30 minutes (no longer or the glaze can stick and harden like glue) then run a knife around the edges of the cake, shake a few times until loose then invert the cake onto a plate or cake stand.
- Once the cake has cooled completely, rewarm the Glaze (DON’T let it boil) and brush it evenly all over the cake, moving slowly so it has time to seep in. Let the cake sit for at least one hour before serving, but it is much moister and more flavorful if allowed to rest overnight. If not serving immediately, tightly wrap cooled and set cake in plastic wrap and store at room temperature.
- Serve cake plain or amazing with fresh berries and whipped cream or strawberry or raspberry sauce.
Video
Notes
*DIY BUTTEREMILK
You can make DIY buttermilk/sour milk by adding 1 tablespoon lemon juice or vinegar to a measuring cup then adding milk to equal one cup. Give it a swirl and wait 10 minutes or so until bubbles form on the top.GREASE PAN WELL!
Please grease and flour your pan instead of using cooking spray because this cake is sticky! I also SUGAR my pan. To do this:- Brush an even layer of softened butter all over the inside of the pan (about 1 ½ tablespoons). Make sure you get every nook and cranny!
- Next, sprinkle in 2 tablespoons of granulated sugar – starting with the top edges of the pan so it trickles down the pan – make sure you do the same to the tube too, and tap and turn the pan to evenly coat.
- Repeat with one tablespoon of flour. Tap a few times to remove any excess. You probably don’t need the flour if using sugar, but I always use it for insurance.
What To Serve With Kentucky Bunt Cake
Kentucky Butter Cake is delicious in its buttery vanilla simplicity, but I also love it with:- A dusting of powdered sugar
- Fresh berries: strawberries, raspberries, blueberries and/or blackberries
- Strawberry syrup or raspberry syrup – insane!
- A dollop of whipped cream (and berries!)
- Vanilla ice cream (and berries!)
- Lemon curd (and berries!)
- Chocolate ganache
- Caramel sauce
Make-Ahead Instructions
- Once cake is cool and the glaze is set, wrap the cake tightly in plastic wrap.
- Store at room temperature until ready to serve.
- This cake keeps well for several days, but is best the second day.
How to Freeze
- Let the glaze on the exterior of the cake set completely.
- Double wrap the cake tightly in plastic wrap.
- Freeze cake for up to 3 months.
- Allow the cake to thaw overnight in the refrigerator then unwrap and come to room temperature on the counter before serving.
- Note that the crackly sugar coating will not be as crunchy once frozen and defrosted.
Want To Make This Recipe?

Did You Make This Recipe?
Tag @CarlsbadCravings and Use #CarlsbadCravngs
Leave a Review, I Always Love Hearing From You!
Carlsbad Cravings Original©










Meraida Polak says
I am going to make this cake soon but am intimidated by the idea of it sticking to the pan. Your instructions are to cool it for 30 minutes after poking the holes and to make sure that you dont poke all the way to the end of the pan. Not sure how to know where the distal end of the chop stick actually is, so worried about poking too far and gluing it to the pain with the glaze. SO, can I wait until I remove the cake then poke the holes and pour the glaze? Or is it essential to pour the glaze before removing from the pan?
Jen says
Hi Meraida! I completely understand the concern. Bundt cakes can be intimidating when you’re counting on a clean release! The glaze is actually intended to soak into the cake while it’s still in the pan, which is why I recommend pouring it over the cake before removing it. I wouldn’t wait until after removing the cake, as you’ll lose some of that delicious glaze soaking into the cake. As for the holes, you don’t need to reach all the way to the bottom. Just insert the chopstick deep enough to create plenty of pockets for the glaze without worrying about being exact. And be sure to generously grease and flour the Bundt pan (or use a baking spray with flour) to help ensure an easy release. I hope you give it a try — it’s worth it!
Patricia says
My family loves this one.
Jen says
Hi Patricia! It’s such a fun one to share with family! I’m glad it’s a hit at your house!