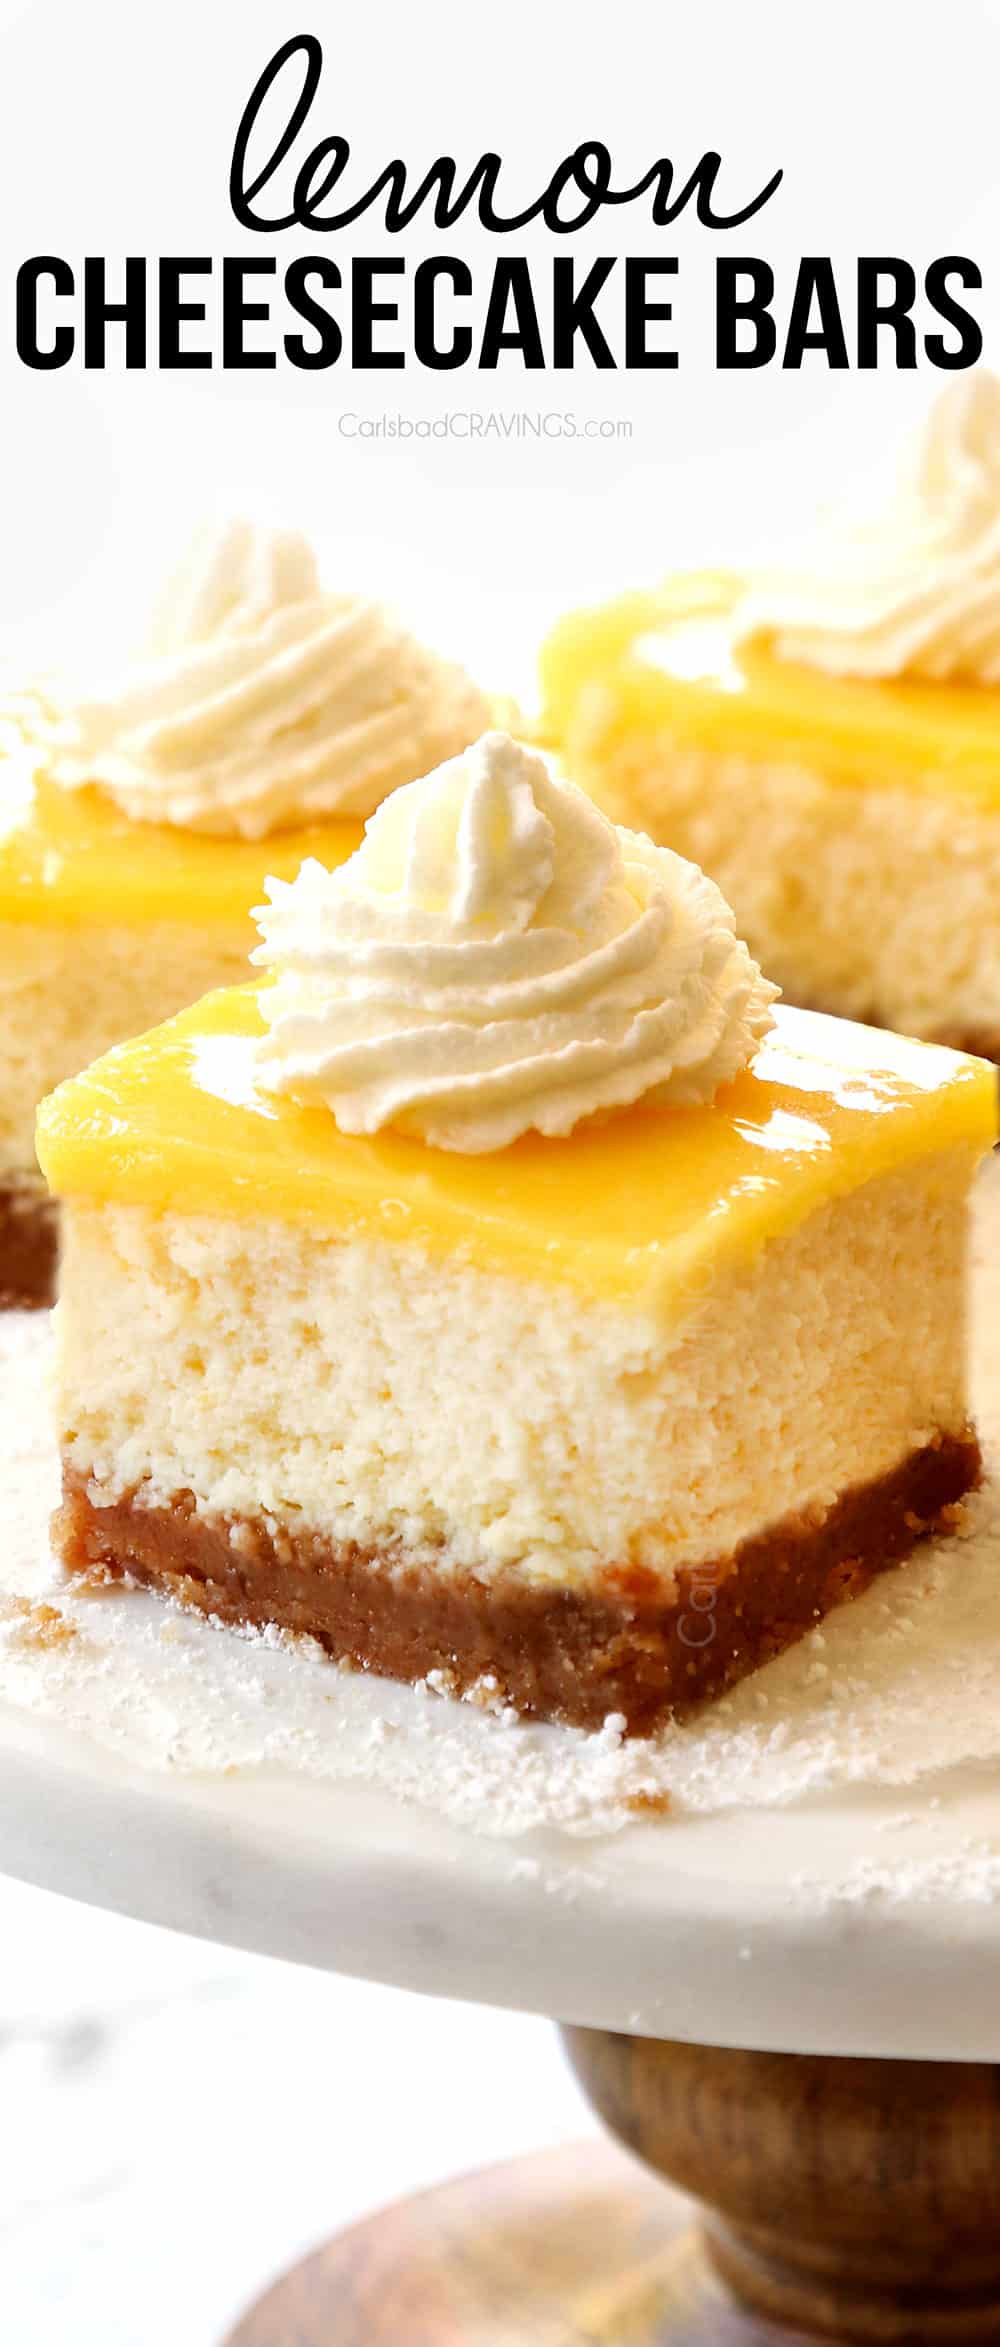
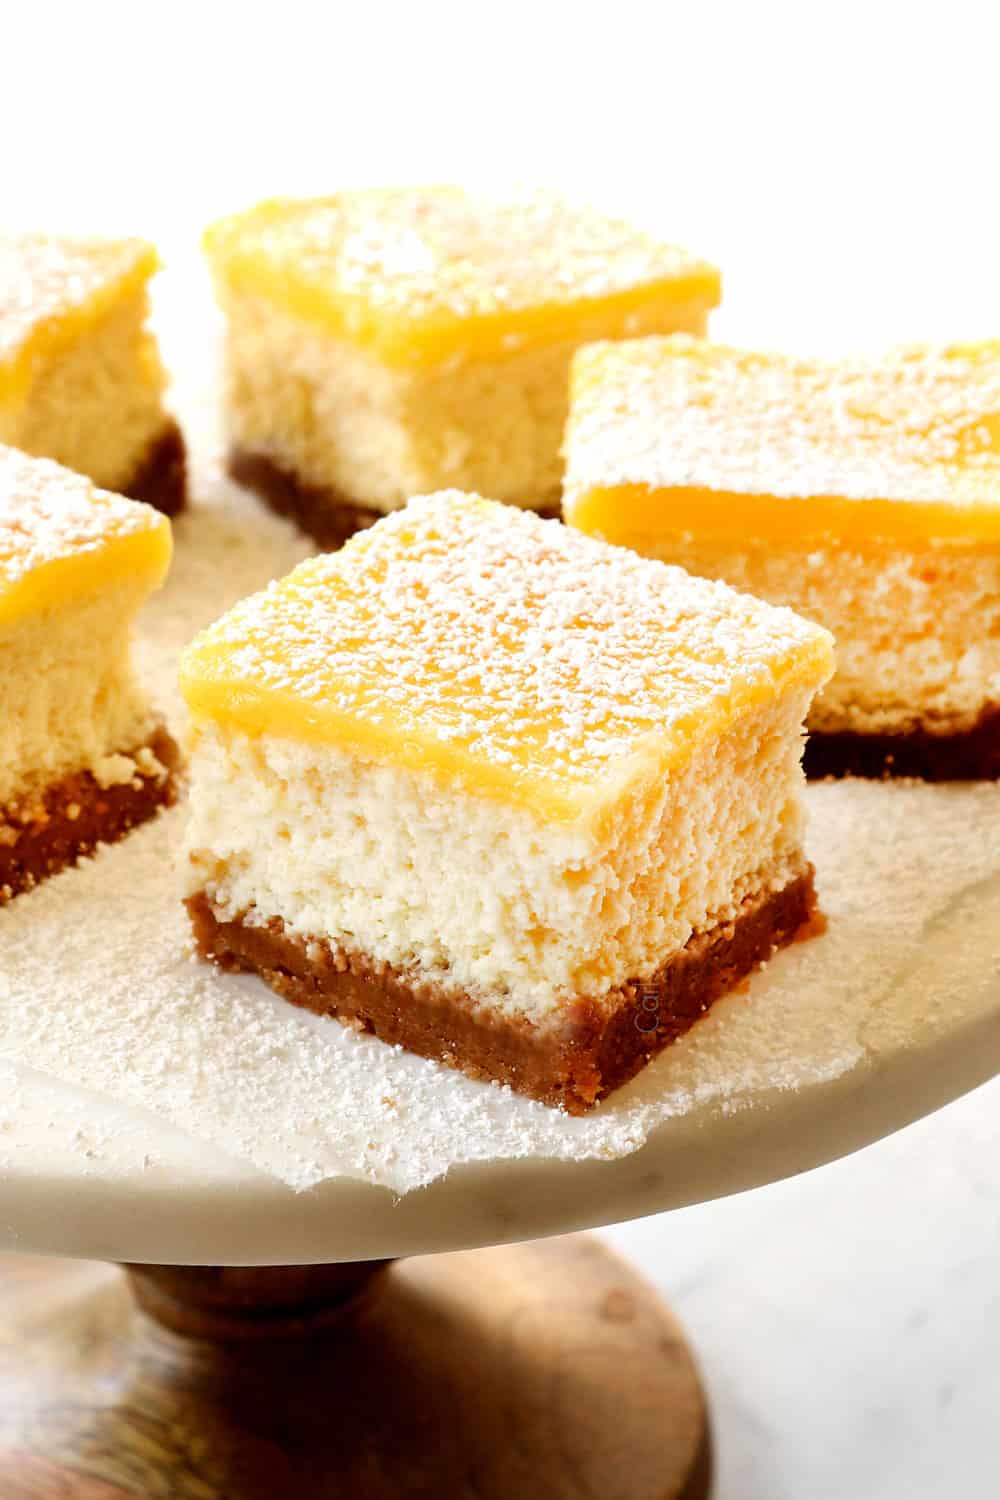
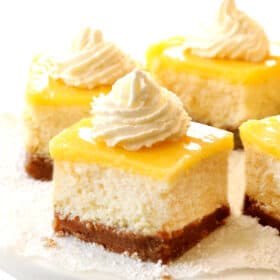
These Lemon Cheesecake bars are the mega creamy, sweet, tangy, perfect make ahead dessert for every occasion!
These Lemon Cheesecake Bars will be the show stopping dessert for every spring and summer gathering! Plus, they’re easy to make without a water bath and make-ahead and freezer friendly. The Lemon Cheesecake Bars are made with a buttery Graham cracker crust, topped with luxuriously creamy lemon cheesecake then crowned with silky smooth, buttery sweet and tangy lemon curd. It’s an irresistible combination of bright, fresh, tangy sweetness and smooth, rich creamy decadence. I’ve included detailed instructions, tips and tricks for the best cheesecake bars of your life!
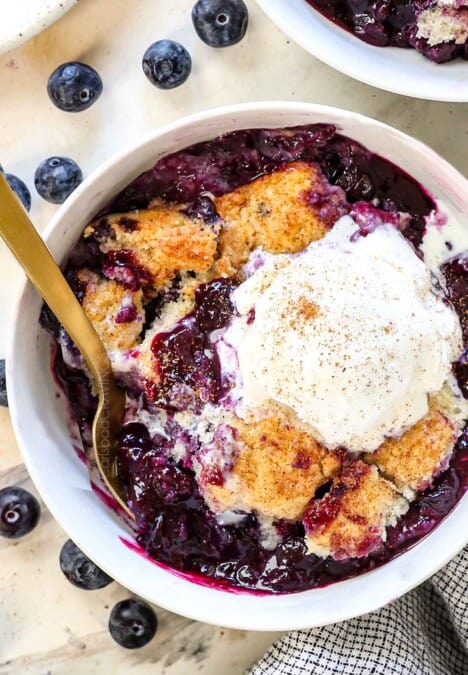
We’re pretty obsessed with cheesecake around here. If you’re like us, don’t miss our favorite summer cheesecake recipes: key lime cheesecake, strawberry cheesecake, blueberry cheesecake, cherry cheesecake dip, and chocolate chip cookie cheesecake bars.
PIN THIS RECIPE TO SAVE FOR LATER
the best CHEESECAKE BARS for summer!
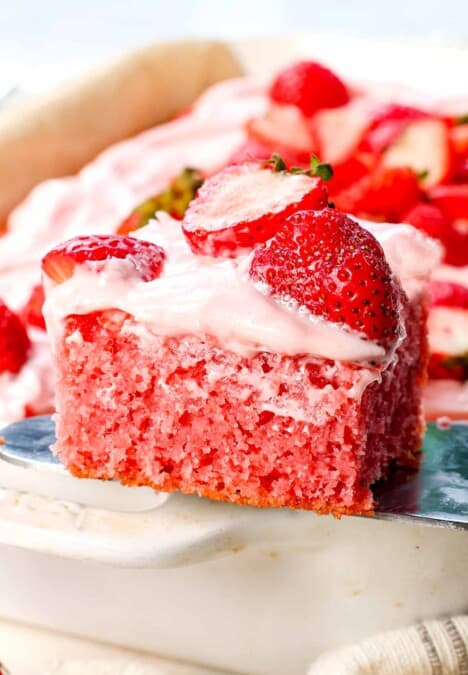
Summer means bright and fresh lemon desserts like lemon pound cake, lemon blueberry cake and strawberry shortcake with lemon curd whipped cream and now these outrageously delicious Lemon Cheesecake Bars!
When concocting this recipe, I wanted to combine my favorite part of cheesecake – the luscious, rich creaminess, with the best part of lemon bars – the silky, sweet-tart lemon curd. These two desserts are two of my favorite foodie items on the planet and together they are magic! When mashed together, we’re rewarded with Lemon Cheesecake Bars with double the luscious lemon flavor and mega creamy silkiness. These cheesecake bars are even more delicious than my wildest dreams – you will be obsessed. And the best part? They’re easy to make! Here’s the deets:
why You’ll love this cheesecake bars recipe:
- The look impressive but are easy to make without the need for special equipment. If you’ve been intimidated by making cheesecake before, these Lemon Cheesecake Bars are the perfect place to start! You don’t have to worry about your cheesecake being lumpy, leaking or cracking with this recipe because it’ basically foolproof! My lemon curd recipe is also the easiest to make on the planet without the need for a double broiler or tempering the eggs – just simmer the ingredients together on low – that’s it! Just follow my tips and tricks and you will be rewarded with the best cheesecake bars of summer.
- They are sensationally smooth, rich and creamy. The perfect proportions of ingredients deliver the most exquisite filling. The addition of sour cream and one extra egg yolk make the cheesecake extra creamy and the additional lemon juice and lemon zest delivers the perfect pop of sunshine flavor.
- They are 100% make ahead friendly including the whipped cream! These Lemon Cheesecake Bars are the ideal dessert for all your spring and summer festivities because they are make-ahead friendly for up to 2 days and won’t melt in the heat. No more stress free, last minute hustle desserts!
- They are perfect for every spring & summer get together. For all the aforementioned reasons plus they taste like bright, happy, summer!
lemon CHEESECAKE bars INGREDIENTS
The ingredients for this cheesecake bar recipe are pretty straightforward. You will need:
FOR THE CRUST
- Graham crackers: I’ve stuck with honey graham crackers to keep the crust delish but neutral so the lemon cheesecake can really shine. You will need 18 whole graham cracker sheets.
- Butter: use unsalted butter so we can control the salt in the recipe.
- Sugar: granulated sugar please.
FOR THE CHEESECAKE
- Cream cheese: I used full fat cream cheese but it will also work with less fat, but remember less fat = less flavor and creaminess so adjust your expectations. Please do NOT use nonfat cream cheese.
- Sour cream: full fat please at room temperature. It will make your cheesecake luxuriously creamy and never dry.
- Sugar: granulated sugar will sweeten the cheesecake filling while letting the lemon flavor shine.
- Eggs: use three large eggs and one large egg yolk (so you will need a total of four eggs). The eggs bind the cheesecake together and the extra yolk makes it extra creamy. Take care your eggs are at room temperature.
- Lemon juice: use freshly squeezed lemon juice for the best flavor, plus we also need some of the zest. You will need 4-5 lemons total for both the cheesecake and the lemon curd.
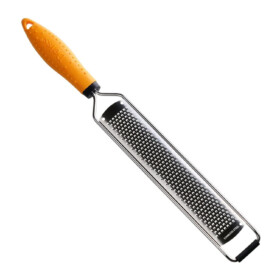
- Lemon zest: adds concentrated lemon flavor. This is the bright yellow outer layer of the lemon peel. Use a micro-plane or a box grater for grating. Make sure you stop grating at the yellow part as the white under part (pith) is extremely bitter.
- Vanilla extract: use quality extract for best results.
FOR THE LEMON CURD
Making homemade lemon curd is easy with this recipe!! Its, thick and lusciously creamy, wonderfully buttery with an intense sweet-tart lemon flavor. For homemade lemon curd, you will need:
- Lemon juice: 2/3 cup freshly squeezed lemons which is about 3-4 large lemons.
- Eggs: you will need 4 large eggs and 2 large egg YOLKS only for a total of 6 eggs in the lemon curd. Some recipes strictly use egg yolks and I find those curds way too rich. This lemon curd recipe uses a combination of eggs and egg yolks and I think you’ll find it the perfect dreamy consistency.
- Butter: use unsalted butter or skip the salt.
- Sugar: granulated sugar please to balance the tangy lemon juice.
- Salt: a pinch of salt enhances the flavors.
STABILIZED WHIPPED CREAM (OPTIONAL)
If you choose to make homemade whipped cream, you can either make stabilized whipped cream or just plain whipped cream by omitting the unflavored gelatin and water. Stabilized whipped cream is heavy cream that has been whipped with sugar and gelatin in order to give it structure but it doesn’t alter the flavor – it’s magic! The stabilized whipped cream will hold its shape indefinitely and won’t deflate or weep. This means it can be piped onto the cheesecake bars hours or days ahead of time for 100% make ahead Lemon Cheesecake Bars. You will need:
- Heavy cream: look for “heavy whipping cream” at the grocery store. You must use heavy cream – no other substitutions will work. Take care that your heavy cream is very cold, remove it from the refrigerator just when ready to use.
- Powdered sugar: also known as confectioner’s sugar interacts better with the gelatin than granulated sugar. You also want to use powdered sugar in homemade whipped cream when you’re using more than a couple tablespoons.
- Vanilla extract: use quality extract for best results.
- Unflavored gelatin (optional): is a common baking ingredient and can be found next to the packages of Jell-O and pudding at your grocery store. It is what makes this “stabilized” whipped cream and not just whipped cream.
- Water (optional): cold tap water is used to dissolve the gelatin.
TIPS FOR PICKING LEMONS
Lemons are the star of the show, so let’s pick good ones! Here are a few tips:
- Choose lemons with a bright yellow skin.
- Choose lemons with a smooth skin.
- Choose lemons with a pleasant fragrance.
- Choose lemons that are heavy for their size. This means they are extra juicy.
- Choose lemons that are not too soft
- Choose lemons free of dimpling or wrinkling.
- Choose lemons free of any traces of mold.
Typically, a thinner-skinned lemon will yield more juice, while a thicker-skinned lemon will yield more zest. Since we are primarily using lemon juice, I would aim for thinner skinned lemons.
HOW TO JUICE A LEMON FOR MAXIMUM YIELD!
You will need ¼ lemon juice in the cheesecake and 2/3 cups in the lemon curd – that’s a lot of lemon juice! Fresh lemon juice is always best, so it is important to know how to juice a lemon for maximum yield. First, you need to break down the membranes inside the lemon. The membranes hold all the juicy goodness we want!
- Start with room temperature lemons. Microwave the lemon for 15-30 seconds if needed; or simply let warm in a bowl of war water. Allow to cool down and proceed.
- Vigorously roll the lemon on the counter top for a few seconds.
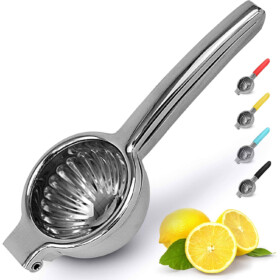
- Use a lemon squeezer or reamer to extract more juice.
WHAT IF I DON’T LIKE SOUR CREAM?
Sour cream is a secret ingredient I use in all of my cheesecake recipes – you will not be able to taste it! It adds smoothness, creaminess and most importantly, moisture, which prevents your cheesecake from drying out. Trust me when I say adding sour cream to your cheesecake will create the best textured cheesecake you’ve ever tasted!
HOW TO SOFTEN CREAM CHEESE FOR CHEESECAKE
It’s crucial your cream cheese be super soft in order to produce lump-free cheesecake bars. To soften cream cheese, you have a couple options:
- Microwave: this method works great but you must babysit the cream cheese and microwave at small intervals so you don’t overcook/scorch – so proceed with care and caution. Cube cream cheese and transfer to a microwave safe plate. Microwave for 30 seconds then at 15 second intervals, flip/stir cubes and microwave another 15 seconds. Repeat until cream cheese is very soft.
- Microwave + counter: Cube cream cheese and transfer it to a microwave safe plate. Microwave for a few 30 seconds then at 15 second intervals, then allow cream cheese to sit at room temperature for 30 minutes to finish softening. This gives it a head start to soften at room temperature without the threat of scorching. I cheat and cover the microwaved cream cheese with plastic wrap and place it outside to soften more quickly.
RECIPE VARIATIONS
I don’t recommend straying too far from the cheesecake bars recipe because baking is science and can go wrong very quickly, but you may add berries to the filling or topping or swap the crust. Here are a few ideas:
- Swap crust: you may substitute the Graham cracker crust with your favorite cookie such as shortbread or vanilla wafers.
- Make it gluten free: use your favorite gluten free cookie such as gluten-free graham crackers.
- Add blueberries or raspberries: fold in about 3 cups of fresh or frozen unthawed blueberries into the cheesecake filling right before pouring over the crust.
- Berry swirl: pour half of the cheesecake filling onto the crust. Drizzle raspberry sauce over the top, then top with remaining cheesecake filling followed by another drizzle or raspberry sauce. Use a toothpick or knife to gently swirl everything together.
- Whipped topping: instead of dolloping the cheesecake with whipped cream, you can spread the stabilized whipped cream over the entire top of the cheesecake over the lemon curd layer.
- Lemon curd whipped cream: use the lemon curd whipped cream found in my strawberry shortcakes in place of the lemon curd for a lighter version.
- Toppings: add a few raspberries or strawberries or mix up the flavor profile by covering the entire top with raspberries, this would be especially tasty with a layer of the whipped topping/cool whip covering the cheesecake as well.
how to make lemon cheesecke bars
Now onto the main event – how to make these Lemon Cheesecake Bars! There are a few steps, but each one is very simple and you can make them at different stages/parts of the day if you wish:
STEP 1: MAKE THE CRUST
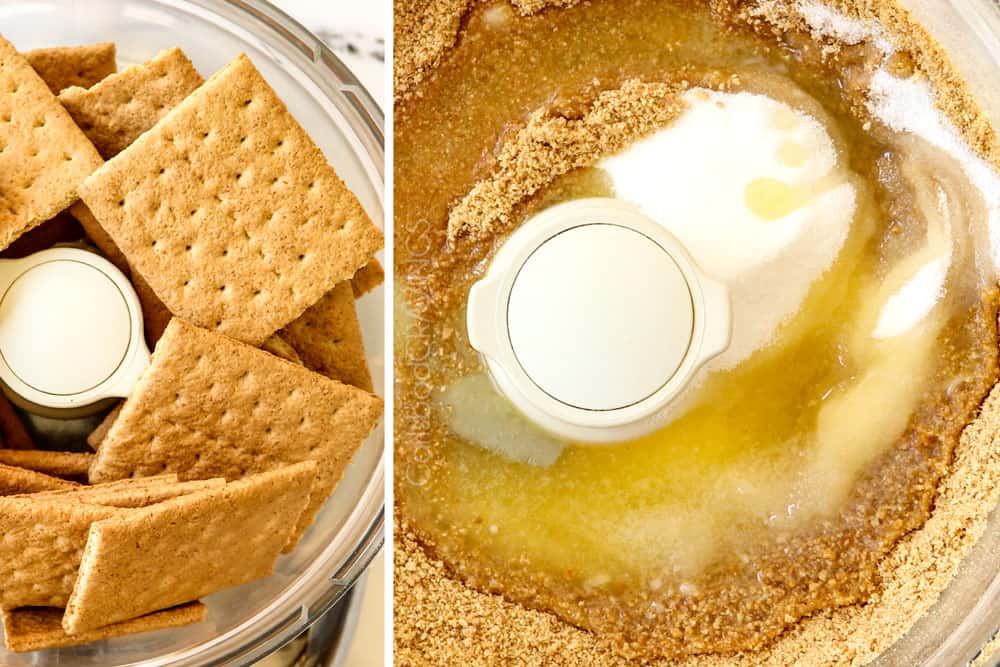
- Grind Graham crackers: first, you’ll want to make crumbs by either pulsing the Graham crackers in your food processor or in a sealable bag with a rolling pin/side of a can. You’ll want very finely ground crumbs because they stick together better.
- Combine crumbs, sugar and butter: if you use your food processor, simply add the sugar and butter directly to the processor and process until the crumbs are moistened. If you don’t have a food processor, add the crumbs, butter and sugar to a bowl and stir until the crumbs are evenly moistened.
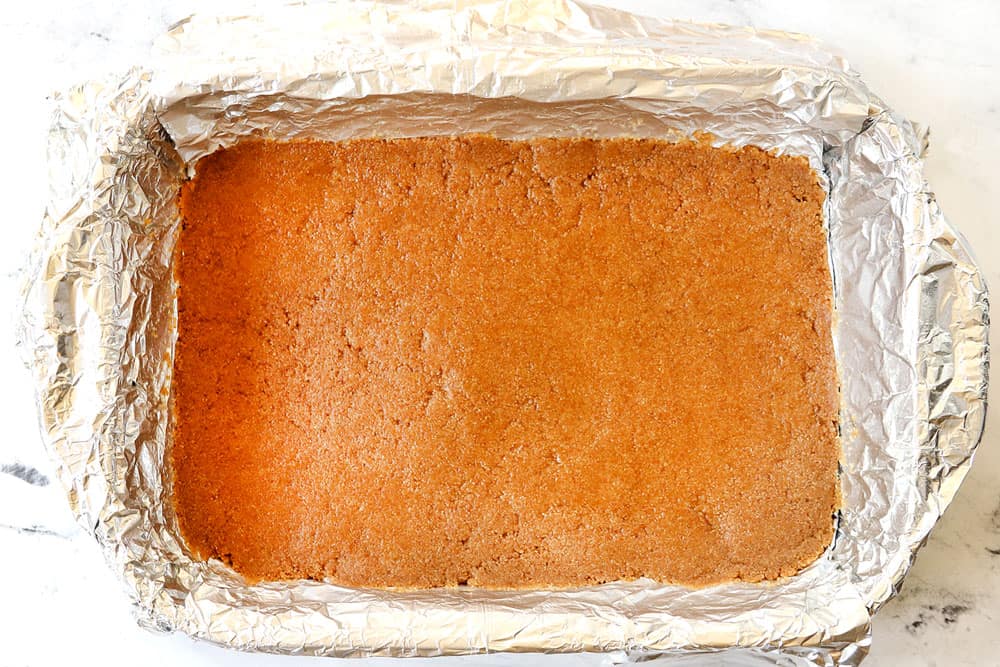
- Make the crust: transfer the moistened crumbs to your lightly greased baking pan and press firmly into the bottom of the pan in an even layer. You’ll want to use a small bowl or bottom of a measuring cup to really compact the crumbs. This will help the crust stay intact and not crumble.
- Bake the crust: bake the crust at 325 degrees F for 14 minutes then allow to cool while you make the cheesecake filling. Baking the crust before adding the cheesecake allows it to seal together and cooling the crust before adding the cheesecake prevents it from becoming soggy.
STEP 2: MAKE THE CHEESECAKE
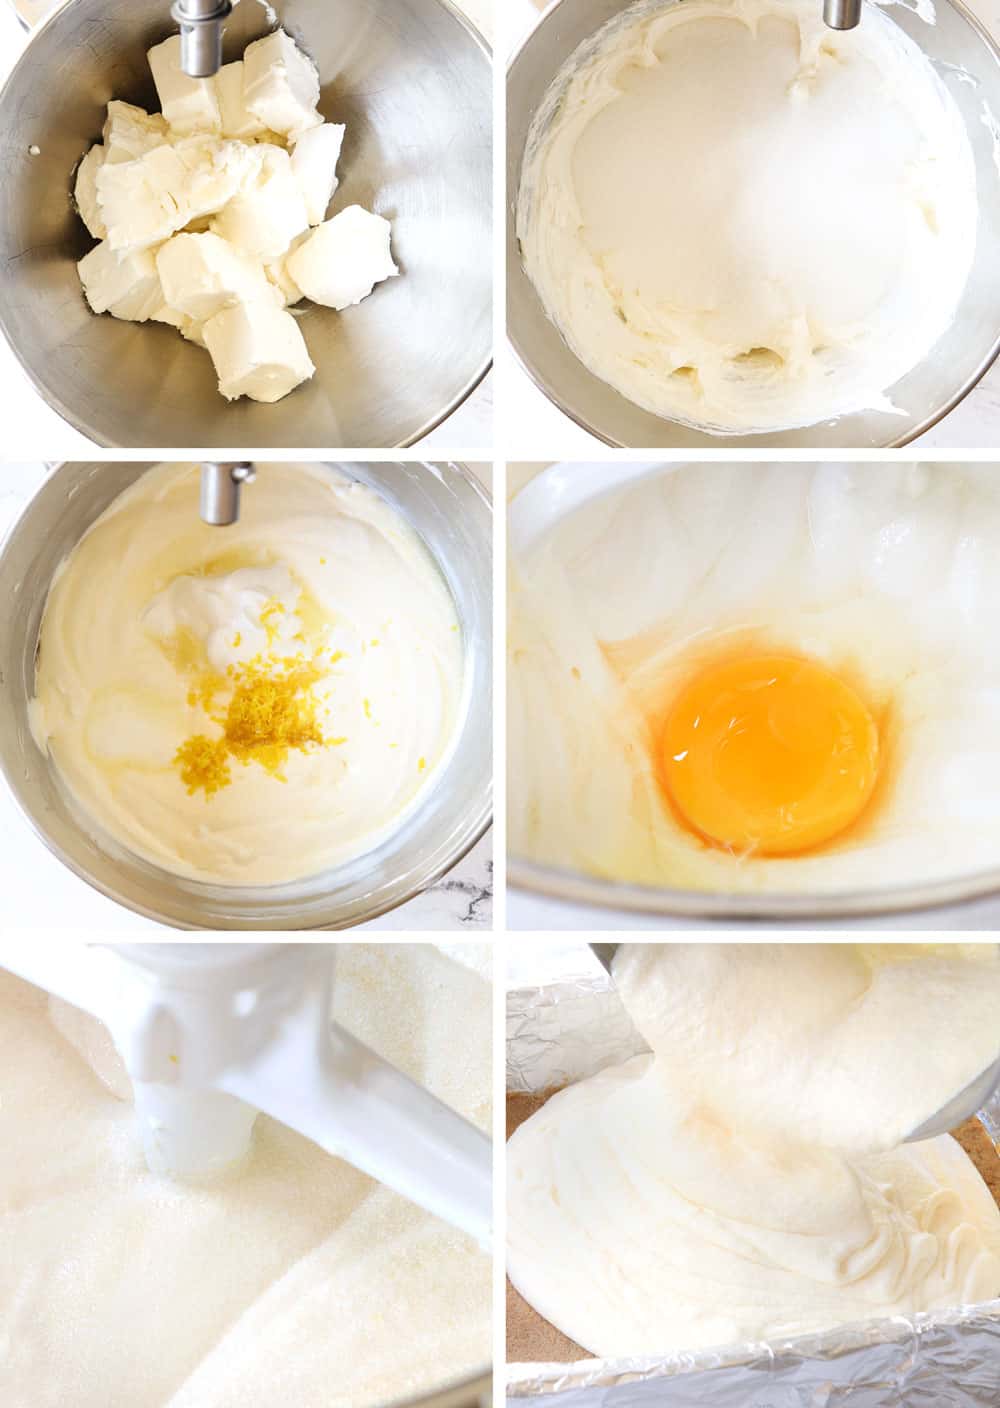
- Beat cream cheese and sugar: making cheesecake is easy, just let the mixer do the work and don’t cut any of the beating times short. First, beat the cream cheese in the bowl of an electric mixer fitted with the paddle attachment for 4 minutes then add the sugar and beat an additional 5 minutes.
- Add sour cream and lemon juice: add the sour cream, lemon juice, lemon zest, vanilla, and beat until blended.
- Add eggs: add the eggs one at a time followed by the egg yolk, beating as little as possible because overbeating eggs can cause cracks and the cheesecake to deflate.
- Assemble the cheesecake: pour the cheesecake filling onto the cooled crust. Drop pan on counter a few times to get rid of any air bubbles.
STEP 3: how to know when cheesecake bars are done baking
Cheesecake is the creamiest when not overbaked. You don’t want to bake the cheesecake until completely firm in the middle or it will be overcooked by the time it cools, resulting in dry, heavy, far less creamy cheesecake. Instead, bake the cheesecake until the outside is cooked and the center of the cheesecake jiggles slightly, about 60-70 minutes.
What does this look like? Gently shake the cheesecake wearing oven mitts so you don’t burn yourself. If the outside 2 inches of the cheesecake are puffed/firm and but the center jiggles but is not runny, it’s done. The cheesecake will continue to cook and firm up as it cools. If the edges aren’t firm, then bake on.
The EASIEST way to check the doneness of cheesecake bars, instead of just relying on appearance is with an instant-read thermometer. Insert the thermometer into the filling about 1″ from the edge, it should read between 175°-185°F. Once the cheesecake bars are done, crack the oven door and let them cool in the oven for 15 minutes, then remove the pan from the oven.
The baking time can vary due to the differences in ovens, baking pans, beating times, etc., so make sure to check the cheesecake at 60 minutes then add additional time as needed.
STEP 4: make the easy lemon curd
This is the easiest technique I have found for making lemon curd and it doesn’t require a double boiler, tempering the eggs or to zest a ton of lemons, all you need is lemon juice, eggs, sugar, vanilla extract, and butter – everything we are using already for our Lemon Cheesecake Bars! The key here is to work over medium-low heat and to whisk constantly.
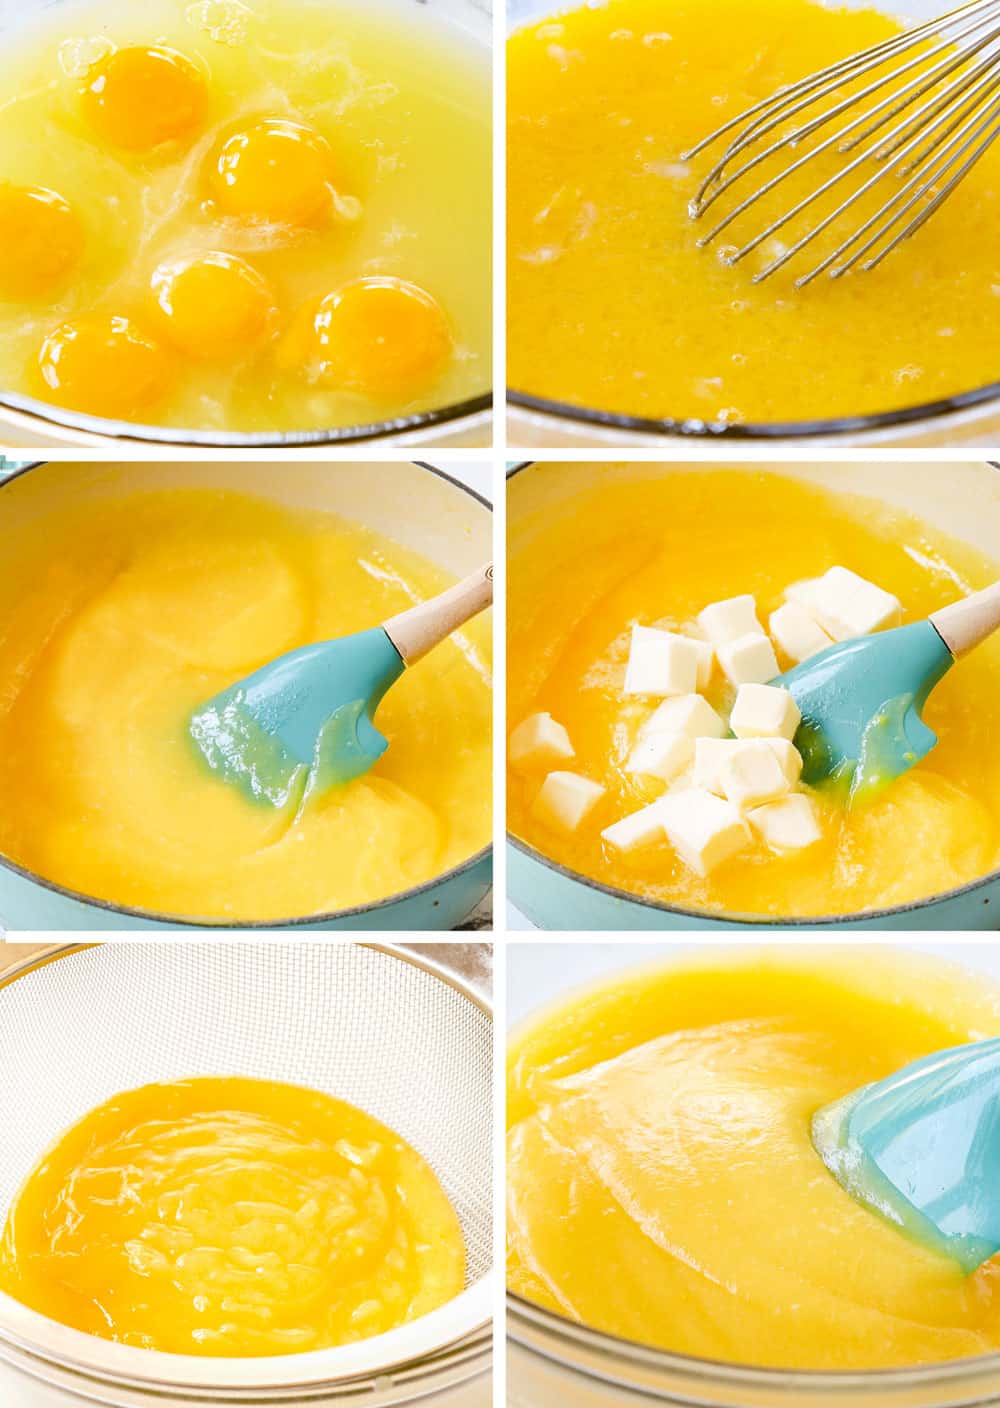
- Combine ingredients: whisk the lemon juice, sugar, cornstarch and eggs in a medium bowl until the cornstarch dissolves and most of the sugar has dissolved. Most lemon curd recipes don’t require cornstarch but it helps it thicken it a little more so it stays put on the cheesecake bars.
- Thicken lemon curd: pour the lemon mixture into a small saucepan and cook over medium-low heat, stirring constantly, until thickened, about 3-7 minutes. You’ll know the lemon curd is done when it’s the consistency of pudding and the curd registers about 175°F on an instant-read thermometer.
- Stir in butter: once thickened, immediately remove the saucepan from the heat and stir in the cubed butter until melted, followed by the vanilla and salt.
- Strain lemon curd: finally, strain curd through a fine-mesh strainer/sieve into a small bowl to remove any small egg bits and you have rich, creamy, sweetly tart lemon curd. The lemon curd will thicken as it chills and set beautifully onto the cheesecake and will also taste even more intensely glorious once chilled.
STEP 5: assemble
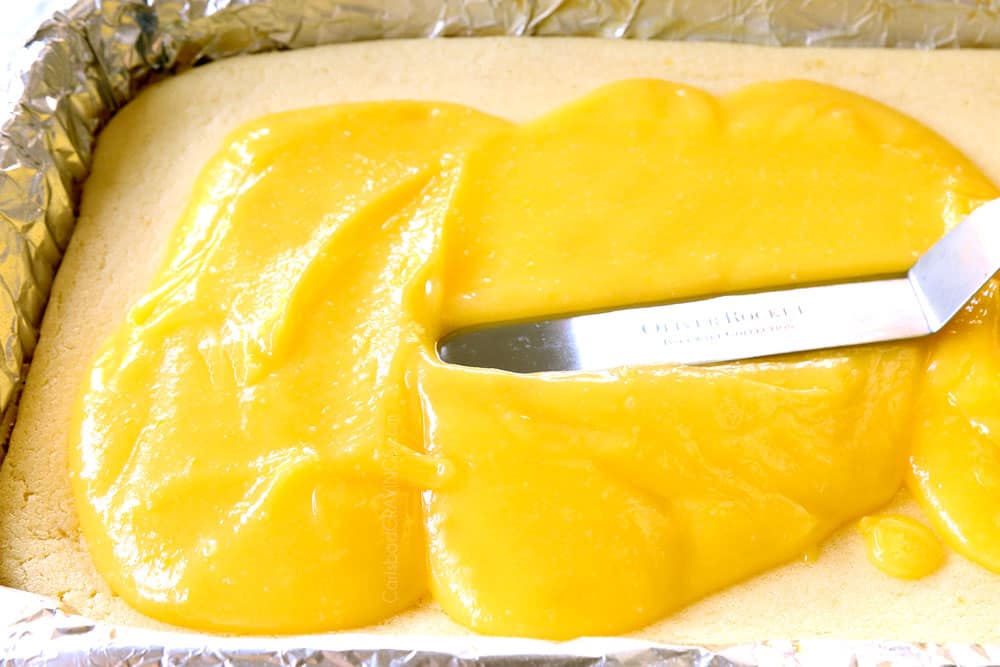
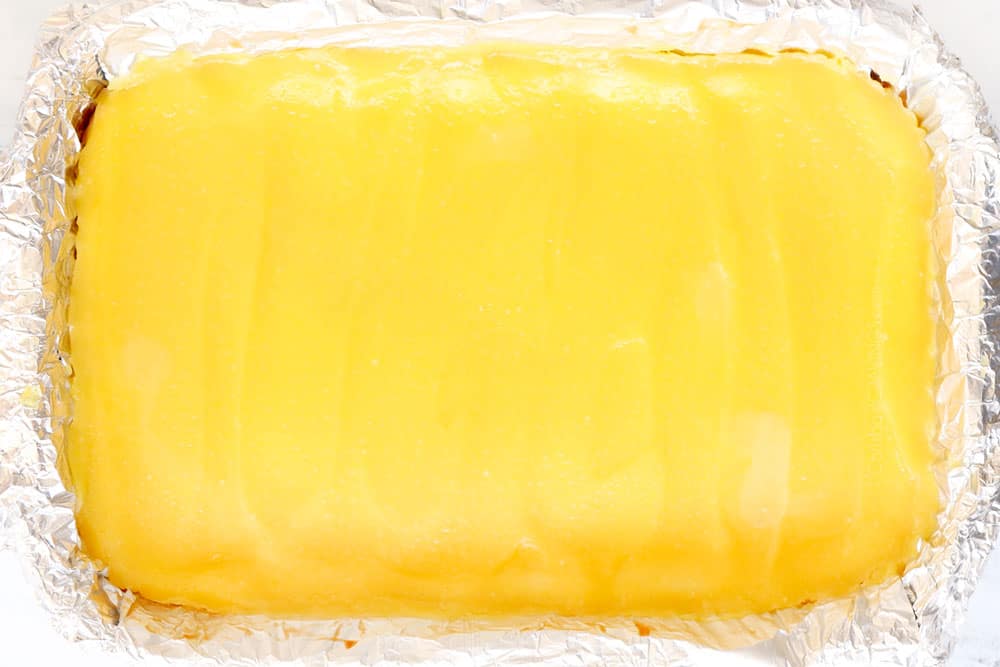
Pour all of the room temperature lemon curd onto the cheesecake and spread it into an even layer.
STEP 6: chill cheesecake bars
Let the cheesecake cool to room temperature, another 1-2 hours, then cover and refrigerate for at least 6 hours before serving, but preferably overnight.
STEP 7: how to slice cheescake bars
- When ready to serve and the cheesecake is thoroughly chilled, use the foil overhangs to lift the cheesecake out of the pan and onto a cutting board.
- Using a hot knife is crucial for clean cuts as the hot knife glides right through the cheesecake. To slice, fill a tall glass with hot water. Dip a sharp knife in the hot water, wipe with a damp cloth, then make a clean slice; repeat for each cut.
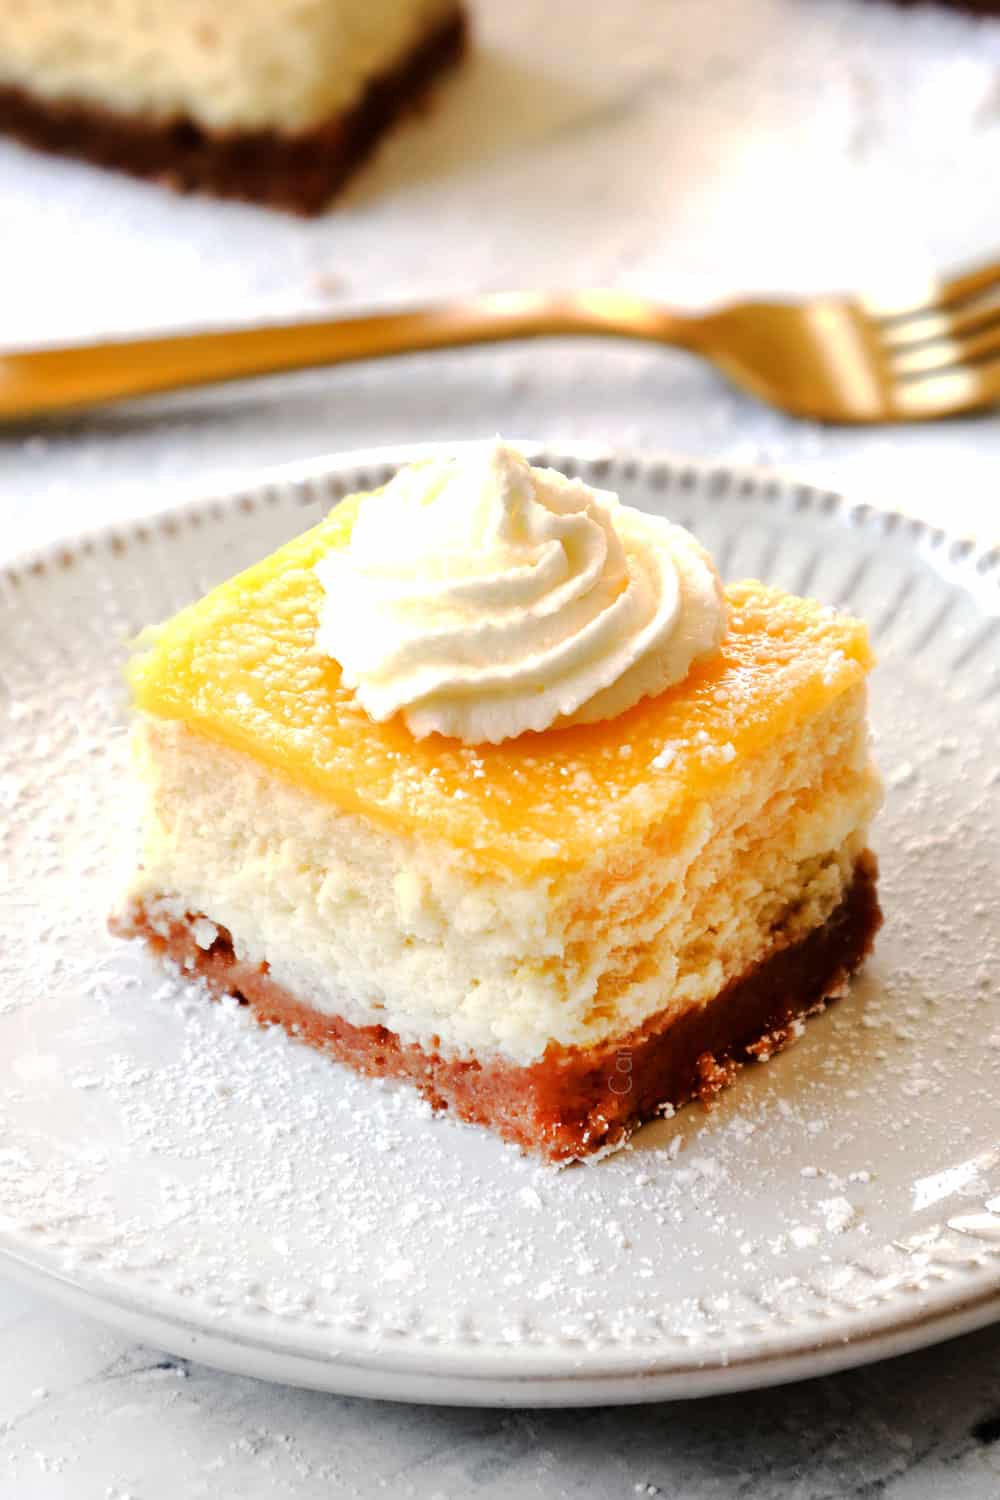
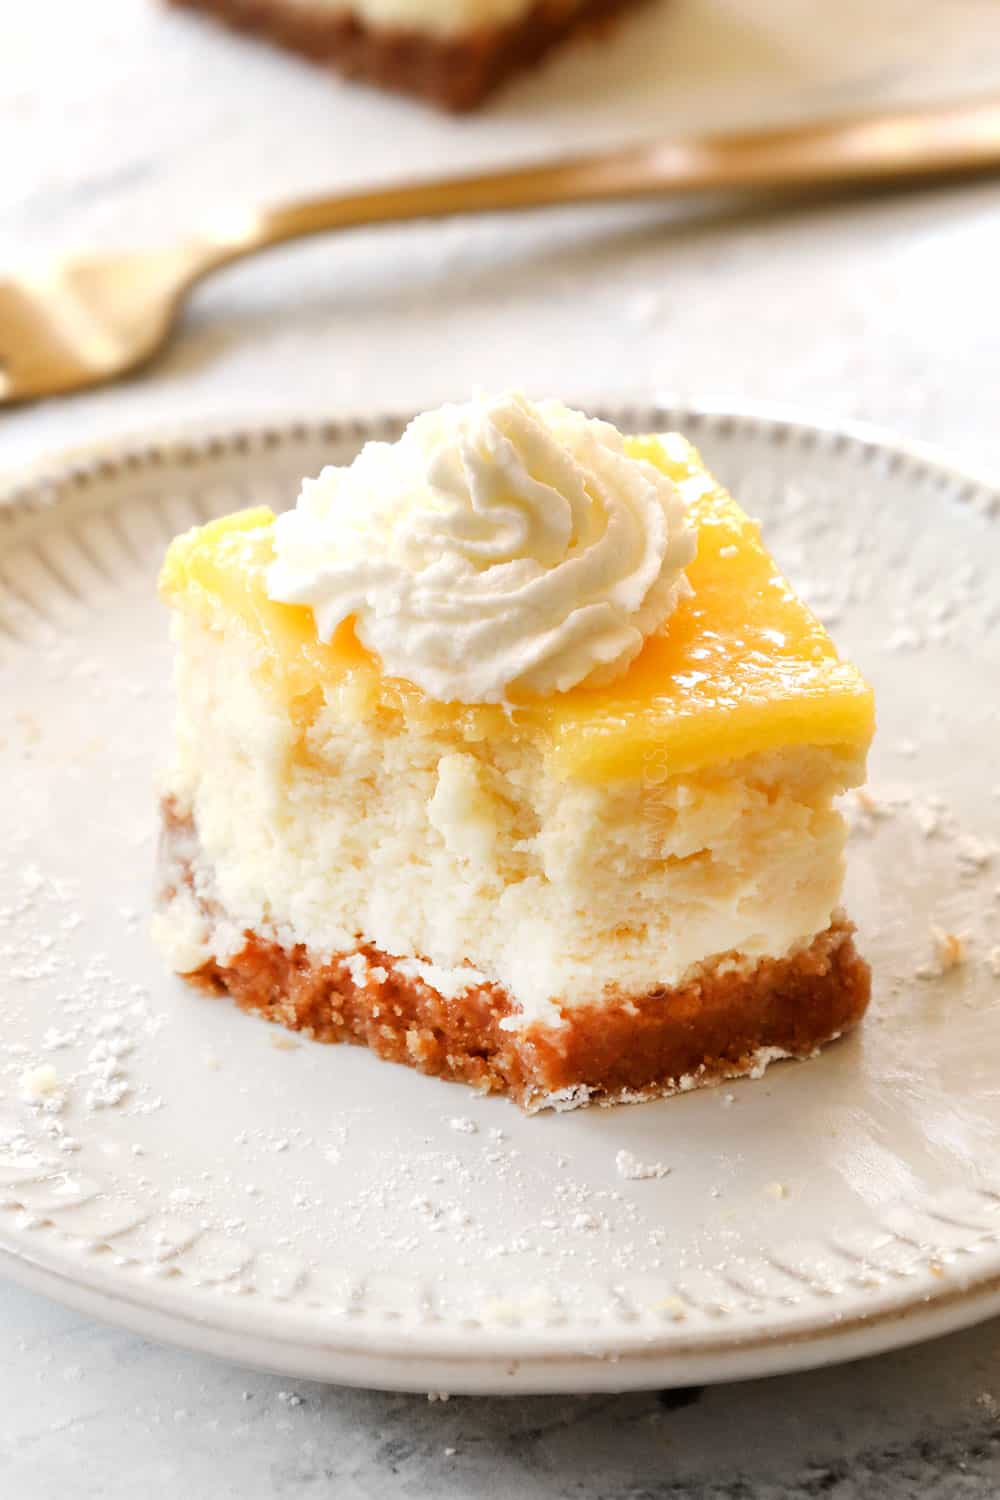
- Dollop with whipped cream if desired and dig in!
baking tips for cheescake bars
If you follow these baking tips, your Lemon Cheesecake Bars will steal the show every time:
- Use room temperature ingredients. Room temperature eggs, sour cream and softened cream cheese mix more easily which means you’re less likely to overbeat the eggs which causes cracking (more on that below).
- To quickly bring eggs to room temperature: fill a bowl with warm water (not hot) and add eggs and let sit 10-20 minutes.
- Don’t overbeat the eggs. Eggs trap air, which can rise up and cause cracks and/or the cheesecake to deflate, so mix the eggs/cheesecake filling as little as possible once they’re added.
- Grease the pan and the foil. Spraying the entire baking pan with cooking spray before adding the foil helps the foil easily release from the pan and spraying the foil with cooking spray ensures the cheesecake easily releases from the foil.
- Don’t peak while baking! It is critical that you don’t open the oven while your cheesecake is cooking before 60 minutes to prevent cracking. Opening the door causes drafts which dramatically lowers the temperature – the culprit of large cracks and a sinking center.
- Don’t overbake the cheesecake bars. Overbaking the cheesecake bars causes the filling to shrink and crack. You want the edges to be firm but the center to wobble slightly when shaken. If there is no wiggle, the cheesecake is overbaked and likely to be dry and crack.
- Cool the cheesecake gradually. Sudden changes in temperature can cause cracks so allow the cheesecake to cool down gradually first in in the oven and then on the counter before placing it in the refrigerator.
- Use a food processor. The easiest way to make graham cracker crumbs is in your food processor – it literally takes seconds! If you don’t have a food processor, you can crush the crackers in a plastic bag with a rolling pin or side of a can.
- Use fine crumbs. The finer the crumbs, the more cohesive the crust and less crumbly it will be when baked.
- Press crumbs firmly into pan. Use the bottom of a cup or measuring cup to get the crust layer nice and compact so it doesn’t crumble later.
- Use soft cream cheese. The cream cheese should be soft enough that you can stick your finger in it. If it is not soft enough, then it will yield lumpy cheesecake (see methods to soften cream cheese above).
- Beat cream cheese until fluffy. The most important part of making creamy, smooth cheesecake bars is to beat the cream cheese and the sugar until light and fluffy with your paddle attachment – about 4-5 minutes each. This can seem like a long time, so set your timer and don’t stop early!
- Don’t rush the chilling process. Chilling the cheesecake allows the flavors to build and marry. You may serve Lemon Cheesecake Bars as little as 6 hours after chilling, but I suggest allowing them to chill for a full 24 hours for the best flavor – you will be amazed at the difference it makes!
- Whisk lemon curd constantly. Low, slow with constant whisking is how to prevent the lemon curd from scrambling the eggs. Be patient, and don’t stop whisking!
- Use the stabilized whipped cream. If you want to prep the cheesecake bars recipe 100% in advance, stabilized whipped cream is the way to go. You can pipe it on days ahead of time then just pull out your cheesecake bars when ready to serve.
- Chill gelatin. Make sure to let your gelatin cool slightly before mixing it into the whipped cream, you don’t want it to be too hot when you add it to the bowl. On the opposite end of the spectrum, don’t wait too long or the gelatin can harden. If it has hardened, microwave it again for 10 seconds.
- Don’t overwhip whipped cream. Stop mixing as soon as stiff peaks form because over-whipped cream becomes grainy. If you’ve accidently reached the grainy stage, you can try and salvage the whipped creamy by adding a few tablespoons of fresh cream and gently mixing it in by hand using a wire whisk. If the whipped cream is separated, then unfortunately it can’t be fixed.
WHAT HAPPENS IF YOUR CHEESECAKE bars CRACK?
If you follow the above tips for success, you shouldn’t have any cracks! If you happen to have a crack in your cheesecake, don’t worry because you will cover the entire cheesecake with lemon curd – no one will ever know!
CAN I MAKE cheesecake BARS AHEAD OF TIME?
Absolutely! You can completely assemble, bake and chill the Lemon Cheesecake Bars 24 hours in advance, or prep different elements of the recipe ahead of time, here’s how:
- Crust: bake, cool then cover with foil 24 hours ahead of filling. No need to refrigerate.
- Cheesecake filling: beat the cheesecake ingredients together, cover and chill for up to 48 hours. Give the cheesecake a whisk before pouring onto the cooled crust just before baking.
- Lemon curd: will keep in the refrigerator for up to a month according to the National Center for Home Food Preservation. It can also be frozen for up to 1 year. When storing, press plastic wrap directly on surface of curd to prevent a film from forming. Let the lemon curd come to room temperature before spreading over the warm cheesecake.
- Stabilized whipped cream: can be whipped and added to a piping bag 1-2 days before using and stored in the refrigerator.
- Cheesecake bars: can be made 24 hours ahead of time and tightly covered in the refrigerator.
how long are CHEESECAKE bars good for?
Lemon Cheesecake Bars should be covered and stored in the refrigerator. They are at their prime 24-48 hours after making, but are good for up to 7 days.
CAN I FREEZE CHEESECAKE BARS?
Yes, these Lemon Cheesecake Bars freeze very well. You can freeze the whole pan of cheesecake or individual bars. Here’s how:
TO FREEZE WHOLE PAN OF CHEESECAKE BARS:
- Refrigerate baked cheesecake bars for at least 8 hours.
- Remove the the cooled, uncut cheesecake bars from the pan using the foil overhang and place them on a plate.
- Freeze uncovered, until firm, about 1 hour.
- Remove the cheesecake from the freezer, wrap it twice tightly in plastic wrap followed by heavy duty aluminum foil
- Freeze for 2-3 months.
- To thaw, remove cheesecake bars from the freezer to the refrigerator. Let thaw overnight.
TO FREEZE INDIVIDUAL CHEESECAKE BARS:
- Line cut bars on a plate without touching and place the plate in the freezer and freeze until solid, about 1 hour; this prevents the bars from freezing together later when stored.
- Transfer bars to a freezer safe airtight container, and place parchment paper in between each row or freeze bars in individual freezer safe bags.
- Freeze for 2-3 months.
- When ready to eat, thaw individual cheesecake bars in the microwave at 20 second intervals or place in the refrigerator to thaw overnight.

Lemon Cheesecake Bars
Save This Recipe To Your Recipe Box
You can now create an account on our site and save your favorite recipes all in one place!
Ingredients
CRUST
- 12 tablespoons unsalted butter
- 18 full sheets Graham crackers crushed into fine crumbs
- 1/3 cup granulated sugar
CHEESECAKE
- 3 8 oz. pkgs. cream cheese, softened
- 1 ¼ cups granulated sugar
- 3/4 cup sour cream at room temperature
- ¼ cup lemon juice
- 2 teaspoons lemon zest
- 1 tablespoon vanilla extract
- 3 large eggs at room temperature
- 1 egg yolk at room temperature
EASY LEMON CURD TOPPING
- 2/3 cups lemon juice
- 1 cup granulated sugar
- 1 teaspoon cornstarch
- 4 large eggs
- 2 large egg yolks
- 6 tablespoons unsalted butter cut into ½ inch cubes
- 1/2 teaspoon vanilla extract
- 1/8 teaspoon salt
Whipped Cream (optional)
- 1 teaspoon unflavored gelatin (optional for stabilized, see notes)
- 1 1/2 tablespoons water (optional for stabilized, see notes)
- 1 cup cold heavy whipping cream
- 3 tablespoons powdered sugar
- 1 teaspoon vanilla extract
Instructions
PREP
- Preheat oven to 325 degrees F.
- Lightly grease a 9×13 baking dish with nonstick cooking spray. Line the greased baking dish with heavy-duty aluminum foil going the length of the pan, allowing the long ends to overhang by at least a 2-inches (to easily lift cheesecake out later). Line the pan with foil going the other direction (width of the pan to create a +). Lightly grease foil with nonstick cooking spray. Set aside. (Yes, you grease the pan and the foil – it helps the foil release more easily.)
CRUST
- Melt butter in a large microwave safe bowl. Add finely ground Graham crackers and sugar and stir until well combined. Transfer crumbs to prepared pan and firmly press the crumbs down on the bottom of the pan using the back of a measuring cup until you have an even layer.
- Bake at 325 degrees F for 14 minutes. Remove and set aside to cool COMPLETELY.
CHEESECAKE
- Add cream cheese to the bowl of an electric mixer fitted with the paddle attachment and beat on medium speed until light and fluffy, about 4 minutes (no less!). Add sugar and beat 5 additional minutes on medium speed.
- Add the sour cream, lemon juice, lemon zest and vanilla and mix until blended. With the mixer running on low, add the eggs one at a time followed by the egg yolk, beating as little as possible, just until combined after each addition (overbeating once you add the eggs can cause cracks and the cheesecake to deflate).
- Pour cheesecake on top of the COOLED crust and evenly spread to the edges.
- Bake for 60-70 minutes at 325 degrees F, until the filling is set around the edges but still a little jiggly, but not runny, in the center (DON'T peak earlier because opening the door can cause cracks). An instant-read thermometer inserted into the filling about 1-inch from the edge should read between 175°-185°F. (The cheesecake will continue to cook as it cools.)
- Once the cheesecake bars are done, crack the oven door and let them cool in the oven for 15 minutes, then remove the pan from the oven to a cooling rack. Let the cheesecake cool for 1 hour before adding the lemon curd topping.
EASY LEMON CURD
- Whisk the lemon juice, sugar, cornstarch, eggs and egg yolks in a medium bowl until the cornstarch dissolves and most of the sugar has dissolved.
- Pour the lemon mixture into a small, saucepan and cook over medium-low heat, stirring CONSTANTLY, until thickened to the consistency of thick pudding, 4-8 minutes, and the curd registers about 175°F on an instant-read thermometer.
- Immediately remove the saucepan from heat and stir in butter until melted, followed by vanilla and salt.
- Strain the lemon curd through a fine-mesh sieve into a small bowl. Set aside to cool to warm temperature before spreading over the cheesecake.
ASSEMBLE & CHILL
- Pour all of the room temperature lemon curd onto the cheesecake and spread into an even layer.
- Let the cheesecake cool to room temperature, another 1-2 hours, then cover and refrigerate for at least 6 hours before serving, but preferably overnight.
Whipped Cream (optional)
- Optional for stabilized whipped cream: Add unflavored gelatin to a microwave safe bowl then pour the cold water over top; let stand for 5 minutes then microwave for 10 seconds. Stir the mixture, then set aside to cool.
- Add heavy cream, powdered sugar, and vanilla extract to a large mixing bowl. Whip using an electric hand mixer just until soft peaks form.
- Turn the mixer to low and slowly pour in the gelatin mixture. Mix until well combined then increase the speed to medium and continue mixing until stiff peaks form.
- Transfer whipped cream to a piping bag fitted with a large tip. You can pipe the stabilized whipped cream onto the room temperature cheesecake with lemon curd topping before you pop it into the fridge or any time after that. The beauty of stabilized whipped cream is it will hold its shape indefinitely. If using regular whipped cream, top just before serving.
SERVE
- When ready to serve, use the foil overhangs to lift the cheesecake out of the pan onto a cutting board.
- This next step is CRUCIAL for clean cuts. To slice, fill a tall glass with hot water. Dip a sharp knife in the hot water, wipe with a damp cloth, then make a clean slice; repeat for reach cut.
Notes
Baking Tips for Success
- Stabilized whipped cream: is heavy cream that has been whipped with sugar and gelatin in order to give it structure but it doesn’t alter the flavor – it’s magic! The stabilized whipped cream will hold its shape indefinitely and won’t deflate or weep. This means it can be piped onto the cheesecake bars hours or days ahead of time for 100% make ahead Lemon Cheesecake Bars.
- Unflavored gelatin: is a common baking ingredient and can be found next to the packages of Jell-O and pudding at your grocery store. It is what makes this “stabilized” whipped cream and not just whipped cream.
- Room temperature ingredients: allow the cheesecake to mix more easily which means you’re less likely to overbeat the eggs which causes cracking (more on that below).
- Don’t overbeat eggs: eggs trap air, which can rise up and cause cracks and/or the cheesecake to deflate, so mix the eggs/cheesecake filling as little as possible once they’re added.
- To quickly bring eggs to room temperature: fill a bowl with warm water (not hot) and add eggs and let sit 10-20 minutes.
Storage
Lemon Cheesecake Bars should be covered and stored in the refrigerator. They are at their prime 24-48 hours after making, but are good for up to 7 days.TO FREEZE WHOLE PAN OF CHEESECAKE BARS:
- Refrigerate baked cheesecake bars for at least 8 hours.
- Remove the the cooled, uncut cheesecake bars from the pan using the foil overhang and place them on a plate.
- Freeze uncovered, until firm, about 1 hour.
- Remove the cheesecake from the freezer, wrap it twice tightly in plastic wrap followed by heavy duty aluminum foil
- Freeze for 2-3 months.
- To thaw, remove cheesecake bars from the freezer to the refrigerator. Let thaw overnight.
TO FREEZE INDIVIDUAL CHEESECAKE BARS:
- Line cut bars on a plate without touching and place the plate in the freezer and freeze until solid, about 1 hour; this prevents the bars from freezing together later when stored.
- Transfer bars to a freezer safe airtight container, and place parchment paper in between each row or freeze bars in individual freezer safe bags.
- Freeze for 2-3 months.
- When ready to eat, thaw individual cheesecake bars in the microwave at 20 second intervals or place in the refrigerator to thaw overnight.
Want To Make This Recipe?

Did You Make This Recipe?
Tag @CarlsbadCravings and Use #CarlsbadCravngs
Leave a Review, I Always Love Hearing From You!


Sally says
I have a question about freezing the bars. Do you freeze them before or after spreading the lemon curd on top? I want to serve these at a barbecue later this summer. The more I can prep ahead of time, the better. Thanks.
Jen says
Hi Sally, you can freeze them with the lemon curd no problem!
Alyse says
I’m blown away at the detail for this recipe! I can’t wait to try it! It looks amazing! We have a family lemon bar that everyone loves but I will have to try your lemon cheesecake bar. Thank you!
Jen says
You’re so welcome Alyse, I’m excited for you to try them! I hope you love them as much as us!
Christine says
The best dessert I’ve made in a LOOOOOOONG time! I shared with my sister and her kids, the missionaries, and a Young Women/Young Mens group and everyone gobbled them up! A few people asked if I would “take this recipe to my grave” haha! I definitely shared this one! It’s too good to keep to myself!
Jen says
You made my day Christine! Thanks for being the first to review this recipe – I am THRILLED it was a huge hit with everyone!
Tamara says
These were amazing!! Most definitely the best cheesecake bars I’ve made! My husband and I don’t want to share with the kids! 🙂
Jen says
Thank you so much Tamara, I love hearing that! You and your husband have great taste ;)!
Alicia says
Made these for Easter. Absolutely delicious!
Jen says
I’m so glad you loved them, thanks Alicia!
Kristina Smith says
If I wanted to add coconut into this recipe somehow how would I go about doing it? Any ideas would be helpful. I definitely can’t wait to try these bars!!
Jen says
You could substitute this graham cracker crust for a coconut crust, and/or top it with coconut whipped cream! You can find both those recipes here: https://carlsbadcravings.com/banana-coconut-cream-pie/ If you use this coconut crust recipe, remember to double it! Hope you love the bars!
Judy says
For the Lemon Cheesecake Squares I can’t find sheets of Graham Cracker crumbs – only pre-ground. How many cups would I use?
Jen says
Use 2 cups + 2 tablespoons. Enjoy!