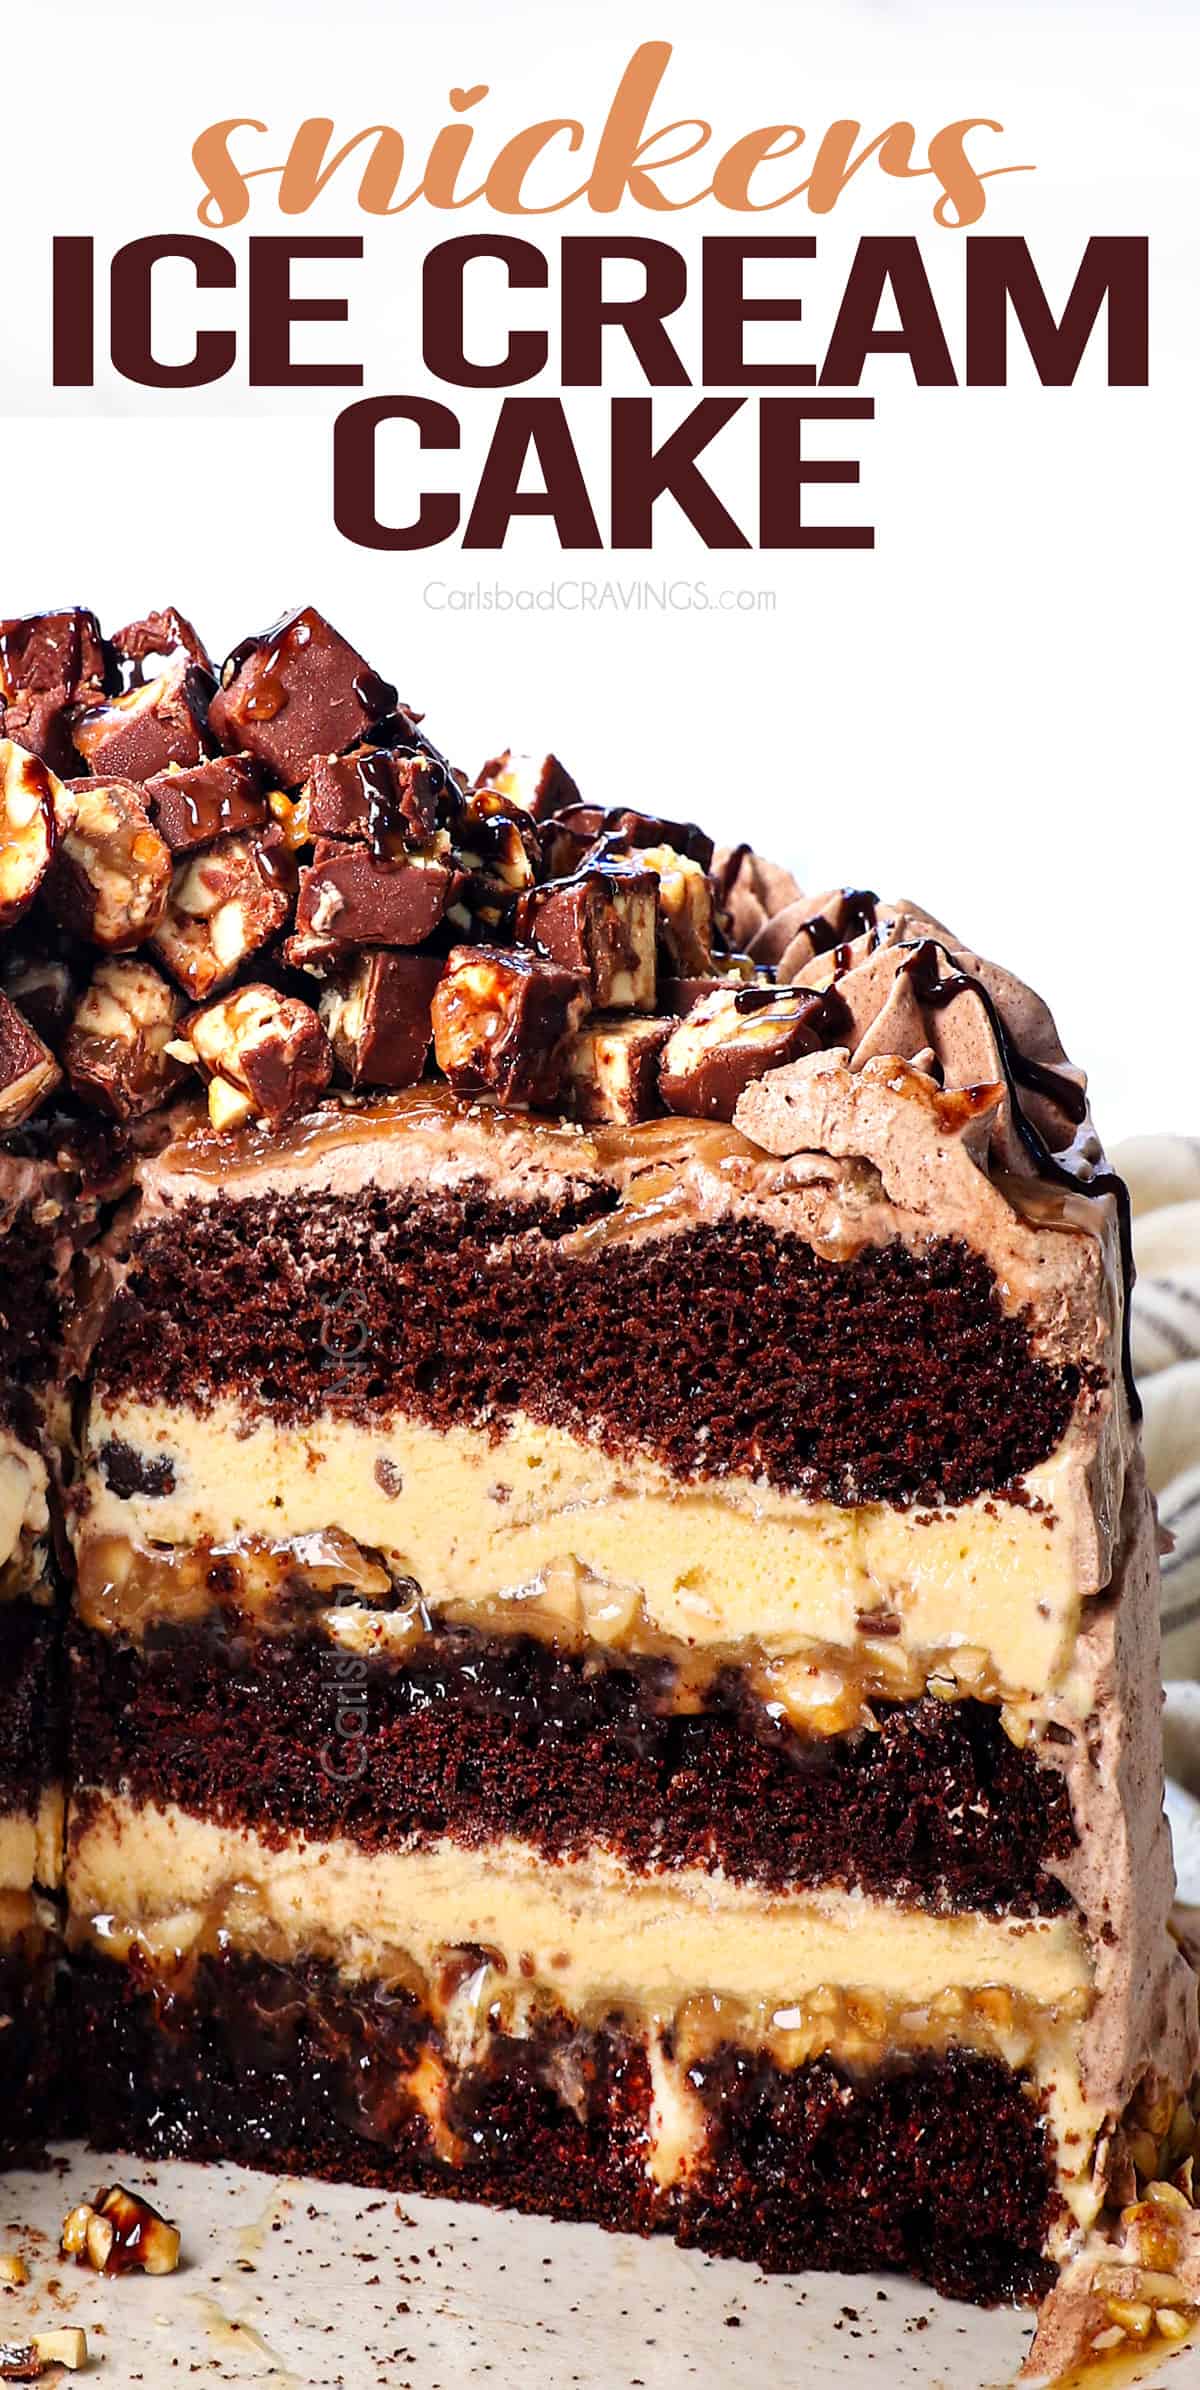
This Snickers-inspired ice cream cake is rich, creamy, chocolatey, and packed with the sweet-salty goodness of peanut butter caramel in every bite. It may look impressive, but the recipe is straightforward, tested, and foolproof, complete with step-by-step photos, expert tips, tricks, and easy variations. Best of all, it’s topped with stabilized chocolate whipped cream, so it freezes beautifully for weeks without losing its luscious texture—unlike other recipes that fall short, literally.

Why You’ll Love This Ice Cream Cake
I’ve tested and tweaked every layer of this ice cream cake recipe to perfection—so you get the ultimate flavor, texture, and freezer-friendly results every single time. Here’s why you’ll love it:


Homemade Ice Cream Cake Ingredients
Let’s take a closer look at what you need to make this recipe (measurements in the printable recipe card at the bottom of the post):
For the ice cream and decorating:
FOR THE Cake
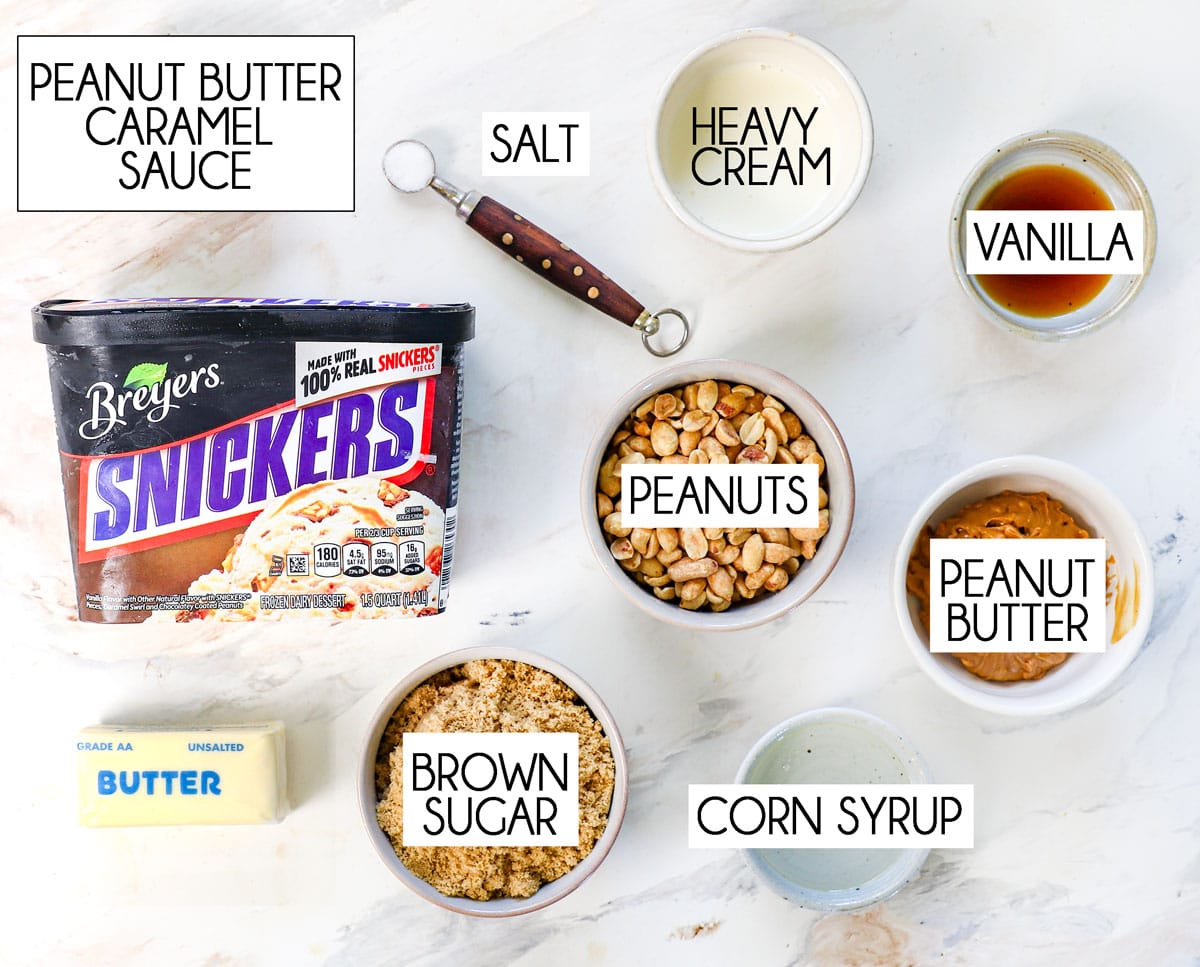
For the Peanut Butter Caramel Sauce
For the chocolate Whipped Cream Frosting:


Recommended Equipment:
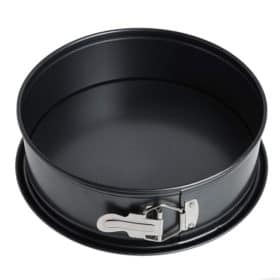
For an ice cream cake, the ideal pan is a 9×3-inch springform pan like this one. Trust me, it will not go to waste. I use it in all my cheesecake recipes and my no-bake cheesecake too!
Here’s why it’s awesome and what to look for:
•Tall sides (at least 3 inches) to accommodate multiple layers of cake, ice cream, and toppings.
•Removable ring makes it easy to release the frozen cake cleanly without inverting or damaging the sides.
•Sturdy lock to keep the ring secure while freezing and assembling.
•Look for a quality pan with a nonstick finish.


How to Make An Ice Cream Cake
Let’s take a closer look at how to make this recipe with step-by-step photos (full recipe in the printable recipe card at the bottom of the post):


Tips For Making The Perfect Ice Cream Cake
Cake Layer Tips
ICe Cream Layer Tips
Peanut Butter Caramel Layer Tips


Best Ice Cream Cake variations
Use the same chocolate cake recipe and mix up the ice cream flavors, sauces, and garnishes to create endless variations! Here are a few ideas:


How to Serve Ice Cream Cake

Storing DIY Ice Cream Cake
To store a DIY ice cream cake:
•Wrap the cake tightly in plastic wrap, then cover it with foil or place it in an airtight container to prevent freezer burn and absorption of odors.
•Store in the coldest part of your freezer (not the door) for up to 1 week for optimal texture and flavor.
•If storing longer (up to 2 weeks), double-wrap and label with the date.
•Before serving, let the cake sit at room temperature for 15-20 minutes, allowing the ice cream to soften slightly.

Ice Cream Cake FAQs
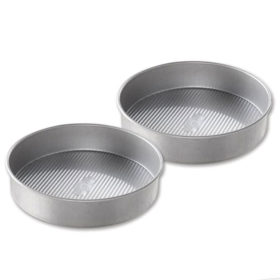
Yes! You will need two (15.25 oz. each) chocolate cake mixes to fill three 9-inch round pans. Most boxed cake mixes bake at 350°F for about 25–30 minutes in 9-inch pans, but check early and rotate pans if baking all at once.
For best results, you should make ice cream cake at least 1 day in advance, and up to 1 week ahead.
This gives the layers time to firm up and set completely, making it easier to slice cleanly. After assembling, freeze the cake for at least 6 hours, but overnight is ideal. If making further ahead, wrap it tightly in plastic wrap and foil to prevent freezer burn. Remove from the freezer about 20 minutes before serving to allow it to soften slightly.
Before making an ice cream cake, let the ice cream soften at room temperature for 15-20 minutes. You want it soft enough to spread easily into an even layer, but still cold and thick—not melted or runny. For quicker softening, transfer it to a bowl and stir every few minutes.
An ice cream cake is a frozen dessert made by layering ice cream with cake, cookies, or other fillings, then frosting and garnishing it like a traditional cake. It’s perfect for birthdays, celebrations, or any occasion where you want a show-stopping treat.
Let ice cream cake sit at room temperature for 15-20 minutes before serving.
Freeze your assembled cake for at least 6 hours or overnight, and serve it directly from the freezer after softening for a few minutes. Work quickly when slicing and plating to minimize melting.
Popular choices include chocolate, vanilla, cookies & cream, mint chip, peanut butter cup, and birthday cake. You can also get creative with flavors like Snickers, mocha, or strawberry cheesecake.
Yes, but a springform pan makes layering and releasing the cake much easier. If you don’t have one, use a deep cake pan lined with plastic wrap and parchment so you can lift the cake out once frozen.
Use stabilized whipped cream (like in this recipe), or chocolate ganache. Spread quickly while the cake is cold, then return it to the freezer to firm up before serving.
Absolutely. Wrap slices tightly in plastic wrap and foil or place in an airtight container. Freeze for up to 2 weeks for best taste and texture.

WANT TO TRY THIS ICe Cream Cake RECIPE?
PIN IT to your recipe BOARD TO SAVE FOR LATER!
FIND ME ON PINTEREST FOR MORE GREAT RECIPES! I AM ALWAYS PINNING :)!
©Carlsbad Cravings by CarlsbadCravings.com


Homemade Ice Cream Cake
Save This Recipe To Your Recipe Box
You can now create an account on our site and save your favorite recipes all in one place!
Ingredients
Cake Layer (See Notes for Store-Bought)
- 2 cups (240g) all-purpose flour (fluffed, spooned, & leveled)
- 3/4 cup unsweetened cocoa powder
- 2¼ teaspoons Postum or decaf or espresso powder- NOT instant coffee (optional, SEE NOTES)*
- 2¼ teaspoons baking soda
- 1 teaspoon baking powder
- 1¾ cups granulated sugar
- 1 teaspoon salt
- 1 cup buttermilk at room temperature
- 1/2 cup full fat sour cream at room temperature
- 1/2 cup vegetable oil
- 3 large eggs at room temperature
- 2 teaspoons pure vanilla extract
- 1 cup hot water
Ice Cream & Garnish
- 1½ pints Snickers Ice Cream (Like Breyers – may sub peanut butter)
- 1 10.59 oz. bag mini Snickers, chopped small (optional for decorating)
- Chocolate fudge for drizzling (Store-bought or see notes for DIY)
Peanut Caramel Sauce
- 16 TBS/1 cup/2 sticks unsalted butter
- 1½ cups light brown sugar, packed
- 1/4 cup corn syrup (dark if you have it)
- 3 tablespoons water
- 1 teaspoon salt, or more to taste
- 1/2 cup heavy cream, plus more as needed
- 1 tablespoon vanilla extract
- 1/2 cup chunky peanut butter
- 1⅓ cups chopped dry roasted, salted peanuts (measure after chopping)
Stabilized Chocolate Whipped Cream Frosting
- 2 cups heavy cream
- 2/3 cup powdered sugar, sifted
- 1/3 cup unsweetened cocoa powder
- 1/8 teaspoon salt
- 1 teaspoon pure vanilla extract
- 1 teaspoon unflavored gelatin powder
- 1½ tablespoons cold water
- 1 teaspoon heavy cream
Instructions
CAKE
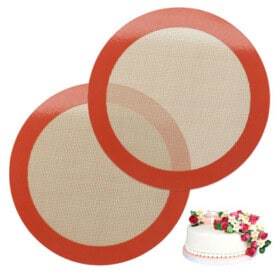
- Prep: Preheat the oven to 350°F. Line the bottoms of three 9-inch cake pans with parchment paper, or I use these silicone nonstick mats (game changer!). Spray the pans with nonstick cooking spray WITH flour or butter and flour pans.
- Combine Dry Ingredients: Sift the flour, cocoa, Postum/espresso powder, baking powder, baking soda, and into a large bowl. Whisk in the sugar and salt ("Dry Ingredients"). Set aside.
- Combine Wet Ingredients: In the bowl of your electric mixer fitted with the whisk attachment, mix the buttermilk, sour cream, and oil until combined. Whisk in the eggs and vanilla.
- Combine: With the mixer on low, gradually add the Dry Ingredients, followed by the hot water, and beat until incorporated.
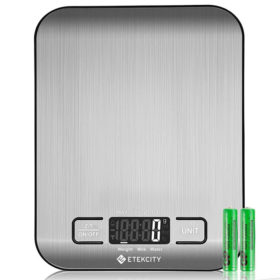
- Add Batter to Pans: Evenly divide the batter between the cake pans (I weigh them with my kitchen scale), and drop them a few times on the counter to eliminate air bubbles.
- Bake: Bake at 350°F for 19-25 minutes OR until a toothpick inserted in the center of the cakes comes out with a few moist crumbs (don’t open oven while baking or cakes could fall in the center. Darker pans will be closer to the 19 minutes.) You will likely need to bake one cake layer on the top rack and the others on the middle rack. The cakes baked on the middle rack will likely be done first. Once done, move the top rack cake to the middle rack and continue to bake.
- Cool the cakes in the pans completely before adding the ice cream (about 30 minutes). Once cool, level the cakes using a long serrated knife. The cakes can be made up to 2 days in advance and stored at room temperature, tightly wrapped in plastic wrap, or frozen for up to 3 months.
Prep Pan & Ice Cream
- Prepare Springform Pan: While the cakes are cooling, line a 9×3-inch springform pan with plastic wrap (use two long strips overlapping in the middle so all sides are covered). Now we need to make the springform pan taller by making a collar inside to create extra height. To do this, line the inside wall of the pan with a long sheet of parchment paper to form a ring, then tape it together (see photos in the post).
Peanut Caramel Sauce
- Combine Ingredients: Add the butter, brown sugar, corn syrup, water, and salt to a medium saucepan and heat over medium-low heat, stirring until the butter melts.
- Simmer: Once melted, bring to a boil, then reduce to a vigorous simmer, whisking CONSTANTLY over medium-high heat for 5 minutes. It will become very thick and frothy; however, continue stirring.
- Add Heavy Cream: Remove from the heat and carefully stir in the heavy cream (it will bubble vigorously) along with the vanilla. Transfer ¾ cup of the caramel sauce to a microwave-safe bowl for later use on top of the cake.
- Add Peanut Butter & Cool: Stir in the peanut butter and peanuts. Let the sauce cool to lukewarm, about 20-25 minutes. After cooling, the sauce should be thick but spreadable. If it thickens too much, return it to medium heat and stir in 1 additional tablespoon heavy cream at a time until you can spread it. Meanwhile:
- Remove the Ice Cream: After the sauce has cooled for about 10 minutes, remove the ice cream from the freezer so it can rest at room temperature for 10-15 minutes to soften. If it becomes too soft before using, return it to the freezer.
Assemble & Freeze
- Layer Cake: Place the first cake layer in the prepared springform pan, cut side up. Spread it evenly with half of the Peanut Caramel Sauce. Next, top with half of the Snickers ice cream and spread into an even layer using an offset spatula. (If your ice cream feels super soft at this point, freeze the cake and remaining ice cream again for 10 minutes–we don’t want the layers to melt!)
- Finish Layers: Repeat the layers with the cake, Peanut Caramel Sauce, and ice cream. Finish with the last cake layer, top side down.
- Freeze: Cover the cake with plastic wrap and freeze for at least 6 hours, but overnight is best. Store the reserved caramel sauce in the refrigerator.
Chocolate Stabilized Whipped Cream Frosting
- Note: Don’t make the frosting until the cake has been frozen for at least 6 hours and you’re ready to frost it.
- Microwave Gelatin: Add the unflavored gelatin to a small microwave-safe bowl. Add the cold water and whisk with a fork; let it stand for 5 minutes. Microwave for 10-15 seconds (until completely dissolved/liquified), then stir in 1 teaspoon of heavy cream (this will prevent it from seizing). Set aside while you immediately proceed to the next step:
- Whip to Soft Peaks: Add the heavy cream, powdered sugar, cocoa powder, vanilla, and salt to a large mixing bowl and whip using a stand mixer or an electric hand mixer until soft peaks form (the peaks flop over when the beaters are lifted.)
- Whip to Stiff Peaks: Turn the mixer to low and slowly pour in the gelatin mixture. Mix until combined, then increase the speed to medium-high and continue mixing until stiff peaks form (the peaks stand straight up when the beaters are lifted).
Frost Cake
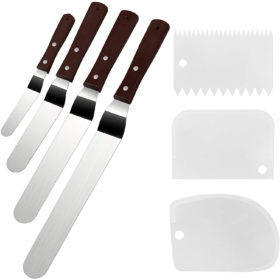
- Prep for Frosting: Remove ¾ cup frosting to a piping bag with a decorative tip. Remove the cake from the springform pan and carefully peel off the plastic and parchment paper. Transfer it to a serving plate.
- Frost Cake: Working quickly, frost the top and sides of the cake. Freeze the cake for 20 minutes.
- Decorate Cake: After 20 minutes, microwave the reserved caramel sauce for about 45-60 seconds, or until it is spreadable, then spread ½ cup on top of the cake, leaving about a 1-inch border around the perimeter (it works best to drizzle the caramel and spread the drizzle together). Arrange the chopped Snickers over the caramel, then pipe a decorative border around the edge of the cake. If desired, drizzle with chocolate and reserved caramel sauce. Serve immediately or freeze.
Serve
- Slice: I like to slice the cake about 5 minutes after removing it from the freezer, while it's still pretty firm. This makes the prettiest slices. If it's still too firm for you to slice, wait longer. Dip a sharp knife in hot water, wipe it dry, and slice—reheating between cuts to ensure clean edges.
- Soften: After slicing, let the cake sit at room temperature for an additional 15-20 minutes, so the ice cream can start to soften-yum! The cake is exponentially better when the ice cream is melty.
Notes
- Store Bought Cake Mix Option: You will need two (15.25 oz. each) chocolate cake mixes to fill three 9-inch round pans. Prepare as directed on the boxes.
- Postum (decaf) or espresso powder (optional): These enhance the chocolate flavor without making the cake taste like coffee. Both are available on Amazon (click the names).
- Don’t pack the flour: It’s best to weigh it. I highly recommend investing in a kitchen scale (this is the exact one I have). If you don’t have a scale, avoid scooping the measuring cup into the flour bag or container. Instead, fluff the flour, then use a spoon to scoop it into a measuring cup and level it off.
- DIY Buttermilk: Add one tablespoon lemon juice or white vinegar to a 1-cup liquid measuring cup, then fill the rest with milk. Whisk, then let it sit for 5 minutes before using.
- Make-Ahead Chocolate Cake Layers: After cooling completely, wrap each layer tightly in plastic wrap and store at room temperature for up to 1 day, refrigerate for up to 2 days, or freeze for up to 3 months.
- 4 ounces semi-sweet baking chocolate (may sub ½ cup quality chocolate chips like Ghirardelli or Guittard)
- 2 tablespoons corn syrup
- 1 tablespoon vegetable oil
- Add the ingredients to microwavable safe bowl. Microwave uncovered on Medium (50%) for 1 to 2 minutes, whisking halfway through, or until chocolate can be whisked smooth. Add to a small bag, snip the corner and drizzle.
Want To Make This Recipe?

Did You Make This Recipe?
Tag @CarlsbadCravings and Use #CarlsbadCravngs
Leave a Review, I Always Love Hearing From You!


Anna says
Hi, under the Cake preparation section you mention silicone cake pan liners. I don’t see a link so I wanted to let you know. I will check back so I can order them. I plan to make the cake for a family reunion in September. I have tried many your recipes and they have become family favorites.
Jen says
Hi Anna, thanks for making my recipes! I think you will love this cake as well! Thanks for letting me know about the missing link – here’s the link to the ones I have and love: https://amzn.to/402xpPt
Katie says
This looks amazing. I’m gluten free though. Could GF flour be subbed for the cake?
Jen says
Hi Katie! Thank you so much for your interest in this recipe! I haven’t tried it myself but that should not be a problem to use GF Flour. Let me know how it turns out! 🙂
Leslie says
First off, I saw the photos and had to make this cake! SOOOOOO GOOD! I loved how easy it was to put together, and it made such a fun, impressive dessert for a special occasion. Thanks Jenn!
Jen says
That makes me so happy to hear—thank you Leslie!! I’m thrilled it lived up to the photos and was easy and fun to make too. Sounds like it was a perfect special occasion dessert!
Cindy says
I made this for my family for a birthday, and now they expect it every birthday. I may have set the bar too high. Worth it though!
Jen says
hahah! I love that it’s become a birthday tradition (even if you’ve raised the bar a little too high). Totally worth the memories – and the deliciousness!