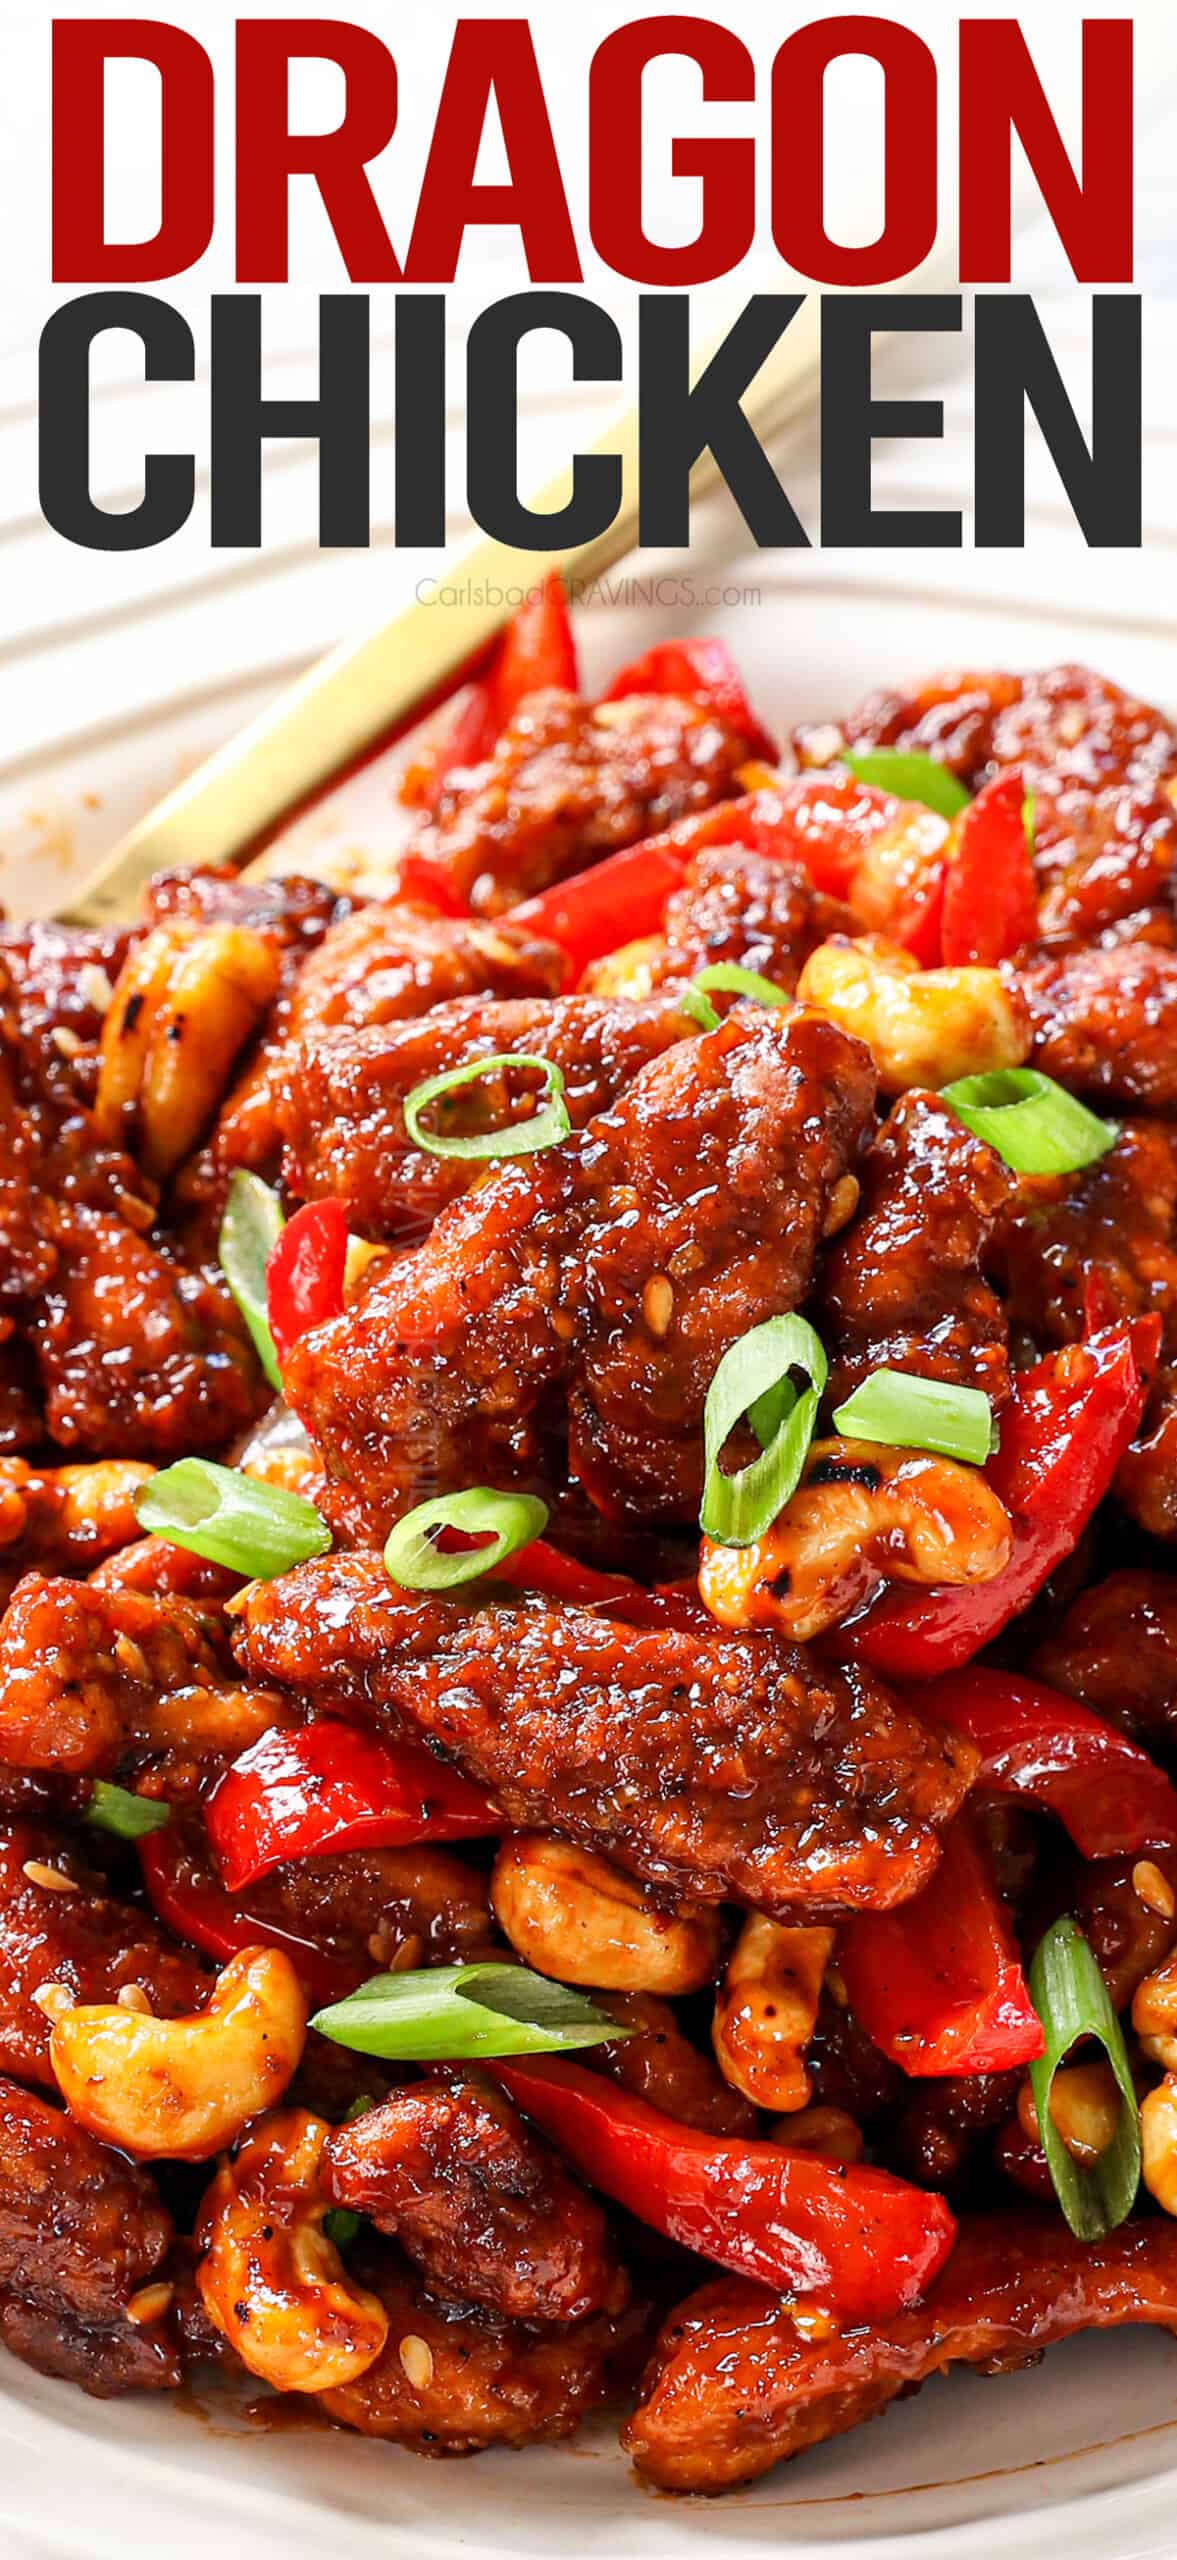
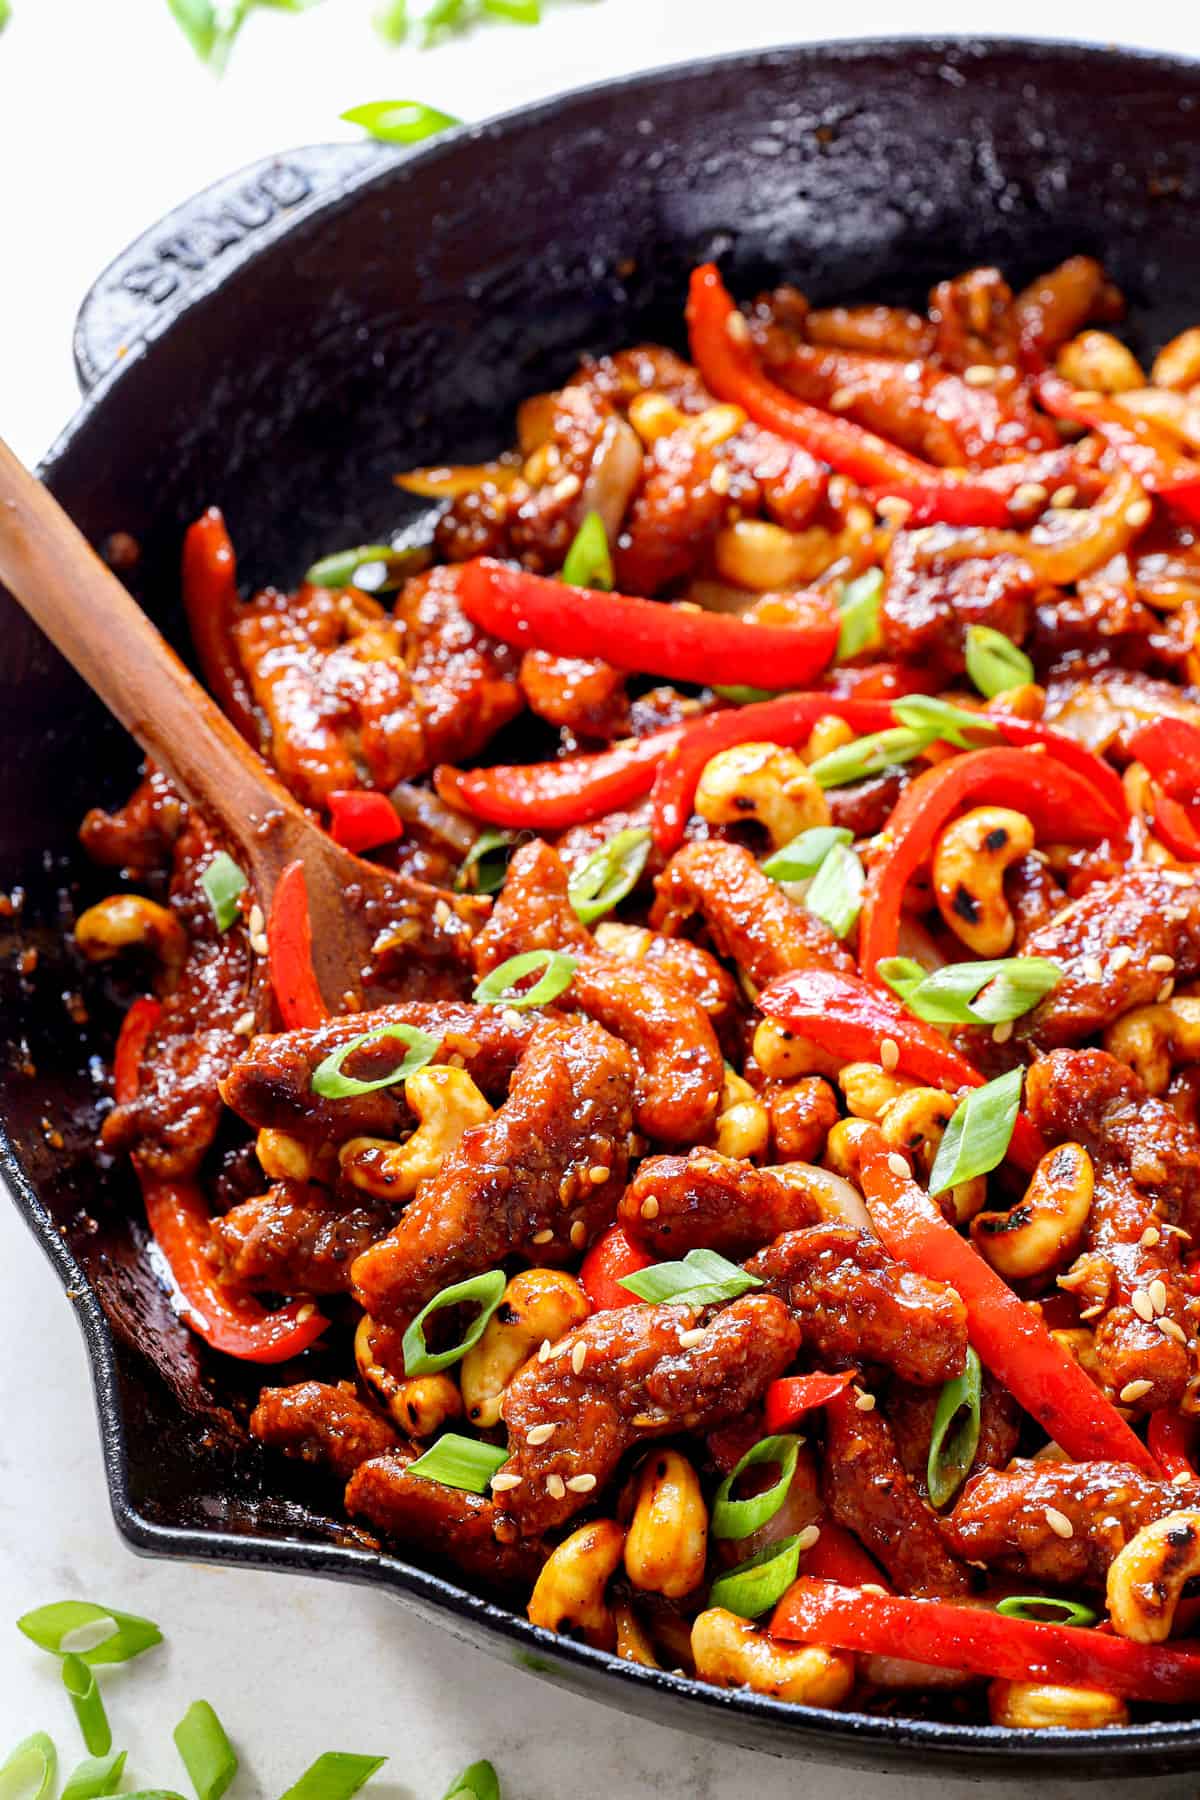
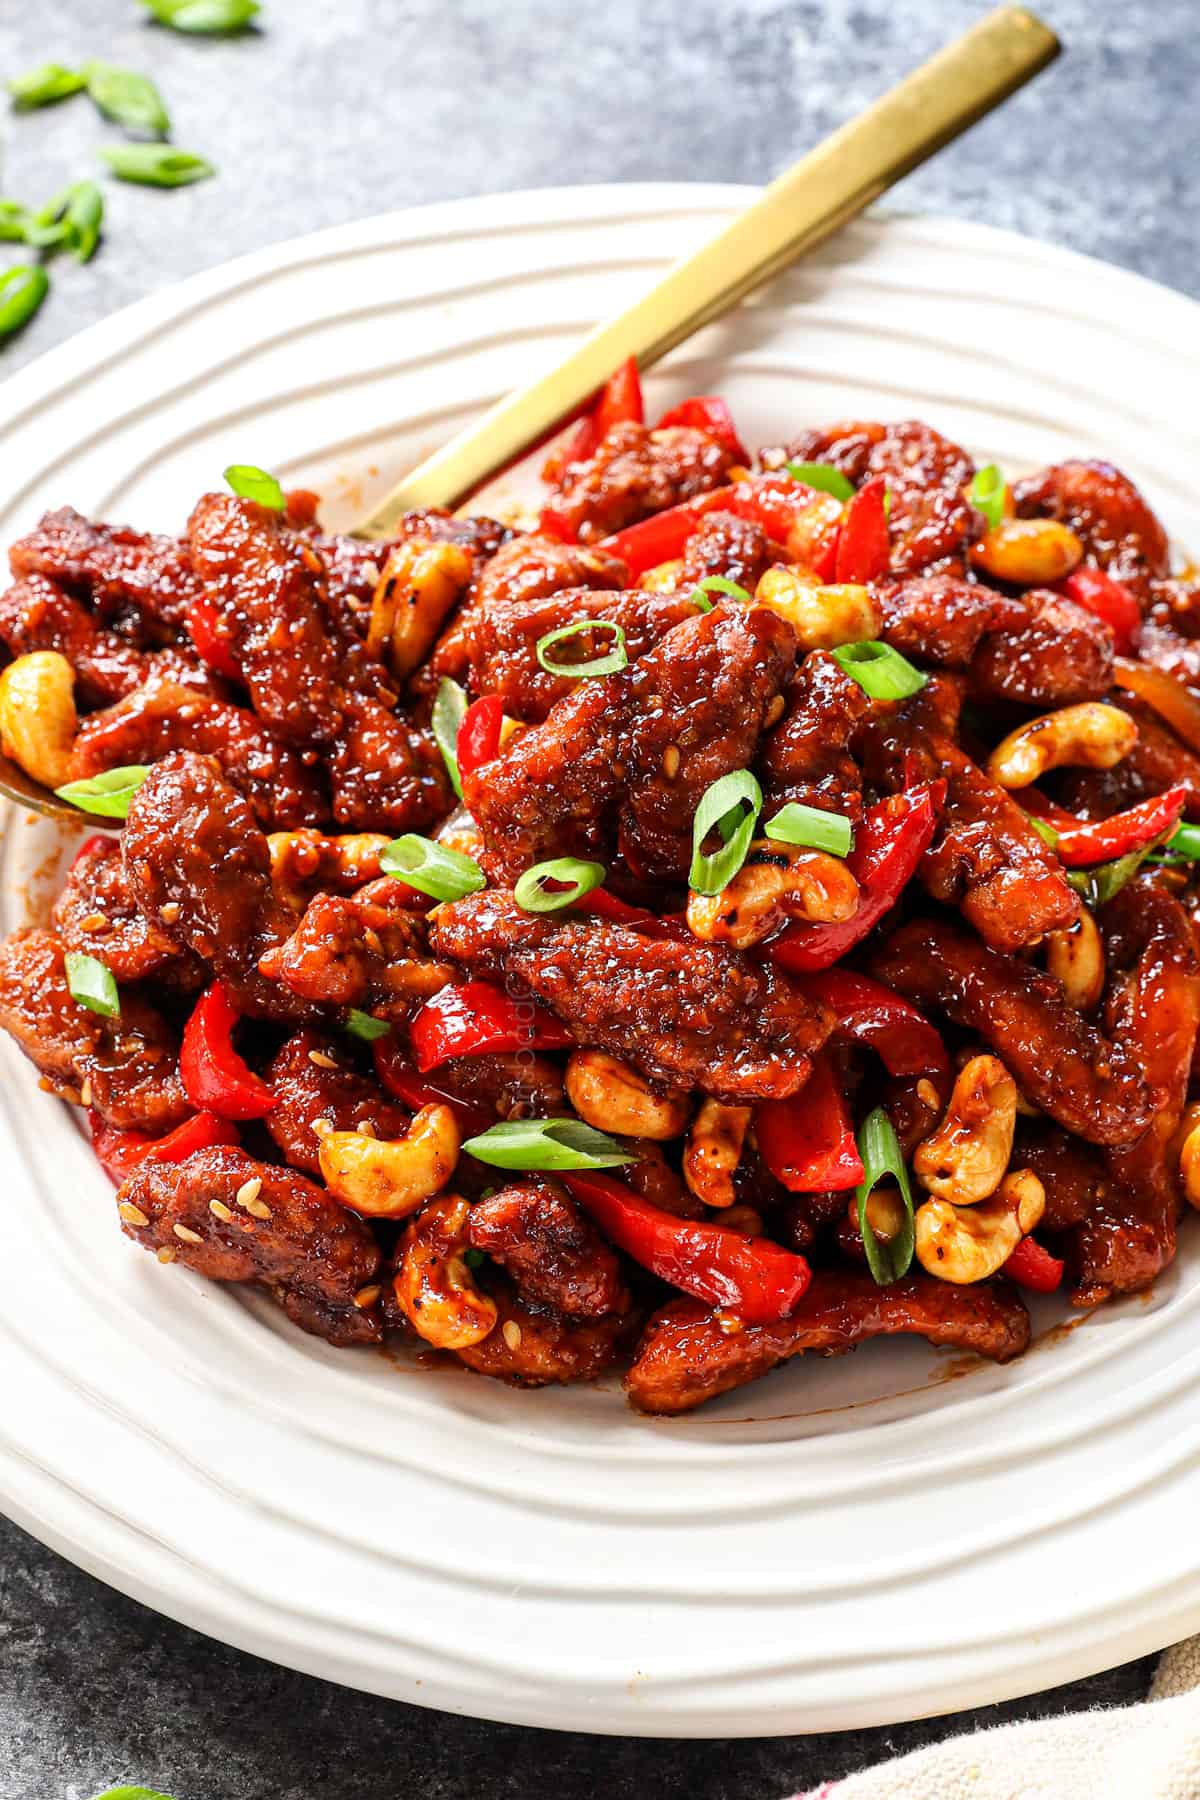
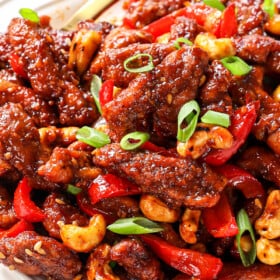
Restaurant-style Dragon Chicken is a craveable cult favorite made with crispy chicken strips and buttery cashews tossed in an irresistible fiery, savory, garlic chili sauce with a kiss of sweetness.
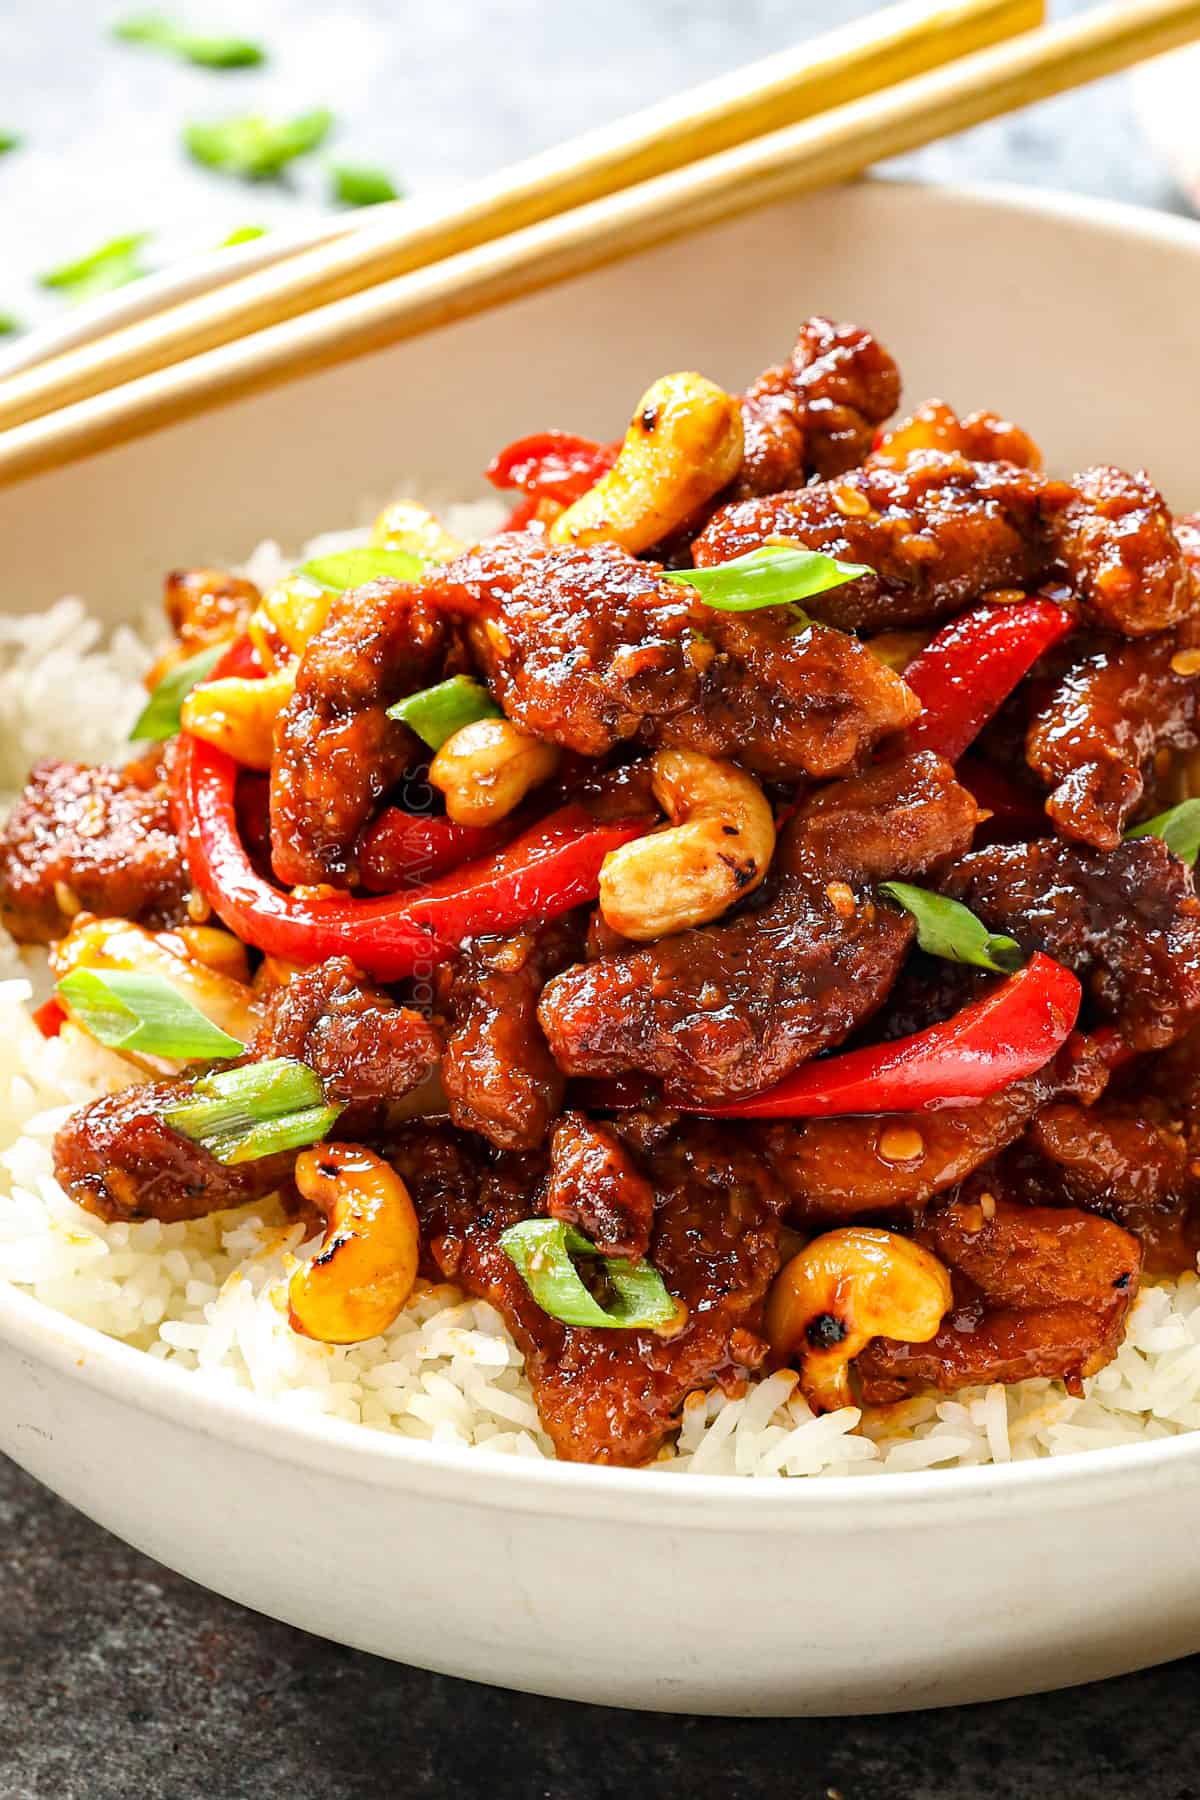
Dragon Chicken is a modern Indo-Chinese dish that’s savory, sweet, sour and SPICY – but don’t worry, you can customize the heat! This finger lickin’ favorite is made with breaded chicken strips pan fried until crispy (no need to deep fry!), crunchy, buttery cashews, sweet stir fried bell peppers and white onions and zippy garlic and ginger all tossed in an outrageously tasty fiery red chili sauce layered with soy sauce, oyster sauce, Chinkiang and sesame oil. Enjoy the spicy Dragon Chicken as an appetizer along with homemade egg rolls, or serve with jasmine rice and ramen noodle salad to round out the meal. No matter how you serve it, this spicy chicken recipe is destined to become a family favorite!
We are huge fans of Chinese chicken copycat recipes around here – and so are our readers! Don’t miss General Tso’s Chicken, Orange Chicken, Mongolian Chicken, Chicken and Broccoli Stir Fry, Sweet Fire Chicken, Chicken Stir Fry or Kung Pao Chicken.
How to Make Dragon Chicken video

What is Dragon Chicken
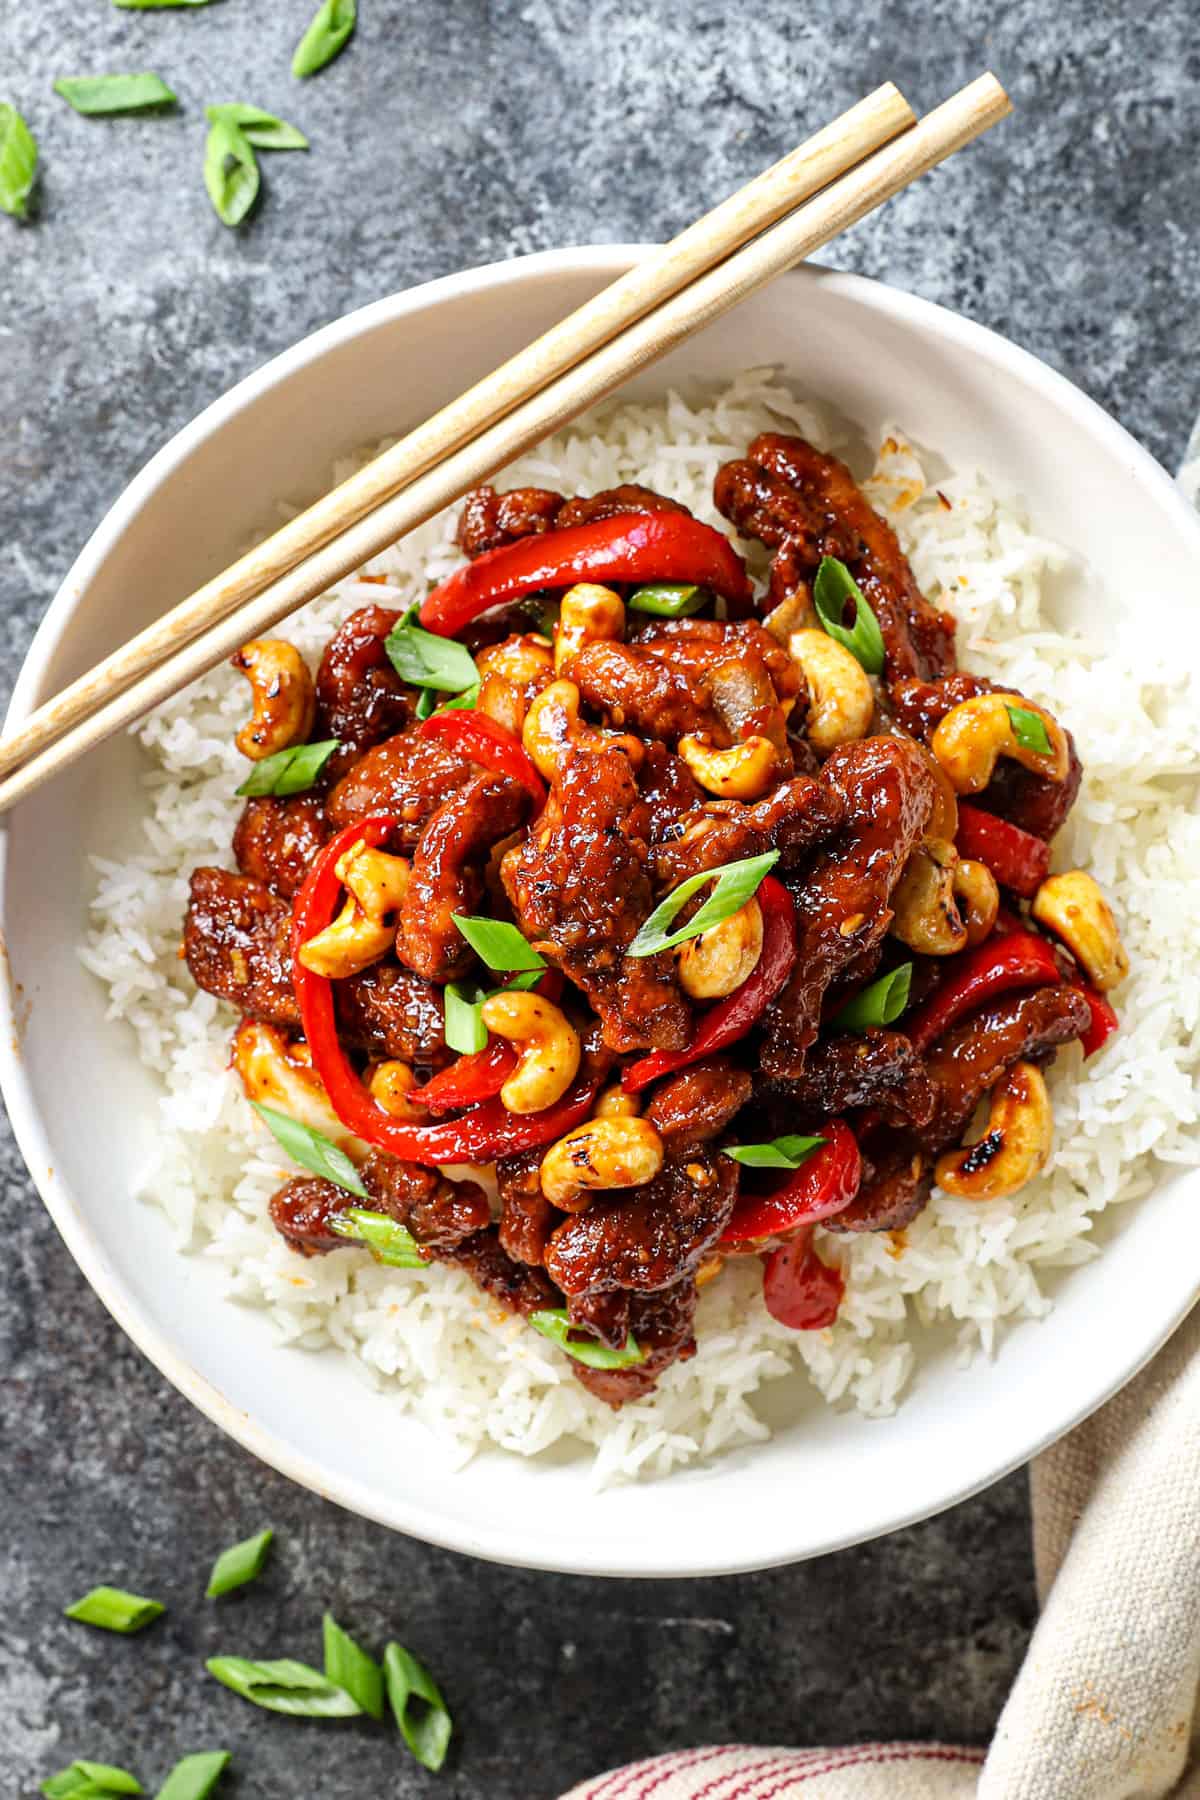
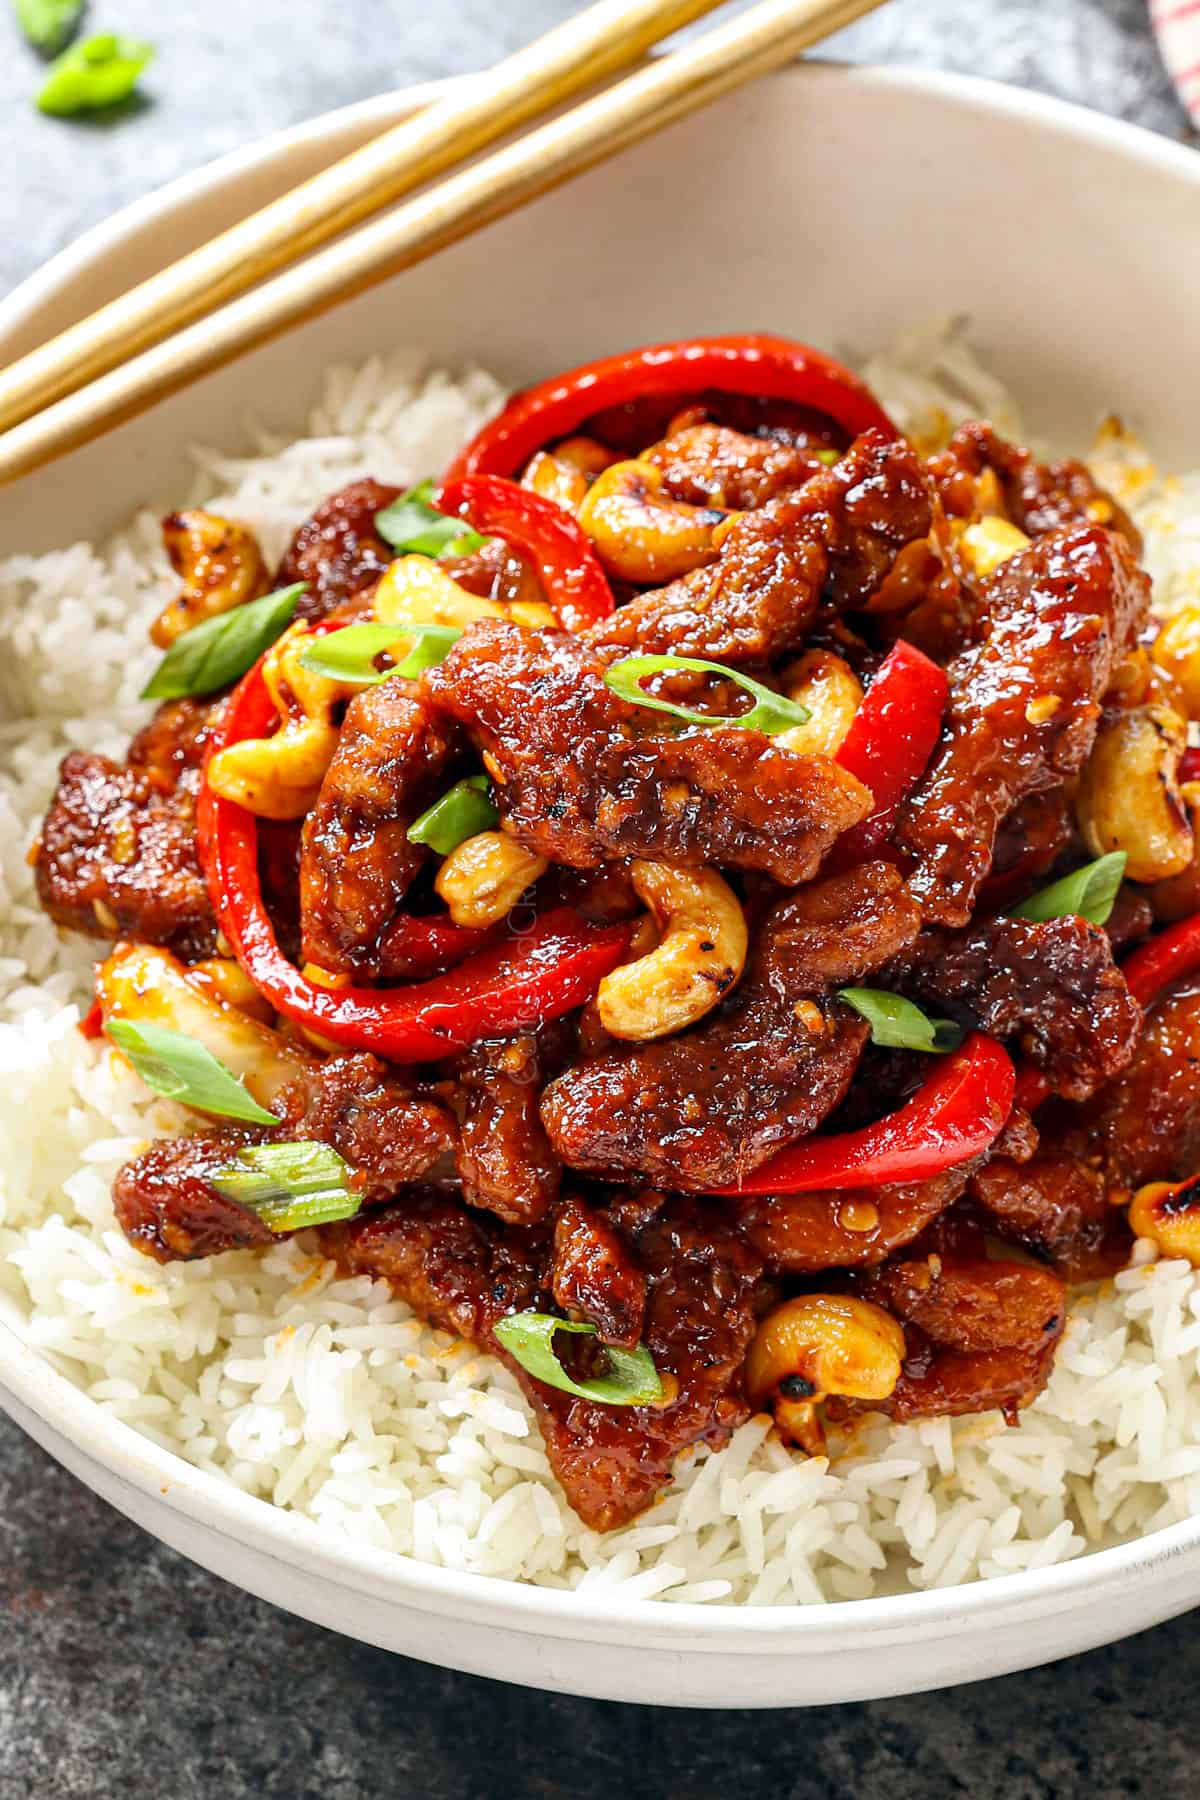
Dragon Chicken is an Indo-Chinese inspired appetizer (although I love serving it as a main dish with rice), featuring strips of crispy fried chicken tossed in a spicy red chili sauce with buttery, sweet crunchy cashews and stir fried veggies (usually bell peppers). It’s a bit of a hidden gem, only served at select Asian restaurants, but for those who’ve tried it, it quickly becomes a favorite.
Dragon Chicken is named for it’s fiery hot sauce, but don’t worry, your mouth won’t be on fire! Instead, the dish is salty, savory, slightly sour and slightly sweet balanced by a flavorful kick of heat from the Asian chili sauce.
Some recipes use dried red chili peppers for the heat, others use red chili flakes, while others use chili paste, like in this recipe, which I find easiest to customize. With the chili paste, you can start with less, then easily add more to taste, making this recipe perfect for YOU!

WHY this spicy Chicken recipe works
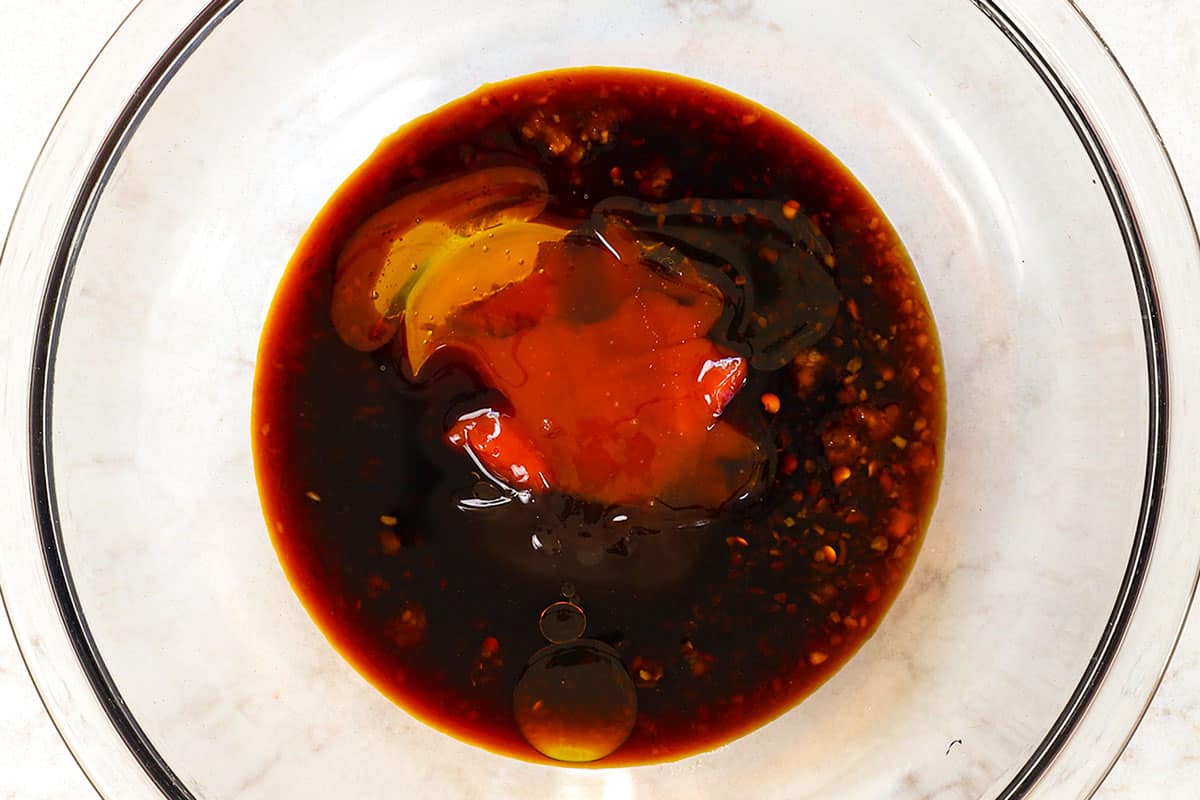
The tastiest Dragon sauce. The sauce is a flavor bomb with intoxicating complex layers of flavor – no one note sauce here! It’s spicy from the red chili paste, salty from the soy sauce, umami rich from the oyster sauce, sweet from the honey, tangy from the ketchup and sour from the Chinese black vinegar.
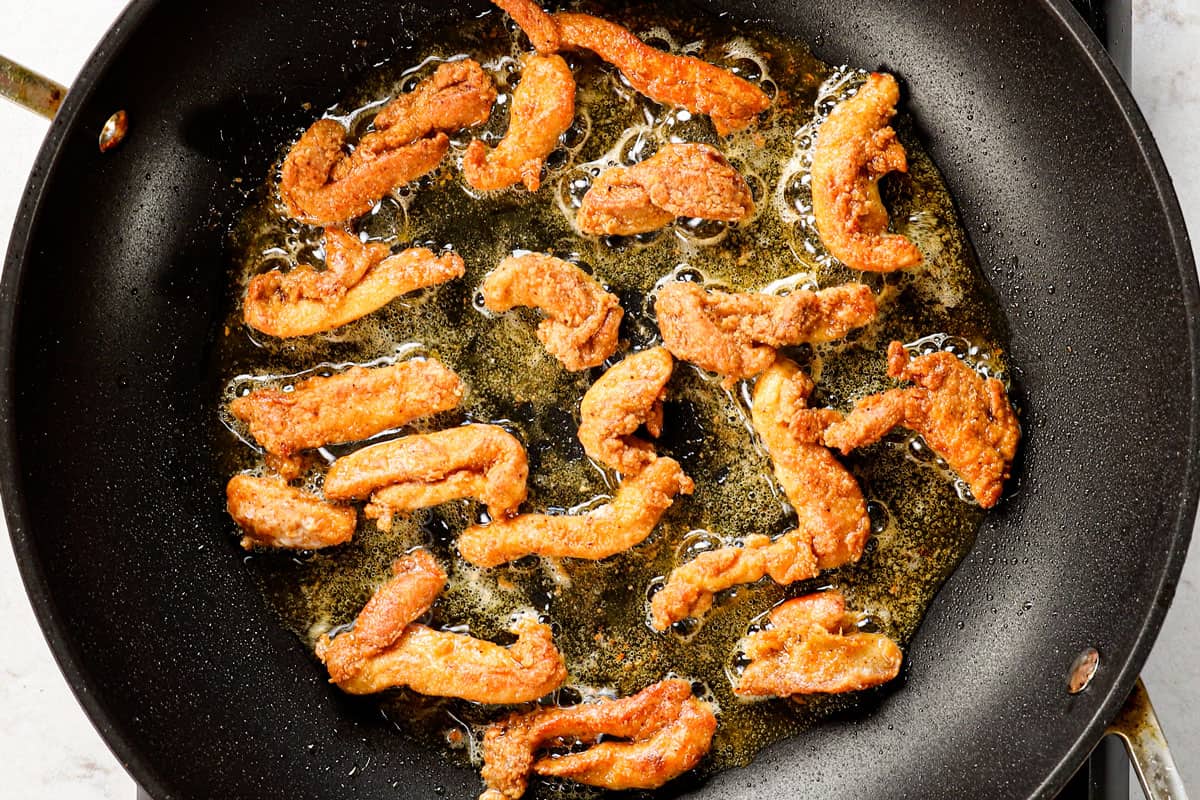
Crispy chicken WITHOUT deep frying. Although Dragon Chicken is traditionally deep fried to make it crispy, this recipe is cooked in minimal oil using a nonstick skillet – you will be BLOW AWAY at how unbelievable crispy it becomes!
Customizable heat. By using red chili paste as opposed to stir fried dried chilies, the spice level is easy to customize before and after making the dish.
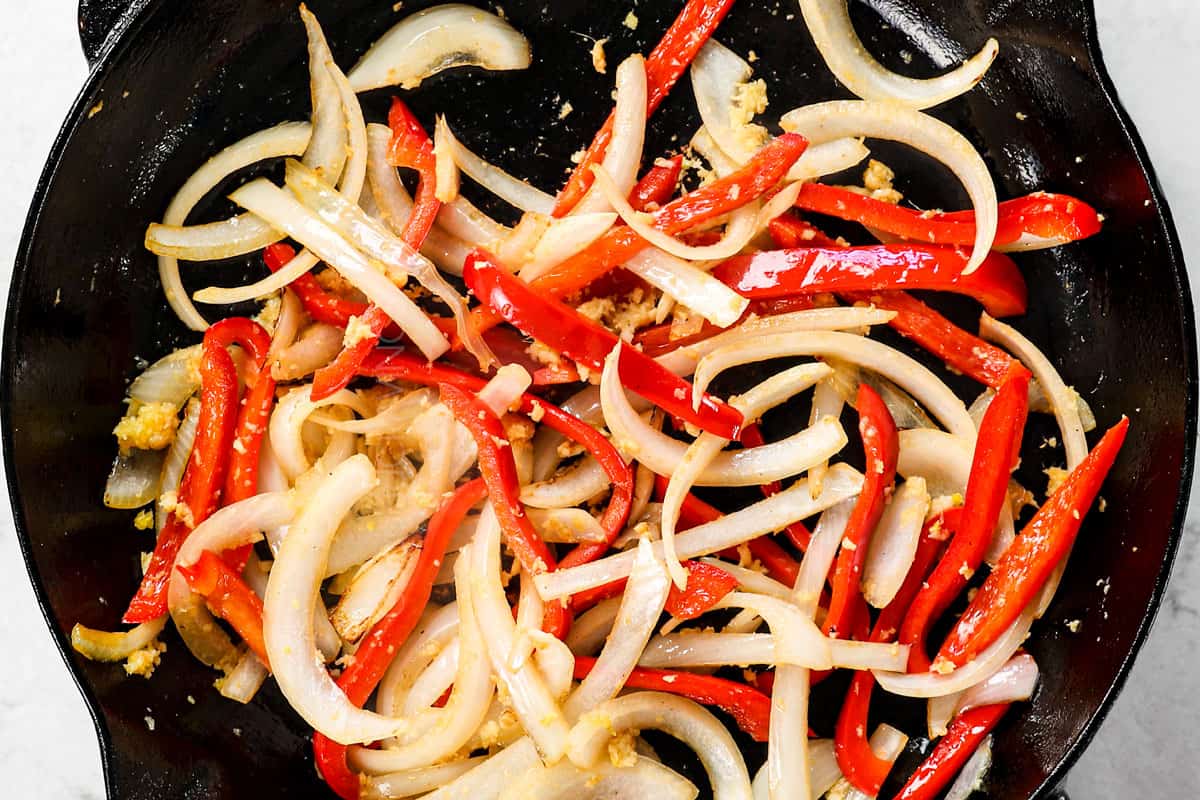
Lots of CRUNCH! In addition to the crispy, spicy chicken, this recipe is brimming with toasted cashews, stir fried onions and bell peppers for satisfying crunch and texture in every bite.
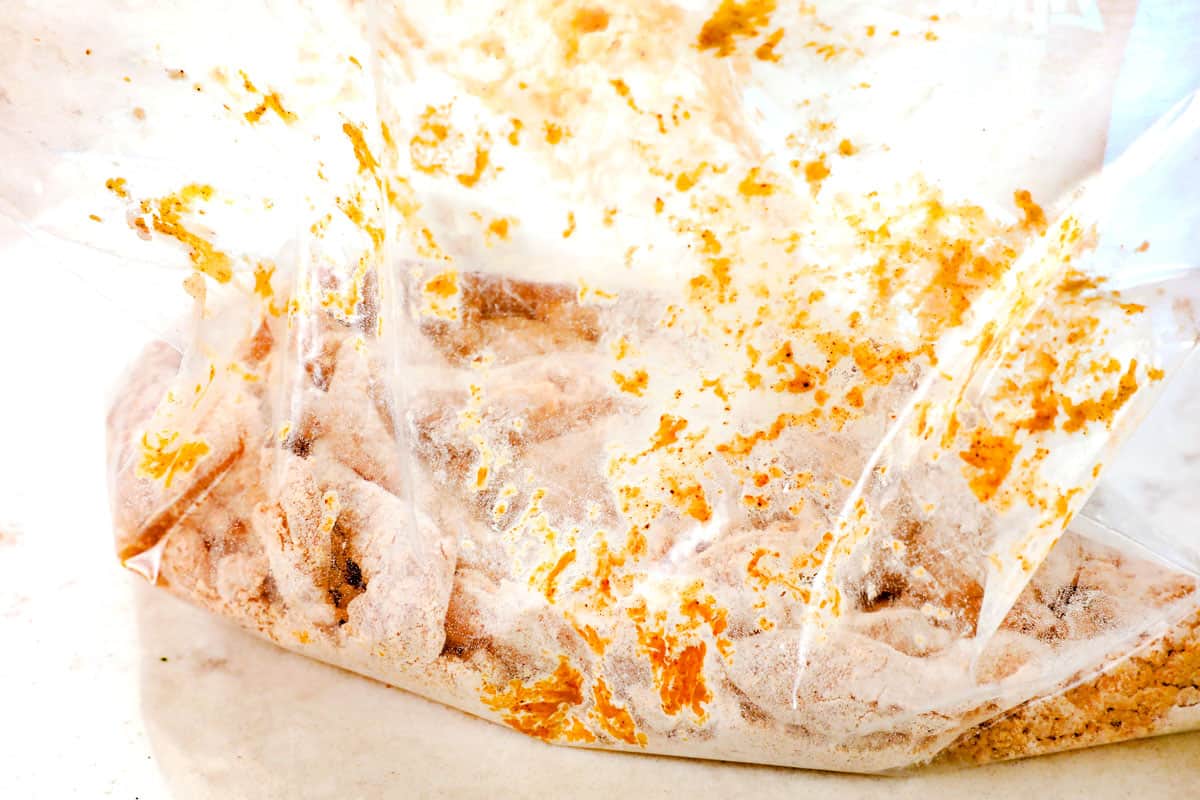
Easy to make. Freezer bags make breading the chicken hassle free, while pan frying the chicken is quicker, easier, and less messy than deep frying.
Pantry friendly. This spicy chicken recipe is made with kitchen staples if you do much Asian kitchen at all (or soon to be staples if you don’t). Once you stock them once, you can make this recipe quicker than picking up takeout!
Budget friendly: Feed the entire family for the fraction of dining out with the bonus of customizing the sweetness, tanginess, and heat of your favorite Restaurant-Style Dragon Chicken.
Ingredients in Spicy Chicken Recipe
This Dragon Chicken recipe can be broken into three parts: the chicken and breading, the dragon sauce, and the stir-fry veggies. Let’s review what you’ll need to make this spicy chicken recipe (full recipe with measurements in the printable recipe card at the bottom of the post):
FOR THE chicken:
For the Dragon sauce:
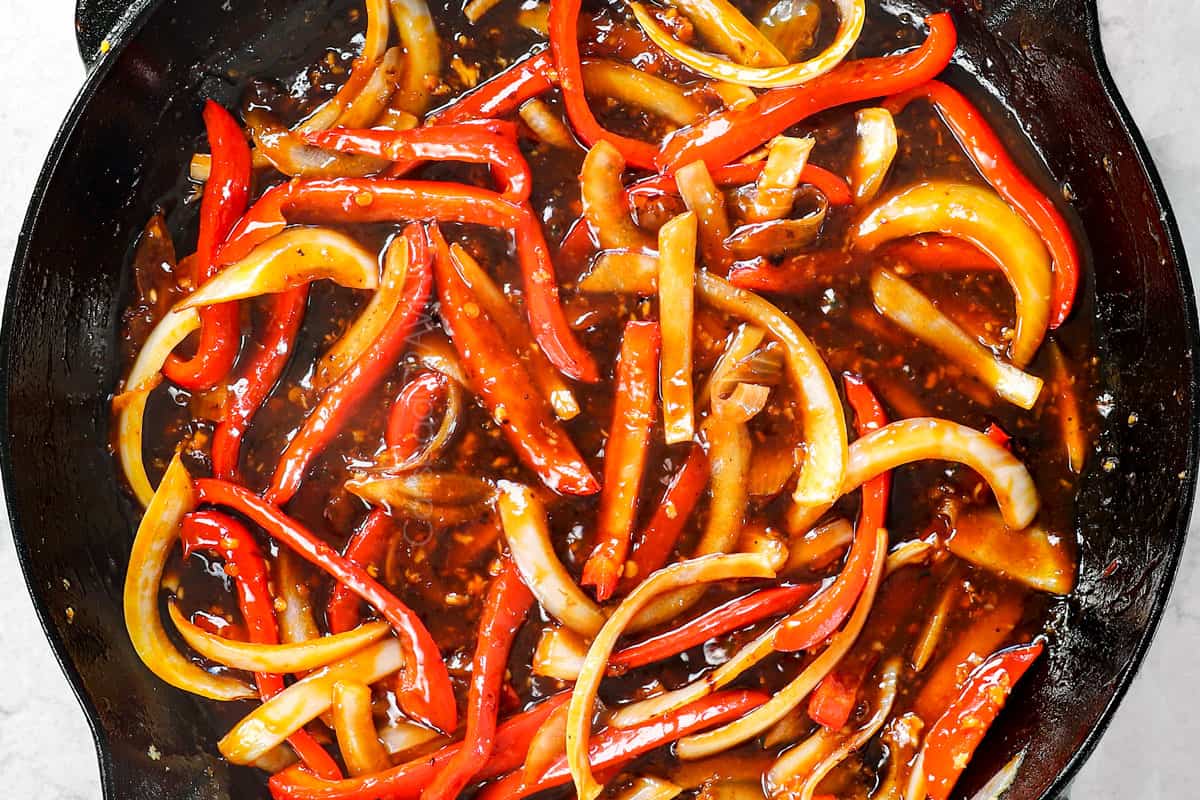
For the stir-fry:
HOW TO MAKE Dragon Chicken
Dragon Chicken is an easy recipe that anyone can prepare! Here’s a look at how the spicy chicken comes together with step-by-step photos (or watch the video in the printable recipe card at the bottom of the post):


How to Customize the dragon sauce
The Dragon Sauce is easy to customize to suit your personal tastes. Just keep a note of your adjustments so you can whip out the perfect sauce every time. Here’s how:
For spicier: add additional chili sauce
For sweeter: add additional honey
For more fruity tanginess: add additional Chinese black vinegar
For saltier: add additional soy sauce


- Rice: I like jasmine rice or brown rice but any rice will work. Just pop the rice in your rice cooker for a hand’s off, easy side. You can also use microwave rice pouches if you’re making a single serving.
- Low carb: Cauliflower rice, quinoa, broccoli rice or a blend of brown rice and any of the aforementioned options.
- Noodles: Ramen, soba noodles, rice noodles or even low carb spaghetti squash are a fun way to mix things up.
- Appetizers: For a complete Asian feast, pair your Dragon Chicken with Pineapple Cream Cheese Wontons, Crab Rangoons, Potstickers, and/or Egg Rolls.
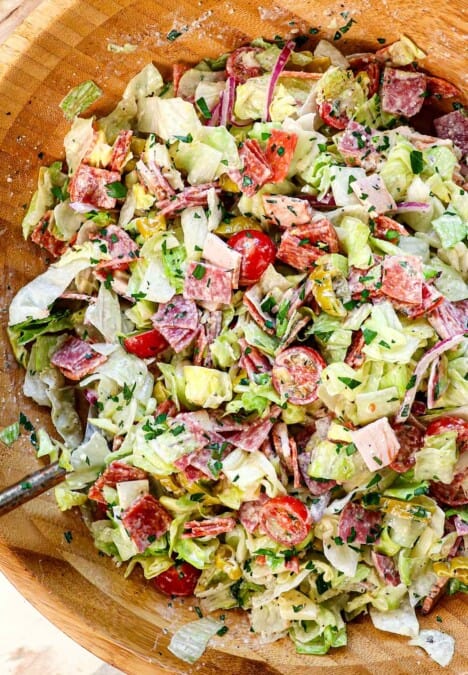
- Salads: Some of our favorite Asian-inspired salads include Ramen Salad, Crunchy Asian Salad, Chinese Salad, and Asian Pineapple Salad.
- Soups: Asian soups make a fantastic starter, such as Wonton Soup, Egg Drop Soup or Miso Soup.

MEal Prep
Dragon Chicken has a few steps, but you can prep almost everything ahead of time for a speedy dinner. Here’s how:
Prep chicken: Slice chicken and refrigerate, or go one step further and marinate in the egg/seasonings up to overnight in the fridge. Bring to room temperature before breading.
Prep breading: Whisk the flour, cornstarch and chili powder together in a large freezer safe bag.
Make sauce: Whisk the ingredients together up to 24 hours in advance and store in the refrigerator.
Chop veggies and aromatics: Slice the bell pepper and onion, mince the garlic and grate the ginger 24 hours in advance and store in an airtight container in the refrigerator.

HOW long is this spicy chicken good for?
This spicy Dragon Chicken is best served immediately from the piping hot skillet. The longer you wait to serve it, the softer the breading will become. While leftovers are tasty, they will not be crispy. Store leftovers covered in the refrigerator for up to 4 days.

How do I reheat this spicy chicken?
How to reheat in the microwave: Transfer small portions to a microwave-safe dish, heat for 1 minute, stir, then continue to heat at 30-second intervals.
How to reheat on the stove: Heat a tablespoon of neutral oil in a large nonstick skillet over medium heat. Add the chicken and rewarm gently, stirring often. Once warm, crank up the heat to help crisp the chicken back up.

WANT TO TRY THIS RECIPE?
PIN IT to your recipe BOARD TO SAVE FOR LATER!
FIND ME ON PINTEREST FOR MORE GREAT RECIPES! I AM ALWAYS PINNING :)!
©Carlsbad Cravings by CarlsbadCravings.com


Dragon Chicken
Save This Recipe To Your Recipe Box
You can now create an account on our site and save your favorite recipes all in one place!
Ingredients
QUICK MARINADE
- 1 egg
- 1 tablespoon reduced sodium soy sauce
- 1/2 tsp EACH ginger powder, garlic powder, onion powder, paprika, cayenne pepper
- 1 pound chicken thighs, sliced into 1/2-inch strips
CHICKEN BREADING
- 1/2 cup flour
- 1/4 cup cornstarch
- 1/2 tablespoon chili powder
- canola or vegetable oil for pan frying
SAUCE
- 1/4 cup low sodium soy sauce
- 1/4 cup ketchup
- 3 tablespoons honey
- 2 tablespoons oyster sauce
- 1 1/2-2 tablespoons Asian chili sauce (like Sambal Oelek)
- 1 tablespoon Chinkiang/Chinese black vinegar (may sub ½ TBS balsamic vinegar + ½ TBS rice vinegar)
- 1 tablespoon toasted sesame oil
- 1 1/2 teaspoons cornstarch
STIR FRY
- 1 cup UNSALTED cashews
- 1 tablespoon vegetable or peanut oil
- 1/2 white onion, thinly sliced
- 1 red bell pepper, thinly sliced
- 1 tablespoon freshly grated ginger
- 6 garlic cloves, minced
GARNISH
- Toasted sesame seeds
- Green onions
Instructions
- MARINATE CHICKEN: Whisk the egg, 1 TBS soy sauce and marinade spices together in a large bowl or freezer bag. Add the sliced chicken and turn to coat. Marinate while you prep the rest of the ingredients, preferable 30 minutes. You can also refrigerate overnight, then let the chicken sit at room temperature for 30 minutes before breading.
- MAKE SAUCE: Whisk the Sauce ingredients together in a medium bowl until the cornstarch is completely dissolved; set aside.
- BREAD CHICKEN: In a separate large freezer bag, combine the flour, cornstarch and chili powder. Remove the chicken from the marinade, dab off excess with paper towels, then add to the breading bag. (To quickly remove excess marinade, I plop the chicken on a wad of paper towels using a slotted spoon.) Shake the chicken until well coated, pressing coating into chicken. If needed, open the bag and use your hand to separate and coat any last pieces.
- COOK: Heat ¼ cup canola, vegetable or peanut oil over medium-high heat in a large NONSTICK skillet (you may use less oil but it will be less crispy). Working in 2-3 batches, shake off excess breading from chicken and add to the sizzling oil in a single layer. Cook for about 4 minutes, or until cooked through, flipping halfway. Remove chicken to a paper towel lined plate. Add another drizzle of oil to the skillet if needed and repeat with remaining chicken. Set aside.
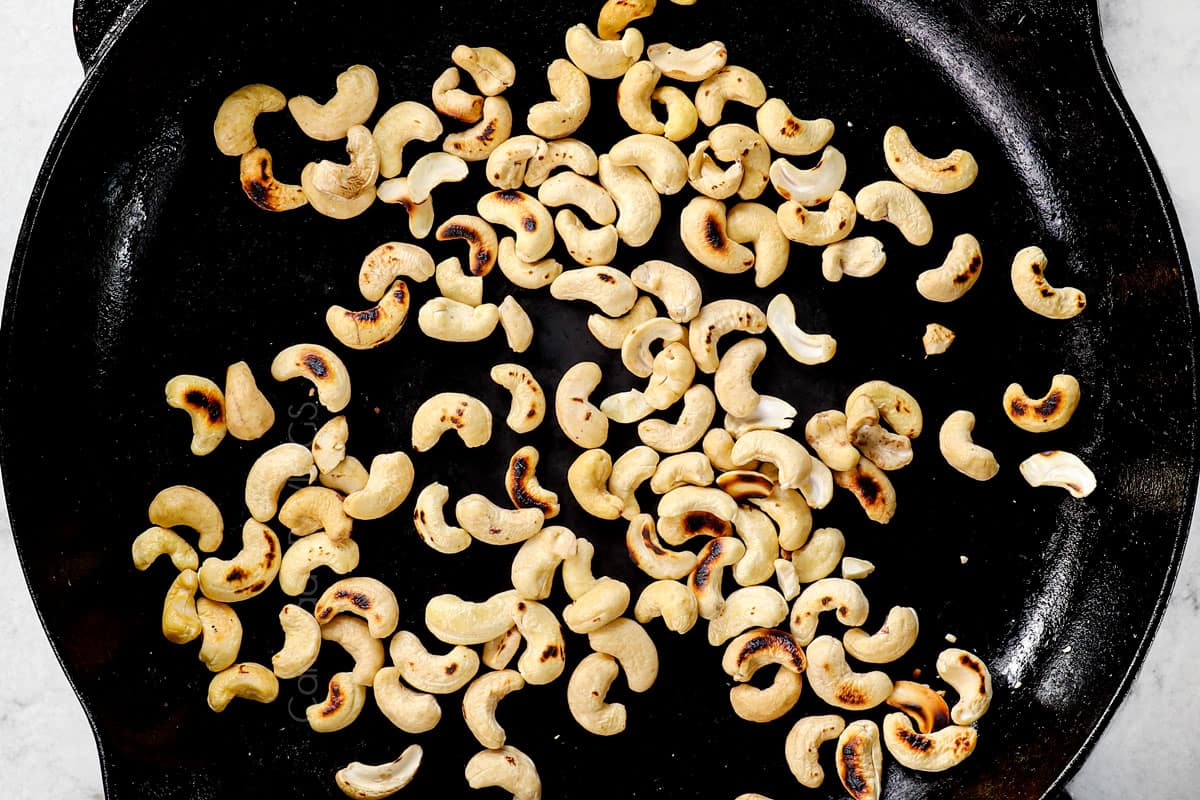
- CASHEWS: Toast the cashews in a dry, large cast iron skillet over medium heat until toasted in spots, stirring a few times; remove cashews from the skillet.
- ADD SAUCE. Whisk the sauce again to recombine. Add to the skillet and bring to a simmer, stirring often until thickened, about 1 minute.
- COMBINE: Add the chicken and cashews and stir to coat. Garnish with sesame seeds and green onions. Serve immediately. The sooner you enjoy the chicken, the crispier it will be. If everyone isn't seated at the table yet, wait to add the chicken until ready to serve.
Video
Notes
Meal Prep
This recipe has a few steps, but almost everything can be prepped ahead of time for a speedy dinner:- Prep chicken: Slice chicken and refrigerate, or go one step further and marinate in the egg/seasonings up to overnight in the fridge. Bring to room temperature before breading.
- Prep breading: Whisk the flour, cornstarch and chili powder together in a large freezer safe bag.
- Make sauce: Whisk the ingredients together up to 24 hours in advance and store in the refrigerator.
- Chop veggies and aromatics: Slice the bell pepper and onion, mince the garlic and grate the ginger 24 hours in advance and store in an airtight container in the refrigerator.
How to Store and Reheat
- Storage: This spicy Dragon Chicken is best served immediately from the piping hot skillet. The longer you wait to serve it, the softer the breading will become. While leftovers are tasty, they will not be crispy. Store leftovers covered in the refrigerator for up to 4 days.
- How to reheat in the microwave: Transfer small portions to a microwave-safe dish, heat for 1 minute, stir, then continue to heat at 30-second intervals.
- How to reheat on the stove: Heat a tablespoon of neutral oil in a large nonstick skillet over medium heat. Add the chicken and rewarm gently, stirring often. Once warm, crank up the heat to help crisp the chicken back up.
Want To Make This Recipe?

Did You Make This Recipe?
Tag @CarlsbadCravings and Use #CarlsbadCravngs
Leave a Review, I Always Love Hearing From You!


marco scartozzi says
FRESH FANTASTIC HOME STYLE COOKING
Jen says
Hi Marco! Yay! I’m so glad to hear that! Thank you!
Mandy says
We have made this twice so far, and it is delicious. Everyone in our family loves it. The chicken stays crispy after the sauce is added which gives it such a great texture. Definitely placing in top dinner rotation.
Jen says
Hi Mandy! I’m thrilled that you and your family love this dish and that it made your meal rotation! Thank you for leaving your comment!
Lilian says
This was absolutely delicious! I’m not an experienced cook and at first I was a bit overwhelmed by the ingredient list but I made it almost exactly as written (only subbed the ketchup for gochujang paste) and the result was outstanding! Will definitely make this again. Thanks:)
Jen says
Yay Lillian! I am thrilled that you persevered through the ingredient list and that it turned out so delicious for you! That’s wonderful to hear that you’ll be making it again! Thank you for your sweet review!
Richard says
Was so nervous about making this, think I went to the shops 3 times coz I kept forgetting ingredients lol. Im so glad I persevered though coz my guests absolutely loved it!! Even my husband who thought it would be too spicy ended up eating leftovers the next day. Now my friends want me to make it everyrime they come round. Lots of steps to the recipe but SO worth it . Thank you xx
Jen says
Thank you so much for your sweet review of this recipe! I’m so happy to hear that it was worth all your effort and perseverance and turned out delicious for you!
Chris says
Absolutely delicious!! I followed the recipe exactly outside of tossing the chicken back into the sauce. The chicken was so delightfully tasty and crispy, in ordering asian food to go fairly often.I know how frequently they put the sauce on the side, so that the chicken doesn’t get soggy. I ended up using the same concept and just spooning the sauce over the chicken right as serving, that way the chicken wasn’t completely coated in the sauce and kept it nice and crunchy and perfect for leftovers. Thank you for this wonderful recipe!
Jen says
Hi Chris! Thank you so much! I love that you adapted the method to keep everything crisp. Serving the glaze at the end is a great idea, especially when planning for leftovers. It’s always helpful to hear how readers make a recipe work for their preferences, and I’m thrilled it turned out so well for you! Thanks for taking the time to share your experience!
Greg says
Wonderful recipe, I need to work on getting the chicken crisper using a wok. Stumbled across your website looking for a slow cooker brisket recipe, which was awesome. Can’t stop looking at your recipes!
Jen says
Hi Greg! So glad you found my site and that the brisket was a hit for you — that’s great to hear! Wok cooking can take a little practice to get that extra crisp on the chicken, but it’s such a fun skill to play with. Really appreciate you taking the time to share this, and I’m so happy you’re enjoying the recipes!