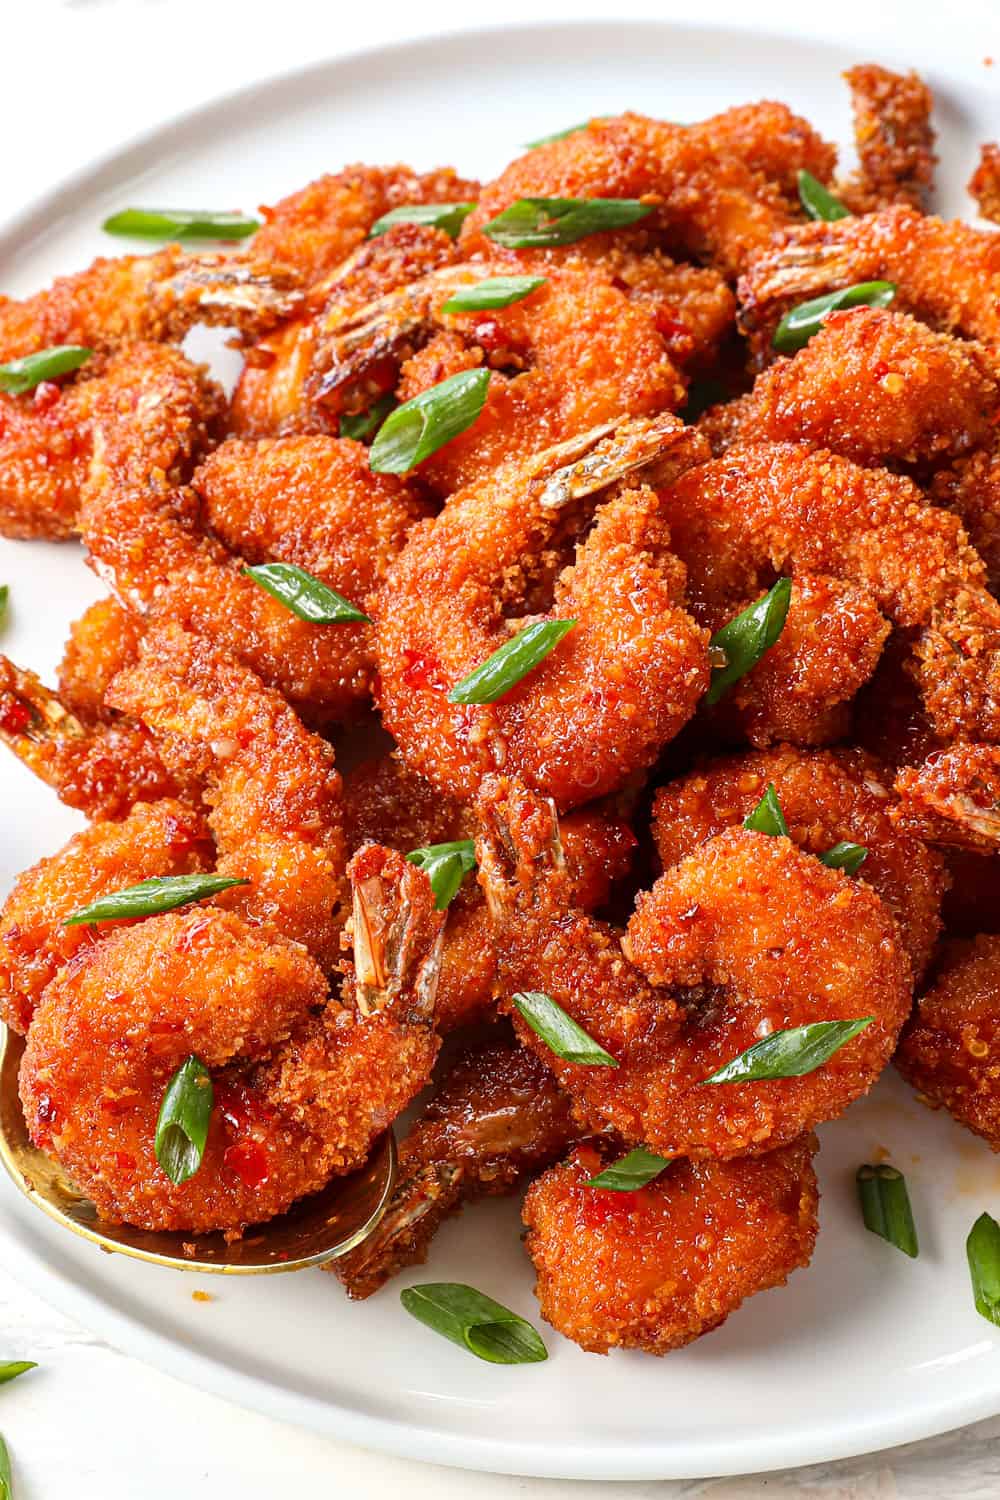
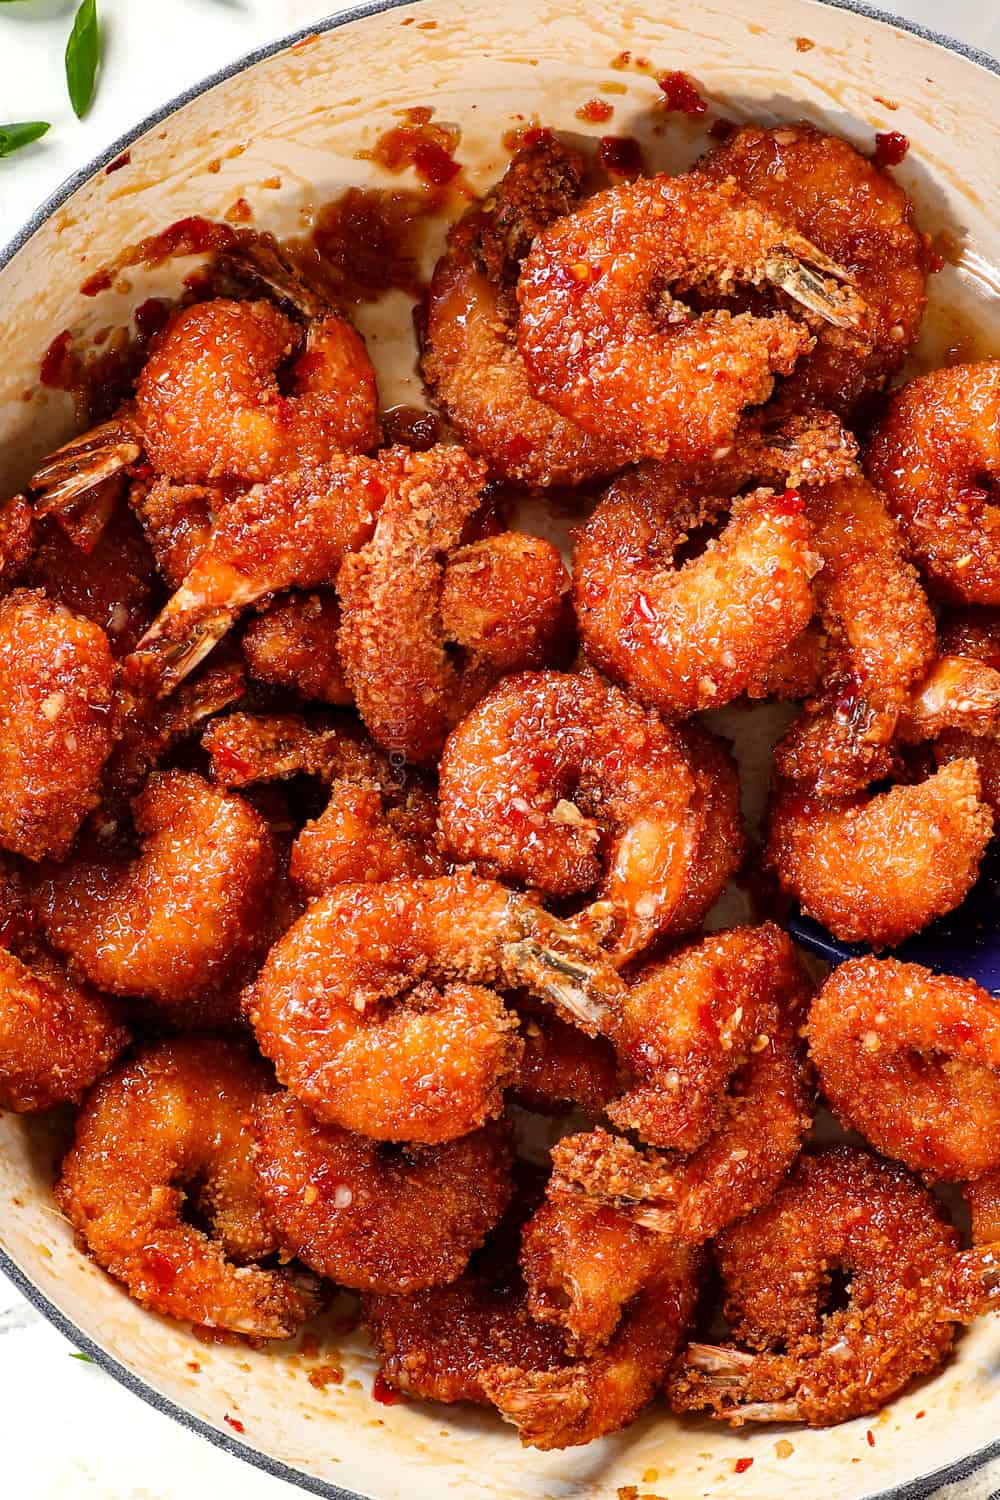
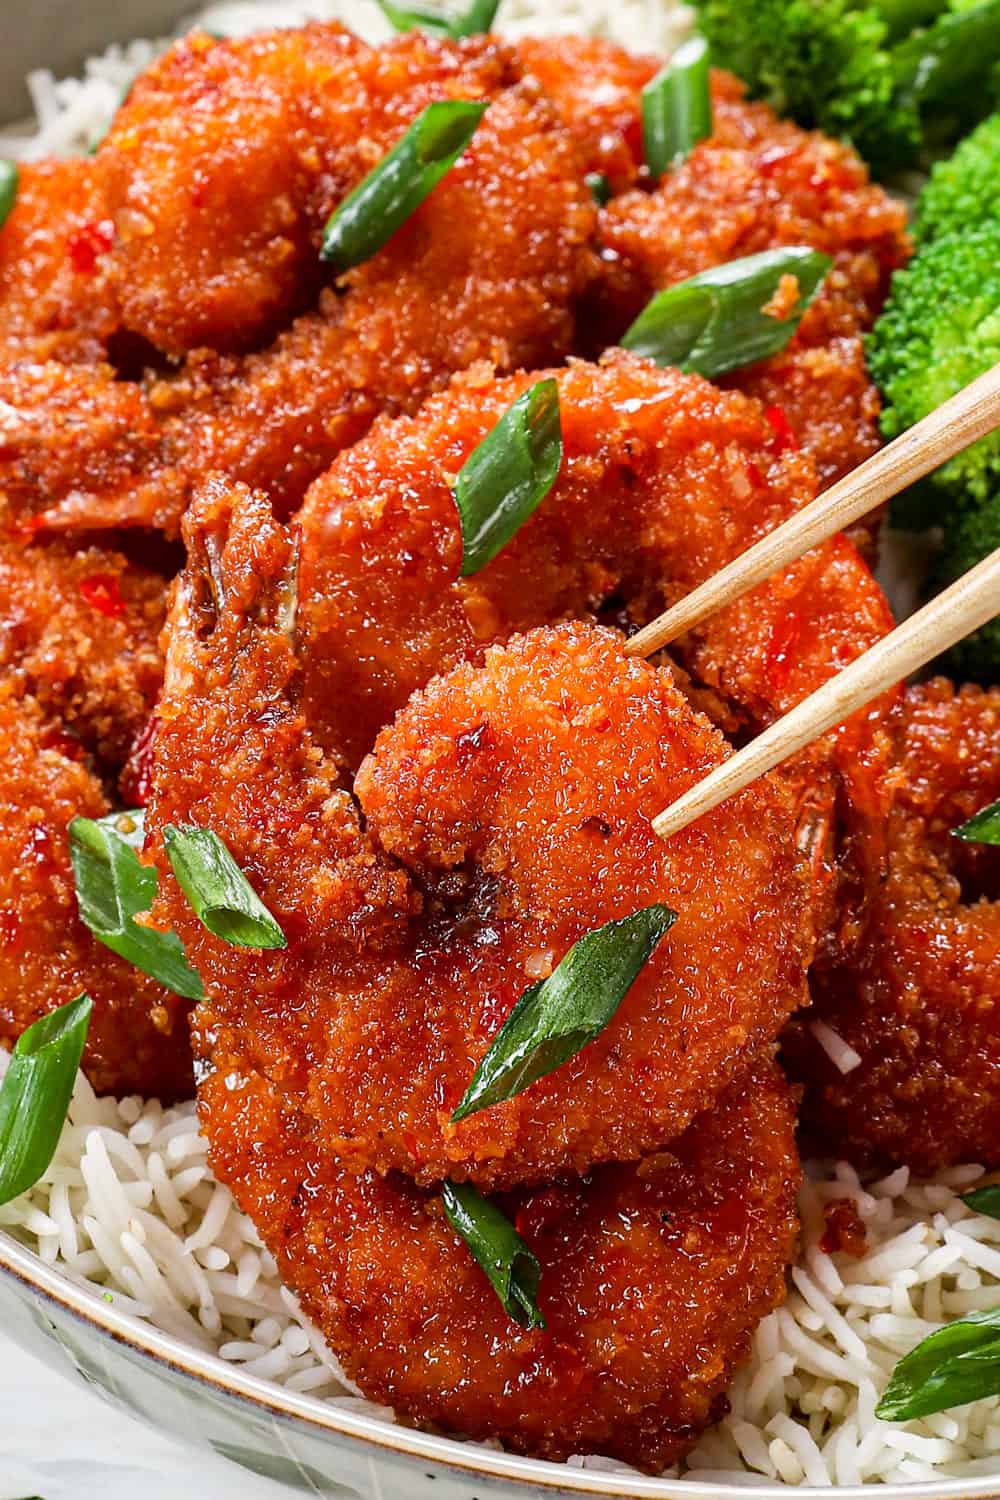
Firecracker Shrimp is the crispy, sweet and spicy shrimp of your dreams that’s better than your favorite takeout!
This Firecracker Shrimp is a sensational combination of juicy, crispy, sticky, sweet and spicy. Each bite explodes with texture and flavor – like a mini firecracker – you will be obsessed! This shrimp recipe comes together quickly with zero chopping, and can even be breaded ahead of time. Best of all, you control the heat and cooking method depending on how naughty you want to be; cook the shrimp by baking, air frying, pan frying or deep frying – all options included. Serve this Firecracker Shrimp as everyone’s favorite appetizer or as everyone’s new favorite entrée with rice and veggies.
If you love making restaurant copycat shrimp recipes at home, don’t miss Baked Coconut Cashew Shrimp, Kung Pao Shrimp, Bang Bang Shrimp, Sweet Chili Shrimp and Cajun Shrimp Pasta.
PIN THIS RECIPE TO SAVE FOR LATER
How to make firecracker shrimp video
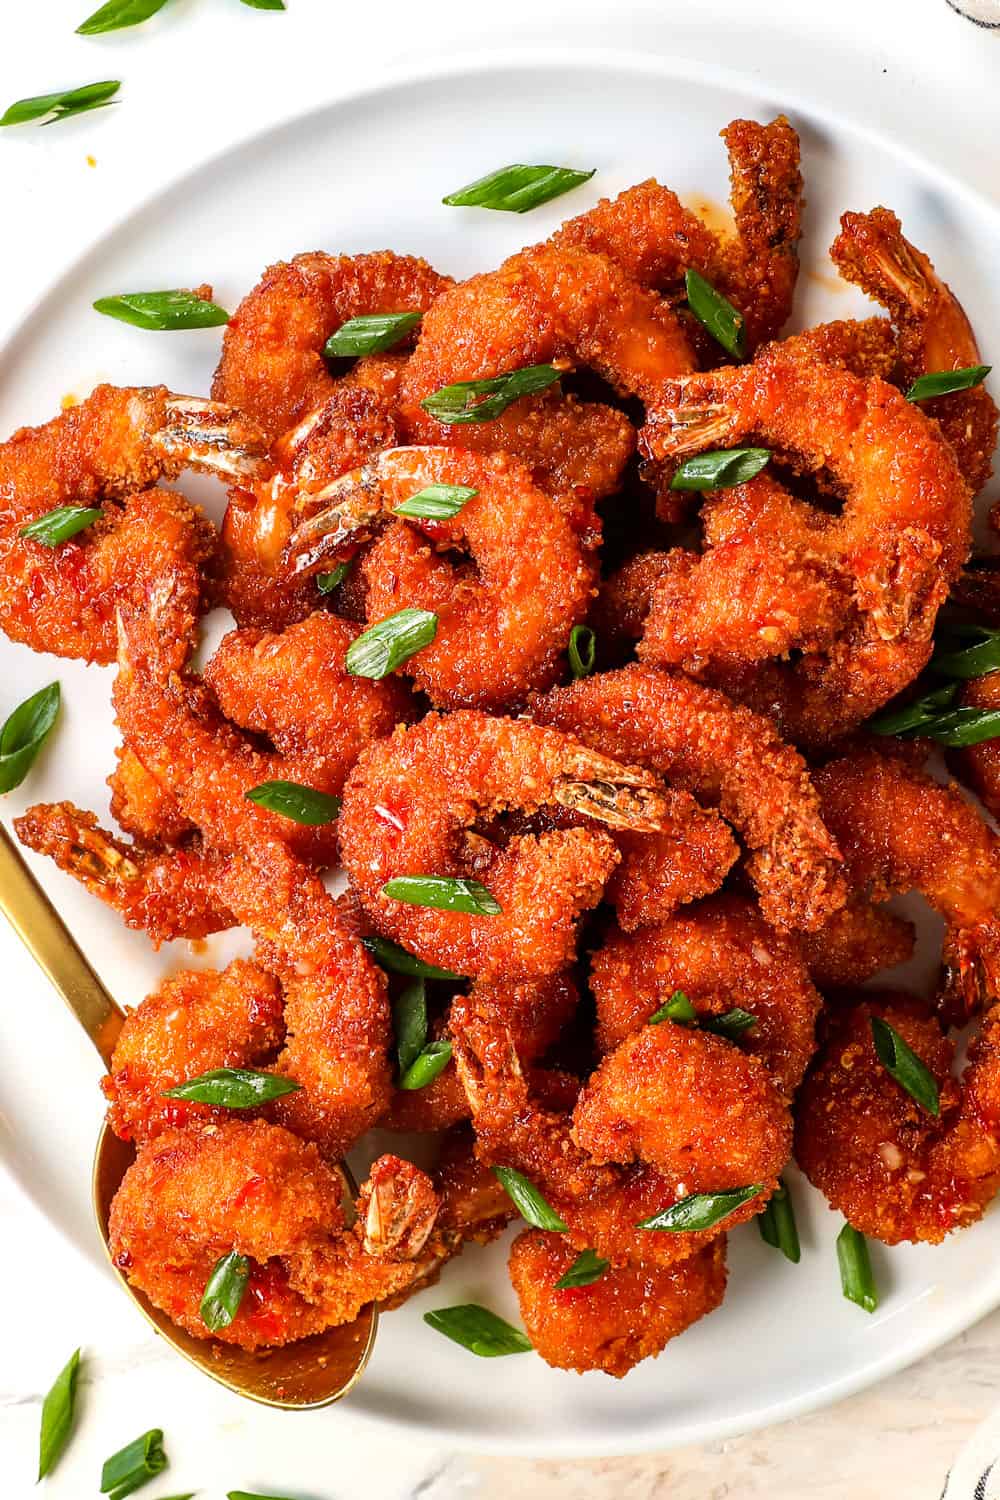

why you’ll love this SHRIMP recipe
This recipe is an exotic fusion of addicting fiery sweetness and crunch from the extra crispy panko shrimp spiked with ginger and garlic to the irresistible sweet, spicy, zingy chili sauce that will have everyone licking their plates.
The 5-ingredient sauce is pantry friendly with ZERO chopping! You will be blown away at the complex, sweet and spicy perfection made with just Asian sweet chili sauce, soy sauce, red wine vinegar, honey and Asian chili sauce.
Deveined shrimp doesn’t require any prep and is one of the quickest proteins to cook! To make this easy recipe, simply dredge the shrimp in flour, eggs and panko then cook. While the shrimp is cooking, bring the sauce to a simmer, add the shrimp and toss until it’s saturated in the finger-licking sauce, that is quite literally, finger-licking good.
The crispy panko shrimp can be baked, pan fried, deep fried or air fried. If baking, you’ll love that the shrimp is still crazy crunchy thanks to my secret tip of toasting the panko with oil before breading.
The heat level is up to you – keep it family friendly or go firecracker hot. Adjust the chili sauce to taste or omit it completely.
You always have everything you need to make this shrimp recipe! Just keep some frozen shrimp on hand and the rest of the ingredients are everyday pantry staples.
This panko shrimp is make ahead and freezer friendly. This recipe can be prepped in advance or frozen for an easy thaw and heat snack, lunch or dinner.

What Shrimp Should I USe?
The star of this Firecracker Shrimp recipe is the shrimp, so make sure to choose the best. Here’s what to look for:
Purchase raw, deveined shrimp. Look for shrimp that is raw (not precooked), peeled and deveined. Buying prepared shrimp saves you TONS of time and makes prep a snap!
Purchase wild caught shrimp. Look for wild caught shrimp verses farm-raised for the best flavor and texture.
Use extra-large shrimp, 16-20 count (which means there are 16-20 shrimp in a pound). Large shrimp stay super juicy and boast a more appealing texture. Their longer cooking time allows for that golden, coveted crust without overcooking the shrimp. You can still make this recipe with larger (jumbo) shrimp or medium shrimp if that’s all you have on hand.
Frozen shrimp is awesome! Frozen shrimp is frozen shortly after it’s caught which means it’s frozen at peak freshness. Frozen shrimp is also more economical than fresh which means you can keep it stocked and read to use any time, just make sure to thaw it first.
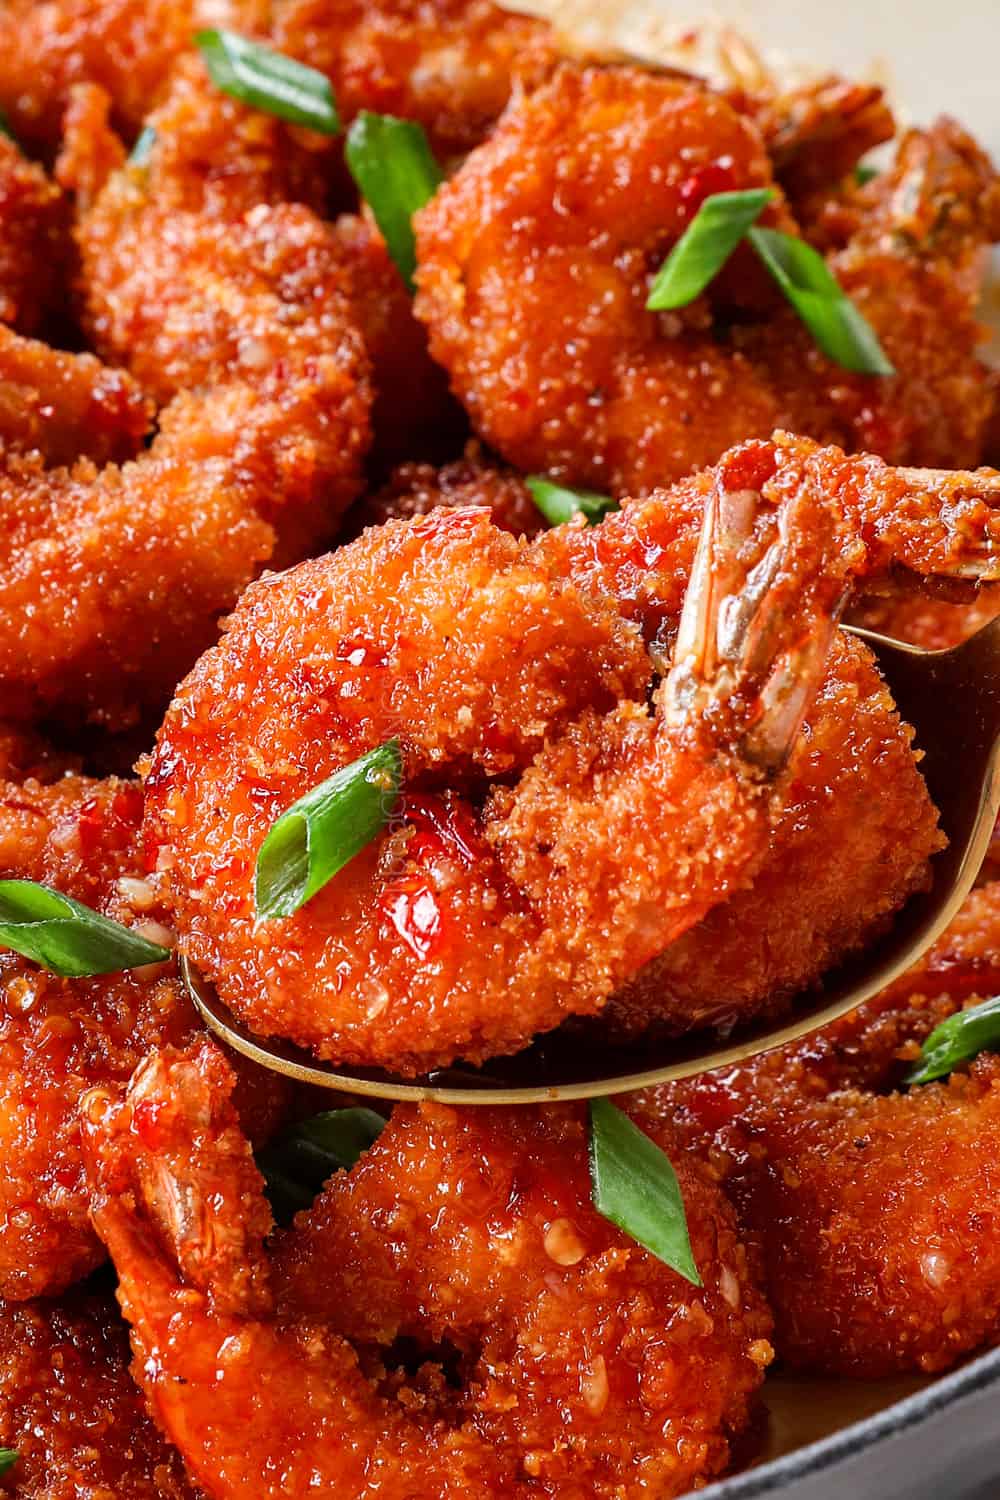
Ingredients for panko breading
Breading the Firecracker Shrimp is important because the panko not only makes the shrimp crispy, but it acts like a sponge, seeping in the sweet and spicy sauce for addictingly flavorful morsels you won’t be able to stop eating! Here’s what you’ll need (full measurements in the recipe card at the bottom of the post):
- Panko breadcrumbs: Panko is a Japanese breadcrumb sold in every grocery store (including Walmart) usually next to the other breadcrumbs. It is the secret behind the CRUNCH in this recipe, so please don’t skip it.
- Flour: The shrimp is lightly dredged in flour to give it a clingy surface for the eggs to bind to. I use all-purpose flour, but I’m sure gluten free flour, almond flour, etc. would also work.
- Eggs: Three whisked eggs act as a sticky glue for all of the breadcrumbs to adhere to. When the egg proteins cook and solidify, the panko is secured onto the shrimp.
- Seasonings: Every element of a dish should be seasoned, including the shrimp, and not just the sauce. The shrimp is seasoned with garlic powder ground ginger, salt and pepper that’s whisked directly into the flour.
- Canola oil, cooking spray or vegetable oil: The type of oil will depend on which cooking method you choose. If baking, the panko is tossed in canola oil then toasted, or for an even lighter version, you can spray the panko with cooking spray. If frying, you will use vegetable oil or canola oil because they have a high smoking point.
CAN I USE REGULAR BREADCRUMBS INSTEAD OF PANKO?
Please do not substitute panko breadcrumbs with regular breadcrumbs or you will be missing out on the gorgeous, satisfying CRUNCH. Panko is KEY to crispy shrimp. Panko breadcrumbs are larger and dryer than normal breadcrumbs so they absorb less moisture and become much crispier.

CAn I make GLUTEN FREE panko shrimp?
This shrimp recipe is easy to make gluten free! Use your favorite gluten free flour such as Bob Red’s Mill Baking Flour or cassava flour. Tapioca, or arrowroot powder can also be used in a pinch. Use gluten free panko which should be relatively easy to find. My favorite is Aleia’s Gluten-Free Panko made of rice and potato flour – it’s spectacularly crunchy! Use tamari instead of soy sauce and Mae Ploy or Thai Kitchen Asian Sweet Chili Sauce which are gluten free.
ingredients for firecreacker sauce
The sauce for this Firecracker Shrimp recipe is easy to make with just 5 ingredients thanks to the Asian Sweet Chili Sauce which is a one stop complex flavor explosion. Let’s take a closer look at what you’ll need:
- Asian Sweet Chili Sauce: If you have been following me for long at all, you know Asian Sweet Chili Sauce is one of my favorite Asian ingredients and I add it to almost every Chinese recipe such as Sweet Fire Chicken, Honey Sesame Chicken, Chinese Chicken Salad, Crockpot Cashew Chicken, and Mongolian Beef, just to name a few. This sauce is made with red chilies, onion, garlic, brown sugar and fish sauce for a dynamic sweet heat all packaged for you! This popular condiment should be easy to find in the Asian section of your grocery store. It is sometimes labeled “Thai Sweet Chili Sauce.” Please do not confuse it with Asian Chili sauce/paste without the “sweet” – or your mouth will be on fire!
- Soy Sauce: Use low sodium so your recipe isn’t too salty. The soy grounds the sauce with its salty depth.
- Red Wine Vinegar: The vinegar’s fruity tang adds the needed acid to balance the sauce. You may also use rice vinegar or apple cider vinegar in a pinch. If you only have white vinegar, use less because it is stronger.
- Honey: The honey adds just a touch more sweetness to balance out the heat.
- Asian Chili Sauce: This is different from Asian Sweet Chili Sauce – there is no sweet about it! This chili sauce is pure heat and is what really brings the fireworks to Firecracker Shrimp. I use Sambal Oelek with the green lid but you can also use your favorite chili sauce such as Sriracha or even Buffalo Wings Hot Sauce.

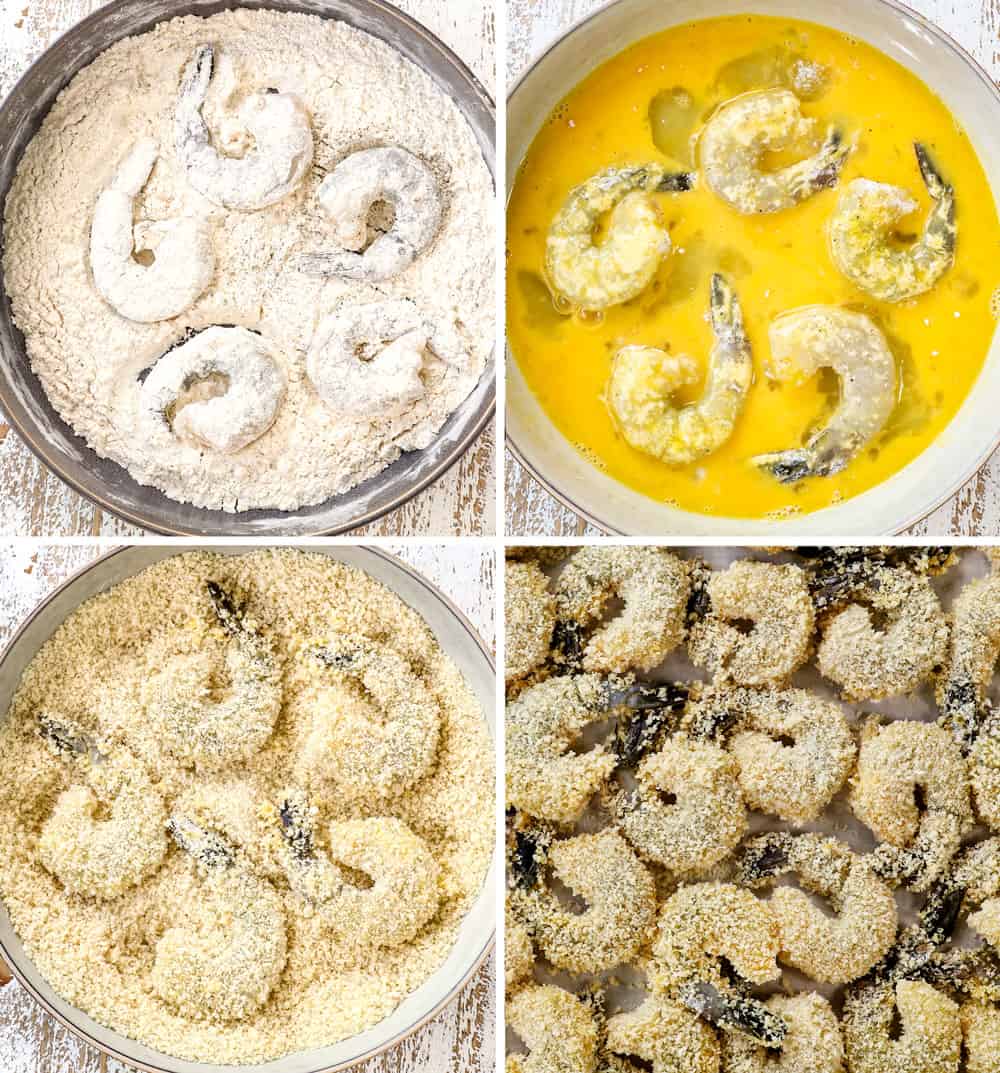
How to bread shrimp
Making Firecracker Shrimp can be divided into three steps: breading the shrimp, cooking the shrimp and combining it with the sauce. Let’s take a closer look at how to make this recipe or you can watch the HOW TO MAKE video in the recipe card at the bottom of the post.
Step 1: First up, make the breading stations. Pie or cake pans work great for breading because they are large and shallow:
–Flour: Add the flour to a shallow dish and whisk in ginger powder, garlic powder, salt and pepper.
–Eggs: Whisk the eggs together in a separate shallow dish
–Panko: Add panko to a separate shallow dish.
Working with a few shrimp at a time, dredge them in flour mixture, followed by the eggs, letting excess drip off, followed by the panko. Press the panko firmly into the shrimp so it adheres.

PRO TIPS FOR breading shrimp
Breading shrimp can turn into a big mess with gummy hands and goopy shrimp – which means soggy shrimp – but it doesn’t have to! Follow these tips for easy breading and the crispiest panko shrimp every time:
Thoroughly coat the shrimp. You may need to roll the shrimp before moving onto the next step instead of just flipping it due to its curvy nature.
Dab off excess egg. You don’t want extra egg clinging to the shrimp as it dives into the panko because it will cause gooey pockets instead of a thin binding layer and will make the panko soggy.
Keep one hand clean to avoid a gummy mess. Use one “dry” hand when dredging the shrimp in flour and panko. Use one “wet” hand to dip the shrimp in the eggs. Wash you hands as needed if they start to get gummy.
Remove large clumps. The above breading method should avoid clumpy crumbs, but if it does start to clump, use a fork to remove and discard any larger pieces.
Don’t overcrowd the panko. Leave enough panko around the shrimp so you can scoop up a pile of dry panko onto the shrimp without ever having to touch the eggy shrimp before it’s coated. This will also help prevent gummy hands (see video).
Firmly push the breading into the shrimp. We want all that panko to stick!

How to cook crispy panko shrimp
You have four options when it comes to cooking the crispy Firecracker Shrimp: baking, air frying, shallow pan frying and deep frying. My personal favorite is deep frying because the panko shrimp emerges crispier than your wildest dreams and cooks up super evenly. Still, the other methods will produce crunchy shrimp, just not spectacularly as crunchy. Here is the breakdown of pros and cons of each, how to make and expert tips and tricks:
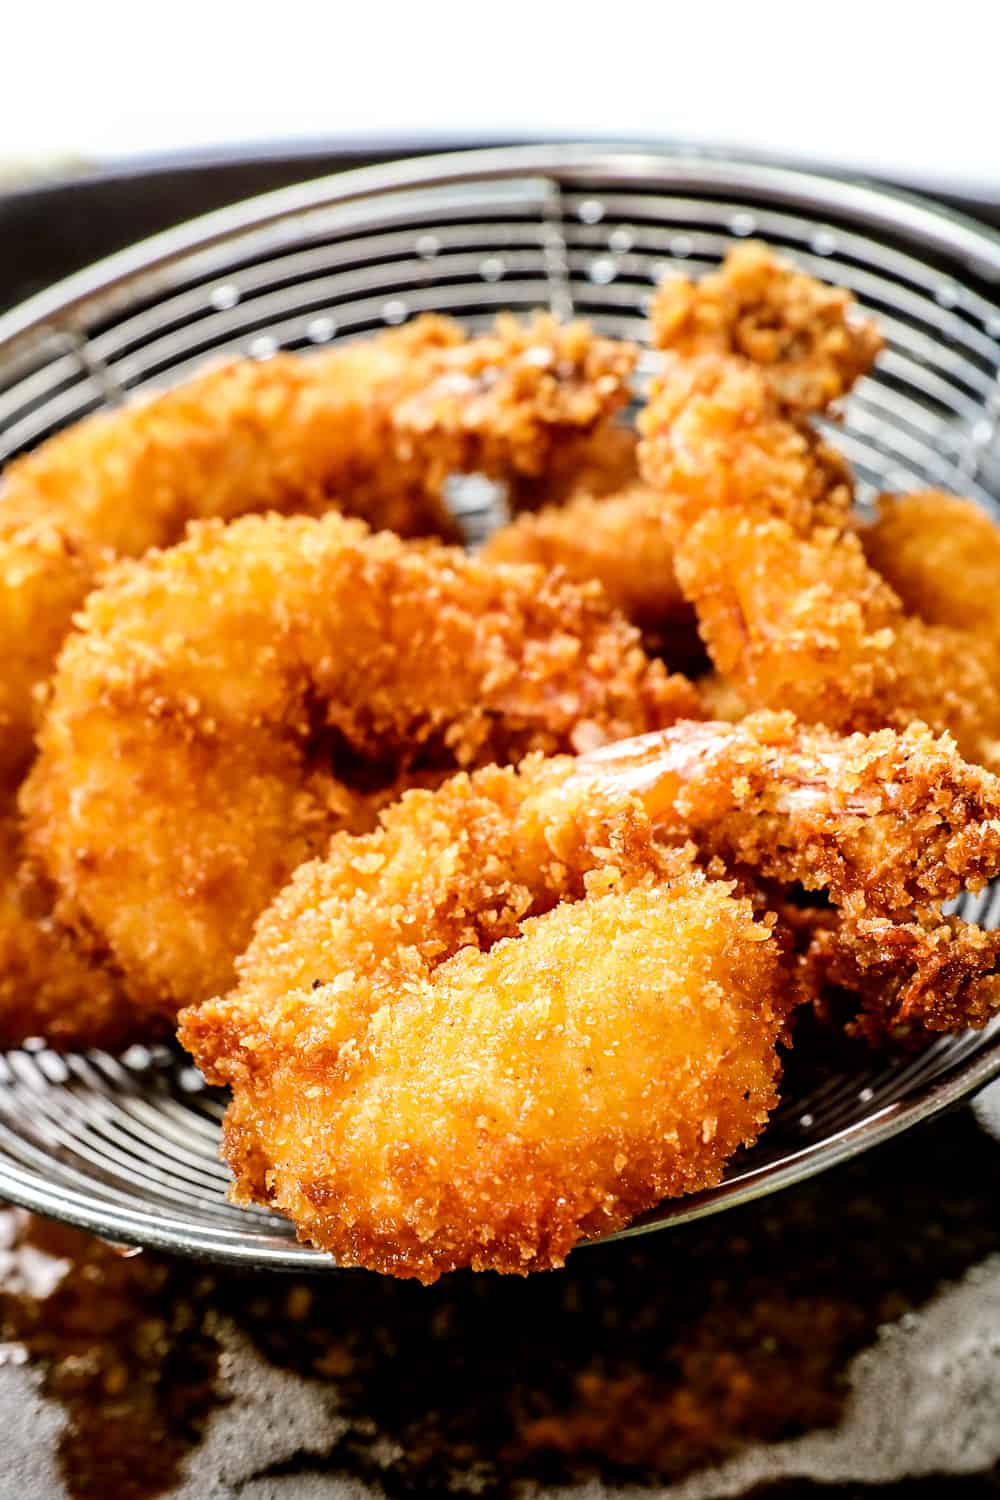
how to bake panko shrimp
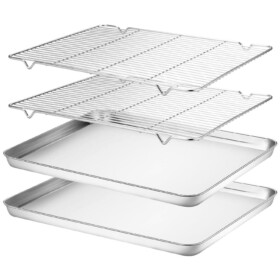
Toss the panko with some canola oil or spray with cooking spray and spread into an even layer. Bake for about 5 minutes or until golden then proceed to bread shrimp. Space the breaded shrimp apart on baking rack and bake at 425 degrees F 8 to 10 minutes, or until cooked through.
Pros:
-Baking the shrimp in the oven is the only method that cooks the shrimp all at once
-It produces crispy shrimp because the panko is pre-toasted with oil or cooking spray
-The oil helps deliver the rich mouthfeel of being fried
-The panko shrimp boasts healthy fats
Cons:
-It’s not quite as indulgent tasting as fried
-The shrimp doesn’t get as shatteringly crispy
EXPERT TIPS
-Toasting the panko breadcrumbs first is a must. If you don’t toast the panko first separately, it will never get as crunchy because it’s clinging to the moist batter of the shrimp and doesn’t have that extra layer of insulation.
-I definitely prefer canola oil to nonstick cooking spray because it gives the panko a richer, more lux, satisfying mouthfeel.
-Use a neutral oil such as canola oil or vegetable oil because olive oil is too strong for this Asian fusion dish.
-Toast the panko until deeply golden because it won’t get much darker than its initial toast when baking with the shrimp.
–Don’t burn the panko, watch it closely and stir often because it can go from golden to burnt in seconds!
-If you don’t have wire rack, line a baking sheet with lightly grease foil and place in the oven to get nice and hot while you bread the shrimp. Take care when adding panko shrimp because your pan will be HOT!
-Don’t overcrowd the pan because it will cause steam and make your breading soggy. You will likely need to bake the shrimp in two batches or on two racks.
-Don’t overcook the shrimp or it will be chewy/rubbery.
how to Air Fry panko Shrimp
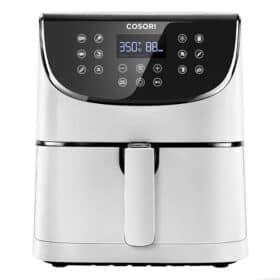
Preheat air fryer to 400 degrees. Spray the shrimp with cooking oil and add to the air fryer in a single layer (you’ll need to work in batches). Cook for 8-10 minutes, flipping halfway through.
Pros
-It is the healthiest option
-The shrimp gets super crispy
-Cleanup is a breeze
Cons
-It tastes the healthiest, but still delicious with the sauce
-The basket is small so you have to work in many batches
-It takes longer to cook each batch than pan frying or deep frying
EXPERT TIPS
-Don’t overcrowd the basket, this will cause the shrimp to steam and the panko won’t get as brown or as crispy. It’s better to cook the shrimp in more batches than risk it.
_For extra crispy shrimp, I recommend spraying the shrimp with additional cooking spray after flipping.
-Don’t overcook the shrimp or it will be chewy/rubbery.
-Don’t stack the cooked shrimp or it won’t stay as crispy. Instead, transfer the shrimp to a wire rack or paper towels before adding to the sauce.
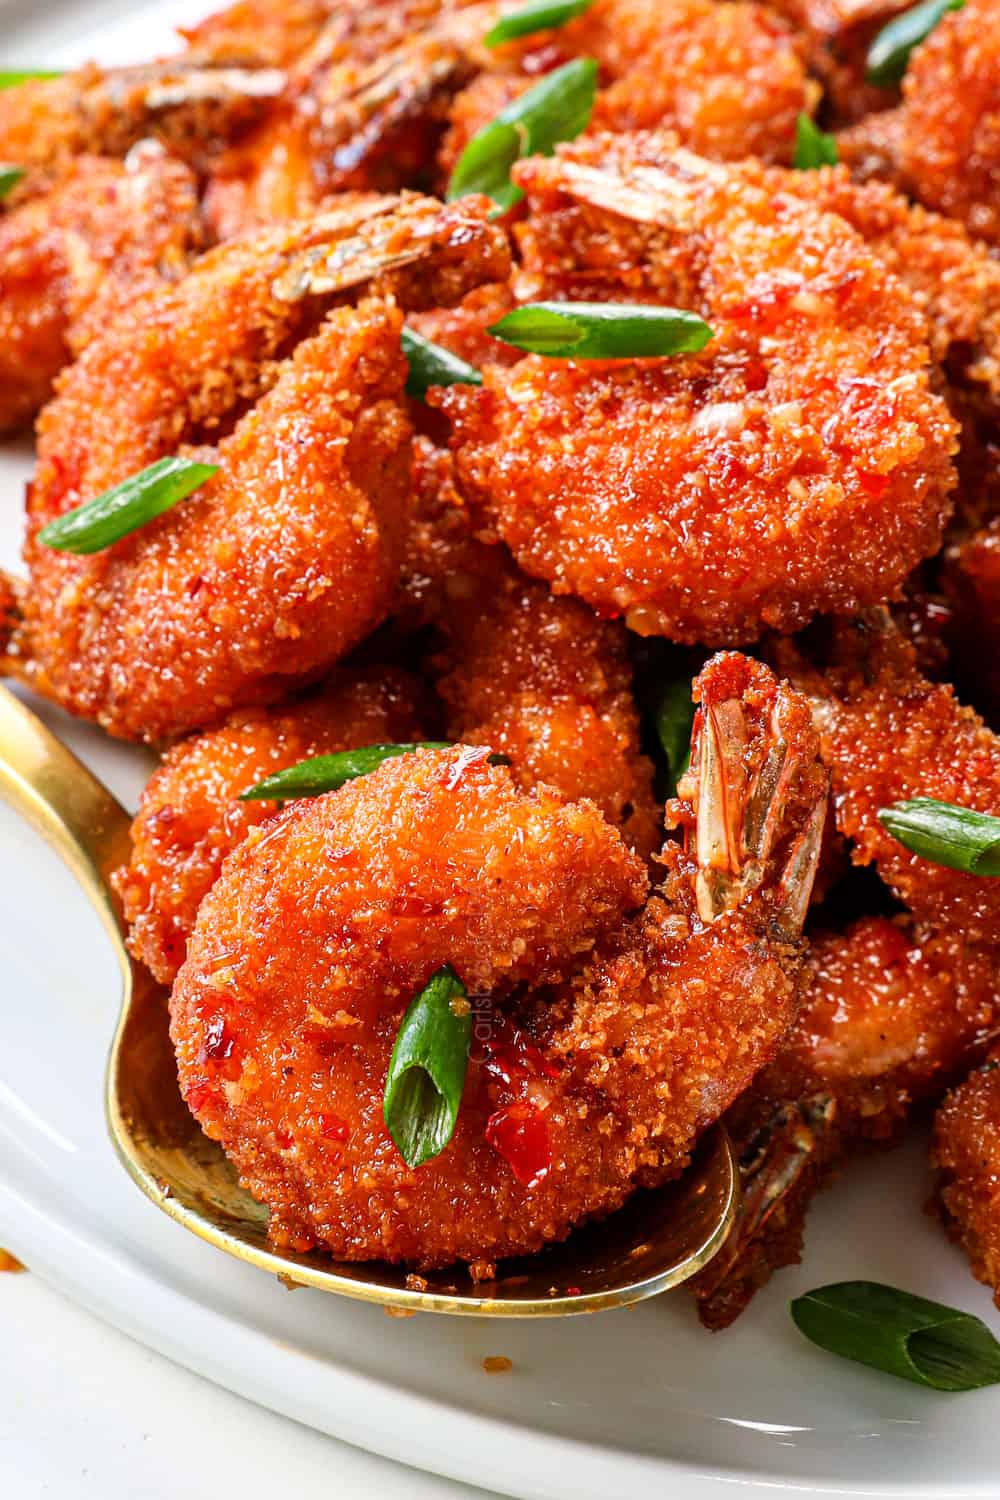
how to Pan fry panko shrimp
Heat 3-4 tablespoons oil in a large skillet over medium-high heat. Working in batches, add the shrimp to the pan in a single layer. Cook the shrimp for 1-2 minutes per side, or until golden brown and cooked through. Using tongs, transfer shrimp to paper towels in a single layer.
Pros
-Pan frying delivers wonderfully crispy shrimp
-It uses less oil than deep frying
Cons
-You have to work in batches
-You have to babysit the shrimp and individually flip each
-It is trickier to cook evenly
EXPERT TIPS
-Use a nonstick skillet so the breading doesn’t stick to the pan.
-Use a neutral oil such as canola oil or vegetable oil because olive oil is too strong for this Asian fusion dish.
-Work quickly to flip the shrimp when needed so they cook as evenly as possible.
–Wipe out the skillet in between batches if you see any stray darkened panko otherwise the next batch can taste burnt.
-Don’t overcook the shrimp or it will be chewy/rubbery.
-Transfer the cooked shrimp to a paper towel lined baking sheet in a single layer without touching. You don’t want the pieces touching or they will steam; you also don’t want them sitting in oil or they won’t be as crispy.
how to deep fry panko shrimp
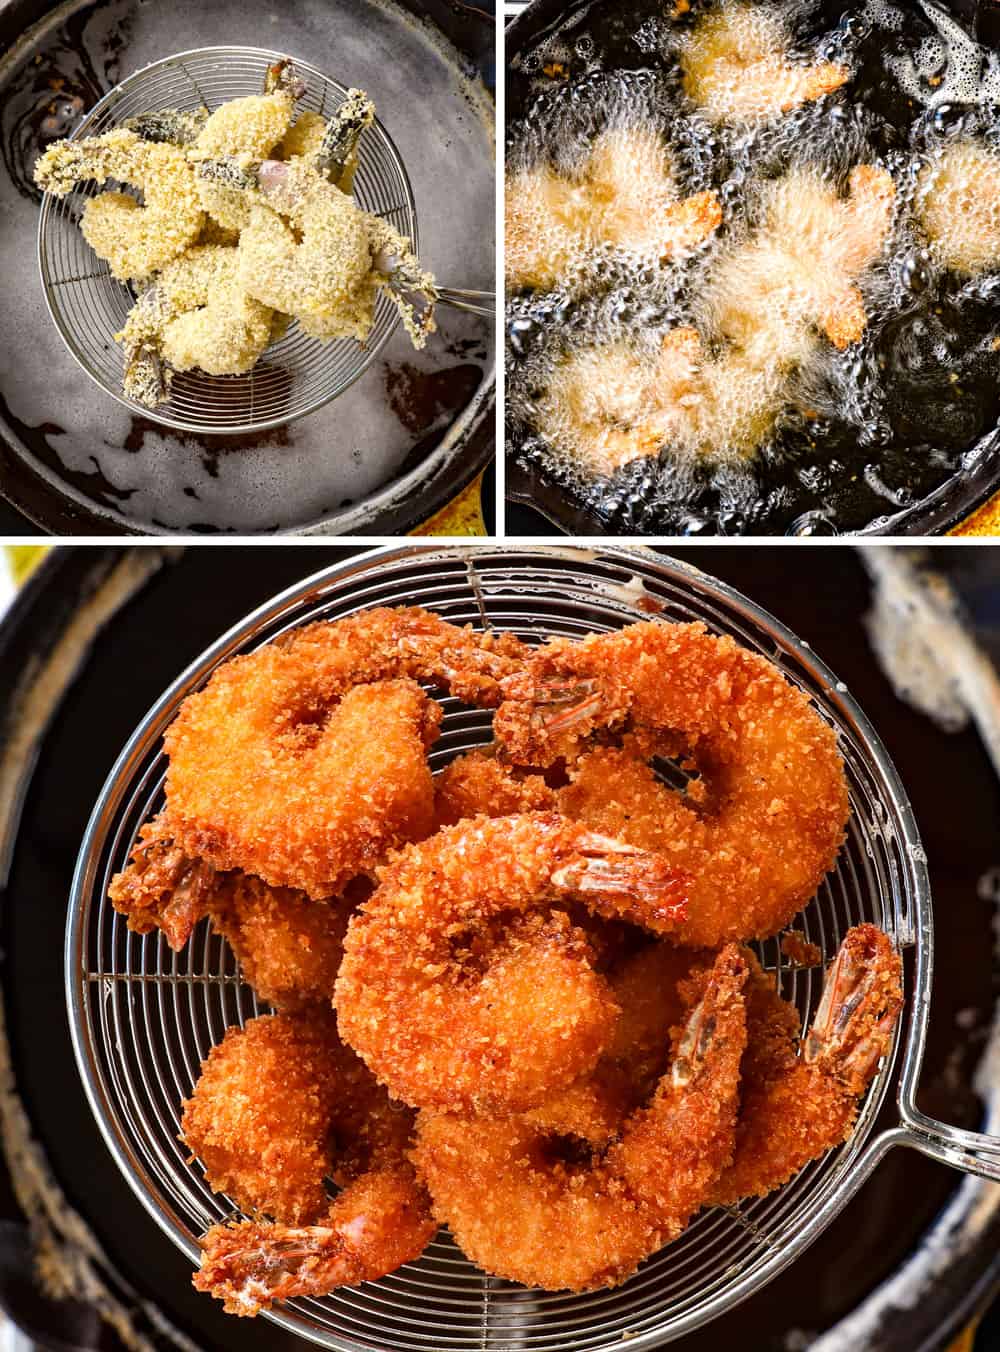
Pour enough oil into heavy large pot to reach depth of 1 ¼ inches; heat to 350 degrees F. Working in batches, fry until cooked through and golden, about 2-3 minutes. Transfer fried shrimp to paper towels in a single layer.
Pros
-While deep frying might not be a weeknight, everyday cooking occurrence, it is a super fun splurge on the weekends because it tastes the best!
-It produces shatteringly crispy shrimp
-It tastes better than takeout but is less expensive
-It easily cooks all of the shrimp evenly
-You don’t have to flip shrimp individually
Cons
-You have to work in batches
-It’s not as healthy as the other options
-It uses more oil
-It can be smelly so get those fans going!
EXPERT TIPS
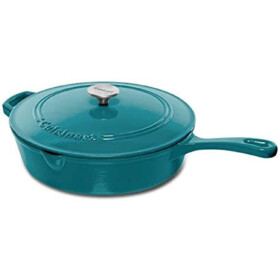
-Use a Dutch oven or I love my deep chicken fryer for frying. It’s definitely worth the investment even if you only fry a couple times a year.
-Use the correct oil with a high smoking point such as vegetable oil or canola oil. Other oils suitable for frying (although some aren’t as neutral as others) include: peanut oil, soybean oil, safflower oil, and cottonseed oil.
-Use a deep fry thermometer or even an instant read thermometer to reach the proper oil temperature. This will ensure perfectly golden shrimp every time. You don’t want the oil to exceed 375 degrees F, so check it often.
-If you don’t have a thermometer, medium-high heat should be about right, but every stove is different, so you will want to test the oil before adding the shrimp. Test the temperature with a pinch of flour or better yet, an extra shrimp. If it boils and turns golden in a minute or so, your oil is ready. If it boils and the test piece turns dark within a minute or so, your oil is too hot. You will have to remove it from the heat, wait a few minutes, return to heat and try again.
-Maintain the correct oil temperature all throughout the frying process. I suggest checking the oil temperature in between each batch.
-Cook the shrimp in multiple batches so it doesn’t clump and can cook evenly.
-Break up any clumps with a spider strainer or tongs when the shrimp is fist added to the hot oil, then occasionally until done so it cooks evenly.
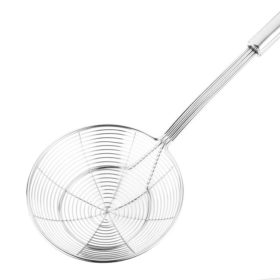
-Use a kitchen spider strainer to place the shrimp in the oil and take them out again to prevent any oil splatters.
-Don’t overcook the shrimp or it will be chewy/rubbery.
-Transfer the cooked shrimp to a paper towel lined baking sheet in a single layer without touching. You don’t want the pieces touching or they will steam; you also don’t want them sitting in oil or they won’t be as crispy.

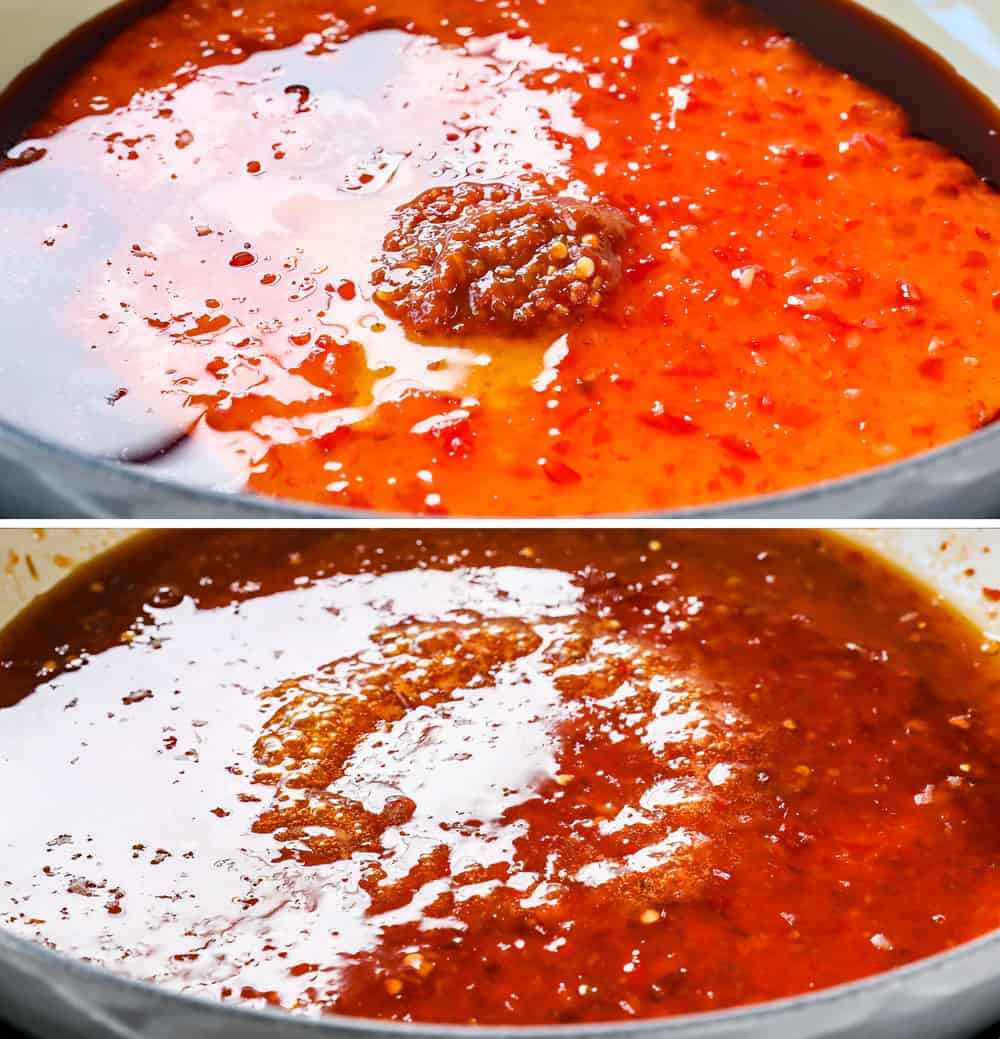
How to make firecracker Sauce
The last few minutes the shrimp is cooking, whisk together the Asian sweet chili sauce, soy sauce, honey, red wine vinegar and chili sauce in a large skillet. Bring to a simmer until warmed through.
Don’t add the panko shrimp until you’re ready to serve, so it can stay as crispy as possibly. When ready to serve, add the cooked shrimp and toss to coat.

possible RECIPE VARIATIONS
Customize the spice level. As written, one tablespoon chili sauce will be medium spicy. You can omit the chili sauce completely or add one teaspoon at a time until it reaches your desired spice level.
Customize sauce: Depending on your preference, you can add additional honey for sweeter or red wine vinegar for tangier.
Add vegetables: You can reduce the shrimp to 1 pound and include stir fry vegetables such as bite size broccoli florets, thinly sliced carrots or bell peppers chopped into 1-inch pieces. Stir fry the vegetables over medium high heat until crisp tender, about 3 minutes, and then add the sauce.
Gluten free: Use your favorite gluten free flour, tamari instead of soy sauce, gluten free panko such as Aleia’s Gluten-Free Panko and double check that your Asian Sweet Chili Sauce is gluten free (Mae Ploy and Thai Kitchen brands are).
Egg-free: Cooks Illustrated recommends using heavy cream instead.

meal prep
You can prepare the individual components of this shrimp recipe ahead of time or assemble them ahead of time:
-Panko coating: Toast the panko breadcrumbs if baking, mix together with the spices and store in an airtight container.
-Bread the shrimp: Proceed to bread the shrimp if you like and spread on a parchment paper lined baking sheet. Cover with foil and refrigerate. Uncover and let stand for 30 minutes at room temperature before cooking. Note: this method will produce ever so slightly less crispy shrimp if baking.
-Entire recipe: Make the recipe through baking, cool, then reheat in the oven or air fryer or freeze for up to 3 months. See instructions below.

HOW TO STORE
Store the Firecracker shrimp in an airtight container in the refrigerator for up to 3 days. For best results, let the shrimp cool completely before storing.

how to reheat
This Firecracker Shrimp is best enjoyed fresh once tossed with the sauce because the breading softens upon refrigeration. I suggest reheating the shrimp in the oven or air fryer to revive the crispy texture. The microwave will warm the shrimp but won’t improve the texture. To reheat:
-Air fryer: Place shrimp in a single layer in the basket without touching, air fry for 3-4 minutes, until crispy and warmed through.
-Oven: Spread shrimp on a lightly greased baking rack set in a baking sheet. Bake at 400 degrees for 5-8 minutes, or until heated through.
–
-Microwave: Microwave for 30 seconds, then in additional increments of 10 seconds as needed.
HOW TO FREEZE crispy shrimp
This Firecracker Shrimp freezes well if frozen after it’s cooked but before it’s tossed with the sauce. To freeze:
- Space shrimp apart on a baking sheet and freeze for 1-2 hours or until solid. This prevents the shrimp from clumping together.
- Add shrimp to a freezer size bag, squeeze out excess air, and label.
- Freeze the shrimp and sauce separately for up to 3 months.
- When ready to eat, thaw in a single layer in the refrigerator before reheating and combining with the sauce.

What Should I serve with Firecracker Shrimp?
This Firecracker Shrimp recipe pairs well with rice such as jasmine rice, brown rice or cauliflower rice and a side of stir-fried veggies such as broccoli, asparagus, carrots, bell peppers, snap peas, mushrooms, etc. For a complete Asian feast, pair your crispy panko shrimp with Pineapple Cream Cheese Wontons, Crab Rangoons, or Egg Rolls!
WANT TO TRY THIS FIRECRACKER SHRIMP RECIPE?
PIN IT TO YOUR ASIAN, SHRIMP, OR DINNER BOARD TO SAVE FOR LATER!
FIND ME ON PINTEREST FOR MORE GREAT RECIPES! I AM ALWAYS PINNING :)!
©Carlsbad Cravings by CarlsbadCravings.com
Tools Used in This Recipe
See Favorite Tools
Firecracker Shrimp
Save This Recipe To Your Recipe Box
You can now create an account on our site and save your favorite recipes all in one place!
Ingredients
SHRIMP
- 1 ½ pounds raw extra-large shrimp (16-20 ct), peeled and deveined, tails left intact
- 1/3 cup flour
- 1 tsp EACH salt, garlic powder, ground ginger
- 1/2 teaspoon pepper
- 3 large eggs
- 2 cups panko bread crumbs
- Canola oil or vegetable if pan frying or deep frying
FIRECRACKER SAUCE
- 3/4 cup Asian sweet chili sauce (like Mae Ploy)
- 3 tablespoons reduced sodium soy sauce
- 2 tablespoon red wine vinegar
- 1 tablespoon honey
- 1 tablespoon Asian chili sauce (like Sambal Oelek), more or less to taste
Instructions
If baking
- Preheat oven to 425 degrees F. Add panko to a large baking sheet and toss with ¼ cup canola oil until evenly moistened. Spread panko into an even layer. (You may also spray with cooking spray instead of oil, see notes). Bake at 425 degrees F for about 5-7 minutes, or until golden, stirring half way through cooking. Keep an eye on the panko the last few minutes so it doesn’t burn.
Bread Shrimp
- Breading stations: In a shallow dish, whisk the flour, garlic powder, ground ginger, salt and pepper together. In a second shallow dish, whisk the eggs together. In a third shallow dish, add the panko. To receive the breaded shrimp: Line the counter next to the stove with parchment paper or if baking, top two baking sheets with wire racks and spray with cooking spray.
- To bread the shrimp: Use one hand for dredging the shrimp in the flour and panko and one hand for the egg. Working with a few shrimp at a time, dredge them in flour mixture, followed by the eggs, letting excess drip off, followed by the panko. Press the panko firmly into the shrimp so it adheres. Transfer shrimp to the prepared parchment paper or wire racks.
Cook (Pick One)
- To deep fry: Pour enough oil into a heavy large pot to reach depth of 1 ¼ inches; heat to 350 degrees F. Working in batches, fry shrimp until golden and cooked through, about 2 minutes. Using a spider strainer, transfer shrimp to paper towels in a single layer. Bring oil back to 350 degrees F between batches.
- To shallow pan fry: Heat 3-4 tablespoons canola or vegetable oil in a large sauté nonstick skillet over medium-high heat. Working in batches, add the shrimp to the pan in a single layer. Cook the shrimp for 1-2 minutes per side, or until golden brown and cooked through. Using tongs, transfer shrimp to paper towels in a single layer. Wipe out pan as needed in between batches and repeat.
- To air fry: Preheat air fryer to 400 degrees F. Spray the shrimp with cooking oil and add to the air fryer in a single layer (you’ll need to work in batches). Cook for 8-10 minutes, flipping halfway through. For extra crispy shrimp, spray the shrimp again after flipping. Transfer shrimp to paper towels in a single layer.
- To bake: Space the shrimp evenly apart on the racks so they aren't touching. Bake at 425 degrees F 7 to 9 minutes, or until cooked through.
COMBINE WITH SAUCE
- The last few minutes the shrimp is cooking, whisk all of the Sauce ingredients together in a large saucepan. Adjust the heat as desired with more or less chili sauce. Bring to a simmer until warmed through.
- When ready to serve, add the cooked shrimp and toss to coat. Garnish with green onions if desired and serve immediately.
Video
Notes
expert tips
- Shrimp: Feel free to use frozen shrimp, thaw first.
- Panko breadcrumbs: Panko is a Japanese breadcrumb sold in every grocery store (including Walmart) usually next to the other breadcrumbs. It is the secret behind the CRUNCH in this recipe, so please don’t skip!
- Asian Sweet Chili Sauce: This popular condiment should be easy to find in the Asian section of your grocery store. It is sometimes labeled “Thai Sweet Chili Sauce.” Please do not confuse it with Asian Chili sauce/paste without the “sweet” – or your mouth will be on fire!
- Asian Chili Sauce: This is different from Asian Sweet Chili Sauce – there is no sweet about it! I use Sambal Oelek with the green lid but you can also use your favorite chili sauce such as Sriracha or even Buffalo Wings Hot Sauce.
- Add vegetables: Reduce the shrimp to 1 pound and include stir fry vegetables such as bite size broccoli florets, thinly sliced carrots or bell peppers chopped into 1-inch pieces. Stir fry the vegetables over medium high heat until crisp tender, about 3 minutes, and then add the sauce.
- Gluten free: Use your favorite gluten free flour, tamari instead of soy sauce, gluten free panko such as Aleia’s Gluten-Free Panko and double check that your Asian Sweet Chili Sauce is gluten free (Mae Ploy and Thai Kitchen brands are).
- Egg-free: Cooks Illustrated recommends using heavy cream instead.
- To bake without wire racks: Line baking sheets with lightly greased foil and place in the oven to get nice and hot while you bread the shrimp. Take care when adding panko shrimp because your pans will be HOT!
- Meal Prep: The panko can be toasted ahead of time and you can also completely bread the shrimp ahead of time. Spread breaded shrimp on a parchment paper lined baking sheet. Cover with foil and refrigerate. Uncover and let stand for 30 minutes at room temperature before cooking. Note: this method will produce ever so slightly less crispy shrimp if baking.
How to store and reheat
This Firecracker Shrimp is best enjoyed fresh once tossed with the sauce because the breading softens upon refrigeration. I suggest reheating the shrimp in the oven or air fryer to revive the crispy texture. The microwave will warm the shrimp but won’t improve the texture.- Storage: Store the shrimp in an airtight container in the refrigerator for up to 3 days. For best results, let the shrimp cool completely before storing.
- Air fryer: Place shrimp in a single layer in the basket without touching, air fry for 3-4 minutes, until crispy and warmed through.
- Oven: Spread shrimp on a lightly greased baking rack set in a baking sheet. Bake at 400 degrees for 5-8 minutes, or until heated through.
- Microwave: Microwave for 30 seconds, then in additional increments of 10 seconds as needed.

Did You Make This Recipe?
Tag @CarlsbadCravings and Use #CarlsbadCravngs
Leave a Review, I Always Love Hearing From You!



S. L. Martinez says
DAMN!!! I have tried several recipes for FireCracker Shrimp and they were okay but YOURS??? They were FANTASTIC. Not too spicy but next time I will up the ante and go for more fire…I used the colossal shrimp from Smart & Final and they are HUGE. I could only eat 5 but my son had about a dozen. I suspect he will be nagging me to make it again and often. Again, GREAT RECIPE. I know I will have to try the Firecracker Salmon next. I am sure I will NOT be disappointed…
Jen says
Thank you so so much! I am thrilled that they exceeded expectations! I hope you enjoy the salmon as well!!
Lou Martinez says
Since I found your Firecracker Recipe, I have made it at least three times a month. When my son drops by for dinner, the first thing out of his mouth is, “Dad, you have any shrimp”? Then its off to the market for shrimp. I always have the ingredients for the sauce, which also goes great with Salmon. But I will say this, the more I make it, the better “organized” I become. So, Long Live The King (Queen?) for a fantastic recipe and I intend to try several of your shrimp recipes.
Jen says
Thank you so much!! I’m so thrilled that it has been such a winning recipe for you and your son! I hope you find more shrimp recipes you love!