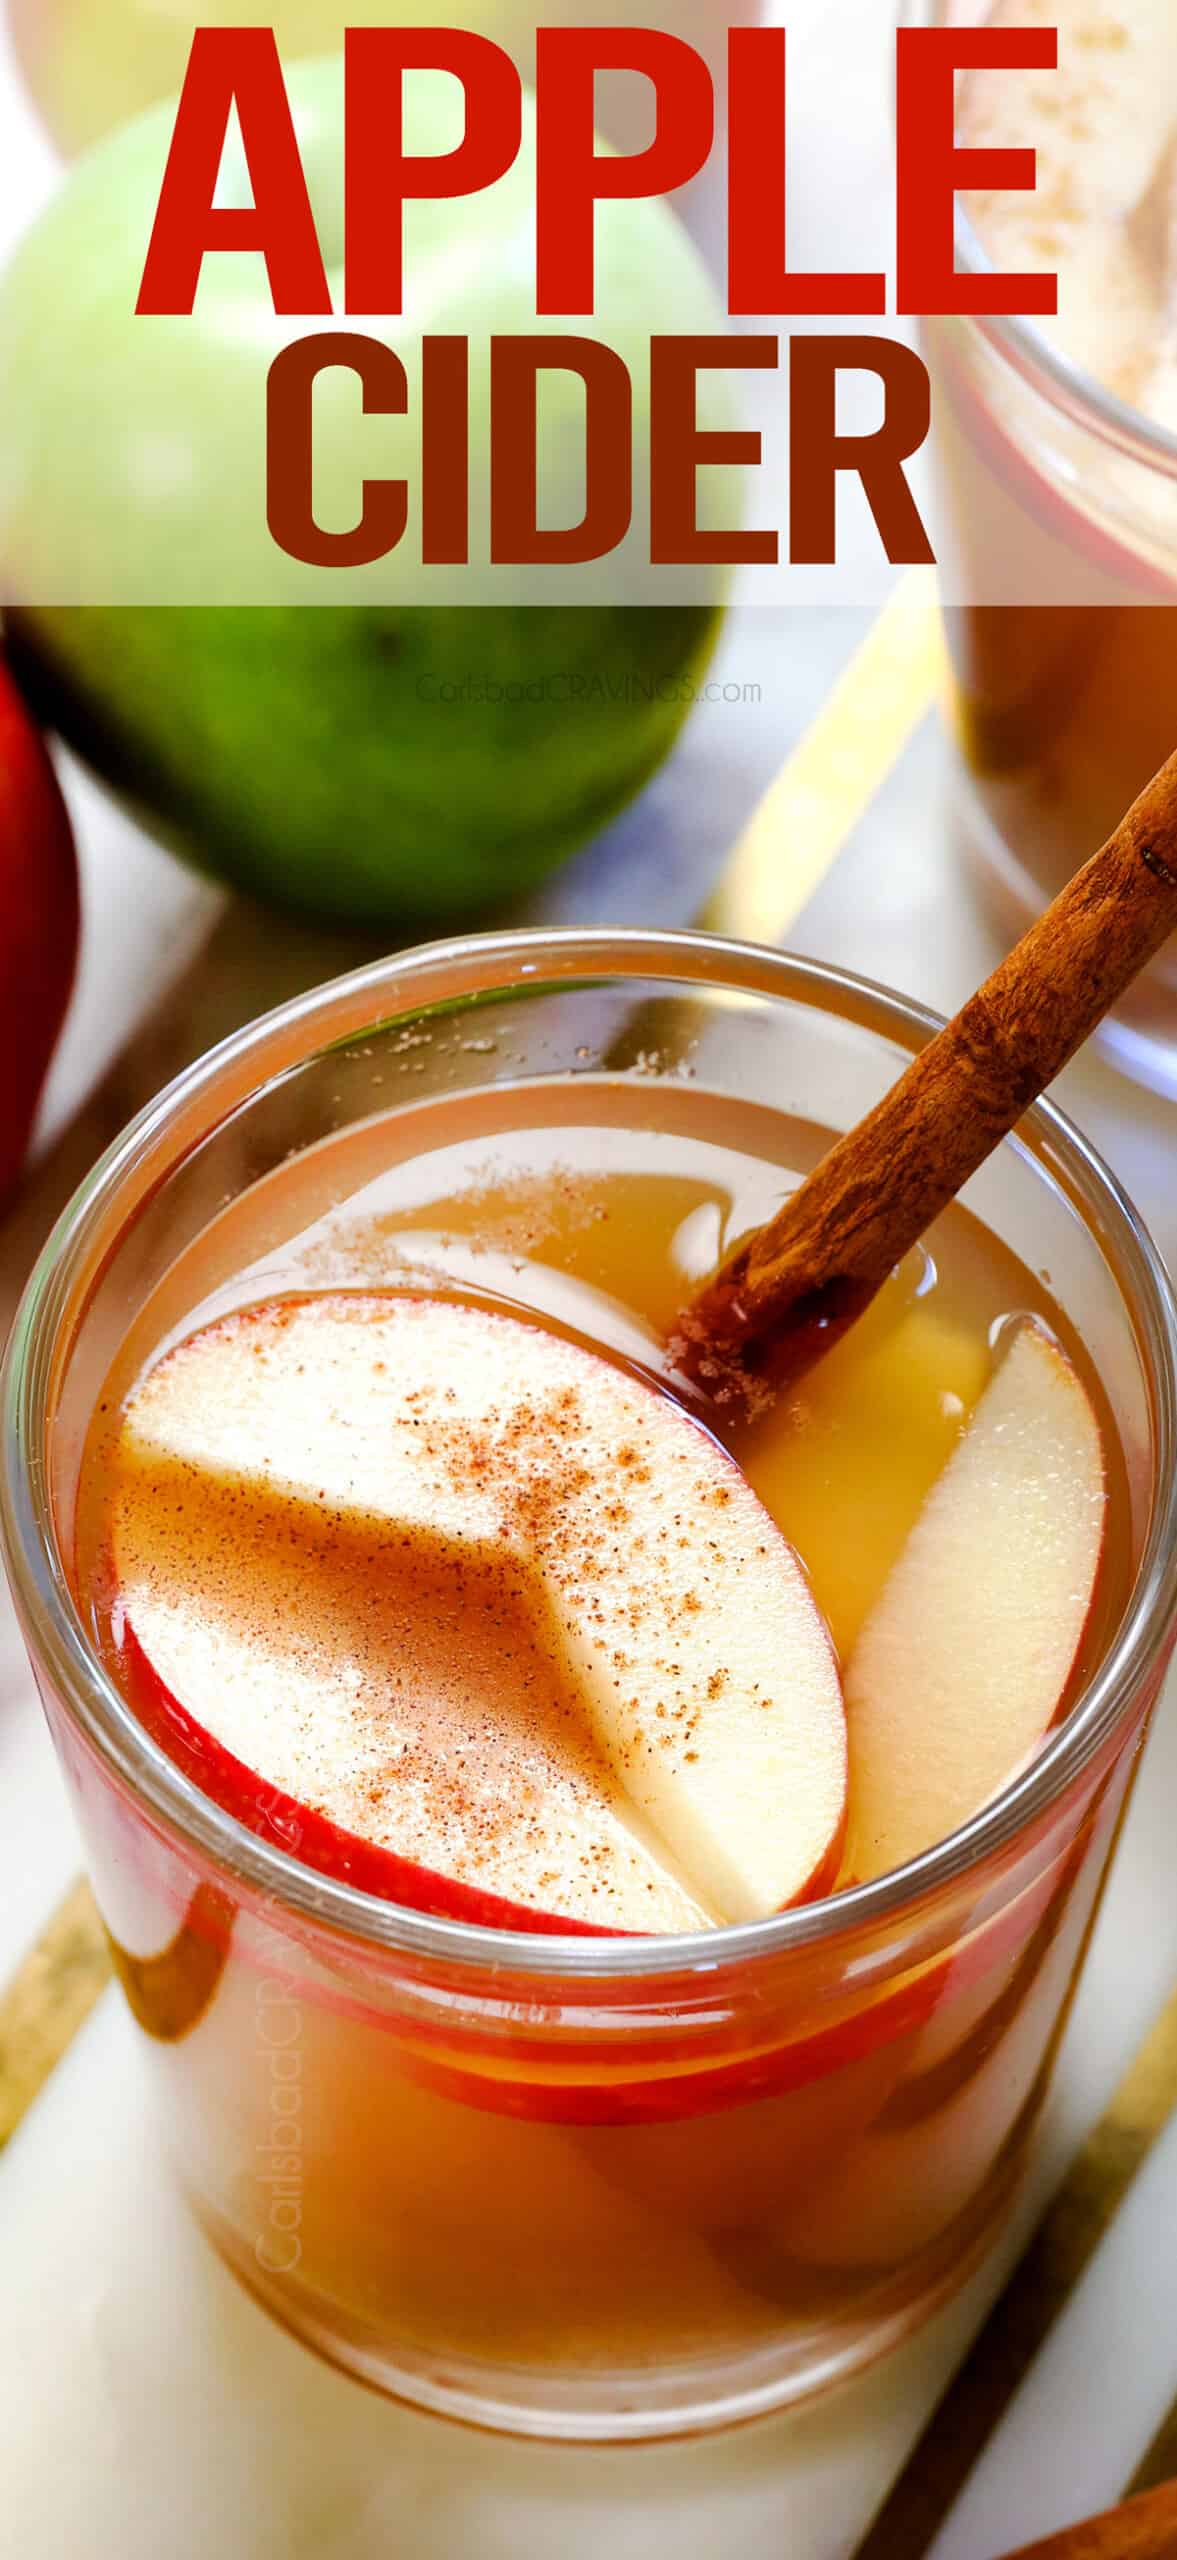
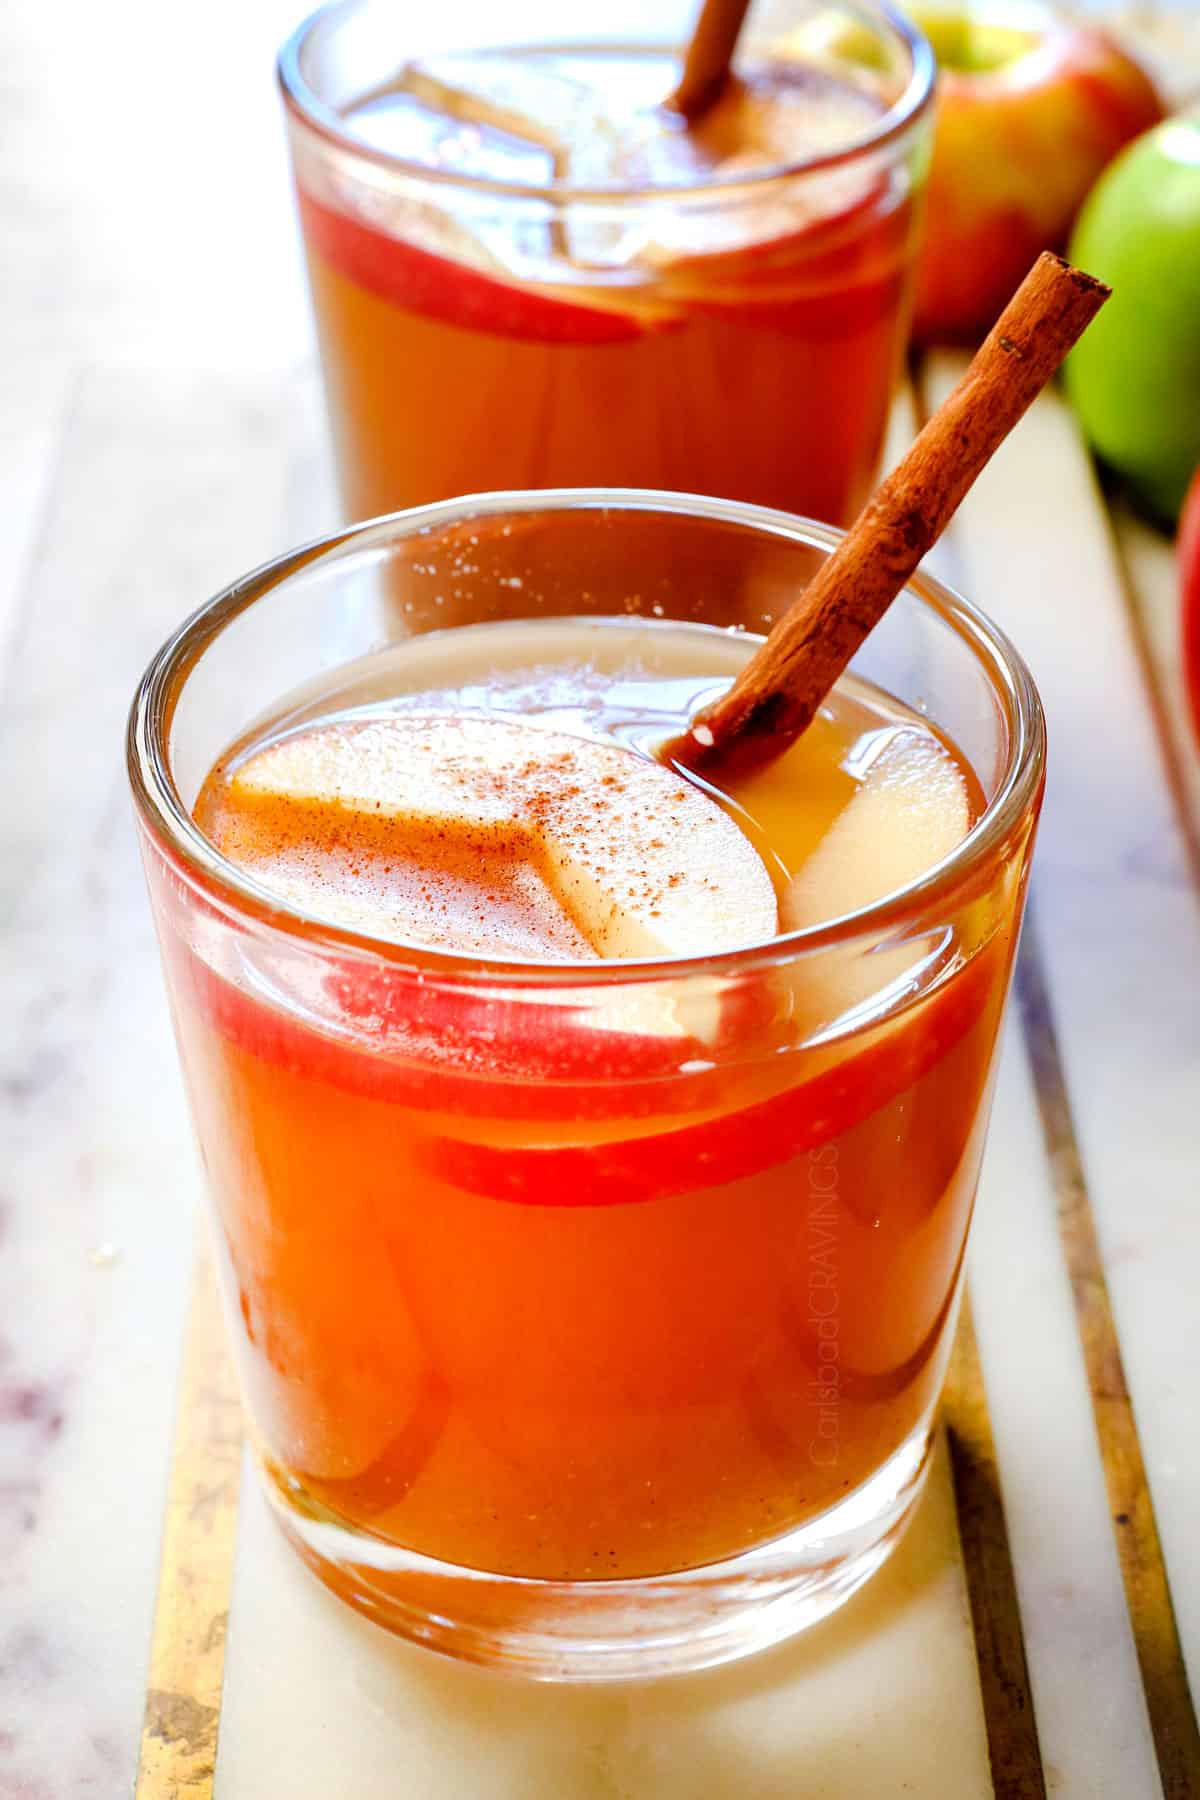
Homemade apple cider is irresistibly delicious, fresh, super easy to make on the stovetop or slow cooker with the bonus of making your home smell amazing – no scented candle can compare! This apple cider recipe is ideal for entertaining because it is make ahead friendly, gluten-free, vegan and alcohol-free so all your guests can cozy up to a steaming hot mug. Enjoy this apple cider hot or cold, with ginger ale, caramel, etc. as a slushy or float!
Watch How to Make apple cider

Why You Will Love this Homemade Apple Cider Recipe

What is Apple Cider?
Apple cider is a beverage made by pressing and extracting the juice from simmered apples. It can be enjoyed either hot or cold and may be infused with various spices such as cinnamon, cloves and ginger for added flavor. Apple cider is a popular autumn and winter drink known for its sweet and tangy taste. It can also be fermented into alcoholic hard cider or used in cooking and baking for a range of culinary applications.

Spiced Apple Cider Ingredients
This apple cider recipe is made with minimal, real ingredients that taste like a million bucks! Let’s take a closer look at what you’ll need (full recipe in the printable recipe card at the bottom of the post):


How to Make Apple Cider
Let’s take a closer look at how to make this recipe with step-by-step photos (full recipe in the printable recipe card at the bottom of the post):

MEal ahead apple cider
Apple cider is the ideal make-ahead recipe for the holidays. It can be made and refrigerated in a Dutch oven or airtight container (like glass jars, glass carafe or glass jug pitches) for up to 7 days in advance. Shake or stir well before serving or reheat gently on the stove.

Tips for Making this Hot Apple Cider Recipe

Apple Cider recipe variations
This apple cider recipe is blank canvas for all sorts of additions! Here are a few ideas:

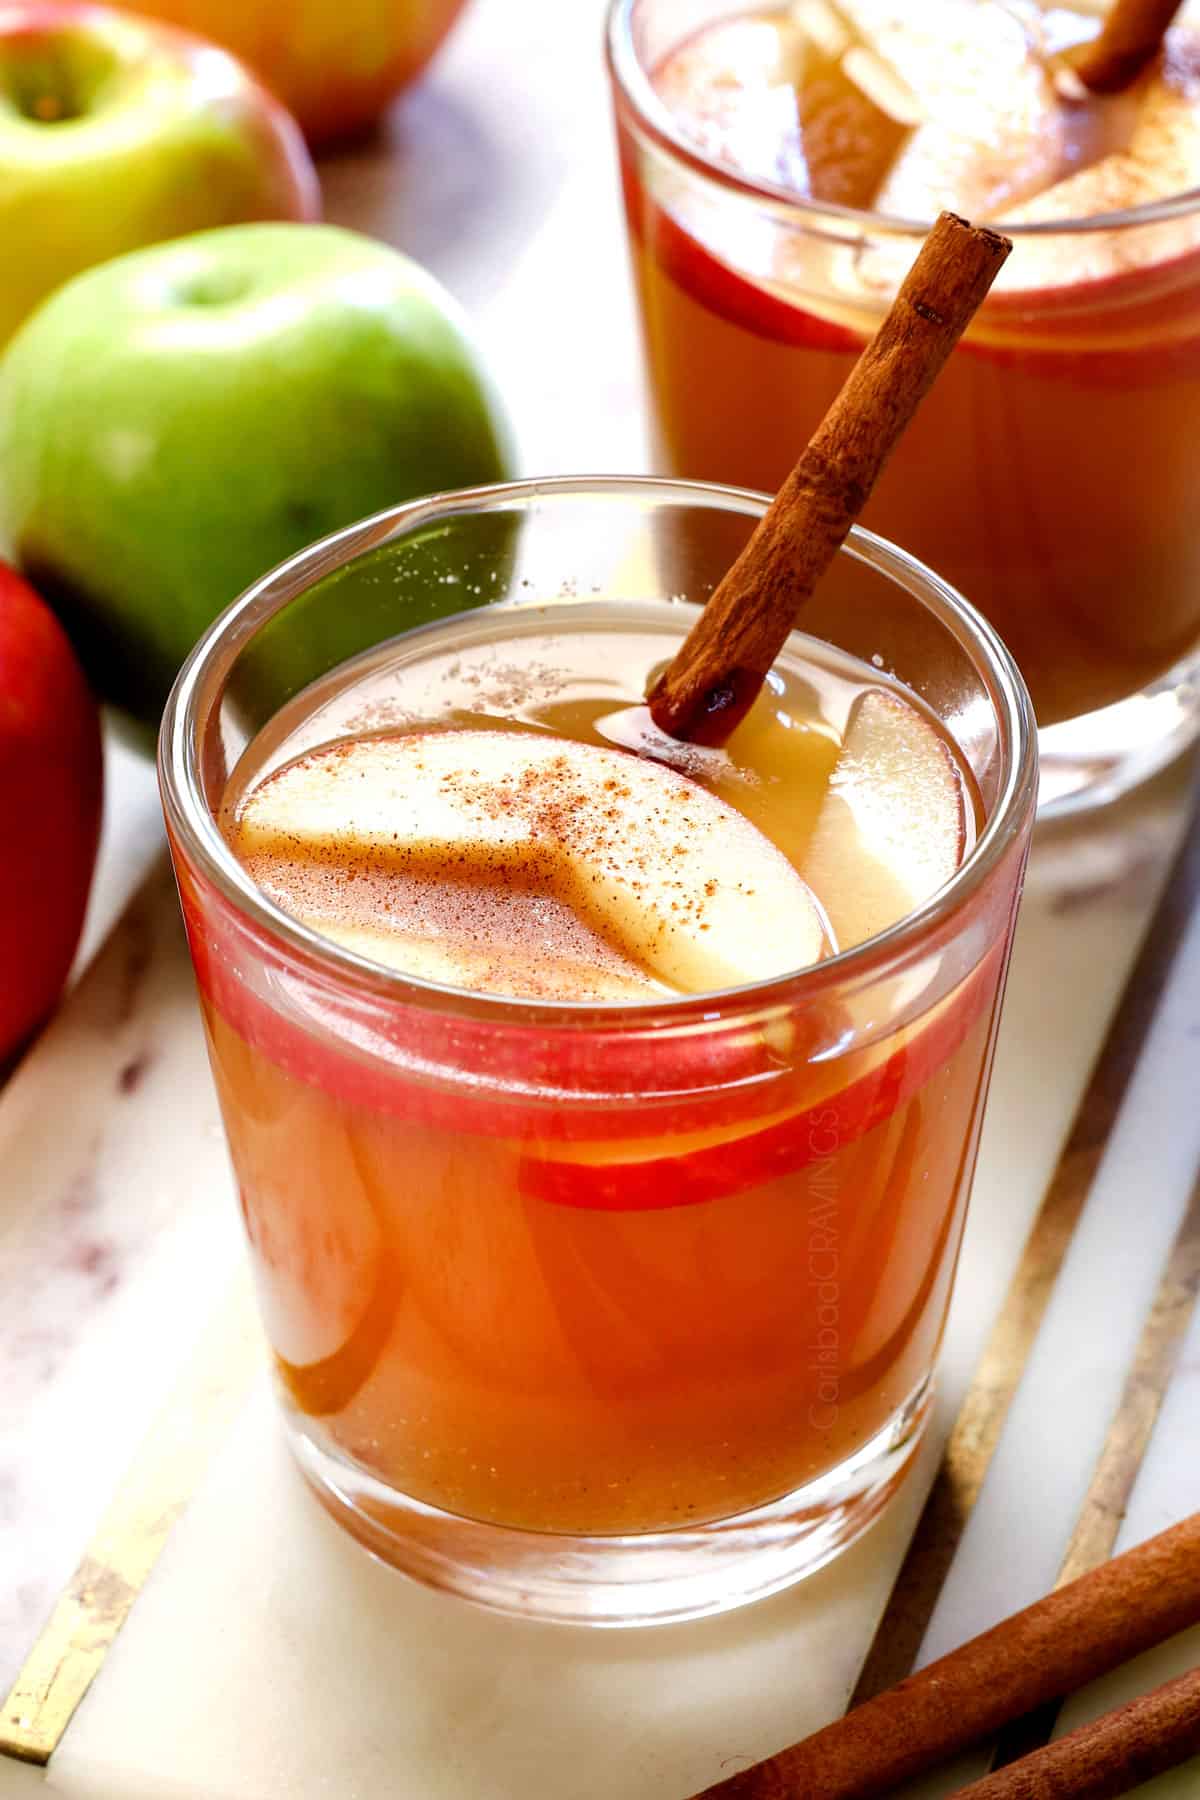
How to Serve Hot Apple Cider
Apple cider can be served either hot and cold, depending on your preference and the occasion, however, we love it best hot:
- Hot Apple Cider: Heating apple cider on the stovetop or in the microwave and serving it warm is a popular choice during the fall and winter month for a comforting and cozy drink to warm you up on chilly day.
- Cold Apple Cider: Chilled apple cider is a refreshing and thirst-quenching option, especially in the warmer months. We love to add ginger ale to cold apple cider.
How to store Spiced Apple Cider
To store: Refrigerate cider in an airtight storage container (like glass jars, glass carafe or glass jug pitches) for up to 1 week.
To Reheat: Gently heat the cider in a pot on the stovetop using low heat or warm it in the microwave.
HOW TO freeze Apple Cider
Place apple cider in an airtight, freezer-safe container like freezer bags or tempered glass jars specifically labeled for freezing (like this). Even freezer-safe glass can crack as food expands, so take care to leave about 3/4-inch of space between the top of the cider and the lid. Label and freeze for up to three months. Thaw overnight in the refrigerator, then serve chilled or warm on the stovetop or in the microwave.
Homemade Apple Cider Recipe FAQs
Apple cider and apple juice are both apple-based beverages, but they differ in a few key ways:
Apple cider is typically unfiltered and may appear cloudy. It retains more of the apple’s natural flavor and is often considered fresher. It is seasoned with warm, cozy fall spices like cinnamon, cloves and nutmeg and is most popularly enjoyed hot.
Apple juice, on the other hand, is usually filtered, pasteurized, and clarified, giving it a clear appearance and a longer shelf life. It may also have added sweeteners or preservatives. It has a natural, fruity taste without any added spices and is enjoyed cold or at room temperature.
Apple cider can be either alcoholic or non-alcoholic, depending on how it’s produced and whether fermentation is allowed. “Apple cider” typically refers to the non-alcoholic version and “hard apple cider” refers to the alcoholic version. Here’s the distinction:
Non-Alcoholic Apple Cider: This is the most common form of apple cider and is essentially fresh-pressed apple juice with spices. Non-alcoholic apple cider is typically served as a sweet, unfermented beverage, often associated with autumn and used for drinking or cooking.
Hard Cider (Alcoholic): If apple cider is fermented, it becomes hard cider. Yeast is added to the cider, which consumes the sugars and converts them into alcohol. The result is an alcoholic beverage with various levels of sweetness or dryness, depending on the fermentation process.
The readiness of your homemade apple cider is somewhat subjective and can be adjusted to your taste. The best way to know if your apple cider is ready is to taste it. Try a small amount to gauge its flavor. You might want it to be sweeter, in which case you can add sugar or sweeteners. If you prefer a more concentrated flavor, simmer it longer. When you’re satisfied with the taste, color, and clarity, and you’ve followed the recipe’s guidelines, it’s safe to consider your apple cider ready to enjoy.
Apple cider will last for up to 1 week refrigerated in an airtight storage container like glass jars, Dutch oven or covered pitcher.

Looking for more Apple Recipes?
apple crisp
apple dump cake
apple oatmeal cookies
mini apple pies
apple dumplings
apple crisp
apple cheesecake bars
Dutch apple pie
WANT TO TRY THIS RECIPE?
PIN IT to your recipe BOARD TO SAVE FOR LATER!
FIND ME ON PINTEREST FOR MORE GREAT RECIPES! I AM ALWAYS PINNING :)!
©Carlsbad Cravings by CarlsbadCravings.com

Homemade Spiced Apple Cider Recipe
Save This Recipe To Your Recipe Box
You can now create an account on our site and save your favorite recipes all in one place!
Ingredients
- 10 to 12 medium apples, quartered with peels and seeds (use a mix like Granny Smith, Fuji, Honeycrisp, Gala etc.)
- 2 RIPE large oranges peeled, quartered
- 4 (3-4-inch) cinnamon sticks
- 1 tablespoon whole cloves
- 1 inch fresh ginger, peeled
- Optional spices: 1 star anise, 1 whole nutmeg (or ½ tsp ground), 1 teaspoon allspice berries, and/or 5 whole black peppercorns (I use all the spices)
- 1 gallon (16 cups) water
- 1/2 cup pure maple syrup or packed brown sugar (I use half and half)
- 1 teaspoon pure vanilla extract
Instructions
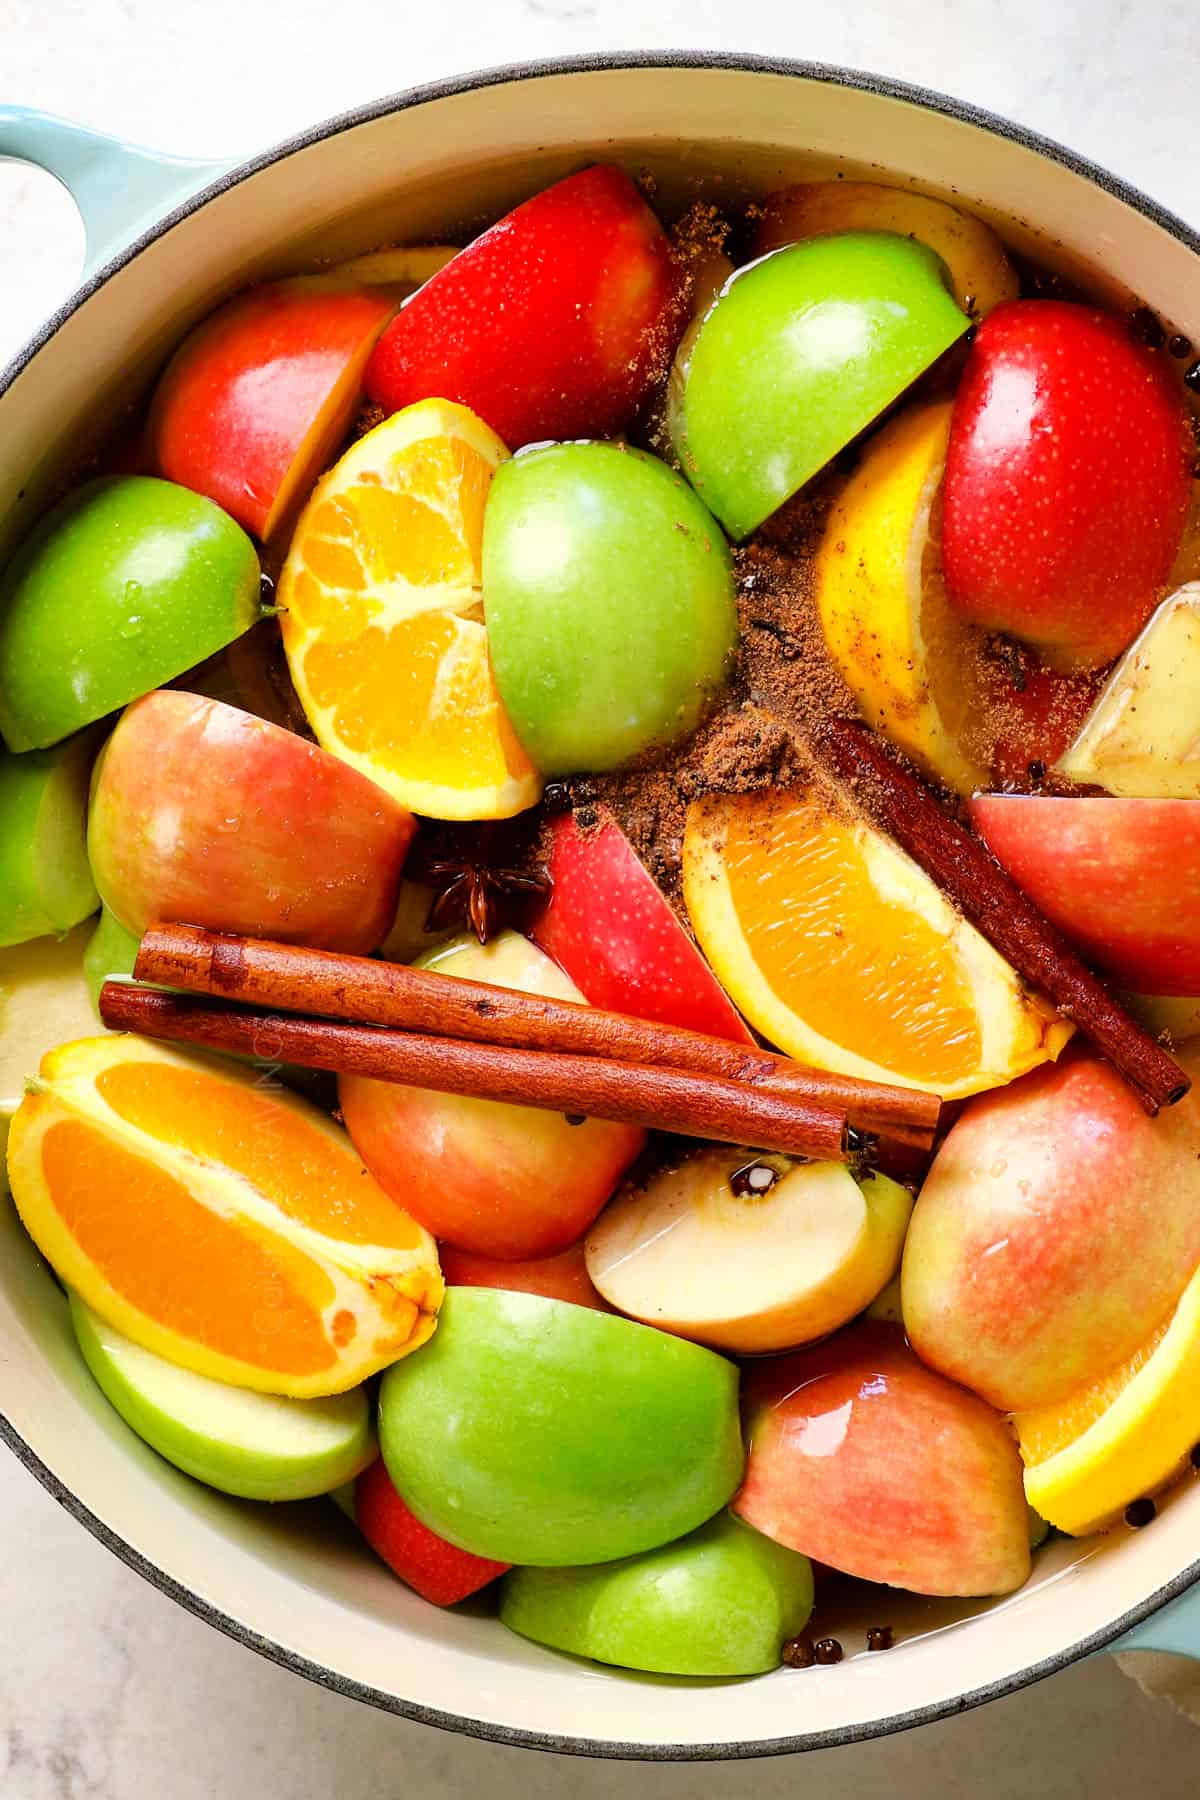
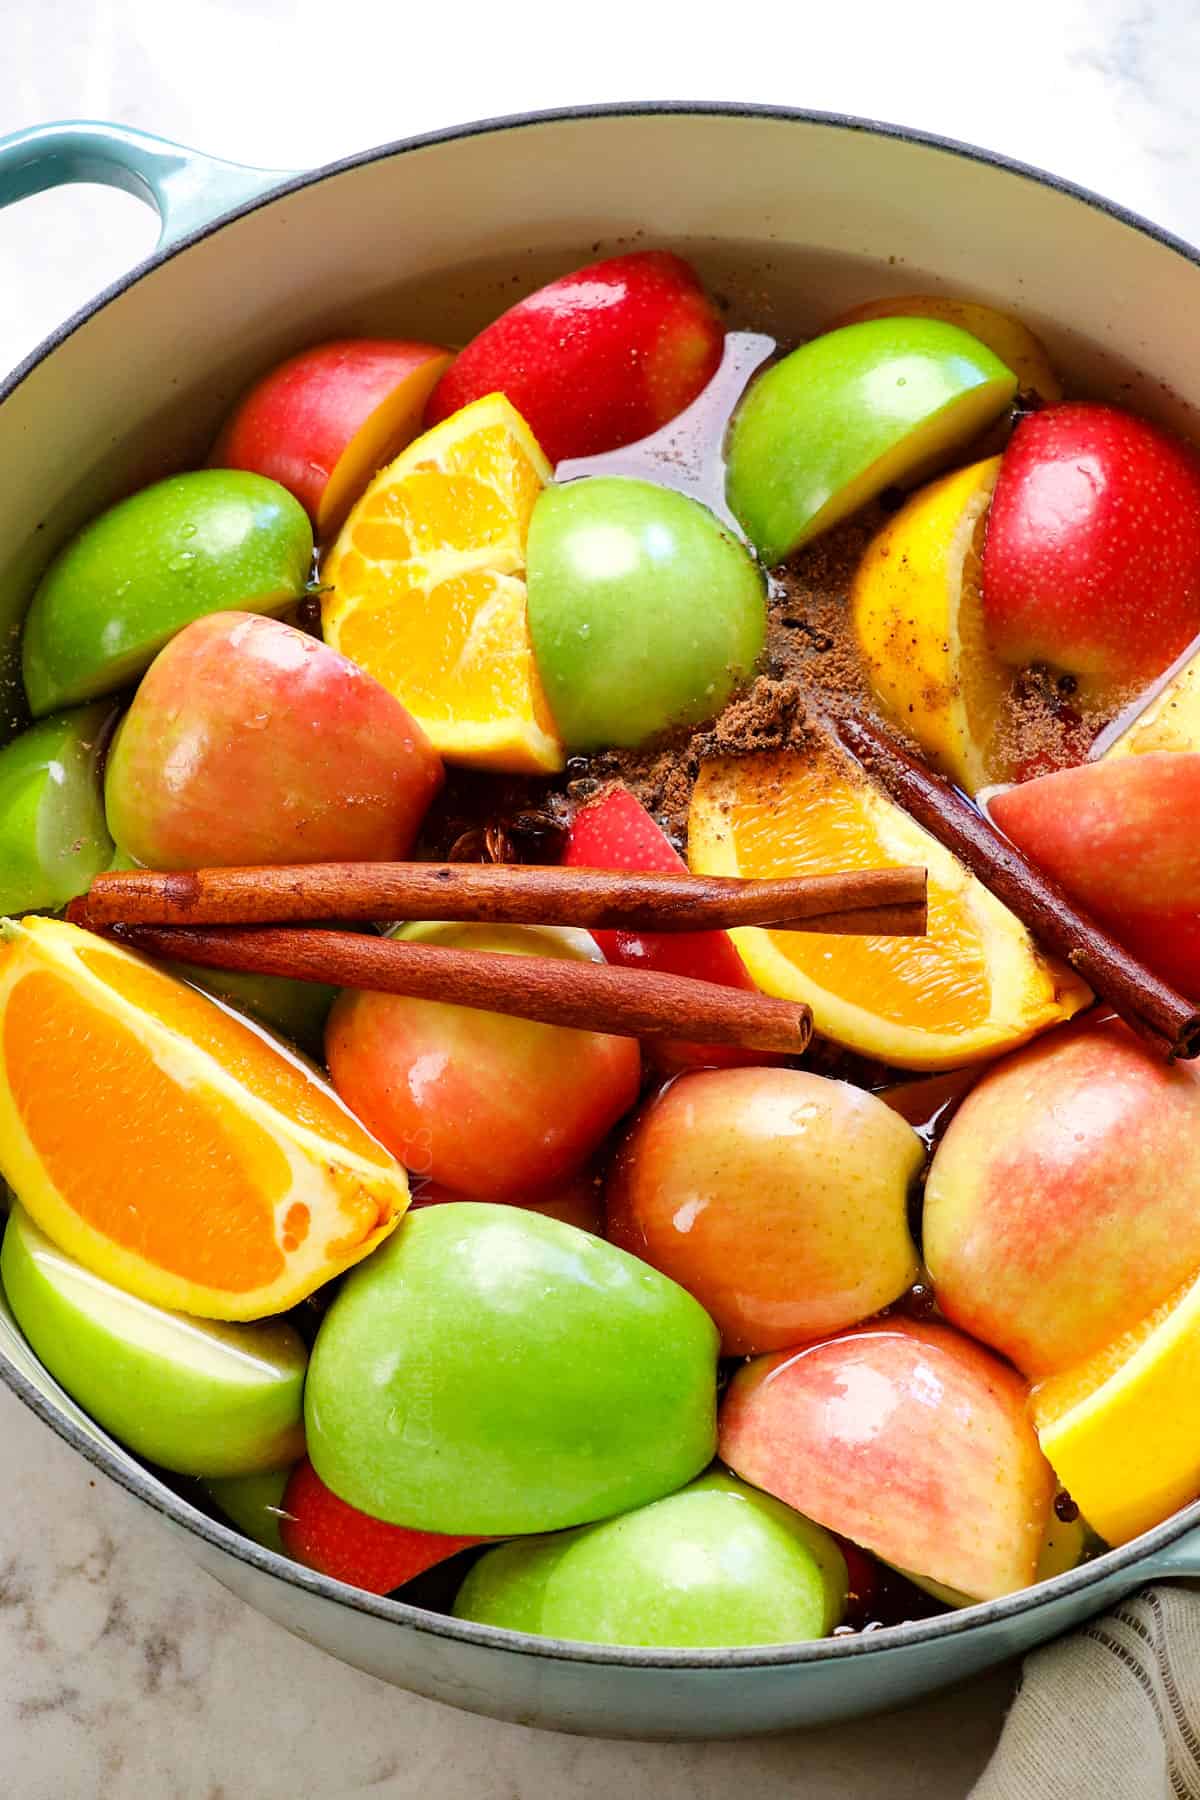
- Add ingredients to pot: Add quartered apples, quartered peeled oranges, cinnamon sticks, ginger, cloves, and any optional spices to a very large stockpot. 12 quarts is ideal; however, you can use a smaller pot. Note: The pics/video show the oranges un-peeled, but they should be peeled for less bitterness.
- Add water: If using a large enough pot, add the full gallon of water, otherwise, fill the pot, leaving 1 ½ -2 inches of space at the top for the cider to simmer. (You'll add the rest of the water later.)
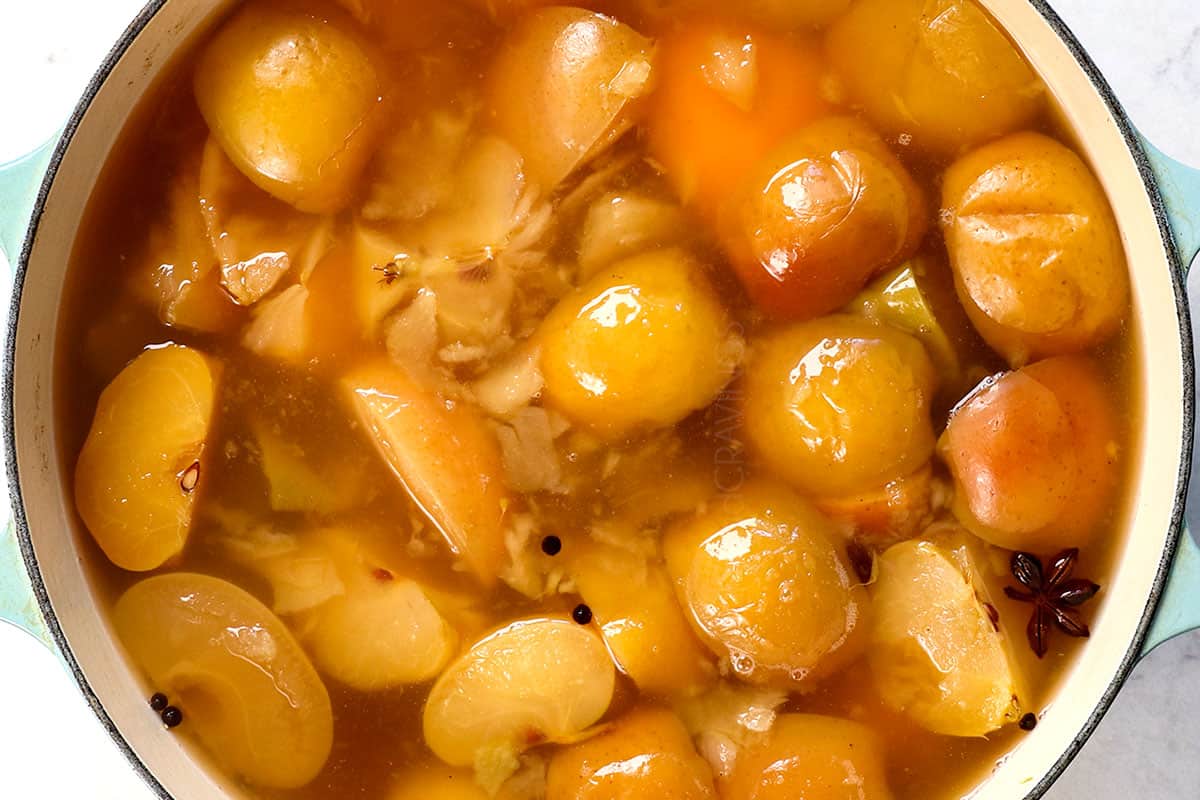
- Simmer: Cover, and bring the water to a simmer over high heat. Once rapidly simmering, reduce the heat to low. Simmer, covered, for 2 to 2 ½ hours, until the fruit is very soft.
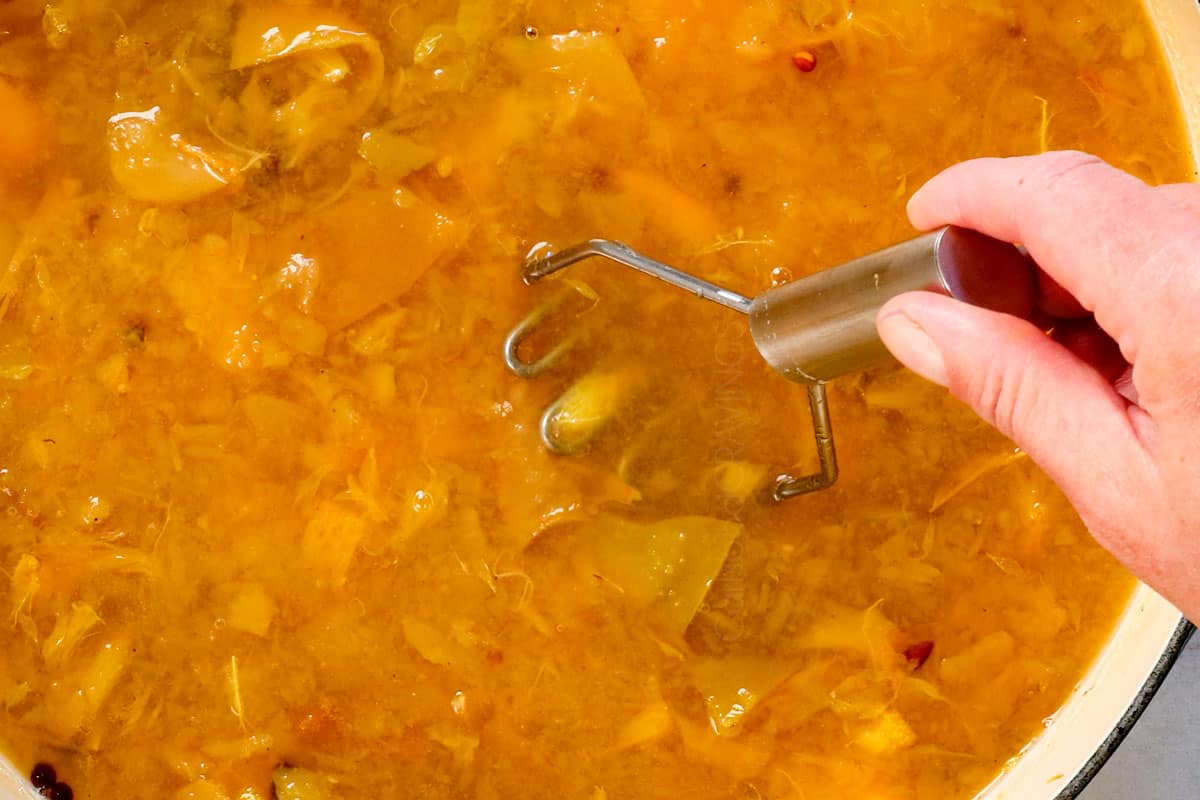
- Mash: Once soft, use a potato masher to mash up the fruit. (Use a wooden spoon and press the fruit on the side of the pot if you don’t have a masher).
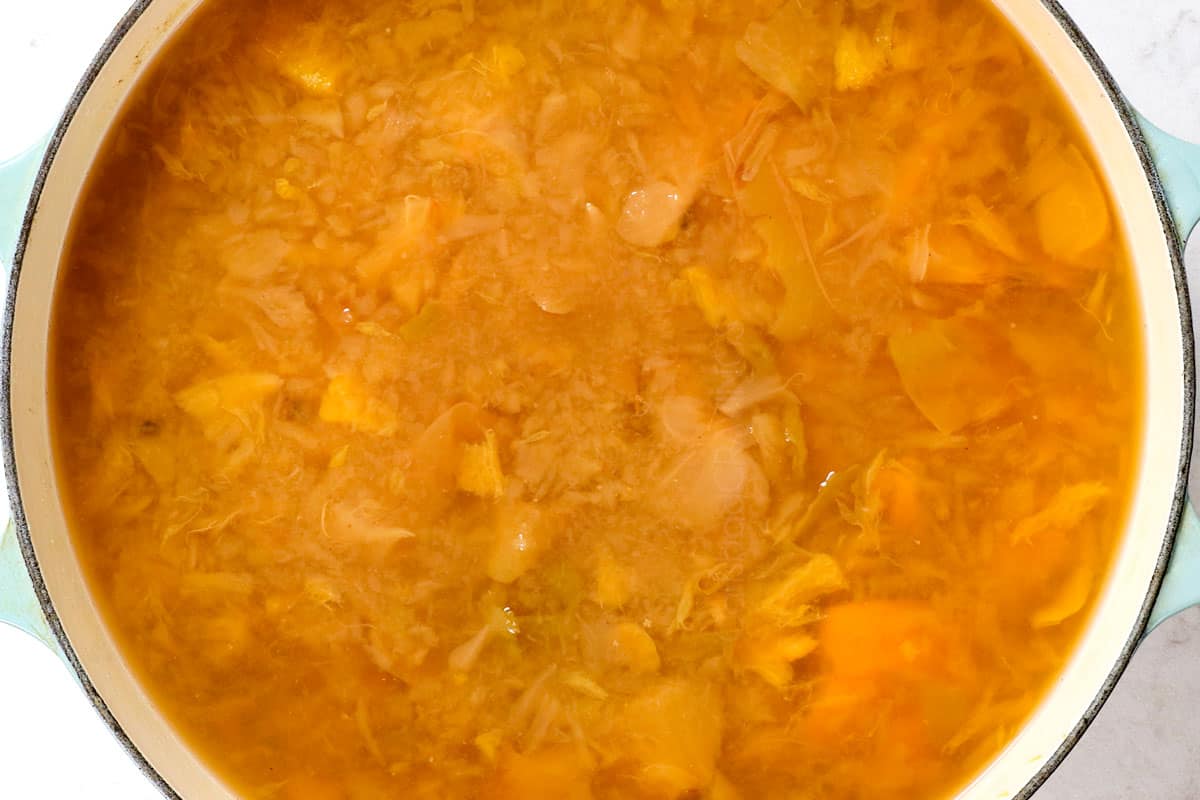
- Simmer again: Continue simmering, uncovered, for 1 additional hour.
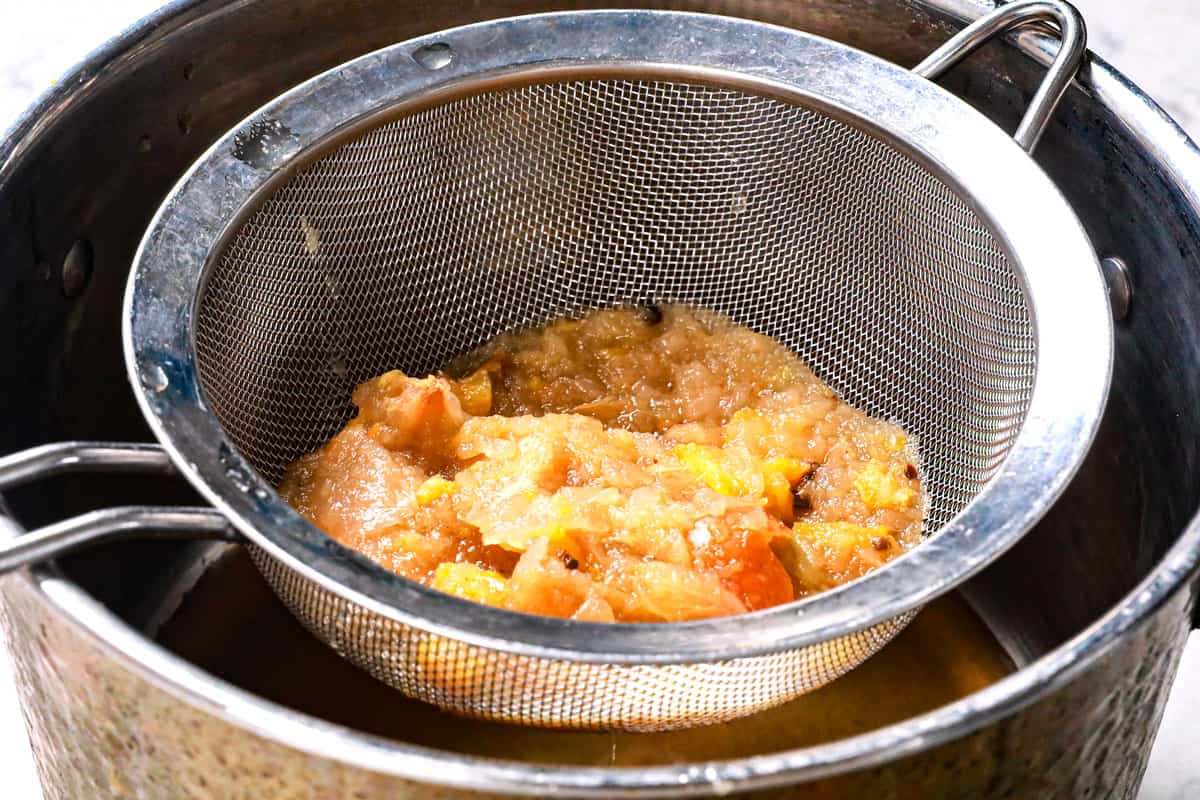
- Strain: Place a fine mesh strainer over a very large bowl (use two bowls as needed). Using a ladle, spoon the cider into the strainer in batches and press down on the solids to release as much liquid as possible. Discard the solids.
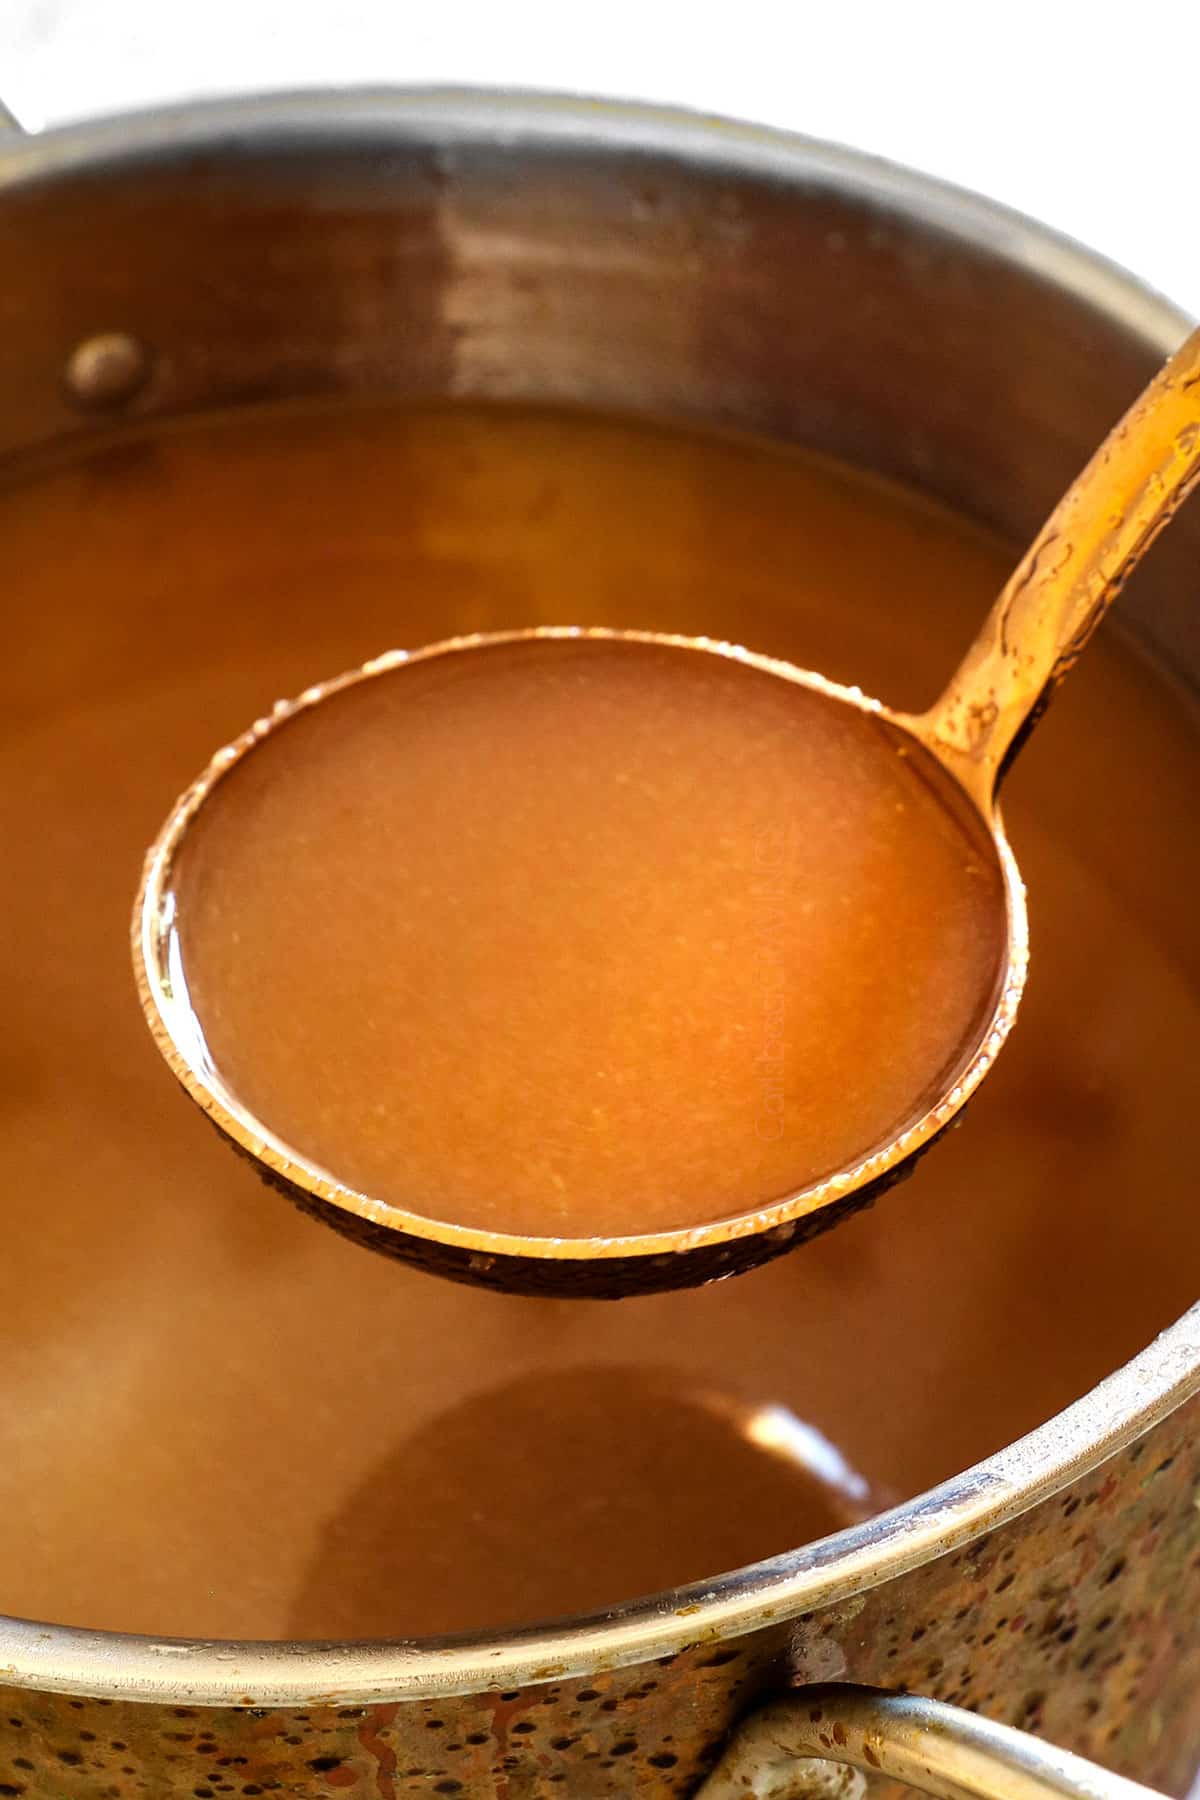
- Add sweetener: Return the strained cider to the now empty pot. Add additional hot water if you didn’t add the full gallon before. Add the maple syrup and/or brown sugar and vanilla and stir to combine.
- Adjust to taste: Taste and adjust the sweetness as desired, 1 tablespoon of sweetener at a time (the amount needed will vary based on personal preference, sweetness of apples and sweetness of oranges). Season with ground cinnamon, ground ginger, ground cloves and/or ground nutmeg a pinch at a time as desired.
- Serve: Enjoy the apple cider warm or chilled – see the post for all sorts of fun ways to serve!
Video
Notes
- Note: The pics/video show the oranges un-peeled, but they should be peeled for less bitterness.
- Slow cooker: Follow the same instructions, but add the ingredients to a large slow cooker. Cook on low heat for 6-7 hours. You may also cook on high for 3 hours, but low and slow is ideal.
- To store: Refrigerate cider in an airtight storage container (like glass jars, glass carafe or glass jug pitches) for up to 1 week.
- To freeze: Place apple cider in an airtight, freezer-safe container like freezer bags or tempered glass jars specifically labeled for freezing (like this). Even freezer-safe glass can crack as food expands, so take care to leave about 3/4-inch of space between the top of the cider and the lid. Label and freeze for up to three months. Thaw overnight in the refrigerator, then serve chilled or warm on the stovetop or in the microwave.
- Variations: See post for fun ways to serve!
Want To Make This Recipe?

Did You Make This Recipe?
Tag @CarlsbadCravings and Use #CarlsbadCravngs
Leave a Review, I Always Love Hearing From You!


Tonya G says
This sounds great and I didn’t know it was so easy! Can’t wait to try this. Thanks!
Jen says
It’s so easy and perfect for the winter season! I hope you love it!