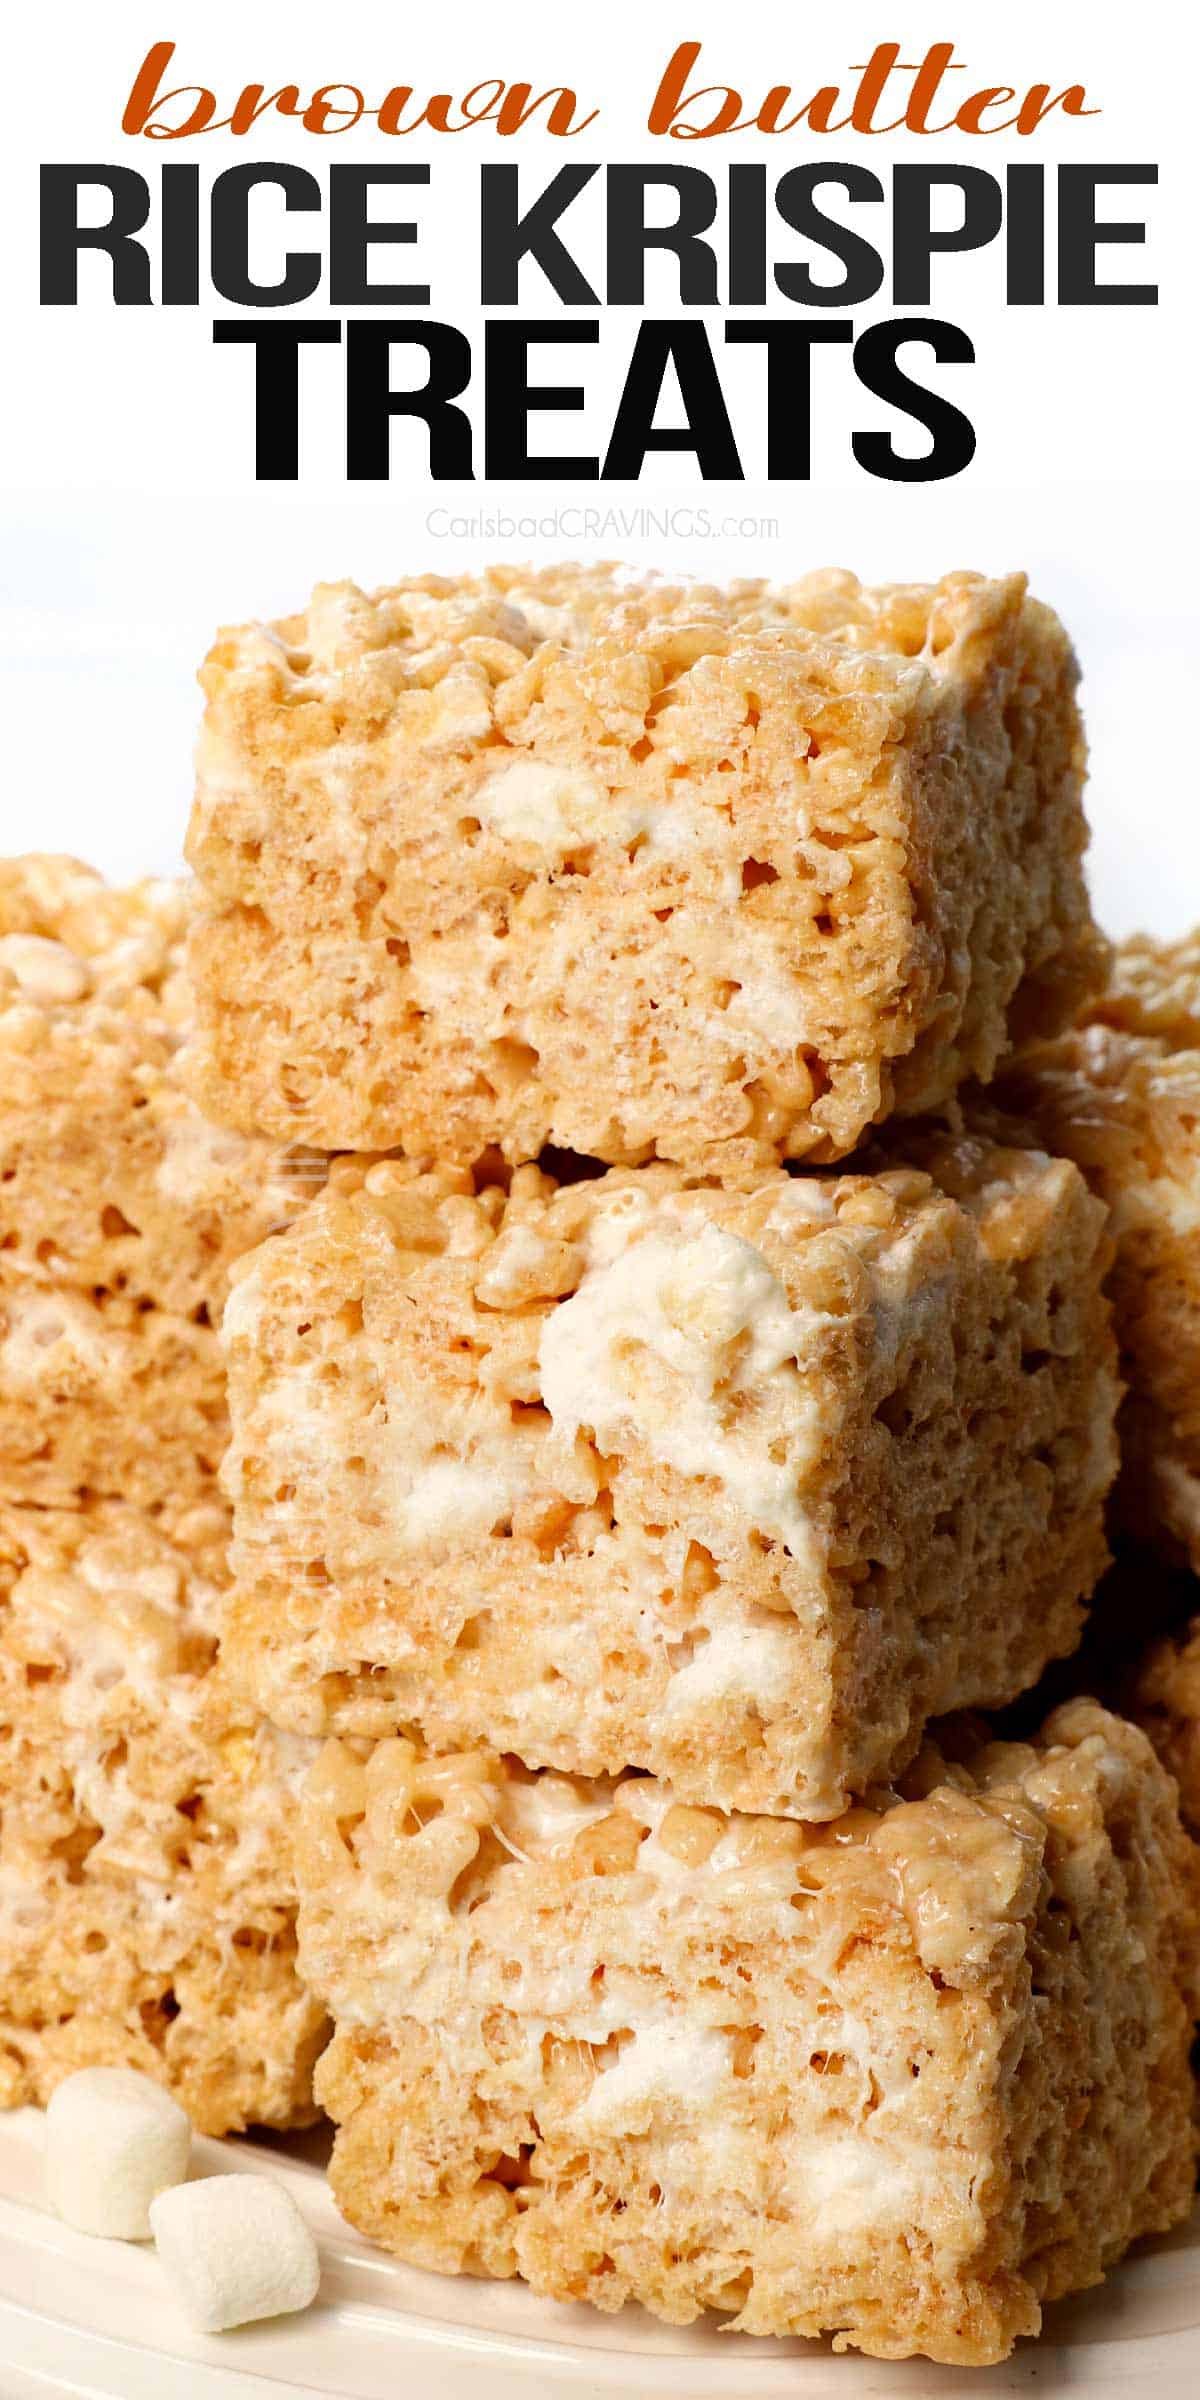
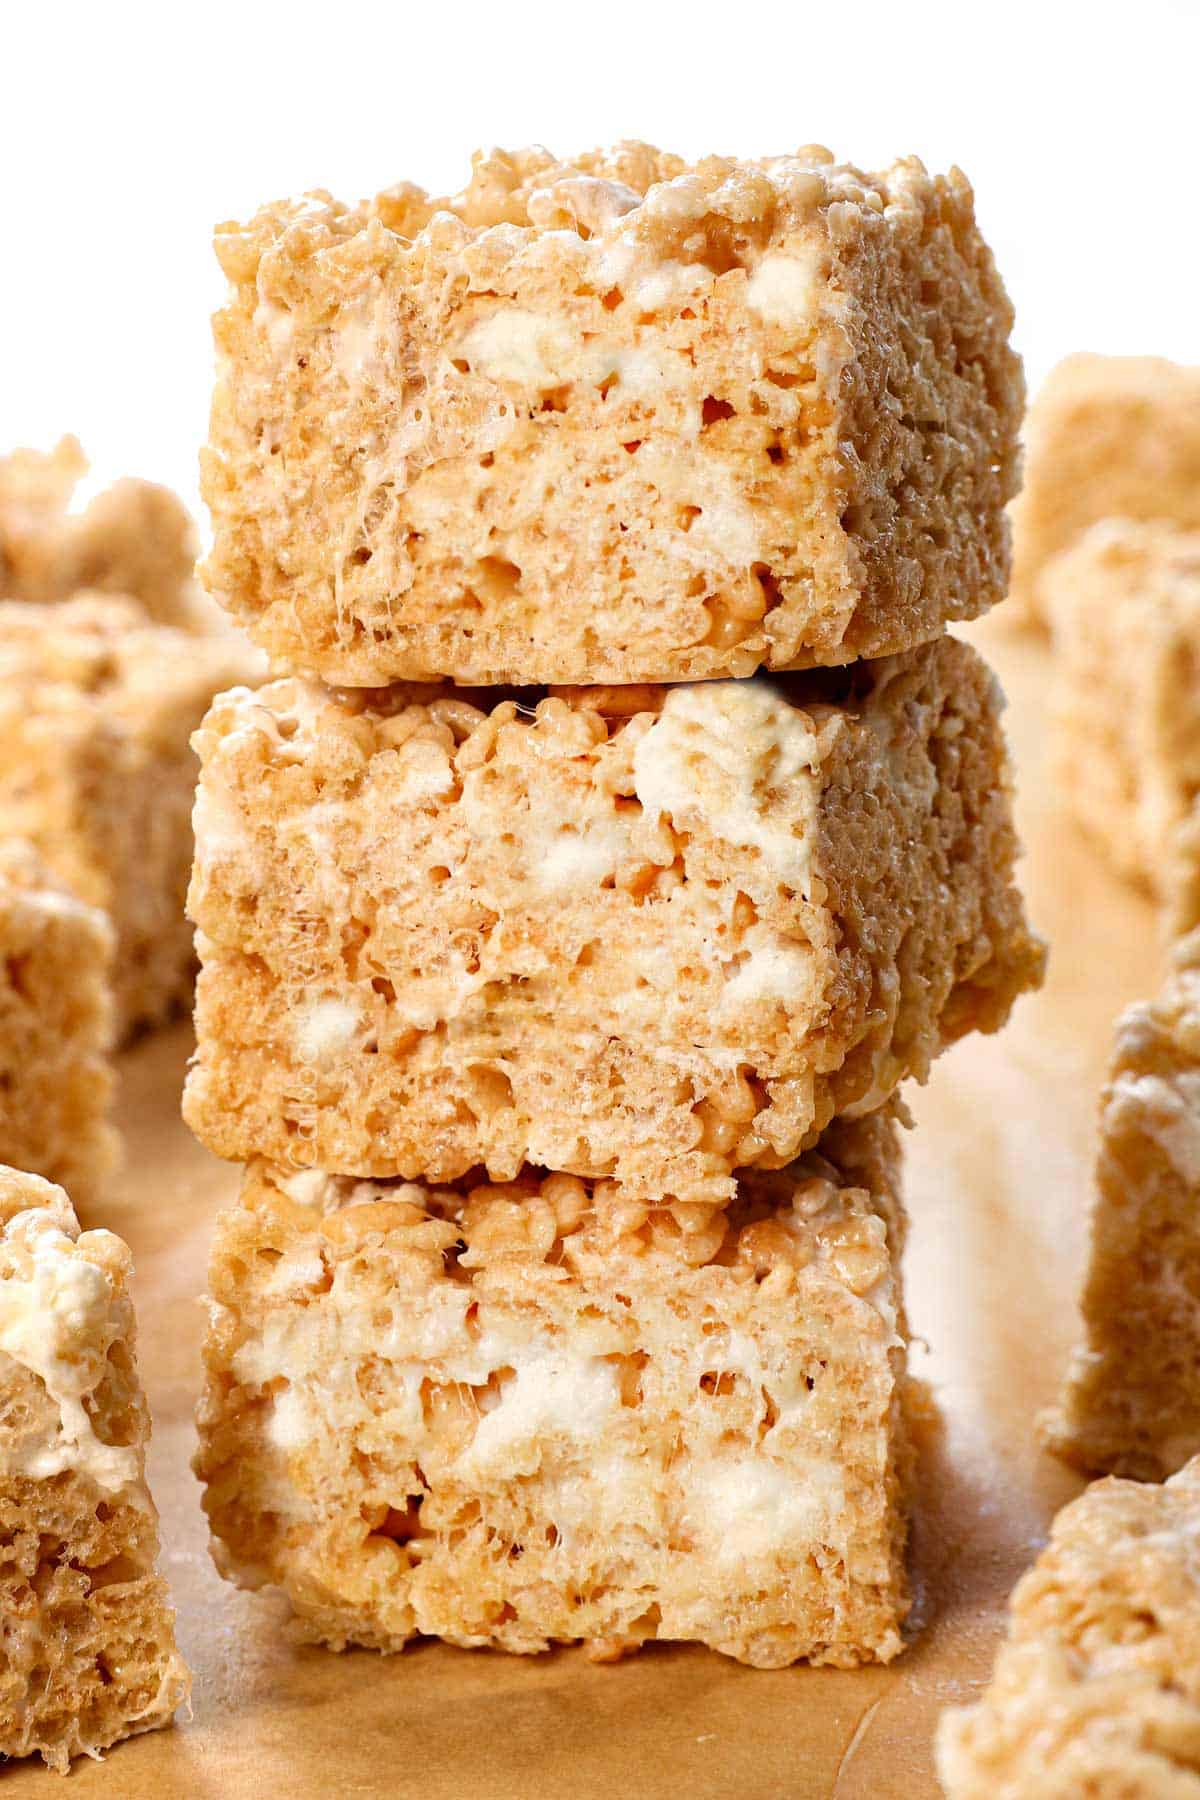
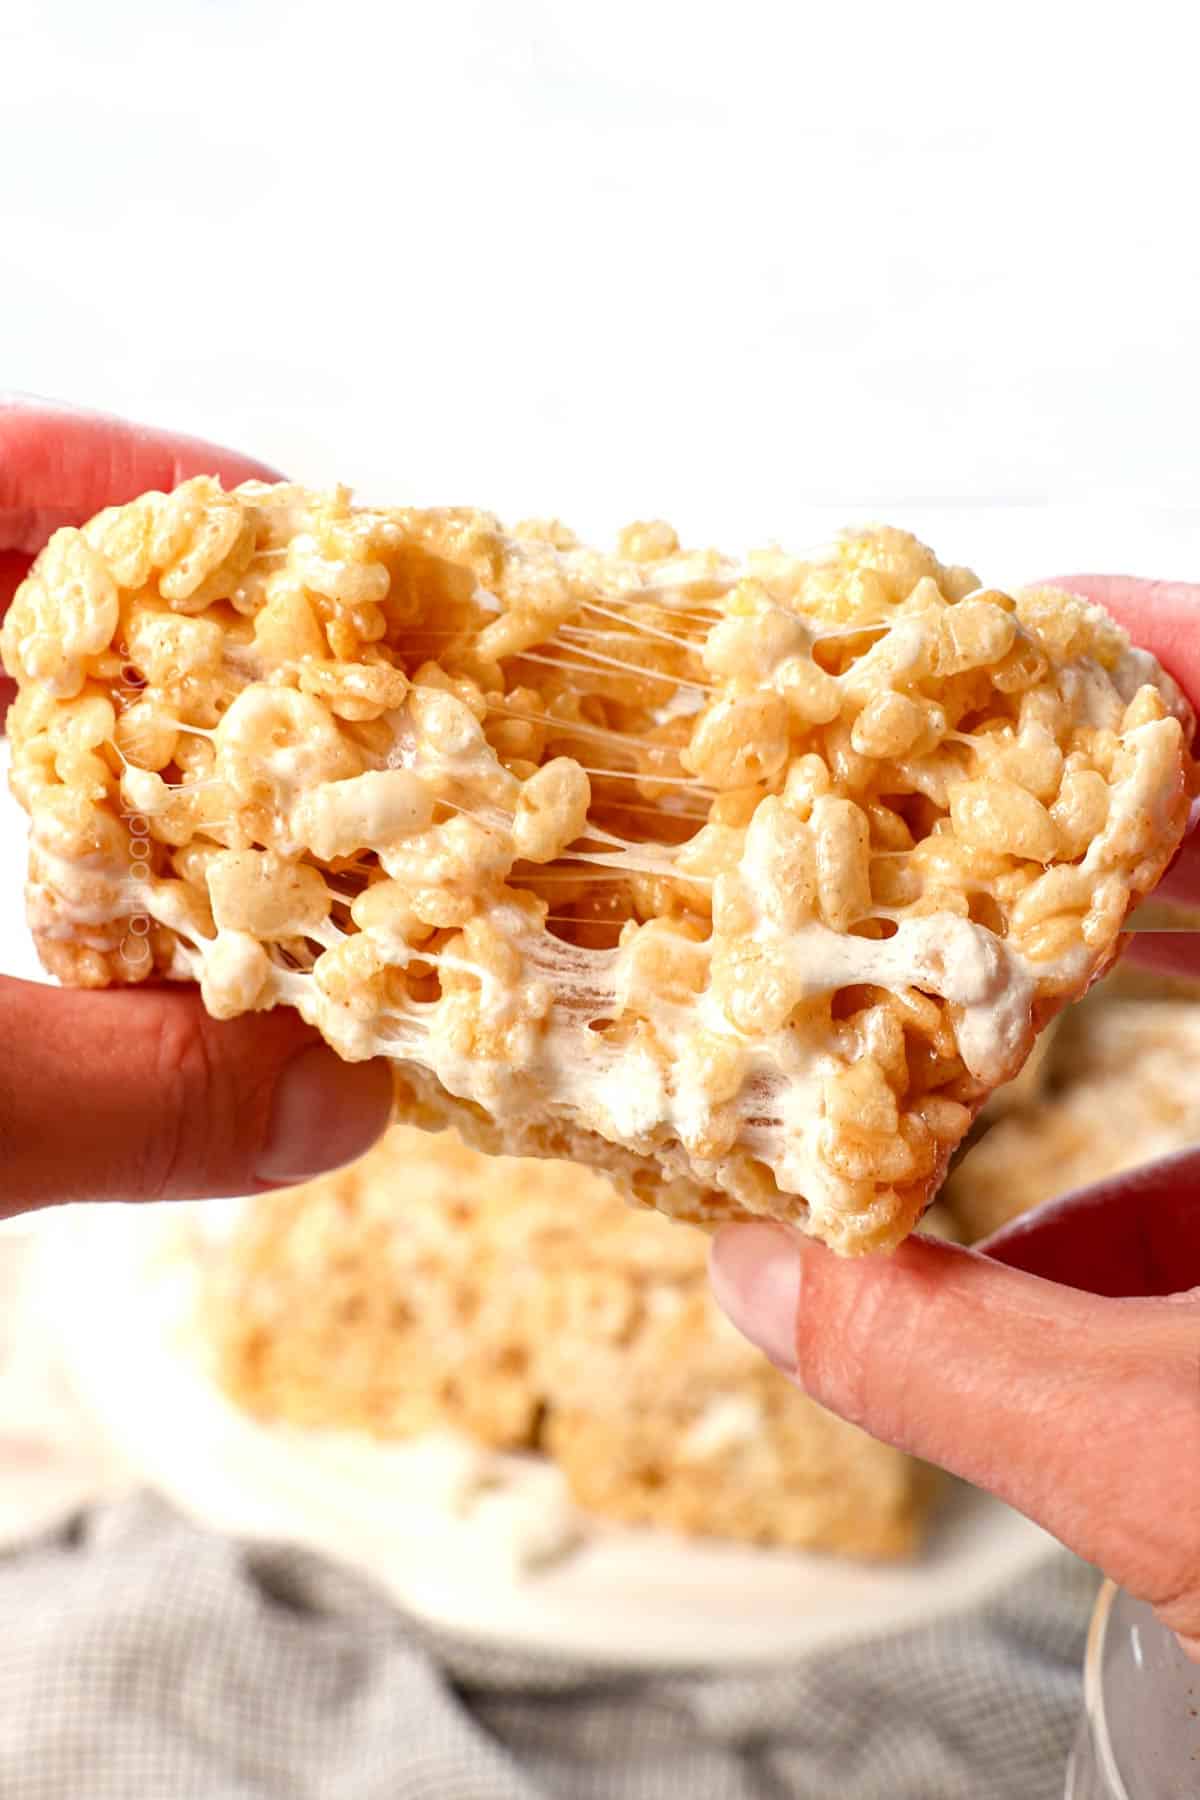
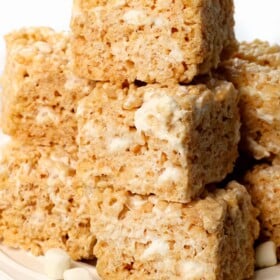
These Brown Butter Rice Krispie Treats are the BEST I’ve ever made—tall, gooey, chewy, buttery, and packed with rich, nutty brown-butter flavor! I’ve tested all the little details that make a difference, from how far to brown the butter, when to add the extra marshmallows, and how much to press, so you get irresistibly soft, chewy treats every time.

Why This Rice Krispie Treat Recipe Works
After making more than my fair share of Rice Krispie Treats, I’ve learned that the difference between good treats and exceptionally soft, chewy ones comes down to technique—not complicated ingredients.
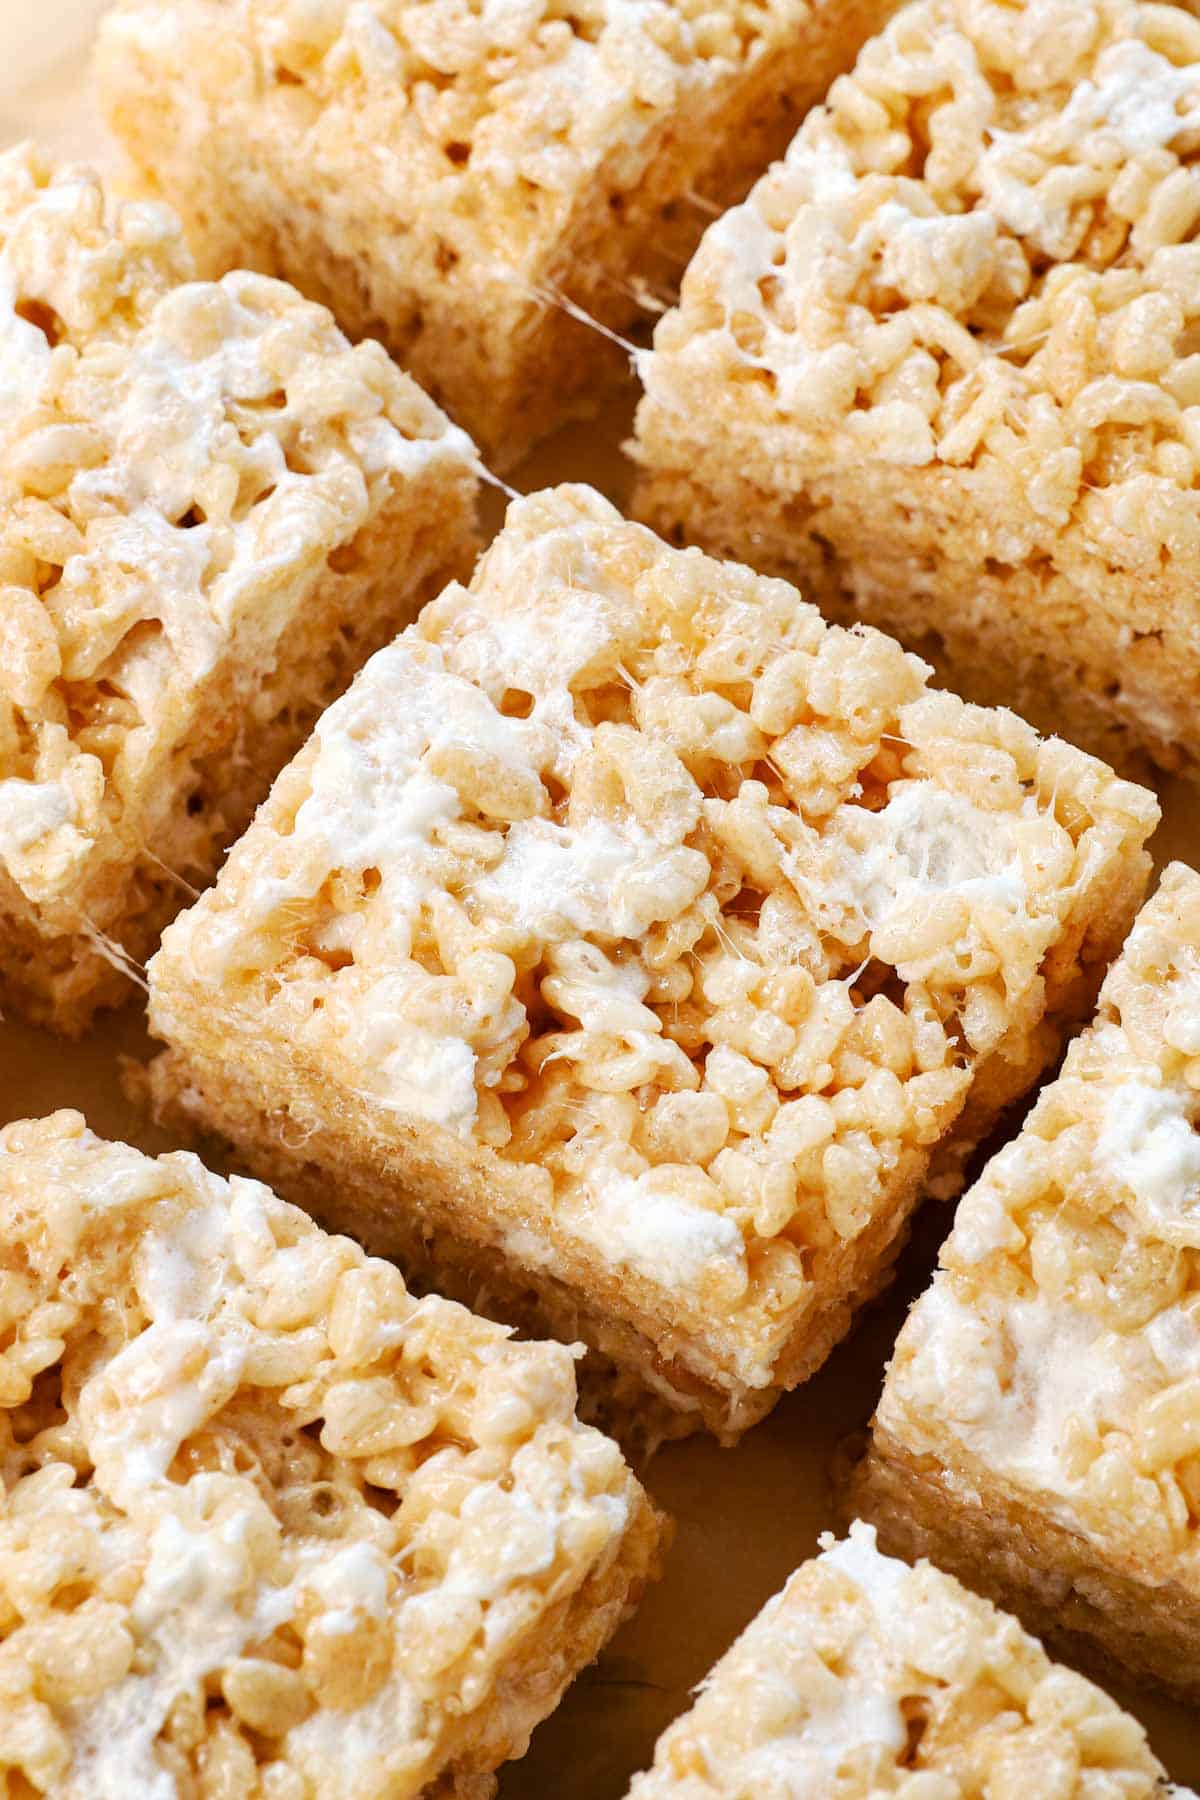
•Browned butter takes them over the top: Browning the butter develops a deep, nutty, caramel-like flavor that regular melted butter can’t provide.
•Butter is browned without burning: The butter continues browning from residual heat after it’s removed from the stove, so you don’t run the risk of burning the milk solids.
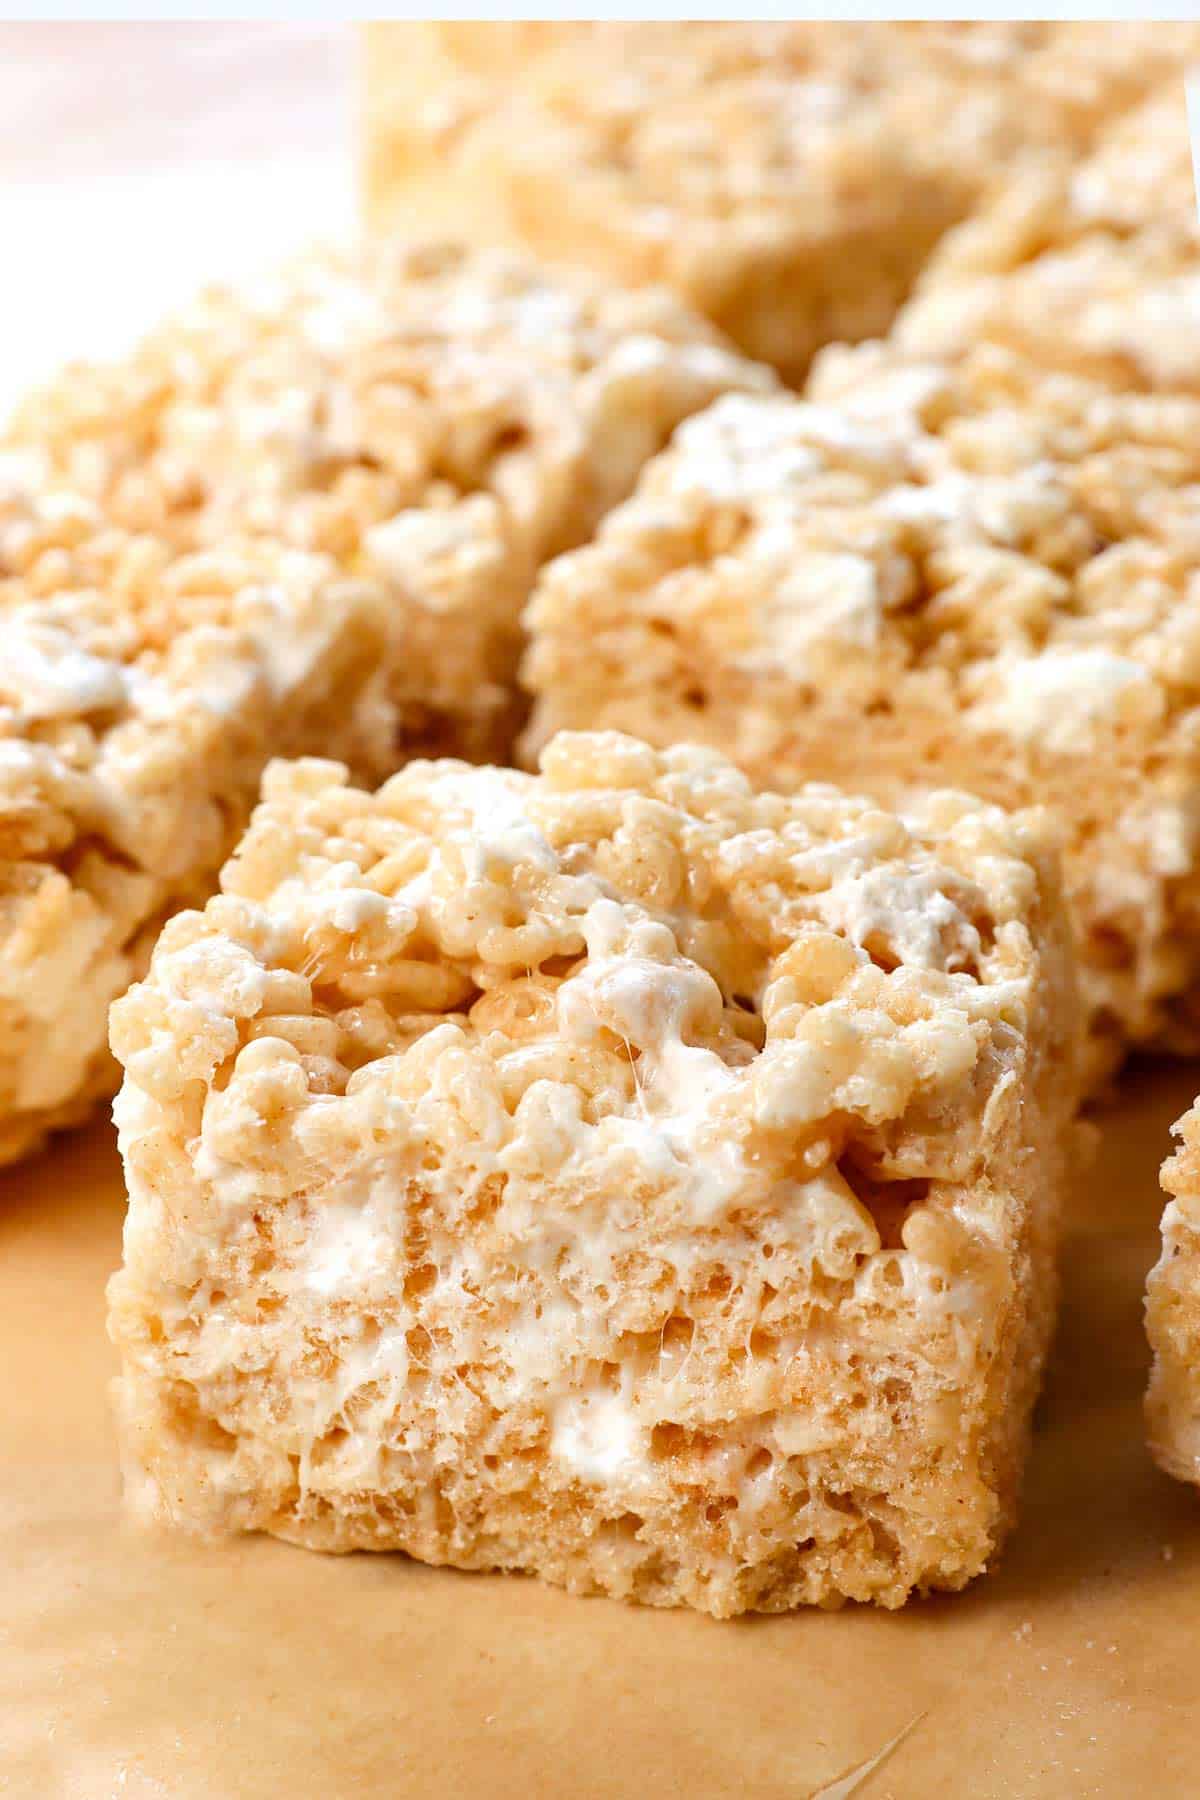
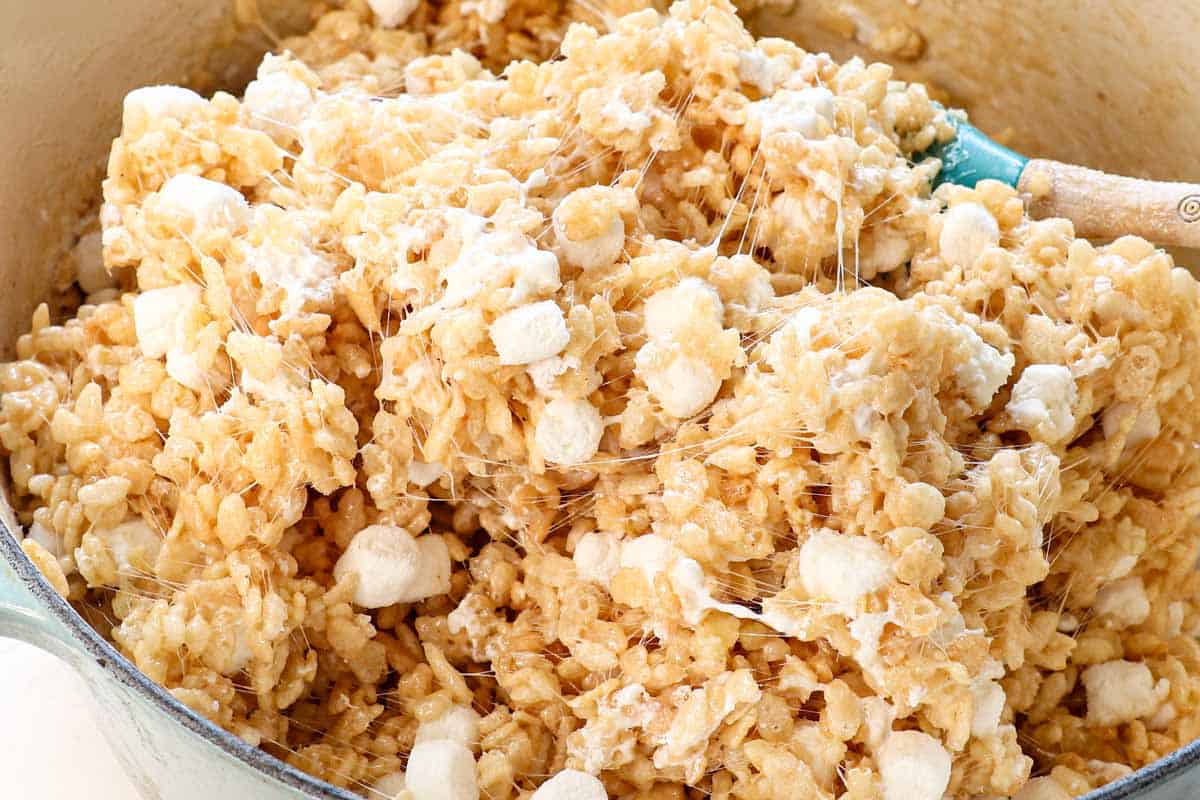
•Extra marshmallows = extra gooey: Most of the marshmallows create the binder, while a second batch is folded in at the end so some remain soft and slightly melty throughout the treats.
•The marshmallows aren’t overcooked: Melting them only until smooth prevents the sugar from becoming overly concentrated, which can make Rice Krispie Treats hard instead of soft and chewy.
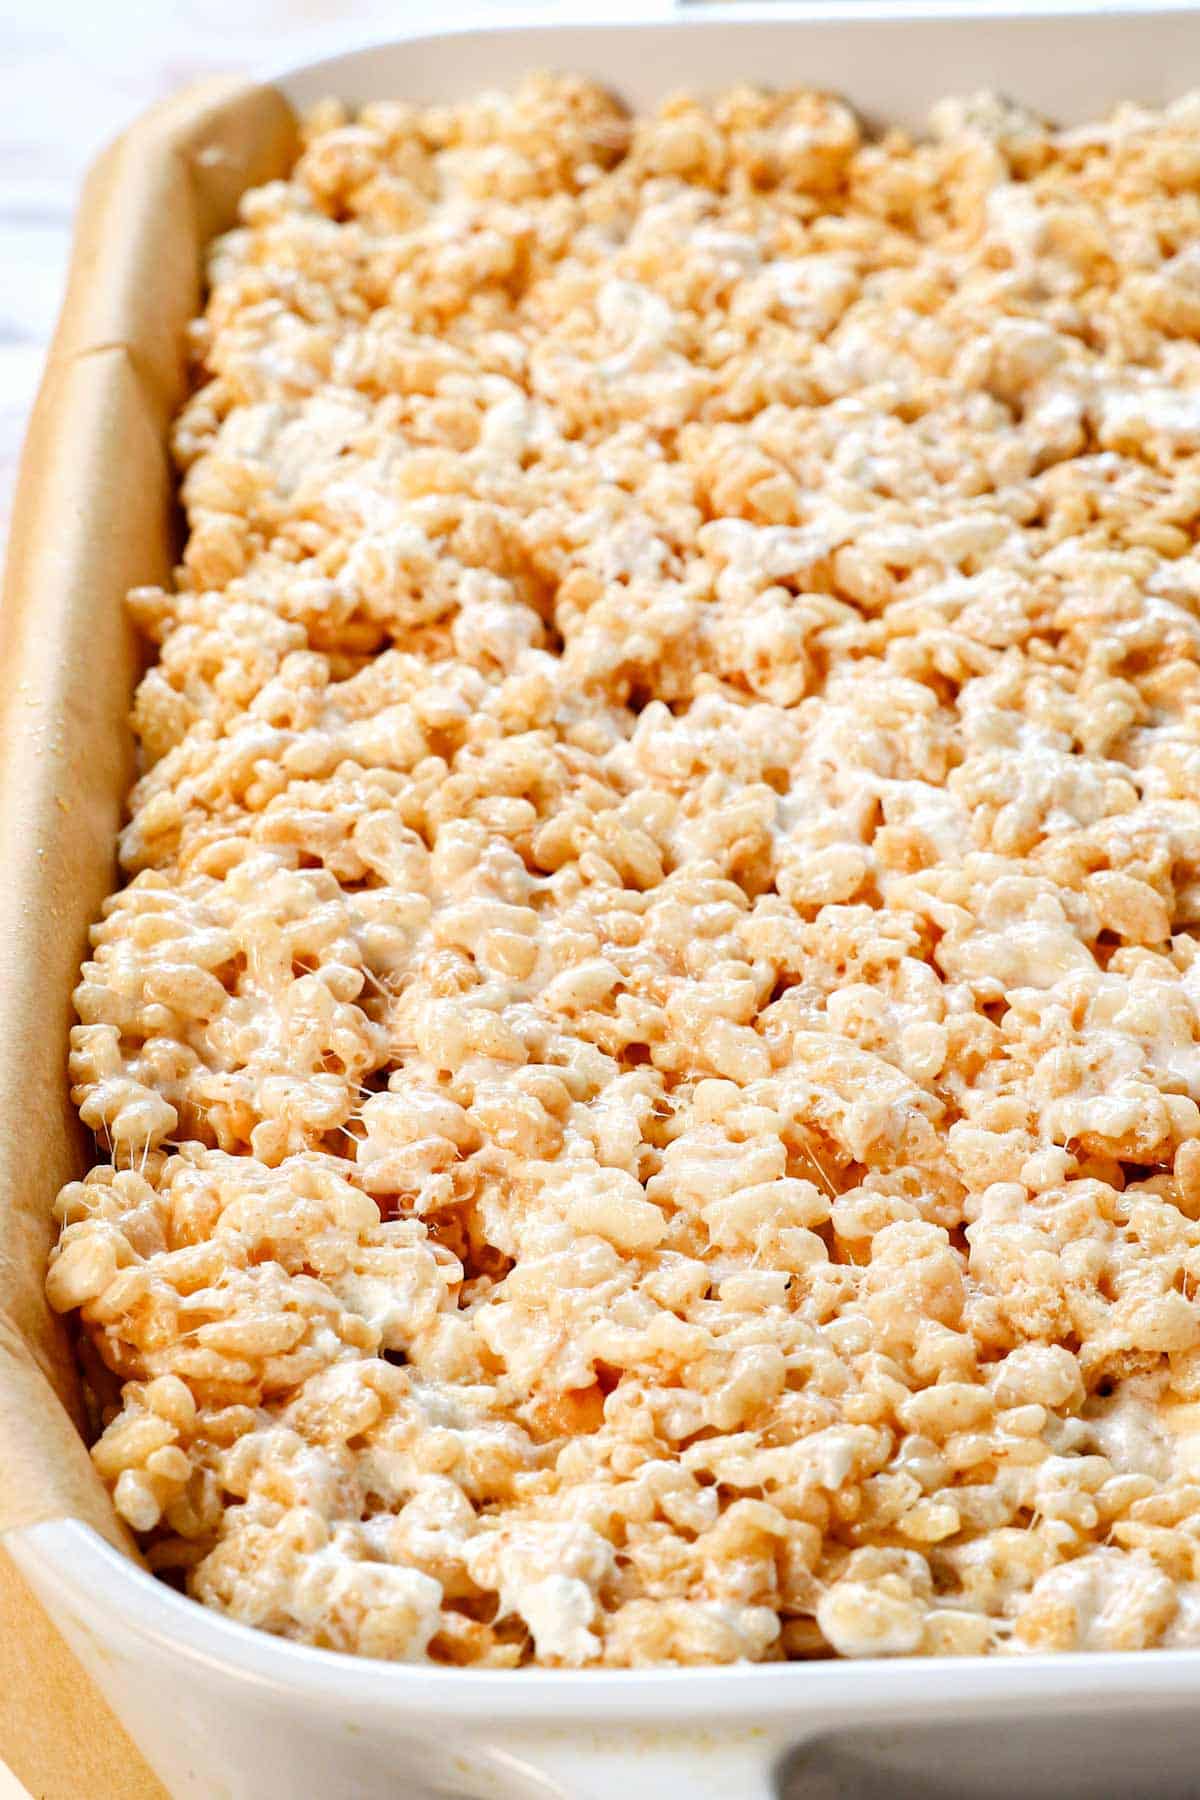
•The bars aren’t compacted: Gently pressing the mixture into the pan keeps the treats light and chewy. Packing them down too firmly creates dense, hard bars.
•The salt balances the sweetness: A little kosher salt brings out the brown-butter flavor and keeps the treats from tasting one-dimensionally sweet.

Rice Krispie Treat Ingredients
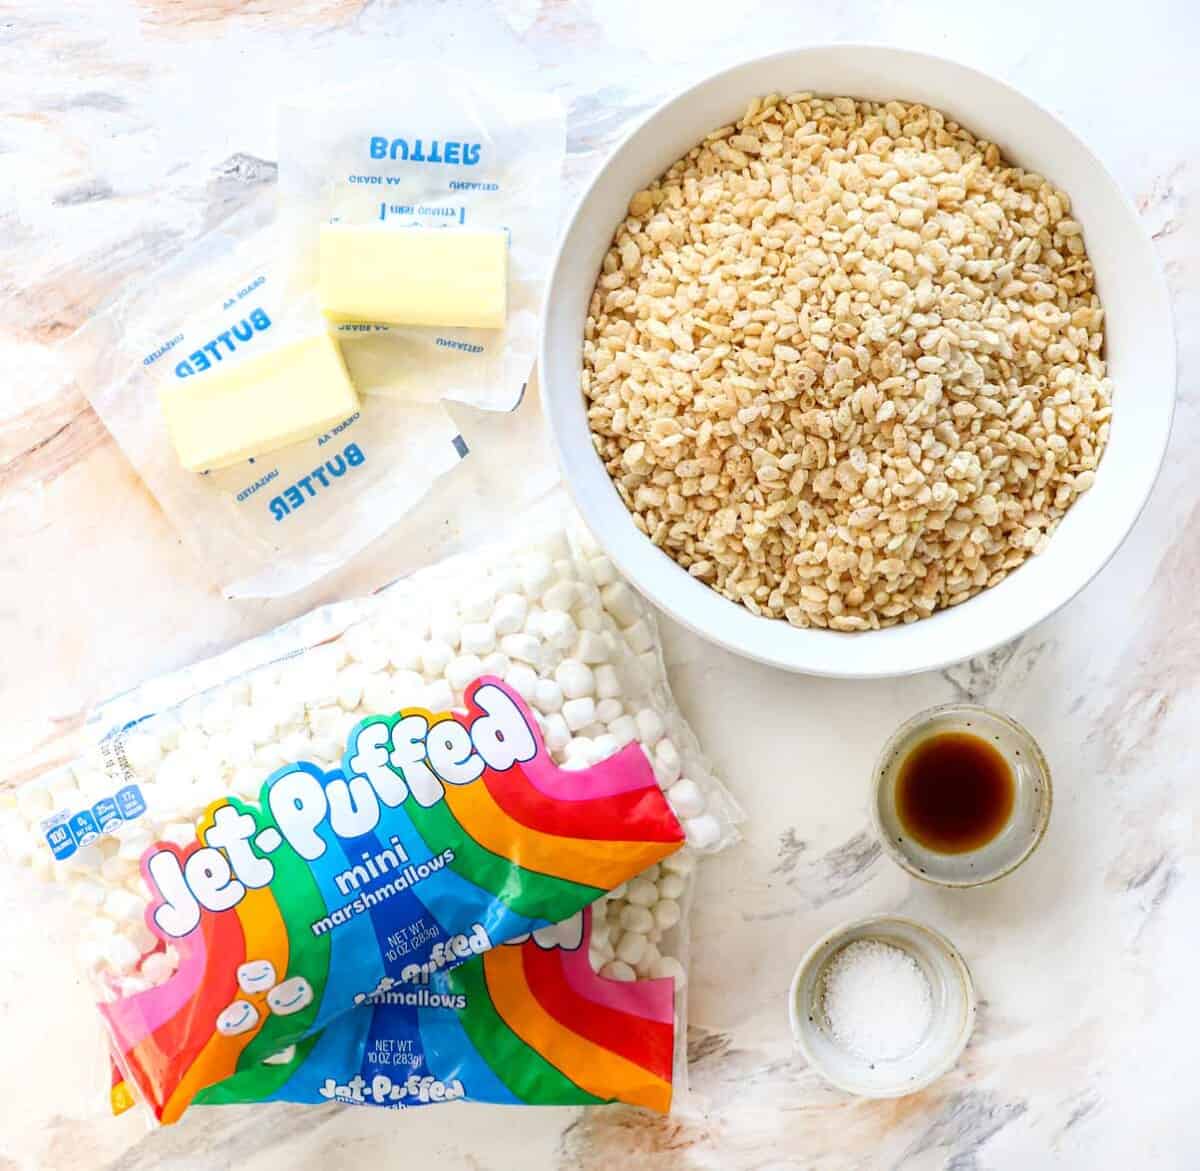
Let’s take a closer look at some key ingredients you’ll need to make this recipe (measurements in the printable recipe card at the bottom of the post):
•Unsalted butter: Use only unsalted butter sticks, not butter blended with oil, which can make the treats stale, greasy, or soggy instead of that classic chewy consistency.
•Mini marshmallows: You’ll need three 10-ounce bags, divided. Use fresh marshmallows to create the ultimate chewy texture. Stale marshmallows will produce hard bars.
•Rice Krispies cereal: Don’t use stale cereal, or your bars will taste stale.
•Kosher salt: Disperses more evenly than table salt while enhancing the buttery flavor and balancing the sweetness.
•Vanilla extract: Adds warmth and rounds out the brown-butter flavor.

How to MAke Rice Krispie Treats
Let’s take a closer look at how to make this recipe with step-by-step photos (full recipe in the printable recipe card at the bottom of the post):
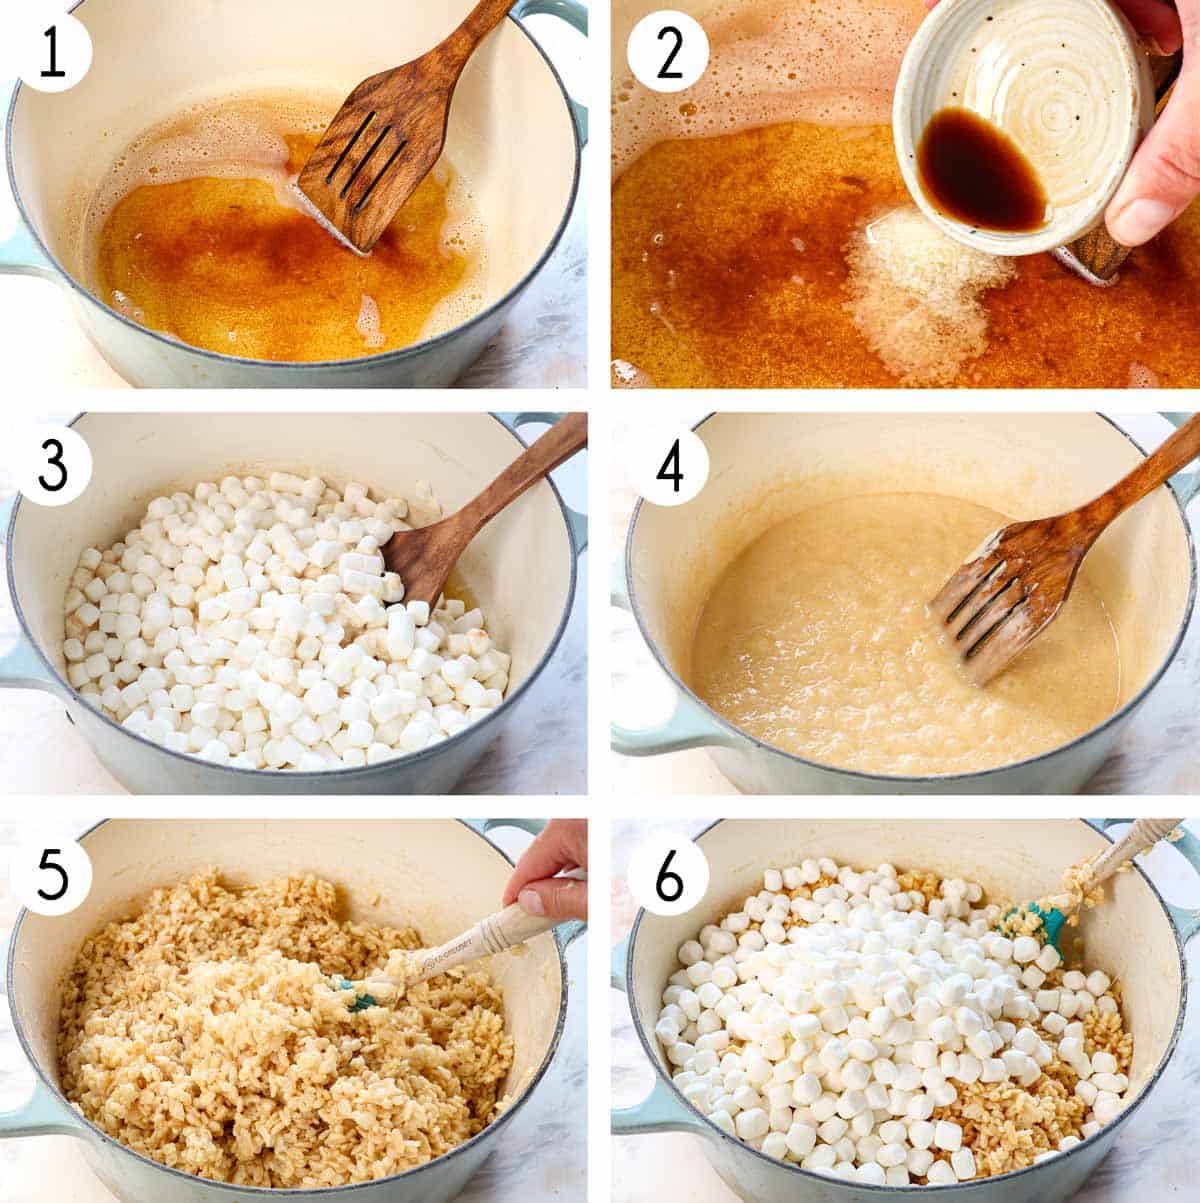

Tips for the Best Brown Butter Rice Krispie Treats
The biggest mistake is overcooking or over-compressing the mixture. Here are all the steps to success:
•Don’t burn the butter: As soon as you see the first amber-brown bits, remove the pot from the heat. The residual heat will finish browning the butter without burning it.
•Don’t overcook the marshmallows: Melt them only until smooth, then remove immediately from the heat. Overcooked marshmallows create harder treats.
•Grease your spatula: A lightly greased silicone spatula makes it much easier to stir the cereal into the marshmallow mixture without everything sticking.
•Don’t compact the treats: Gently press them into the pan. The more you compress them, the denser and harderthey’lll become.
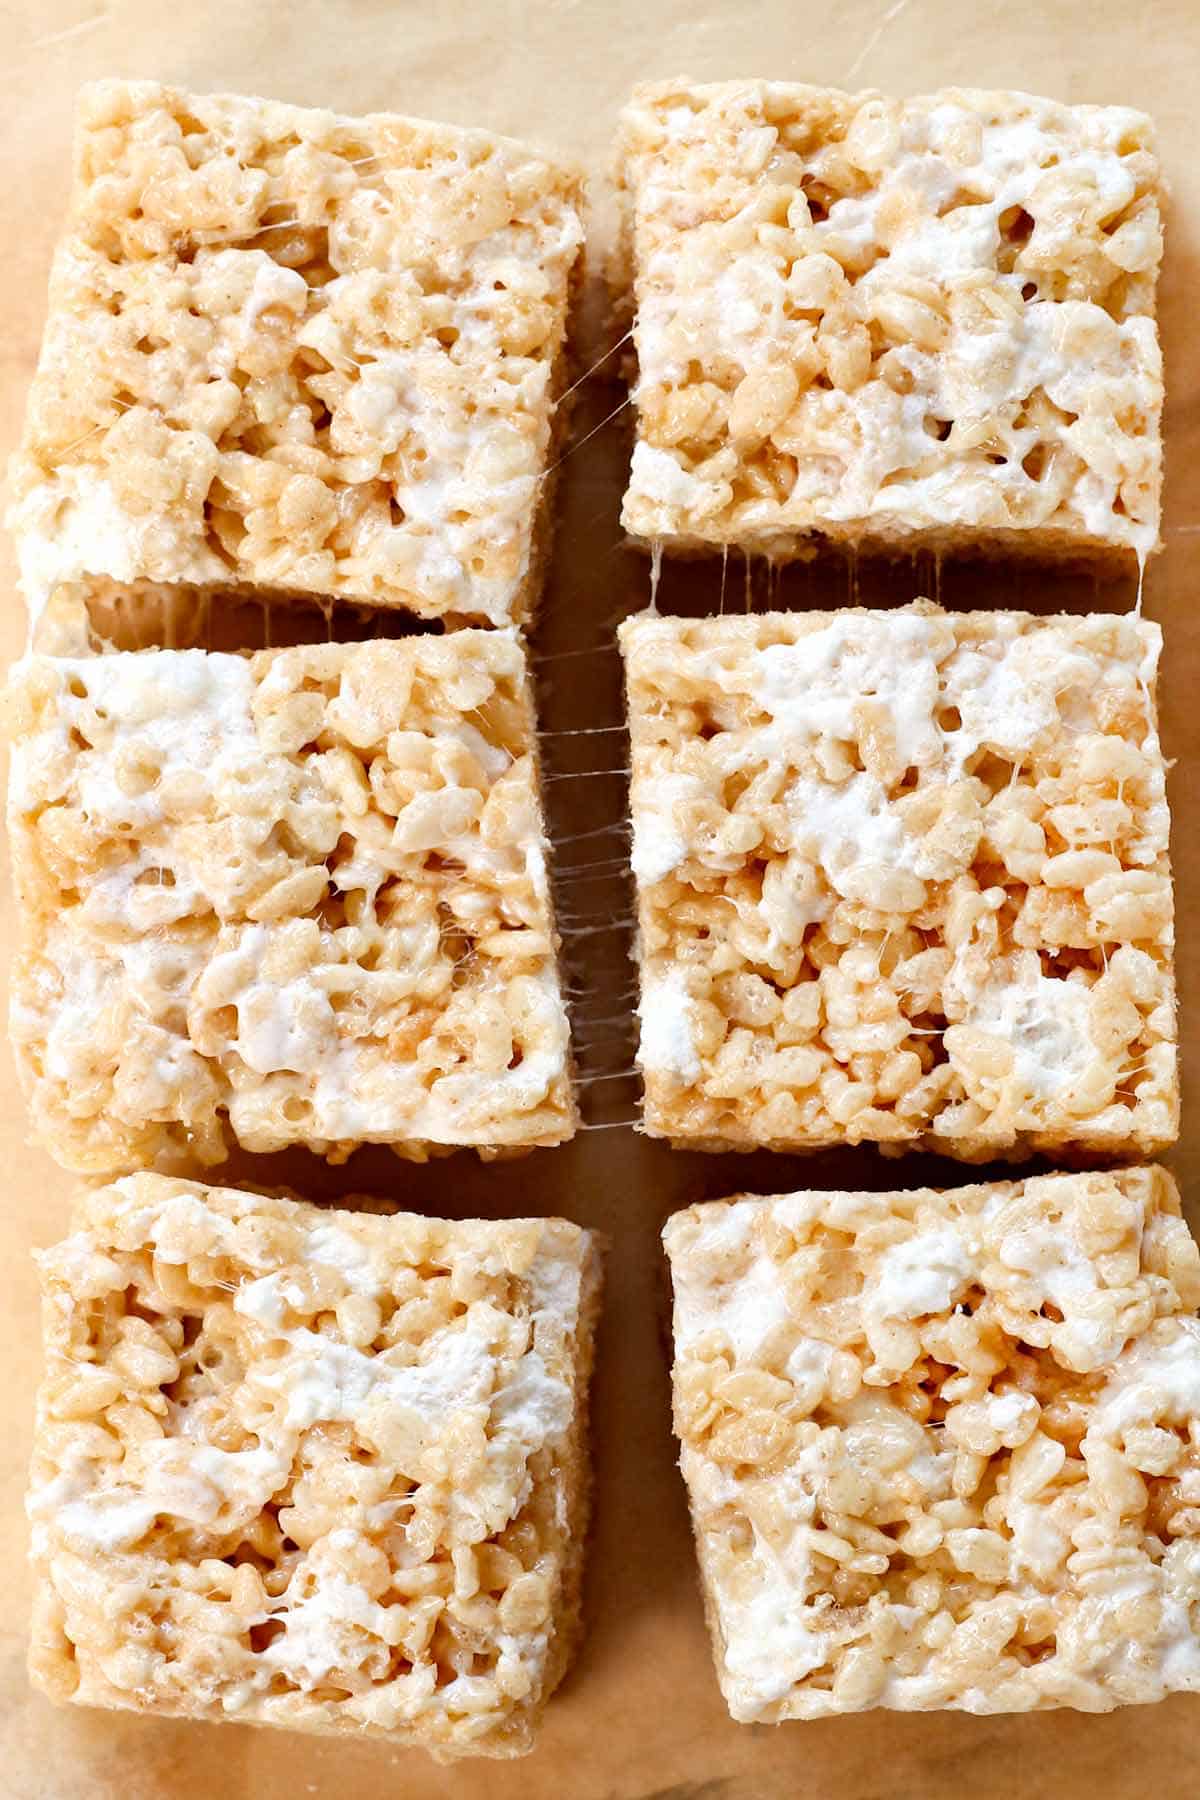
•Cool completely before cutting: Let the treats set at room temperature for about an hour so they hold their shape while remaining chewy.

Rice Krispie Treat Variations
Once you have the basic brown-butter recipe down,it’ss easy to customize:
•Chocolate: Fold in mini chocolate chips once the mixture has cooled slightly, or drizzle the finished treats with melted chocolate.
•Peanut butter: Swirl in creamy peanut butter for a rich peanut-butter version.
•S’mores: Fold in crushed graham crackers and mini chocolate chips, then drizzle with chocolate.
•Cookies and cream: Fold in crushed Oreo cookies and finish with a white chocolate drizzle.
•Birthday cake: Add colorful sprinkles and extra vanilla for a fun party treat.
•Salted caramel: Drizzle with caramel and finish with flaky sea salt.
•Cinnamon: Add cinnamon to the brown butter for a warm, cozy twist.

How to Store Rice Krispie Treats
Store Rice Krispie Treats in an airtight container at room temperature for up to 2 days. They are best when fresh.
If they become firm, place them somewhere warm for a little while or microwave an individual treat for 5–10 seconds to soften it.
Don’t refrigerate them: Cold temperatures can make the marshmallow mixture firm and chewy rather than soft and gooey.
Rice Krispie Treats FAQs
The most common causes are overcooking the marshmallows or pressing the mixture too firmly into the pan. Melt the marshmallows only until smooth and gently press the cereal mixture into the pan.
Browning butter cooks the milk solids until they develop a rich, nutty, caramel-like flavor, making these Rice Krispie Treats significantly more flavorful than treats made with simply melted butter.
No, please don’t unless you cut them into small pieces first. Mini marshmallows melt more quickly and evenly, making them ideal for this recipe.
The final bag is added after the cereal so the marshmallows don’t completely melt. They create soft, gooey pockets throughout the treats that make the texture extra special.
Yes, but they’re best within the first day or two. Store them tightly covered at room temperature and avoid exposing them to air, which will make them lose their soft texture.
The cereal needs to be evenly coated with the marshmallow mixture, and the treats need to be pressed gently enough to hold together. If you don’t press them at all, they may be loose; if you press them too firmly, they’ll become dense and hard.
Browning butter is easy, but timing is everything. Butter can go from beautifully nutty to burnt surprisingly quickly.
1. Cut the butter into smaller pieces so it melts evenly.
2. Melt it in a large Dutch oven over medium heat, then reduce to medium-low.
3. Continue cooking and stirring until amber-brown bits begin forming on the bottom.
4. As soon as you see the first few amber bits, remove the pan from the heat.
5. Let it sit off the heat for about a minute. The residual heat will continue browning the butter without risking burnt milk solids.
6. When the butter is a deeper golden brown and smells nutty, whisk in the vanilla and salt
Pro tip: Don’t wait for all of the butter solids to turn dark brown before removing the pan from the heat. They will continue cooking from the residual heat, and this timing is key to deeply flavored brown butter without bitterness.

WANT TO TRY THIS Rice Krispie Treat RECIPE?
PIN IT to your recipe BOARD TO SAVE FOR LATER!
FIND ME ON PINTEREST FOR MORE GREAT RECIPES! I AM ALWAYS PINNING :)!
©Carlsbad Cravings by CarlsbadCravings.com
Rice Krispie Treats with Browned Butter
Save This Recipe To Your Recipe Box
You can now create an account on our site and save your favorite recipes all in one place!
Ingredients
- 1 cup (2 sticks) unsalted butter
- 3 10-ounce bags of mini marshmallows, divided (must be FRESH!)
- 1 teaspoon kosher salt
- 1 teaspoon vanilla extract
- 12 cups Rice Krispies cereal (must be FRESH!)
Instructions
- Prep: Line a 9×13-inch baking pan with parchment paper, leaving overhang on the long sides. Lightly grease the parchment with cooking spray and set aside. Spray a silicone spatula with nonstick cooking spray and set aside.
- Brown Butter: Cut each cube of butter into 4 pieces (save the butter wrappers). Melt the butter in a large Dutch oven over medium heat, then reduce to medium-low. Cook and stir until amber-brown bits begin forming on the bottom. Remove immediately from the heat and let the butter continue browning for about 30 seconds to 1 minute. (Finishing browning the butter off heat prevents it from burning.)
- Melt First Marshmallows: Whisk in the vanilla and salt, then add TWO bags of marshmallows. Cook the mixture over low heat, stirring constantly and scraping up the bottom, just until completely melted. Remove from heat. (You want the marshmallows completely melted, but no more; overcooking will create harder bars.)
- Add Rice Krispies: Add the Rice Krispies and stir with the greased spatula until the cereal is evenly coated. Add the remaining bag of marshmallows and gently fold them through the mixture. Stop as soon as they're incorporated and just beginning to melt. You want visible pockets of soft, gooey marshmallow throughout the treats.
- Add to Pan: Transfer the mixture to the prepared pan. Use the buttery side of the reserved butter wrappers to press into an even layer- but don't compact too much! The more you compact the mixture, the harder/denser and less chewy they will be.
- Cool and Cut: Let the treats cool completely to room temperature for about 1 hour. Use the parchment overhang to lift them from the pan, transfer to a cutting board, and cut into squares.
Notes
Want To Make This Recipe?

Did You Make This Recipe?
Tag @CarlsbadCravings and Use #CarlsbadCravngs
Leave a Review, I Always Love Hearing From You!


Jan T. says
Okay, so these were amazing! A thicker, chewier, pillowy, marshmallowier (if that’s a real word, it should be after trying these). Best ones I have made! Thanks for the recipe!
Jen says
Haha, I think “marshmallowier” absolutely should be a word after trying these! I’m so happy they were your best yet, thanks Jan!
Sammy J says
These are hands-down the BEST Rice Krispie Treats! You perfected a classic! So gooey, chewy, and buttery, with those irresistible pockets of marshmallow. Browning the butter takes them completely over the top. I’ll never make them any other way!
Jen says
Yay, I’m so glad you loved them so much Sammy! Brown butter really does take these over the top, and those gooey pockets of marshmallow are my favorite part.