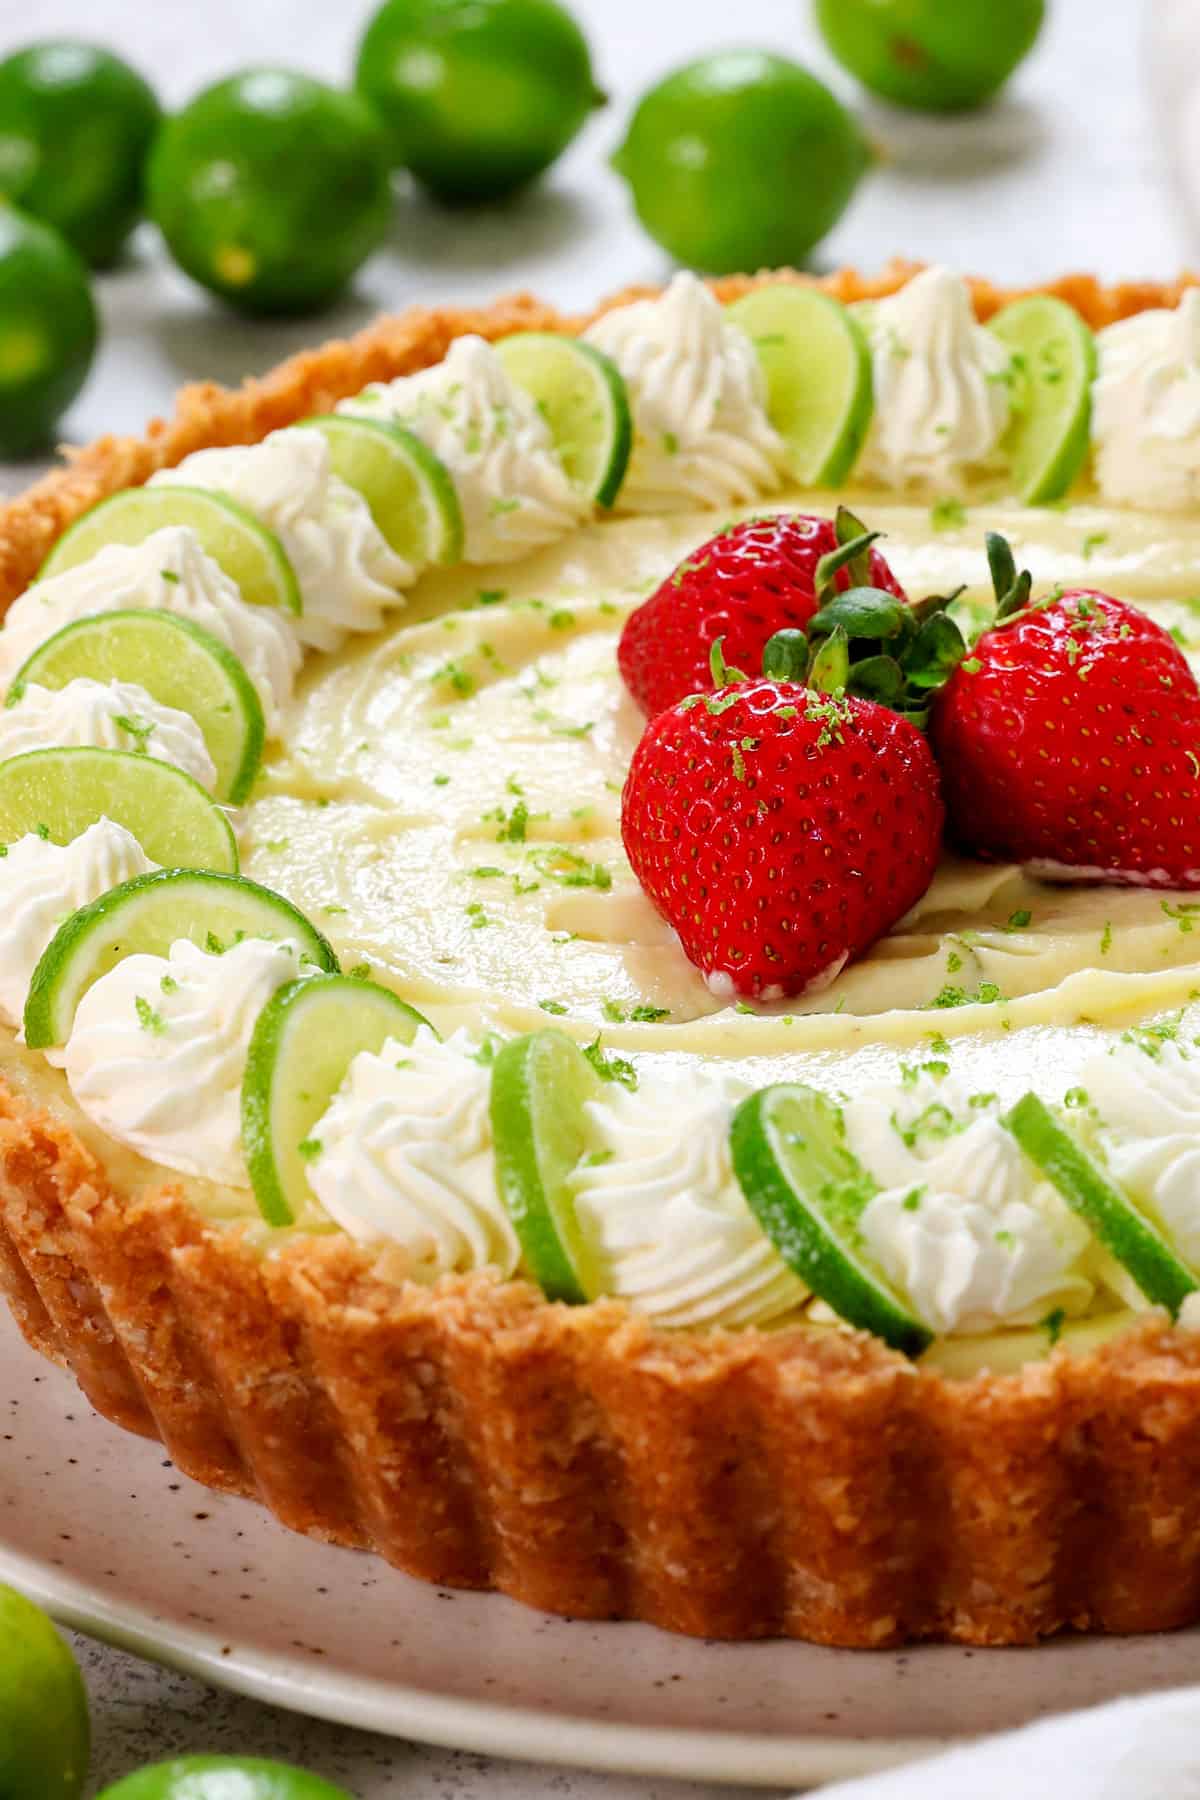
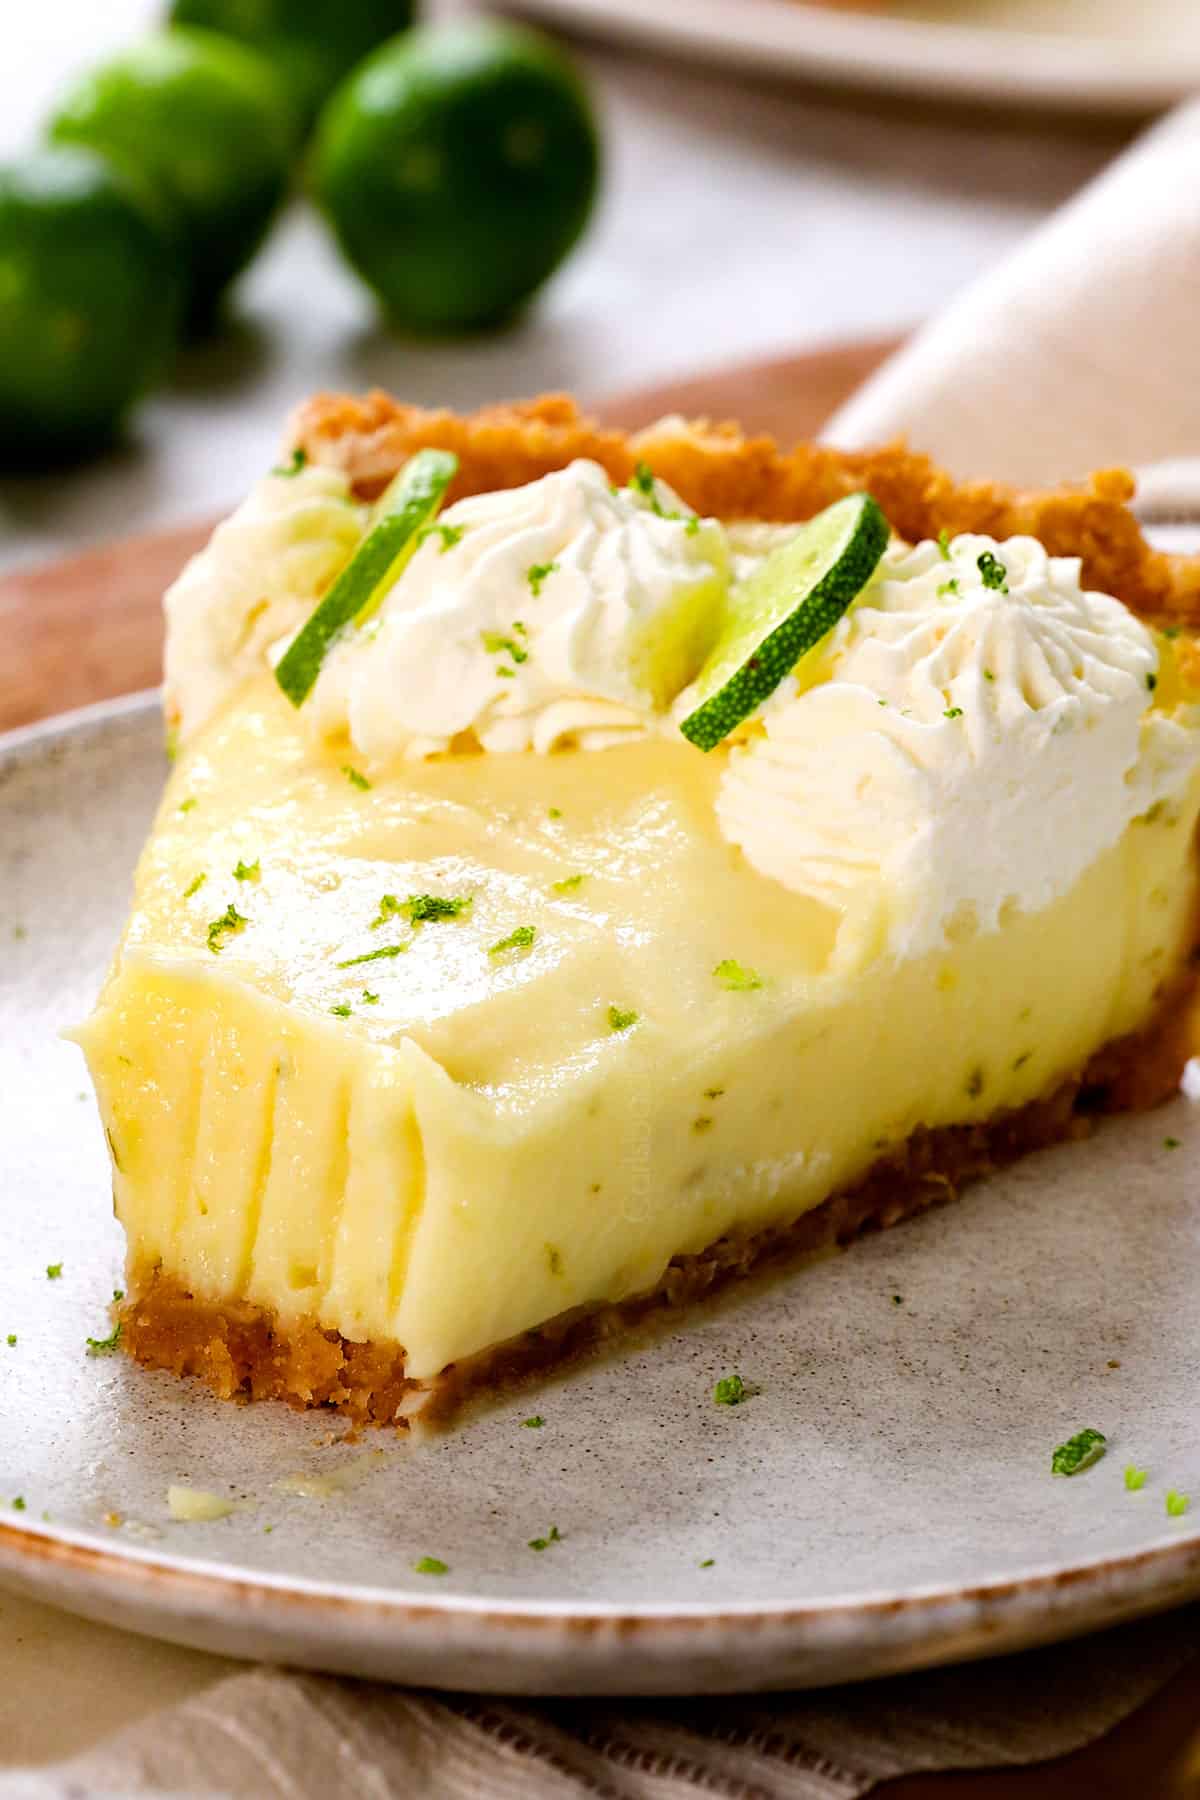
This meticulously crafted Key Lime Pie recipe is elevated to new heights with a chewy (never crumbly!) coconut vanilla wafer crust and a perfectly tart filling that’s rich, velvety, and never runny. Bonus, this recipe can be made 100% ahead of time thanks to optional stabilized whipped cream AKA stress-free entertaining! Taste the difference that expertise and passion make with the best Key Lime pie recipe complete with tips, step-by-step photos, and a how to video.
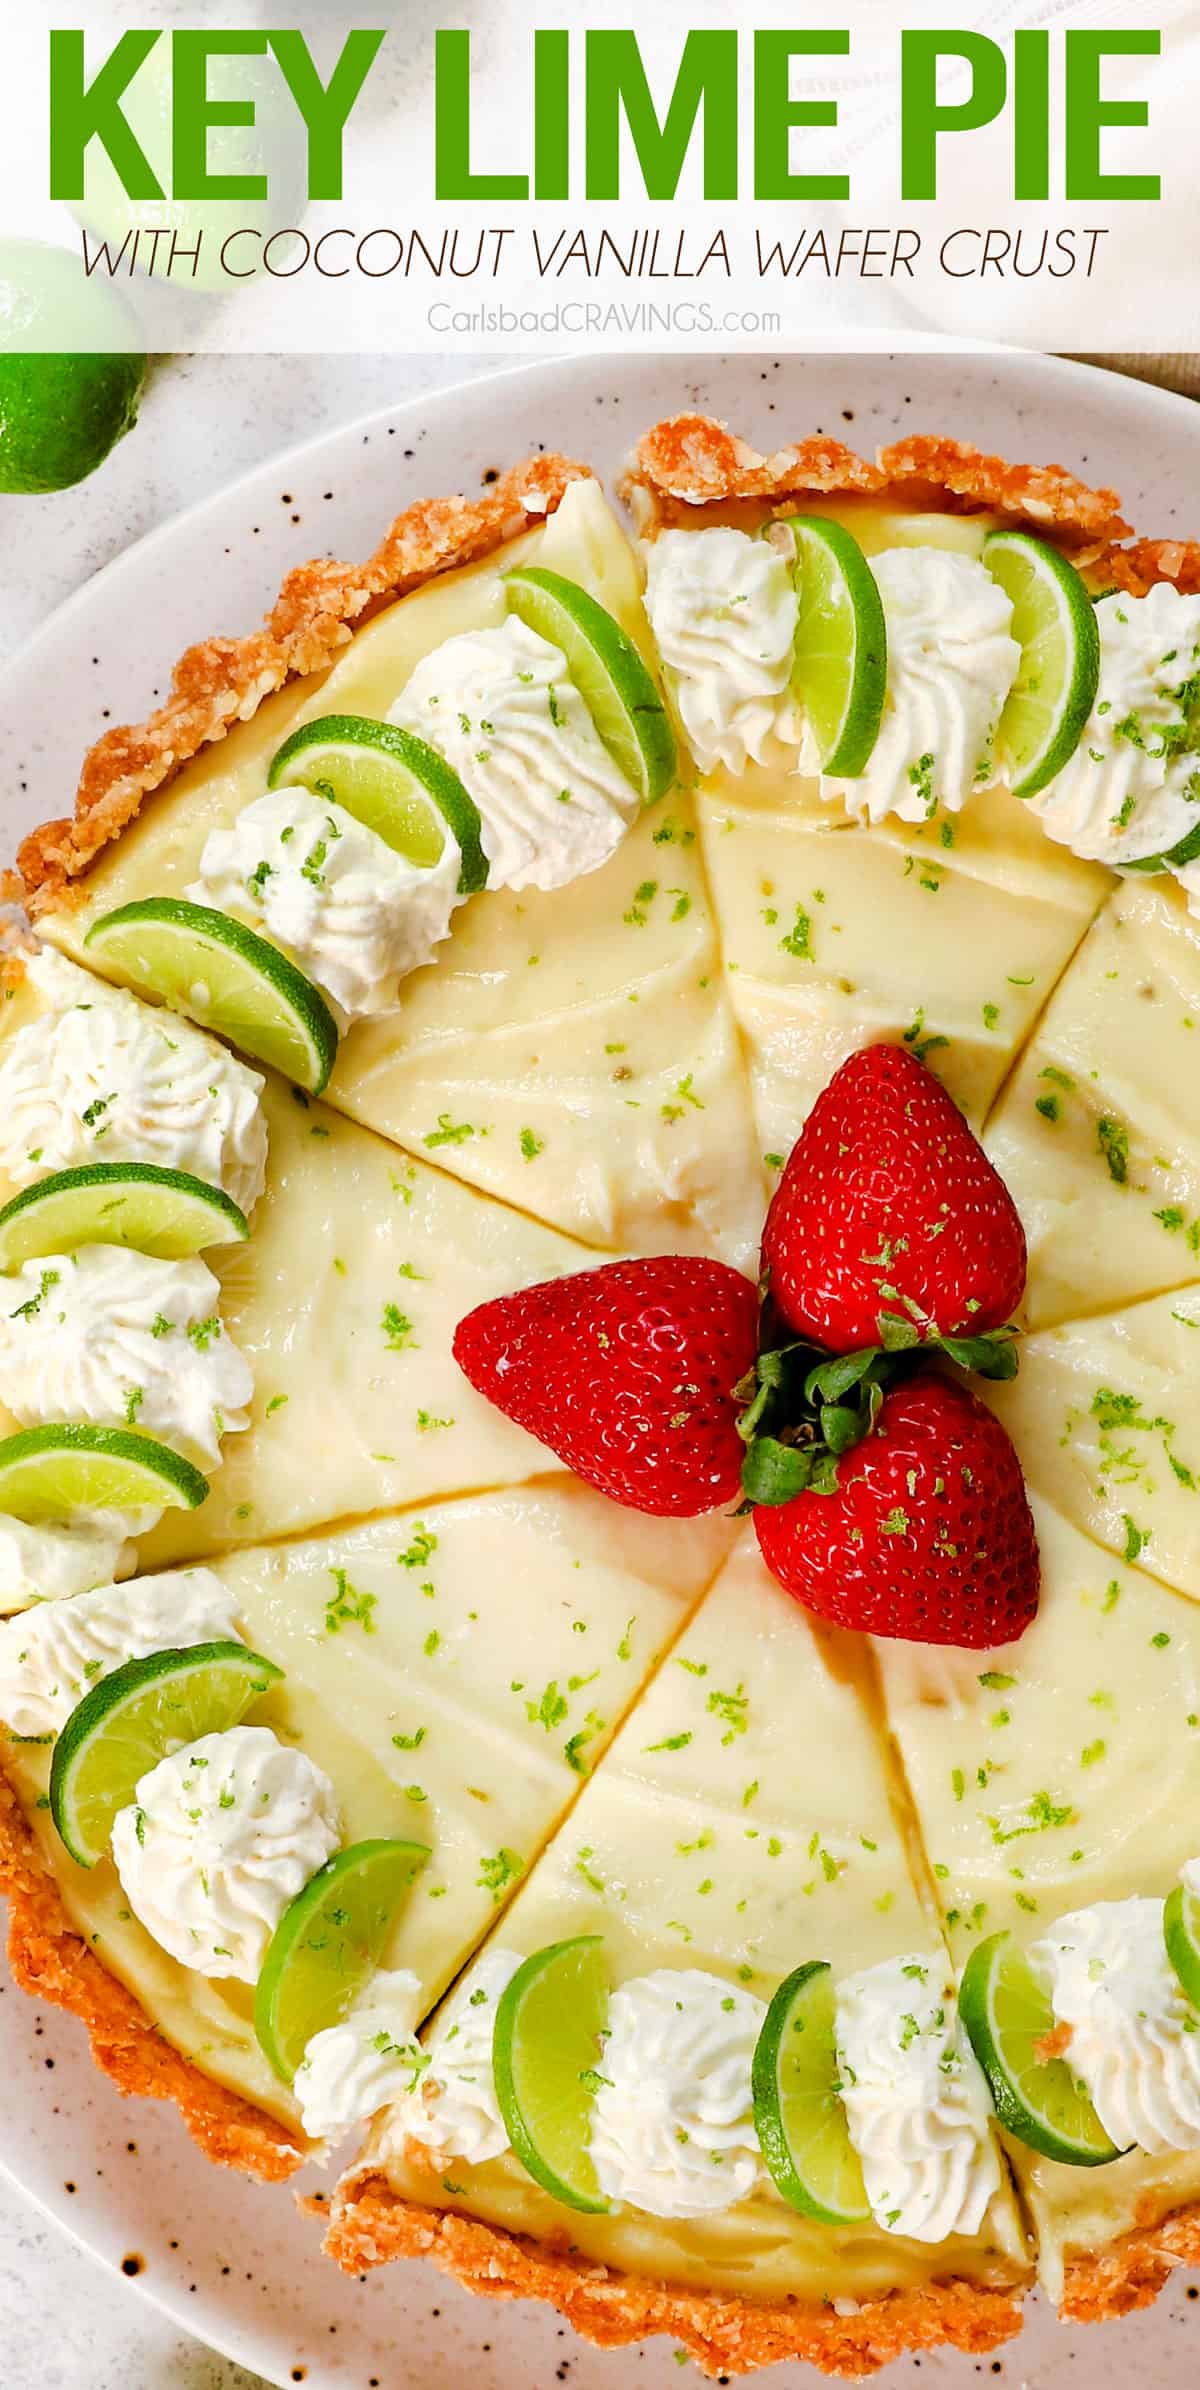

The Best Key Lime Pie Recipe


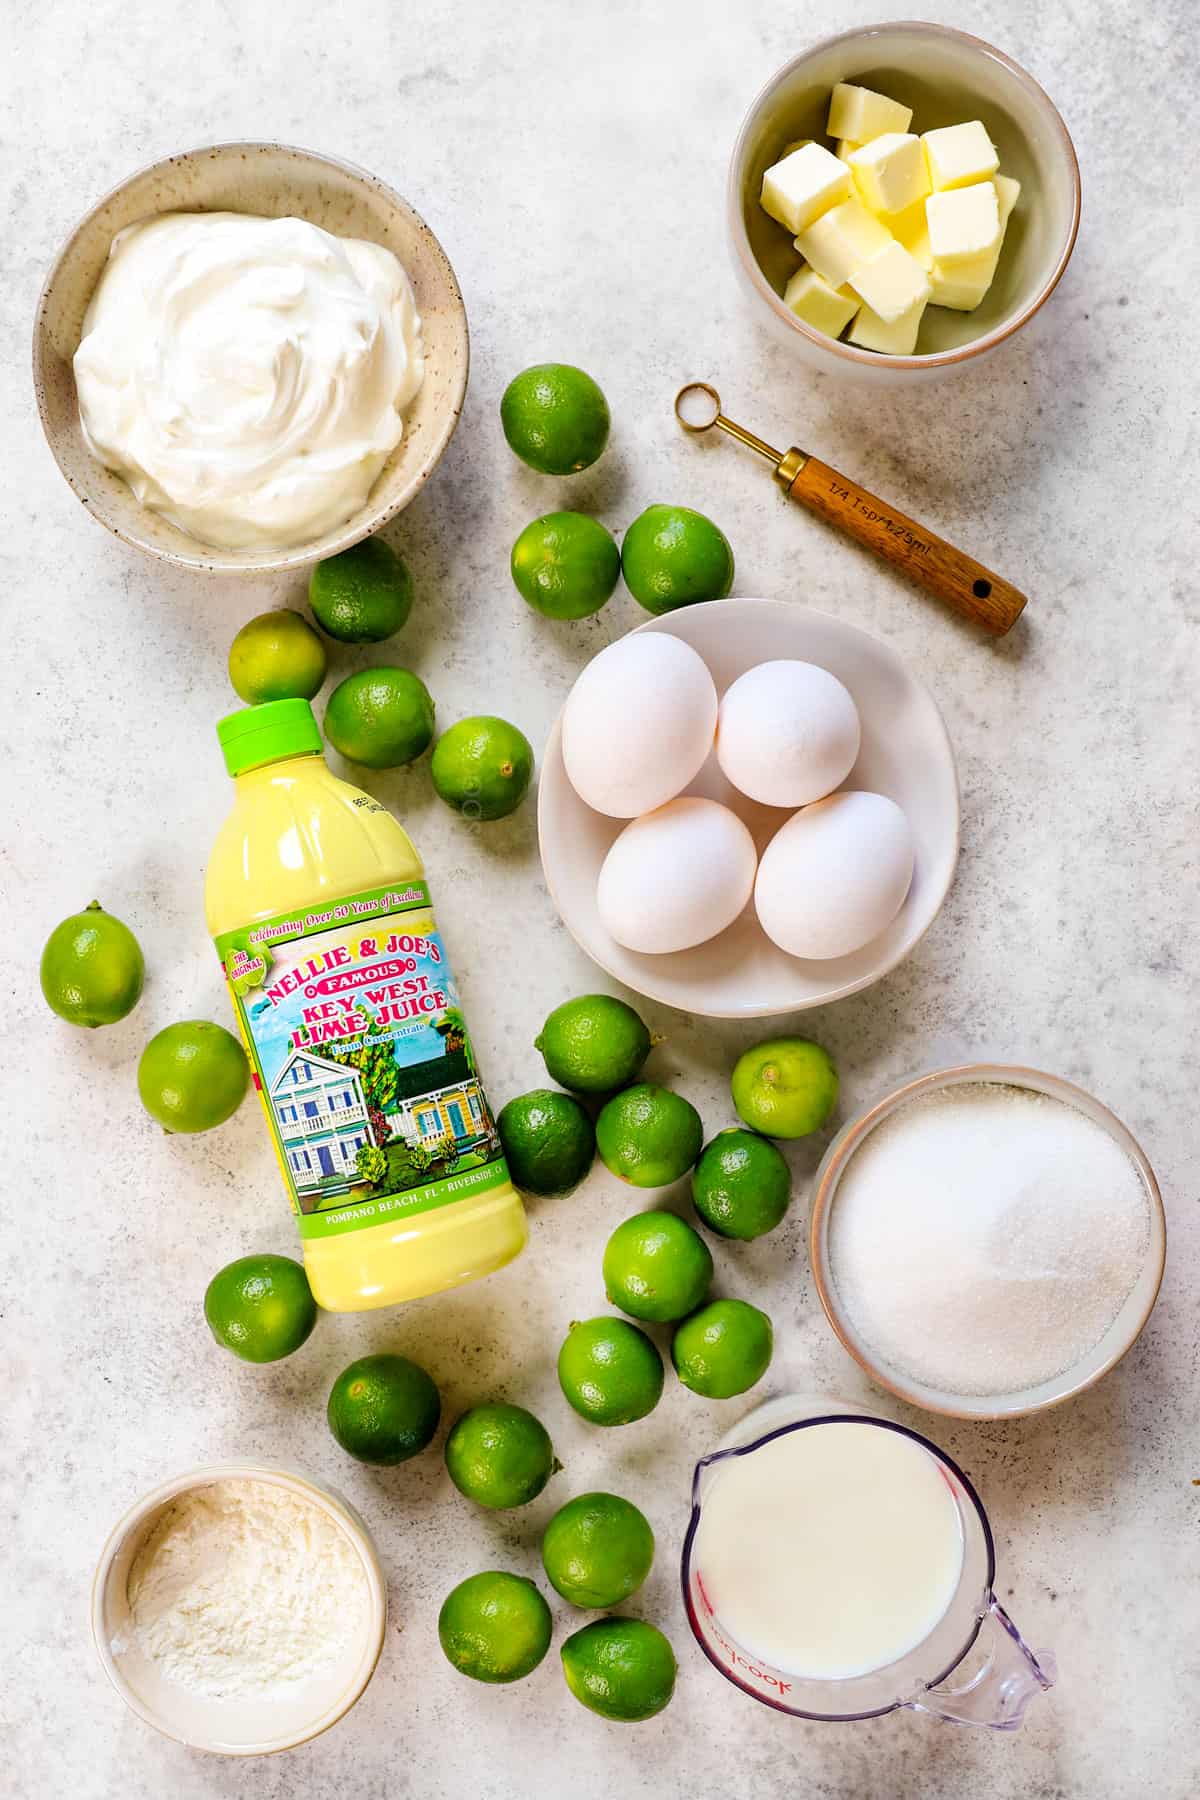
Best Key Lime Pie ingredients
Homemade Key lime pie is comprised of three parts: 1) the crust, 2) the filling, and 3) the whipped cream topping. Let’s review the ingredients and answer any questions you might have (measurements in the printable recipe card at the bottom of the post):

What are Key limes?
Key limes, also known as Mexican or West Indian limes, are a small, round citrus fruit native to Southeast Asia but most famously associated with the Florida Keys. They are typically about 1 to 2 inches in diameter and have a thin, yellow-green skin when ripe. Key limes are known for their distinctive, tart flavor and aromatic qualities, which are more intense than the larger, more common Persian limes found in most grocery stores.
FOR THE Creamy Lemon Filling:
For the Crust:
FOR THE STABILIZED WHIPPED CREAM:
Note: You can omit the gelatin and water and make “traditional,” whipped cream. Because it is not stabilized, the pie must be served immediately once added or it will deflate or weep. With stabilized whipped cream, however, the pie can be made a full day ahead of time.


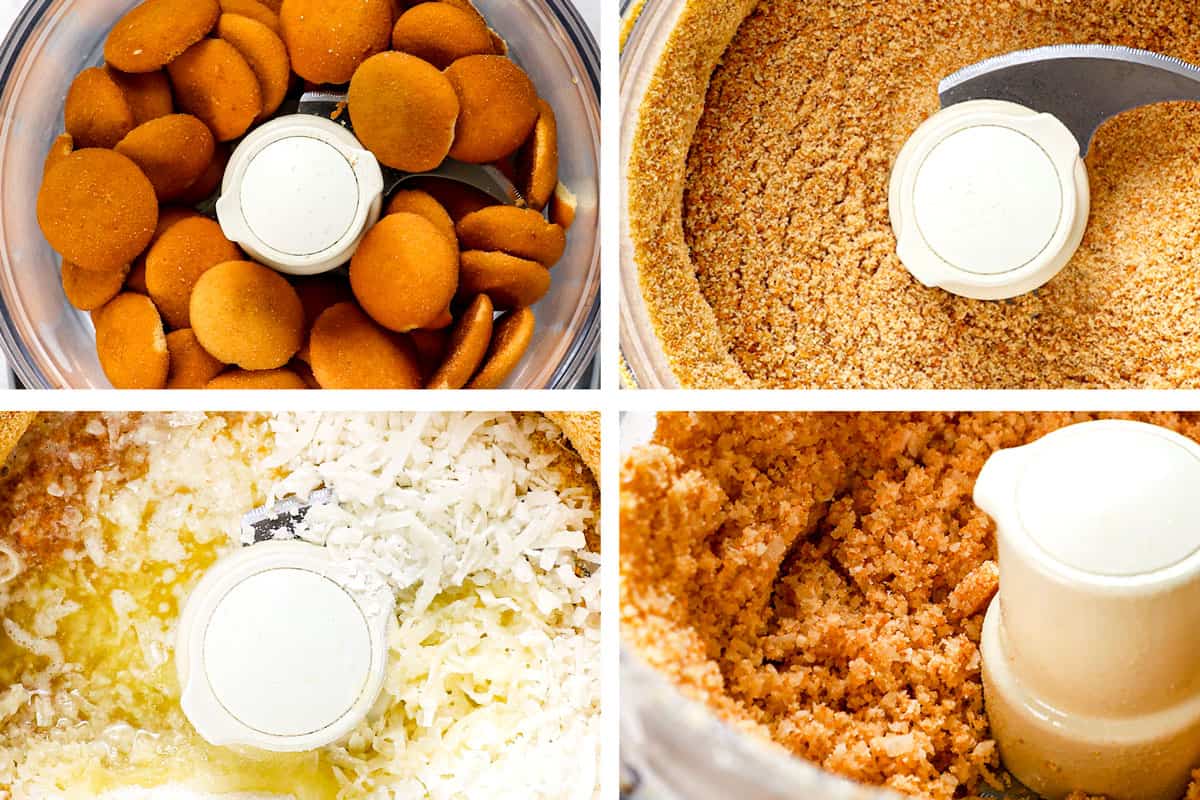
How to make Homemade Key Lime Pie
Let’s take a closer look at how to make Key lime pie with step-by-step photos (full recipe in the printable recipe card at the bottom of the post):


Tips for the making this Recipe for Key Lime Pie
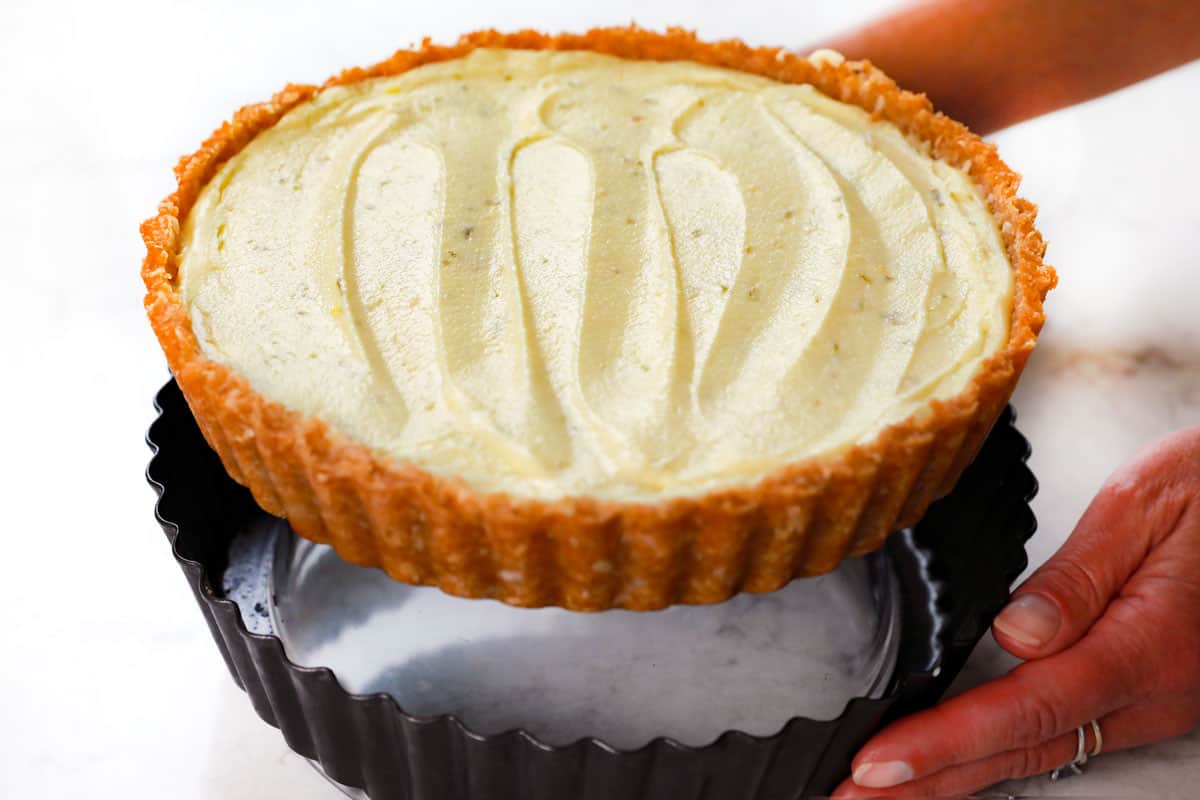
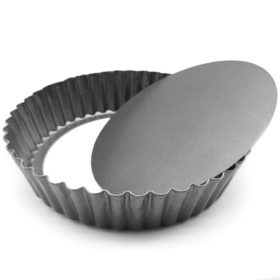
what’s the best pan for Key Lime pie?
A quiche pan with a removable bottom is the secret to a cleanly sliced pie without a crumbled crust – it’s a total game changer! I use this 9-inch quiche pan in all of my pie recipes. Of course, this recipe also works with a traditional pie dish.
When ready to serve, place the pie on an inverted bowl. The sides of the pan will drop down, leaving you with just the pie, allowing you to:
1. Easily transfer the pie to a plate or cake stand for a beautiful presentation.
2. Slice the pie cleanly without ruining two slices before you can finally get a whole piece out.
3. Remove the slices from the pan without losing any crust.

Prep Ahead homemade KEY LIME pie
-100% Ahead: The Key lime pie can be made 100% ahead of time thanks to stabilized whipped cream. Simply pipe or spread the cream onto the pie, tent with foil, then pop the pie back in the fridge until ready to serve.
-Make Ahead Crust: The crust can be baked and cooled up to 2 days in advance before filling. Cool, then wrap tightly and store at room temperature. The baked crust can also be frozen for up to 3 months.
-Filling: The filling can be made, covered with plastic wrap pressed directly against its surface, and refrigerated for up to 2 days.

Key Lime Pie REcipe variations
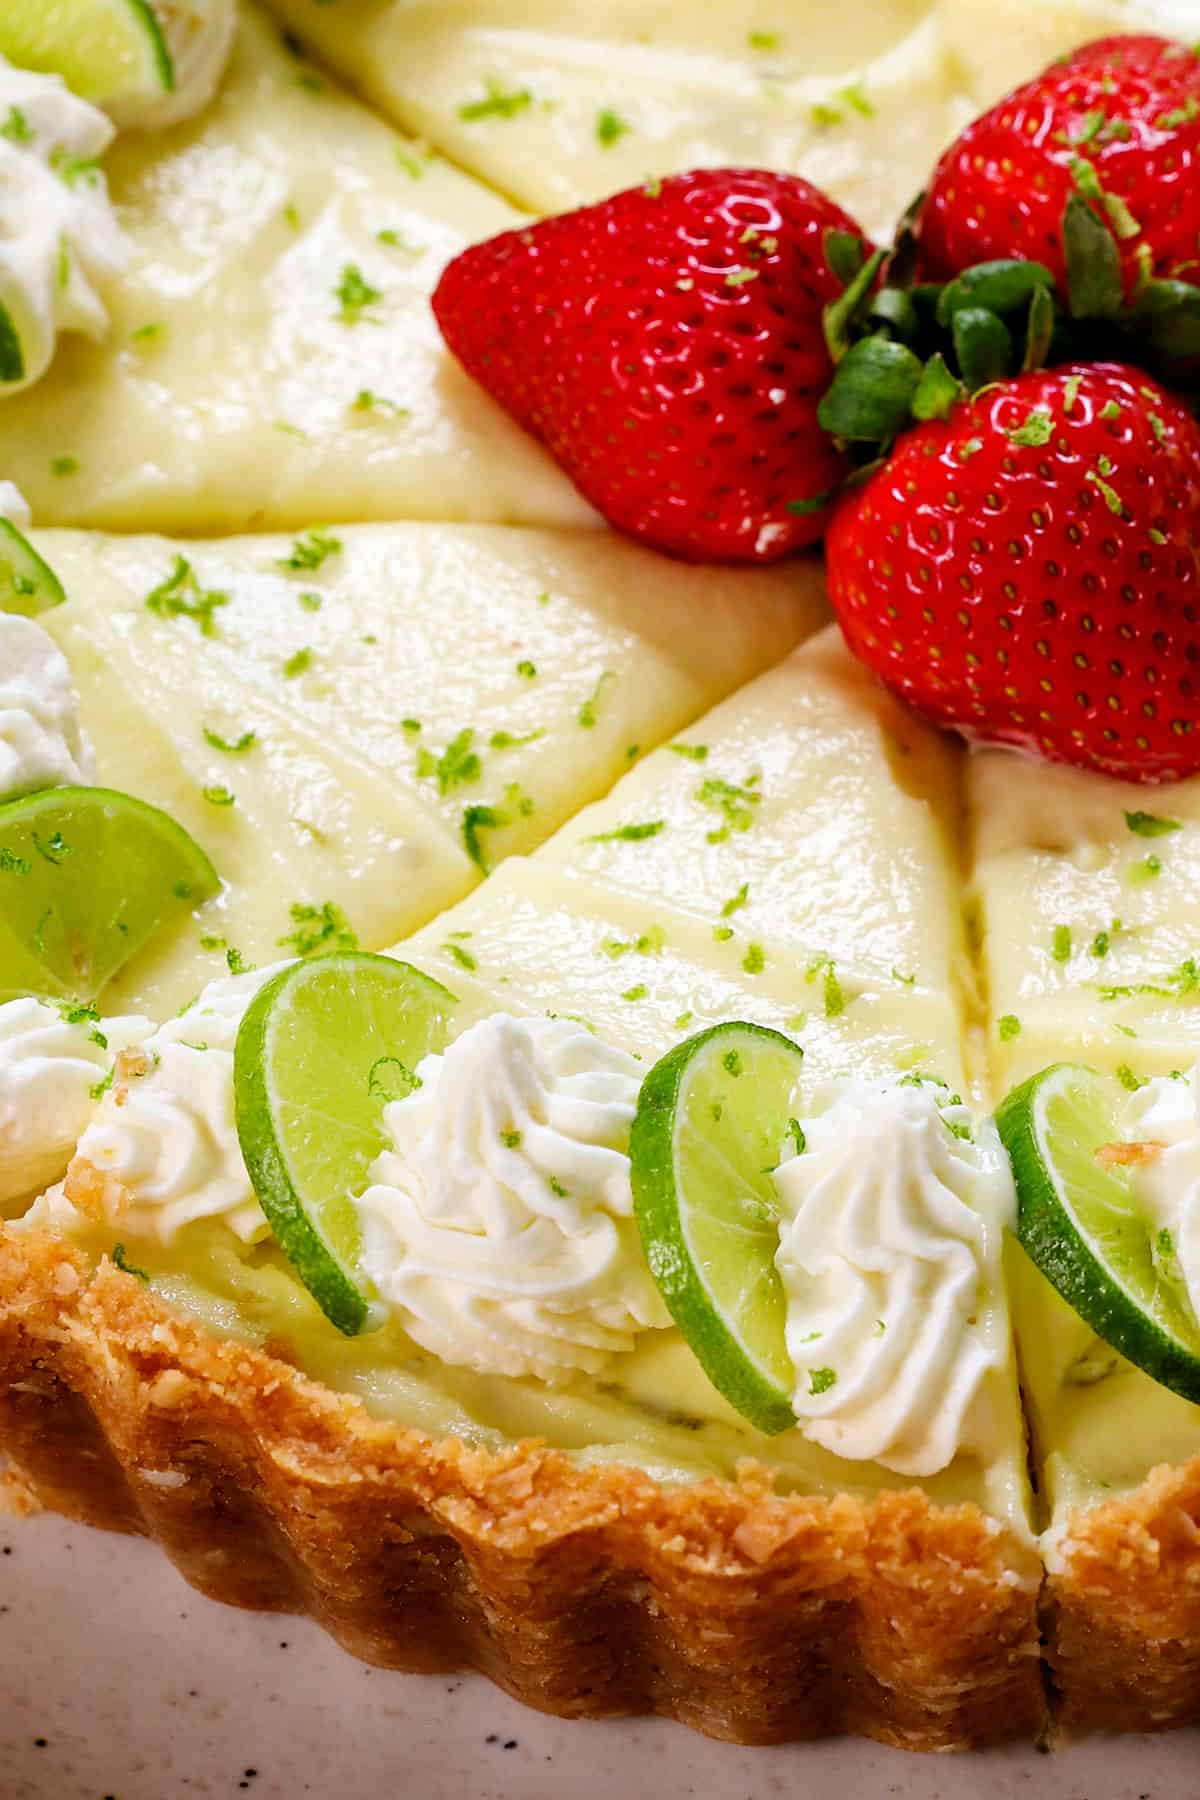

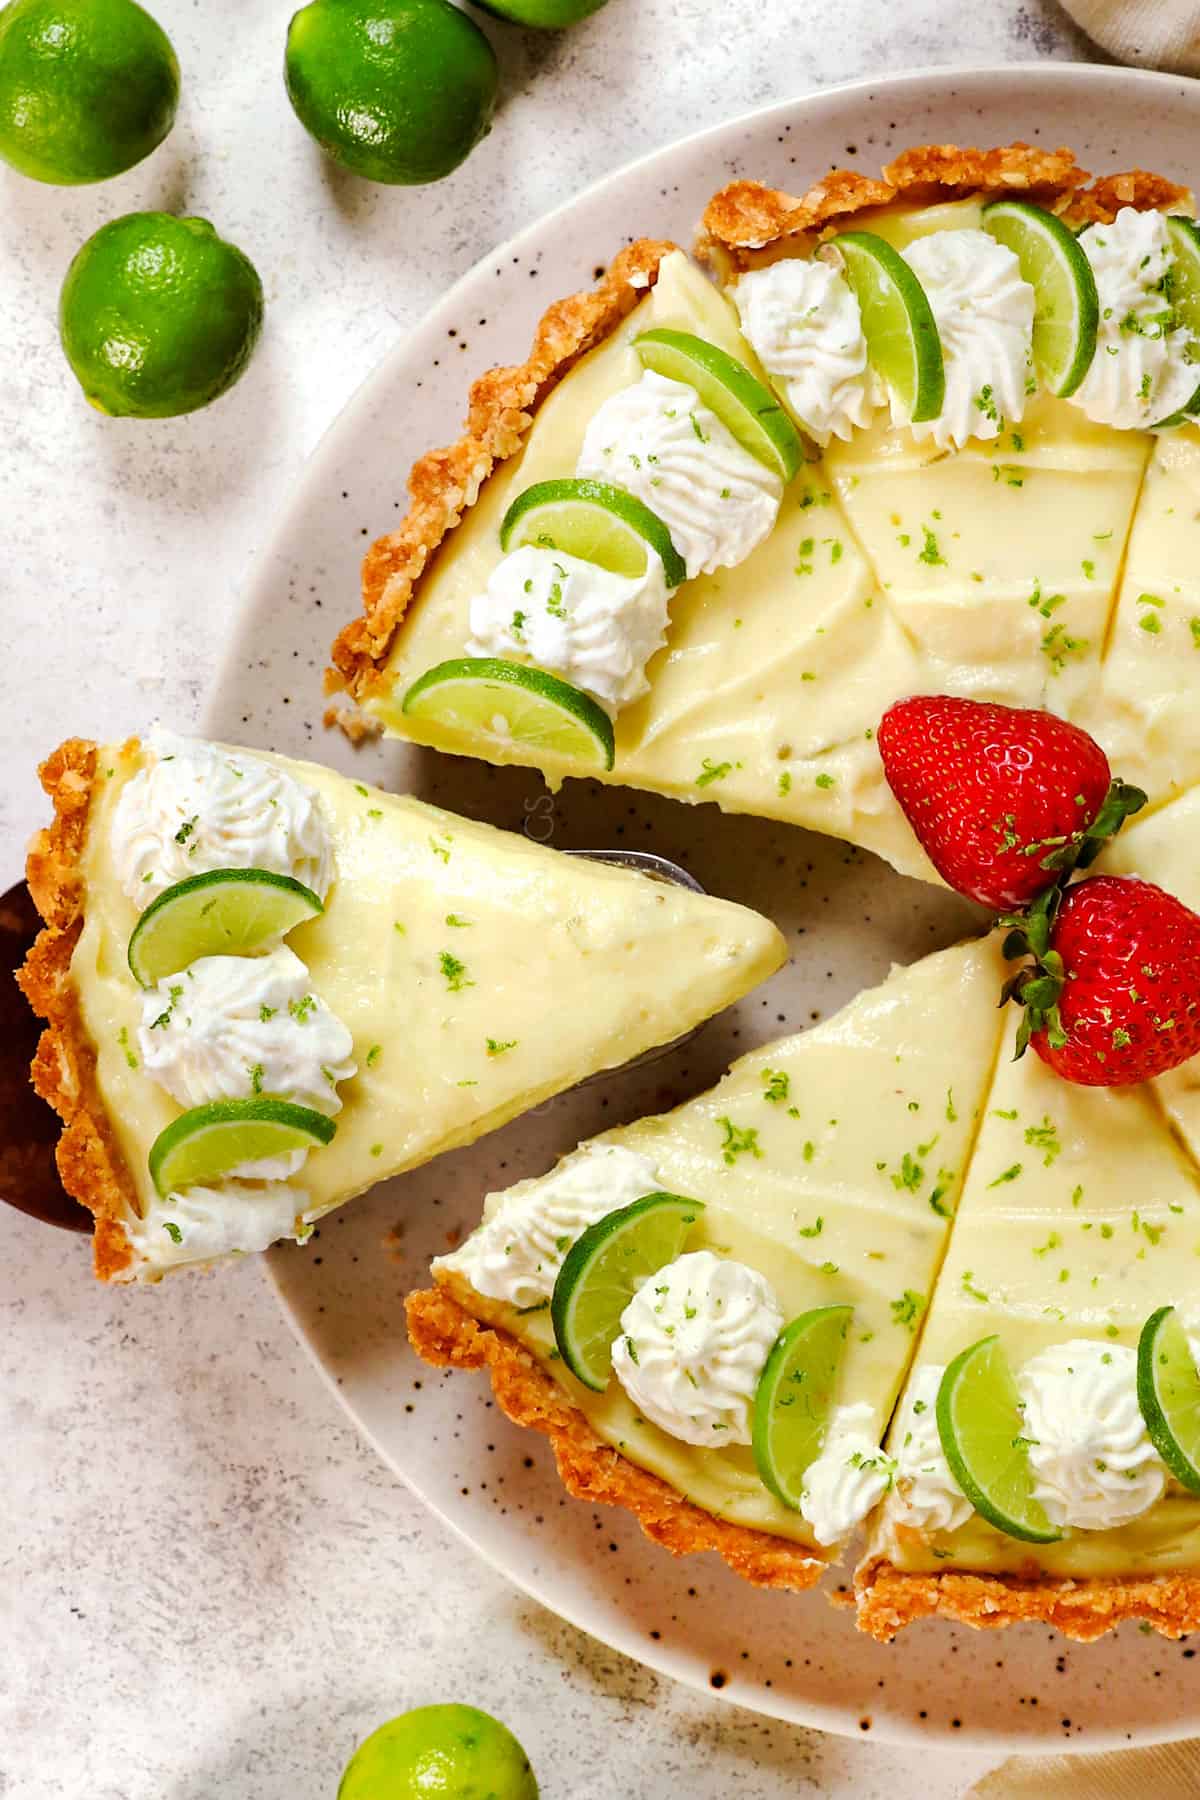
How to serve Traditional key lime pie
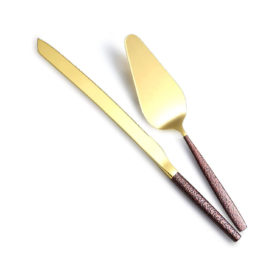
Key lime pie should be chilled for at least four hours before serving. The best way to cut the pie is the same method as cutting cheesecake: Dip a sharp knife in hot water (this can be a hot glass of water, or run it under piping hot water for several seconds). Wipe the knife dry, then gently slice through the top layer, then press down firmly to cut through the crust. Repeat dipping the knife in hot water and drying between every slice.

How to store this Key Lime Pie Recipe
Tent with foil and seal all around the edges, or store in a cake caddy/container. Refrigerate the pie for up to 3-4 days. Freeze for more long term storage (instructions below).
Can you freeze Key Lime Pie?
Yes, however, it’s best to freeze Key lime pie before adding the whipped cream. To freeze, wrap the chilled pie tightly all around in plastic wrap, then place the wrapped pie in a freezer-safe bag or container to provide additional protection. When ready to enjoy, thaw the pie overnight in the refrigerator before adding the whipped cream topping.
Traditional Key Lime Pie Recipe FAQs
Key Lime Pie originated in the Florida Keys, a coral cay archipelago located off the southern coast of Florida. The pie was created in the late 19th or early 20th century, when refrigeration was not common in the region. Local ingredients, particularly the small, aromatic Key limes that grow in the area, were used to make this tart and creamy dessert. Condensed milk, which does not require refrigeration, became a staple ingredient, allowing the pie to set without baking.
Yes, you can use regular limes in Key Lime Pie if Key limes are not available. While Key limes have a distinct, more aromatic flavor and a higher acidity compared to regular Persian limes, substituting with regular limes and a little lemon juice will still yield a delicious pie. To approximate the unique taste of Key limes, use 3 parts regular lime juice and 1 part lemon juice.
Traditional Key lime pie filling is thickened by egg yolks, cornstarch and chilling. The egg yolks, are mixed with heavy cream, sugar, cornstarch, butter and Key lime juice. The acid in the lime juice reacts with the proteins in the egg yolks and cream, thickening the mixture as it cooks on the stove. The heat activates the thickening properties of cornstarch. Cooling the filling allows the filling to set.
Not long at our house! Key lime pie can be refrigerated for up to 4 days or frozen for up to 2 months.
To prevent Key lime pie from getting soggy, you can take several steps:
1. Blind Bake the Crust: Pre-bake the pie crust before adding the filling. This creates a barrier between the crust and the filling, helping to keep it crisp.
2. Thicken the Filling: Ensure that the filling is properly thickened with cornstarch to the consistency of pudding. This helps to absorb excess moisture and prevent the crust from becoming soggy.
3. Chill: Allow the pie to chill for at least 4 hours before slicing and serving. Cutting into the pie while it’s still warm can release steam, which can make the crust soggy.
4. Refrigerate: Store any leftover pie in the refrigerator to help maintain its texture and prevent sogginess.
Key lime pie filling can become runny if it’s not cooked long enough, or if it’s not thickened properly with a starch like cornstarch or flour. Take care to use all the cornstarch in the recipe and cook until the texture resembles pudding, about 190-200 degrees F on an instant-read thermometer.
Yes, Key lime pie needs to be refrigerated because the pie filling contains perishable ingredients like eggs and dairy. Refrigeration helps maintain the pie’s freshness and prevents bacterial growth, ensuring it stays safe to eat for longer. Additionally, refrigeration helps preserve the texture of the pie, keeping the filling firm and the crust crisp.
1. Runny Filling: The filling may not set properly if the filling is not cooked long enough or the pie is not chilled sufficiently. Cook the filling to 195 degrees F and chill the pie for at least 4 hours for a gorgeous and stable filling.
2. Overly Sweet or Too Tart: Achieving the right balance between sweetness and tartness can be tricky. Using the correct amount of Key lime juice and sugar called for in the recipe, then add additional zest or powdered sugar to taste before chilling the filling.
3. Crumbly Crust: A traditional graham cracker crust can sometimes be too crumbly if not enough butter is used to bind it. Adding shredded coconut to the crust resolves this issue, ensuring it’s chewy and never crumbly. Additionally, pressing the crust firmly into the pie dish and baking it slightly will help it hold together better.
4. Bitter Taste: Using the pith of limes when zesting can make the pie taste bitter. To zest limes without getting the bitter pith, use a microplane grater, apply light pressure, rotate the lime continuously, and use short strokes. This method helps remove only the outer layer while avoiding the white pith.

Looking for more SPRING Dessert Recipes?
Key Lime Cheesecake
Key Lime Cream Cheese Fruit Dip
Lemon Meringue Pie
Lemon Pie
Strawberry Pie
Coconut Custard Pie
Lemon Cake
WANT TO TRY THIS Key Lime Pie RECIPE?
PIN IT to your recipe BOARD TO SAVE FOR LATER!
FIND ME ON PINTEREST FOR MORE GREAT RECIPES! I AM ALWAYS PINNING :)!
©Carlsbad Cravings by CarlsbadCravings.com


Best Key Lime Pie
Save This Recipe To Your Recipe Box
You can now create an account on our site and save your favorite recipes all in one place!
Ingredients
COCONUT VANILLA WAFER CRUST (OR STORE-BOUGHT)
- 45 vanilla wafers (I use Nabisco Nilla Wafers) (1 ½ cups crumbs)
- 1 cup sweetened shredded coconut (optional)
- 2 tablespoons granulated sugar
- 6 tablespoons butter, melted
KEY LIME FILLING
- 4 egg yolks
- 2/3 cup Key lime juice (see Notes)
- 1-2 teaspoons Key lime zest (see Notes)
- 1 1/4 cups granulated sugar
- 1/4 cup cornstarch
- 1/8 teaspoon salt
- 1 1/4 cups heavy whipping cream
- 4 tablespoons unsalted butter, cubed
- 1 1/4 cups full-fat sour cream
STABILIZED WHIPPED CREAM
- 1 teaspoon unflavored gelatin
- 1 1/2 tablespoons water
- 1 cup cold heavy cream
- 3 tablespoons powdered sugar
- 1 teaspoon vanilla extract
GARNISH
- Thinly sliced key limes (optional)
- Strawberries or raspberries (optional)
Instructions
- Preheat the oven to 350 degrees F.
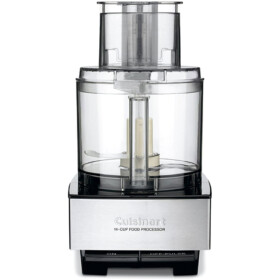
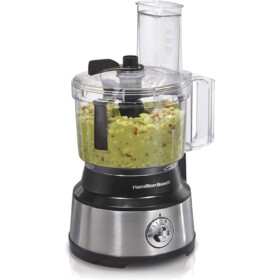
- Add the vanilla wafers to a food processor and process them into fine crumbs (or use a rolling pin). Add the coconut, sugar, and butter and pulse or stir to combine.
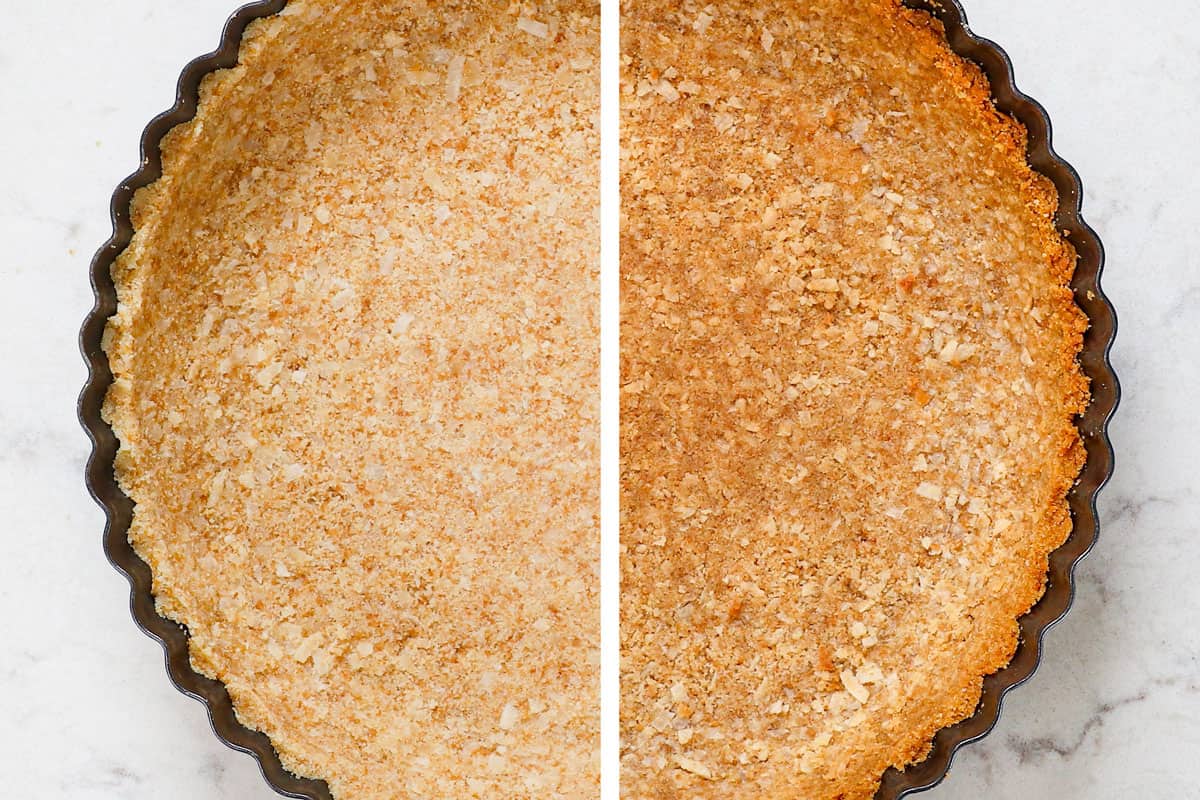
- Press the crumbs evenly up the sides and onto the bottom of an ungreased 9-inch pie pan or quiche pan. If using a quiche pan (pictured), only press 1 ½ – 1 ¾ inches up the sides (because it's deeper than a pie pan).
- Bake the crust at 350 degrees F for 8-10 minutes, until lightly golden. Cool completely on a wire rack before adding the filling (about 1 hour).
FILLING
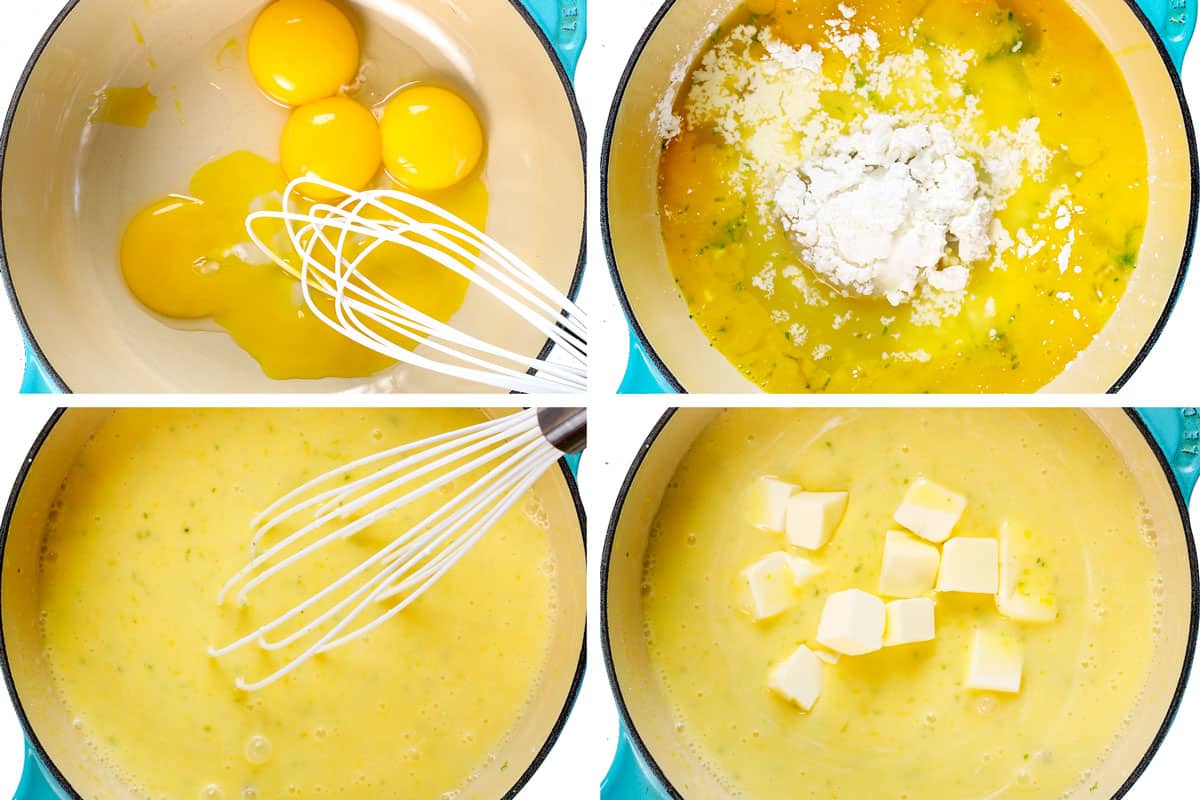
- Whisk the egg yolks together in a small nonreactive saucepan (stainless or enamel). Add the Key lime juice, zest, sugar, cornstarch, and salt and whisk until the cornstarch dissolves. Whisk in the heavy cream, then add the cubed butter.
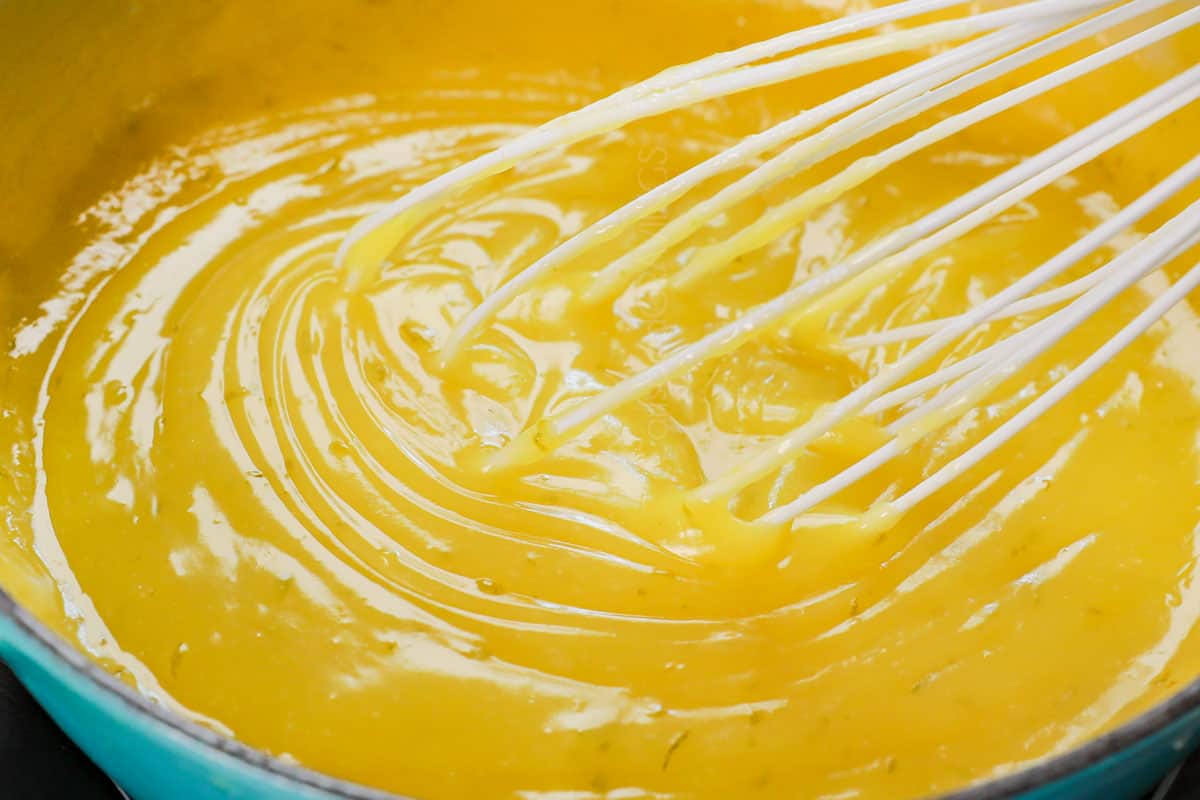
- Turn the heat to medium (medium-low if your stove runs hot) and cook, stirring CONSTANTLY, making sure to scrape the bottom and sides of the pan. Cook until the filling thickens to the consistency of pudding and registers about 195-200°F on an instant-read thermometer. (Don’t stop whisking, even while taking the temperature.)
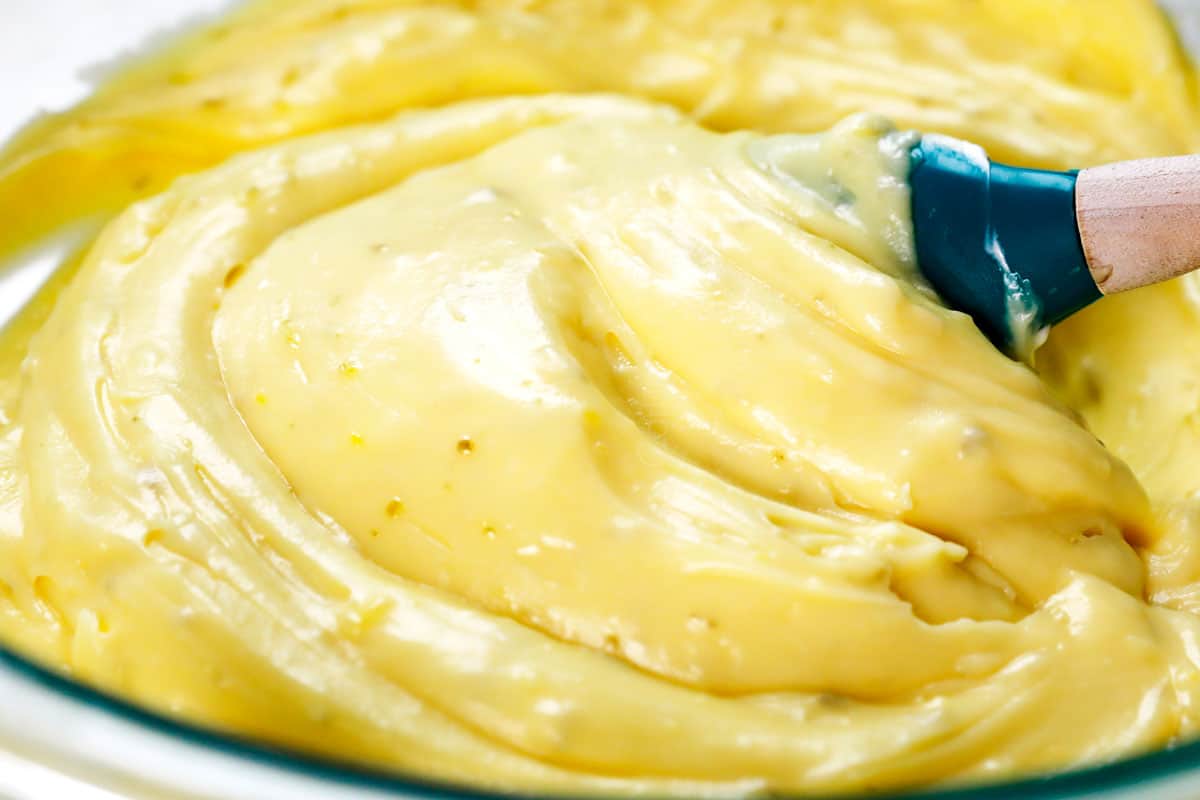
- Once thickened, immediately remove the filling from the heat and transfer to a large bowl. Let cool to room temperature, then fold in the sour cream. Taste and add additional lime zest for tangier or powdered sugar for sweeter if desired.
- Pour the filling into the cooled, baked pie shell. Cover with plastic wrap pressed against the surface of the filling (don't worry about "ruining" the aesthetics of the top, you can make it pretty after chilling). Chill in the refrigerator for at least 4 hours, up to 2 days.
WHIPPED CREAM
- You may add the stabilized whipped cream at any point while the pie is chilling and return to the fridge (tented with foil) or skip the gelatin/water and add the whipped cream just before serving.
- Add the unflavored gelatin to a small microwave-safe bowl, then whisk in the cold water with a fork. Let stand for 5 minutes, then microwave for 20 seconds. Stir the mixture, then set aside while you immediately begin to beat the heavy cream.
- Add the heavy cream, powdered sugar, and vanilla extract to a large mixing bowl. Whip using an electric hand mixer just until soft peaks form (the peaks flop over when the beaters are lifted.)
- Turn the mixer to low and slowly pour in the gelatin mixture. Mix until combined, then increase the speed to medium and continue mixing until stiff peaks form (peaks stand straight up when the beaters are lifted).
- Transfer the whipped cream to a piping bag and decorate as desired (serve extra on the side) OR spread evenly over the entire pie. The beauty of stabilized whipped cream is it will hold its shape indefinitely and never weep. If using regular whipped cream, top just before serving.
TO SERVE
- Add the lime slices just before serving (if using) so they don't weep.
- Run a knife under hot water, or fill a large glass with hot water, and dip the knife in the hot water before each cut. Wipe the knife clean with a towel after each cut, then repeat.
Notes
- See the post for more detailed tips, tricks, variations, and step-by-step photos.
- Quiche Pan: A quiche pan with a removable bottom is the secret to a cleanly sliced pie without a crumbled crust – it’s a total game-changer! I use this 9-inch quiche pan in all of my pie recipes. Of course, this recipe also works with a traditional pie dish.
- Key Lime Juice: Either juice about 15-18 key limes or use bottled Key lime juice such as Nellie and Joe’s Key Lime Juice (pictured) available at most grocery stores or on Amazon.
- Use gelatin right away in whipped cream: After the gelatin is dissolved, don’t wait too long to add it to the whipped cream or it will thicken and set. If it has hardened, microwave it again for 10-20 seconds until liquidy.
- Use gelatin right away: After the gelatin is dissolved, don’t wait too long to add it to the whipped cream or it will thicken and set. If it has hardened, microwave it again for 10-20 seconds until liquidy.
- Store-bought Crust: You may use one 9-inch baked pie shell or graham cracker shell from the grocery store.
- Storage: Tent with foil and seal all around the edges, or store in a cake caddy/container. Refrigerate the pie for up to 3-4 days. Freeze for more long-term storage (instructions below).
Want To Make This Recipe?

Did You Make This Recipe?
Tag @CarlsbadCravings and Use #CarlsbadCravngs
Leave a Review, I Always Love Hearing From You!


leave a review